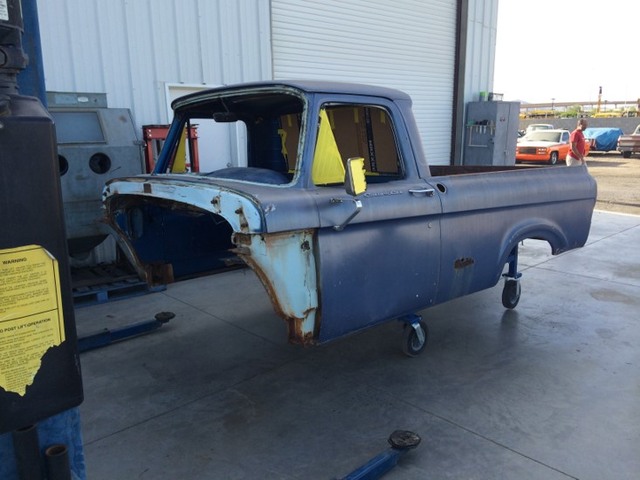
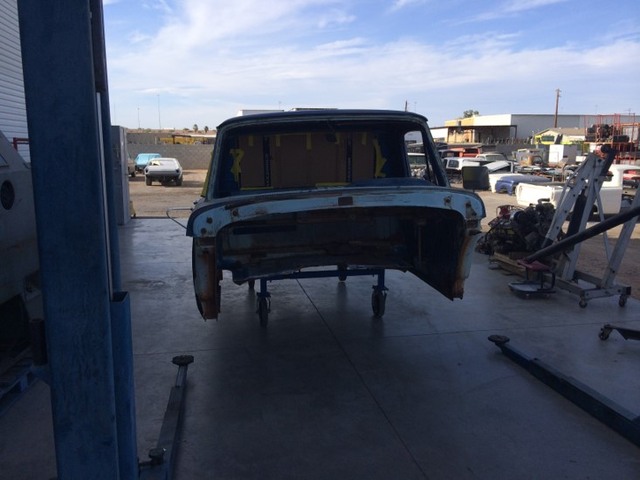
So some of you may have followed our other two threads of the '62 Unibody on a 1998 Crown Vic P71 police car and the '65 SWB style side truck on a 1996 Buick Roadmaster, if you've been following those builds you would know we acquired a '62 cab, dog house, and step side bed along the way for the '65 build. We basically bought those parts for the windshield and some hood trim to use on the '65 but along the way thought about building a 3rd truck.


I guess one of the deciding factors in building the truck was that it had a title and VIN tag that matched which is a big plus in our state to get a vehicle registered and the title transferred, our state no longer will title a vehicle based on a "bill of sale" no matter how many police checks prove it isn't stolen. So having a valid title is very important, some time I'll tell you folks what we had to go through to get a title for the '65 but that's a story for another day. lol
Once we decided that it would get built, not necessarily how it would get built but that we would commit to building a 3rd truck we of course would need another donor vehicle...
I'm right in the middle of the '65 build and still can't give a definite this donor over that donor preference, it's like I have said before both the Ford and the Buick (GM) have pluses and minuses, neither in my mind is really better than the other because for one minus there is a plus to counteract the minus, both vehicles have this scenario which gives neither a clear advantage over the other. So also as I've said before it comes down for me to two things, one being I like and know GM vehicles, I like the fact that the Buick has that small block Chevy motor in it, the other deciding factor for me is the market and what you can find for the price you want to spend.... this is a constantly moving target not so much the amount your willing to spend but the choice of what you will spend it on.
With that in mind we watch Craigs list and the Facebook marketplace weekly to see what is being sold, some people want stupid money for their vehicles, case in point last week there was a '95 Impala that was being sold as a parts car, did run and drive but had a lot of miles on it (way upwards of 100k, closer to 200k) and the guy wanted $1700 for the entire car, in my opinion that was about a $1000 dollar car on a good day, but he based his price on he intended to make a Impala SS clone out of it so it's worth more money....yeah right.
The one shinning gem was on CL in the auto parts category, it was a 2k9 CV P71 that has wrecked in the right rear quarter, the ad stated it had less than 90k on the clock, so we contacted the guy on Wed and he is of course on the defense from being trolled selling stuff on CL (way too many scammers), so anyway we told him we would contact him on Saturday to go look at it if it was still available.
Saturday comes and we contact him, he's more polite this go-round and we get directions to where the car is about 20 miles away in Kentucky (across the Ohio river from us) and we pack up the dog and head that way (yeah I'll tell you about the dog sometime also...lol) We get there and they (him and his buddy) have the car running, when I get out of the truck it looks pretty bad, the right rear quarter is pushed over to the driver's side enough to bust the rear glass and wrinkle the left rear quarter panel. I pull the bumper cover back and look it was hit high above the frame and if it moved the left rear frame rail any it wouldn't matter since we will be cutting almost two feet off the rear frame rails. The frame actually looks ok and since it was behind the rear tire it shouldn't have hurt the rear end or rear suspension although the guy said the car did a couple 360s after it was hit. (his son was driving it)
The body damage doesn't bother me and they find that odd lol, they know the car isn't repairable it's too old and not worth the effort to back half the body (it's a CV there are millions of them out there), so it's a parts car or a donor, they recognize this so the amount of BS is very limited.
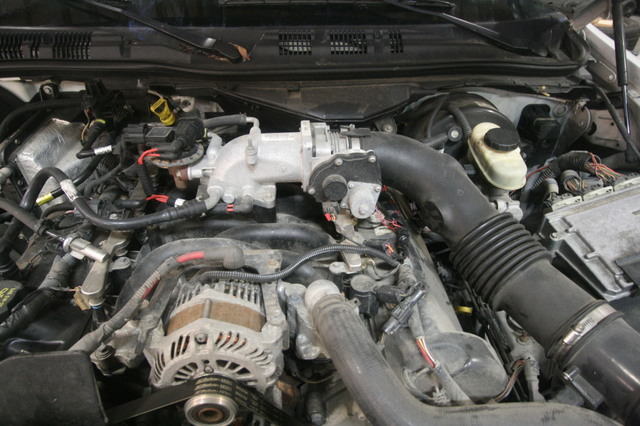
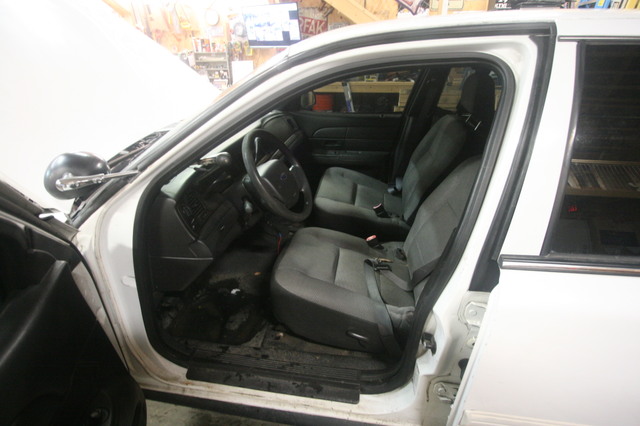
Motor sounds really good, it does lot drive and the transmission seems fine (it had a transmission put in it 3 days before getting hit) they have the complete history of the vehicle printed out (CarFax) along with receipts for the transmission, tune up, and service that was done right before the crash. The interior is nice the only discrepancy is that it has 102k on it not 90k, not a deal breaker for what it is and what they are asking.
So I hand them over to my wife to negotiate the price...lol, I love doing that, work the people while she sits back, then change tactics on them so they have to deal with her, when I tell people that they have to deal with her and walk away they are really confused...lol anyway she works out the money aspect and delivery (they have a roll back), they load the car on the roll back and they follow us home.
It's at this point I'll tell you folks that she packs a 9mm and has a CC permit, we both are avid 2nd amendment supporters and are well use to firing a gun since we spend time at the range improving our proficiency, we always carry a firearm when carrying cash and are very aware of our surroundings and the people we are dealing with....call it "situational awareness" my point in telling you folks this is that it's 2018 and the world has changed, you really can't trust people based solely on your gut anymore and if we had detected the least bad vibe from these guys we would have had the car picked up or just walked away from the deal, but in the end they were just "good 'ol boys from Kentucky", and they were truly impressed with the '62 uni, but I didn't take them in the shop, no need for them to see the '65, not like we are going to be friends or anything like that....lol
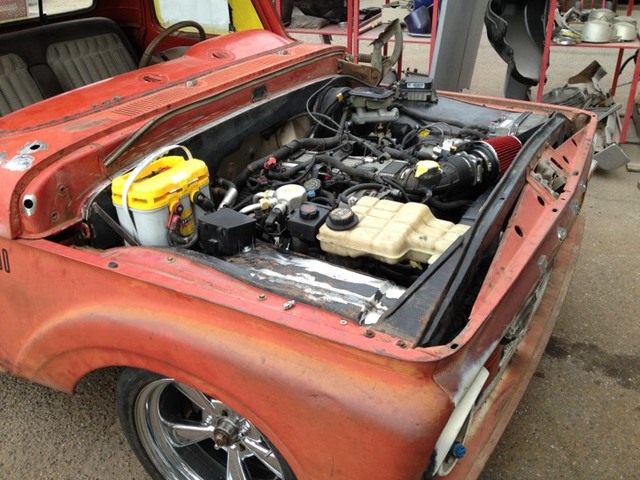
So here's the donor.....


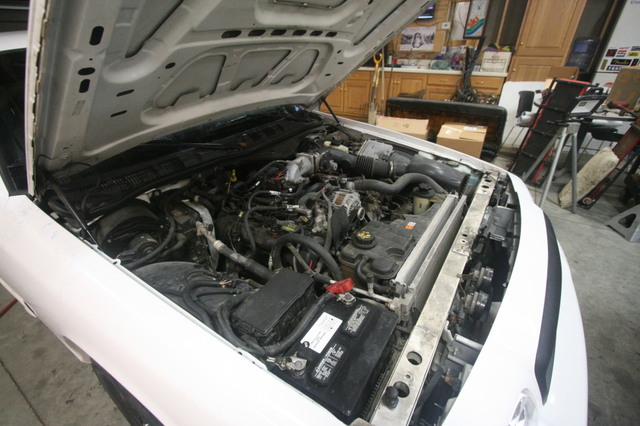


So.....we bought the '09 CV P71 based solely on the timing and price, it was the right vehicle at basically the right time and that means you folks will have to endure yet another CV swap thread here on the forum, this one will be somewhat different and how that will be or turn out is yet to be decided but it's going on a CV chassis.
------
Note: this thread will just sit here until the '65 is on the road, but I wanted to give the step side its own thread so when I'm ready it is ready also, I really didn't want to pollute the other threads with this info because eventually it would have to have its own thread anyway.
-----
Jon