1966 LWB F-100

A place just for our project & build threads.

Moderators: Kid, Casey 65

Post Reply
Haus
Posts: 229
Joined: January 20, 2008, 8:50 pm
Location: Benton, AR (South of Little Rock)

1966 LWB F-100

Post by Haus »

Well the sticky says to keep posts to a minimum. We will call this the before pic. Still working on the after pic. I made a video that I will upload to photobucket and post a link later.

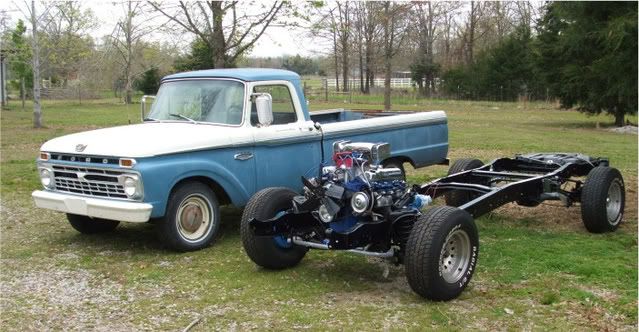
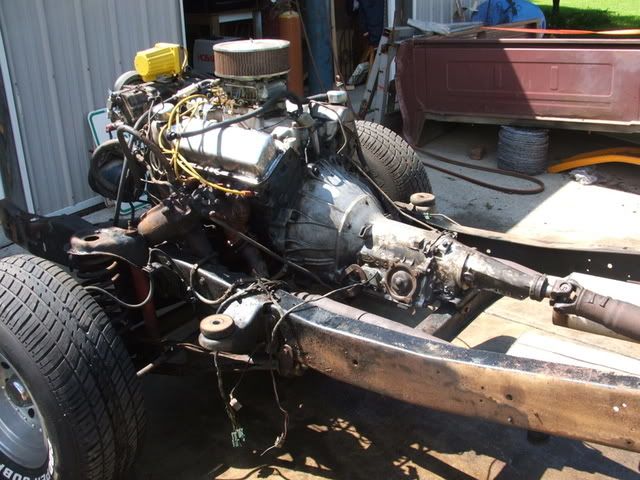
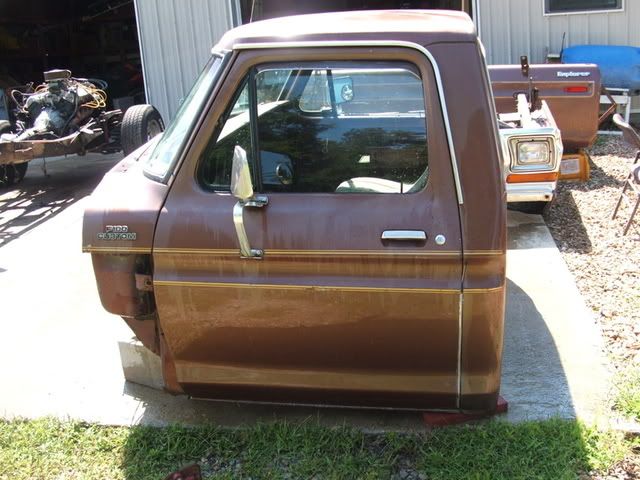
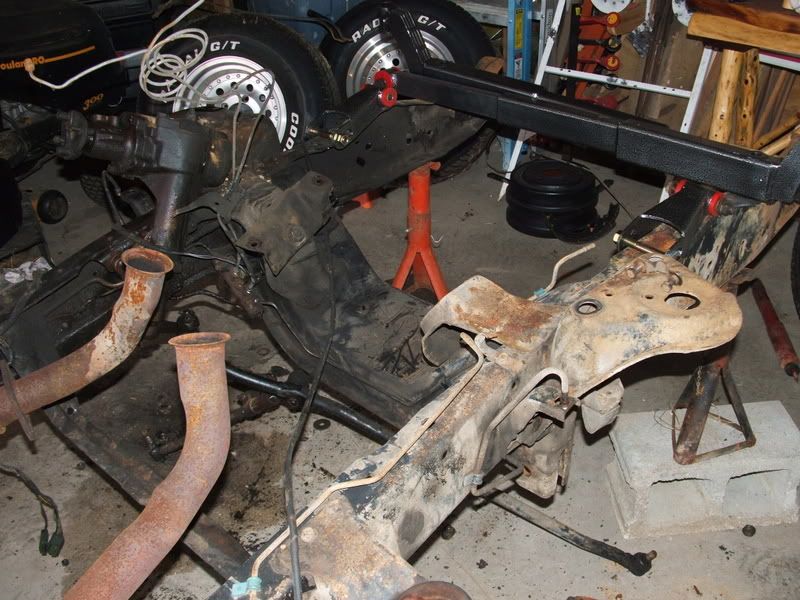
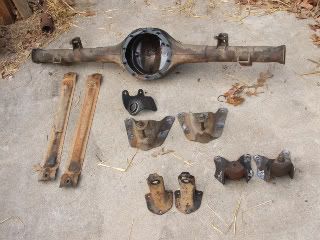
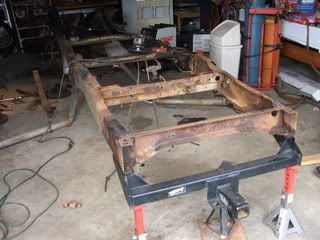
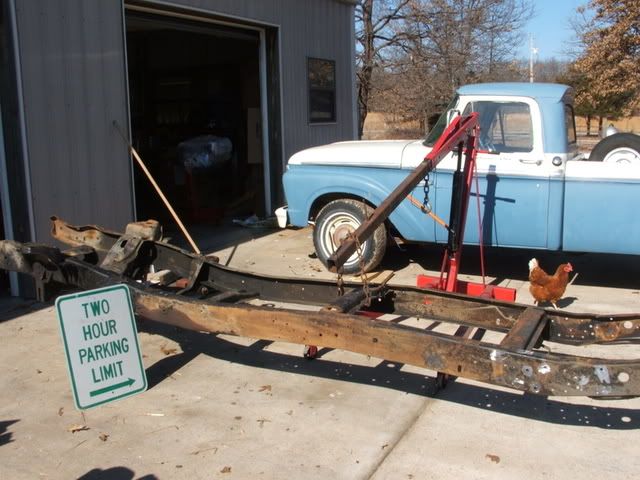
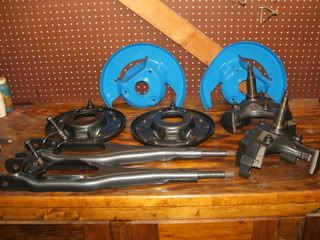
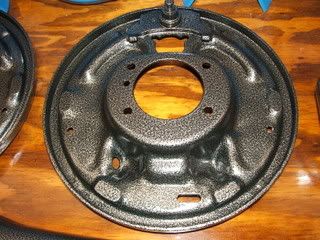
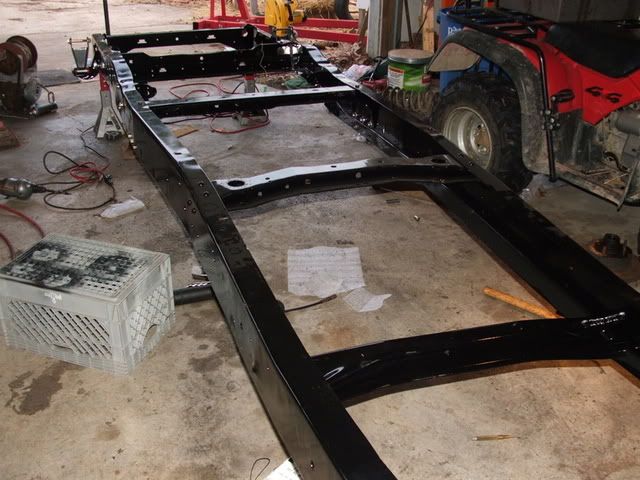
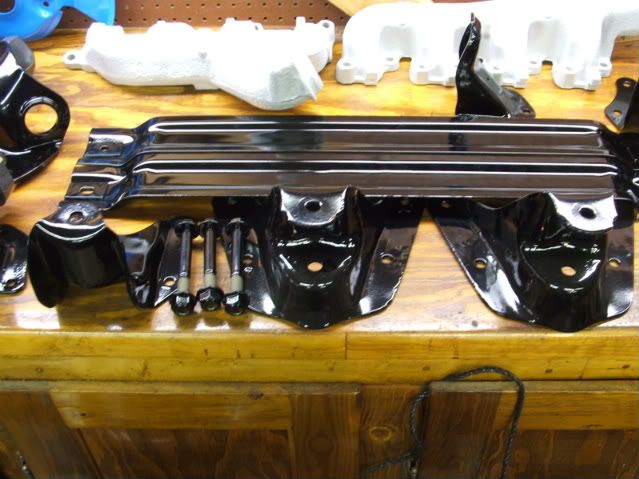
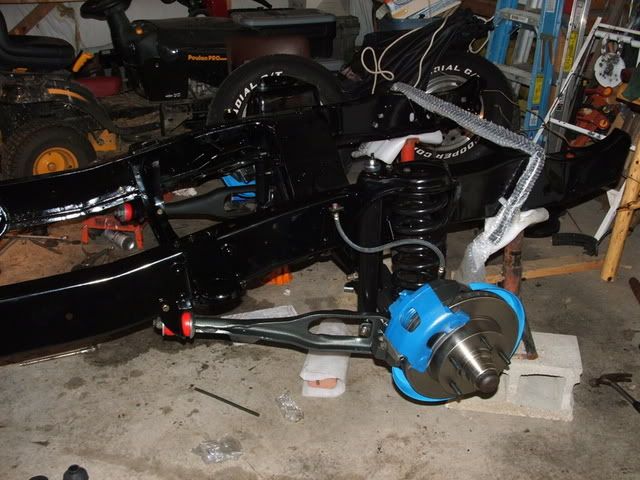
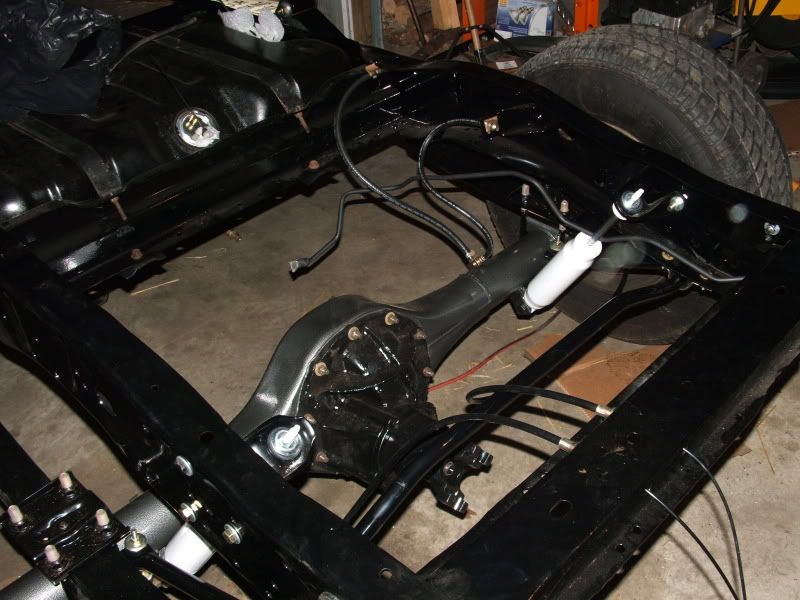
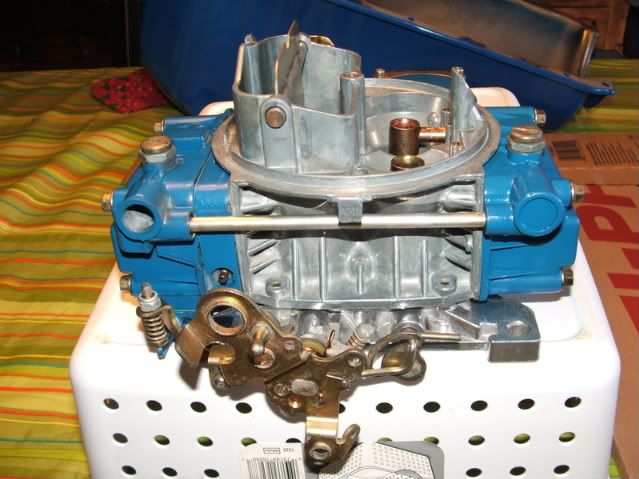
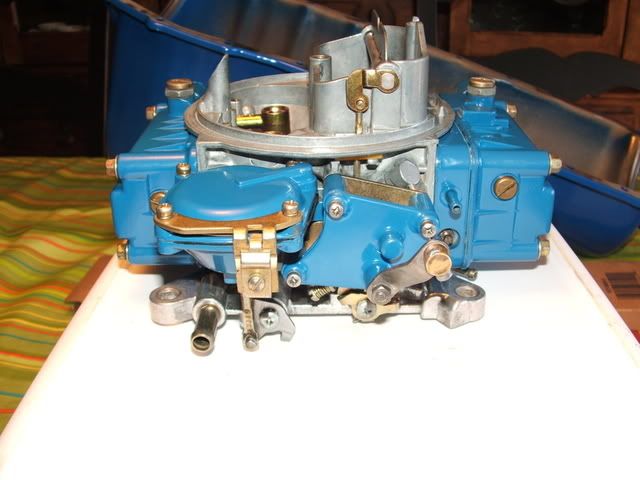
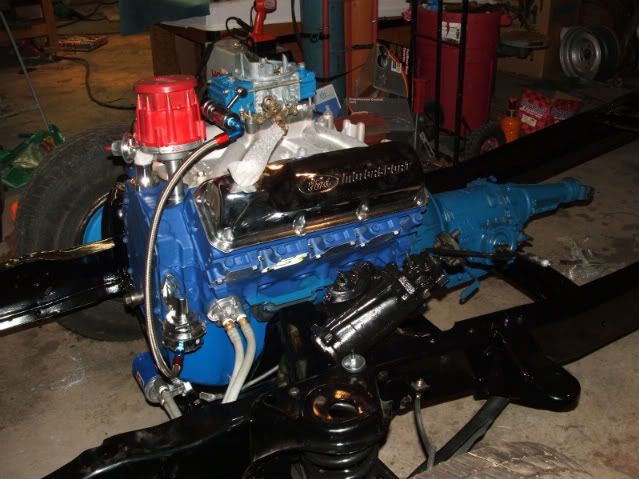
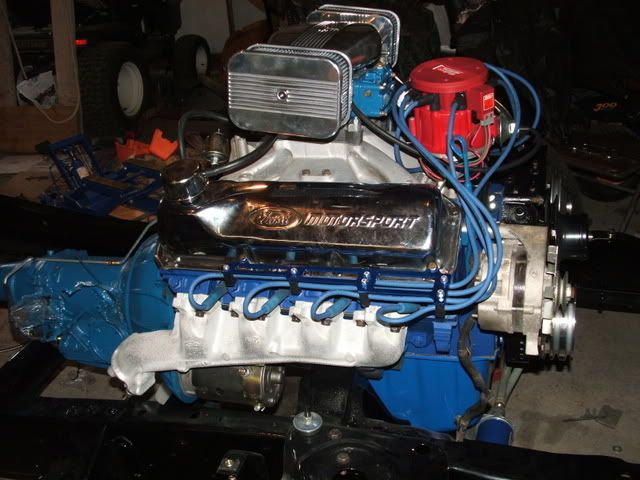
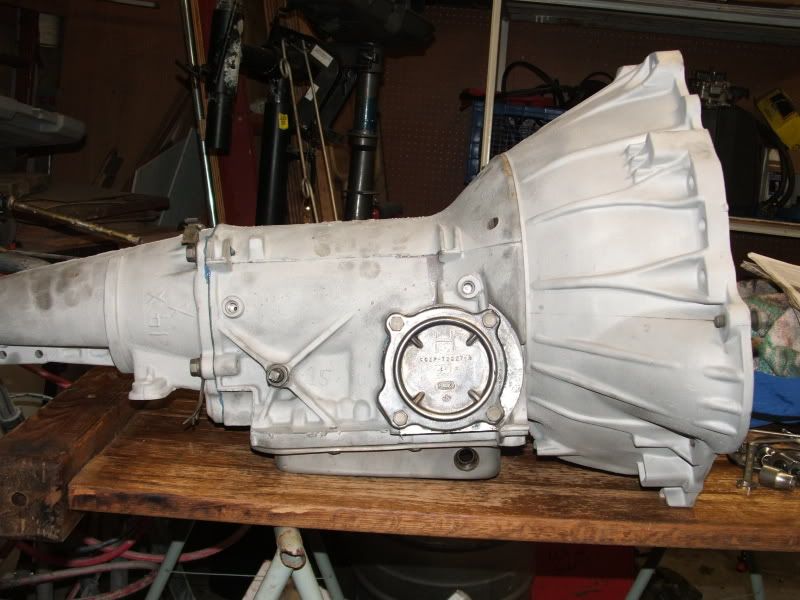
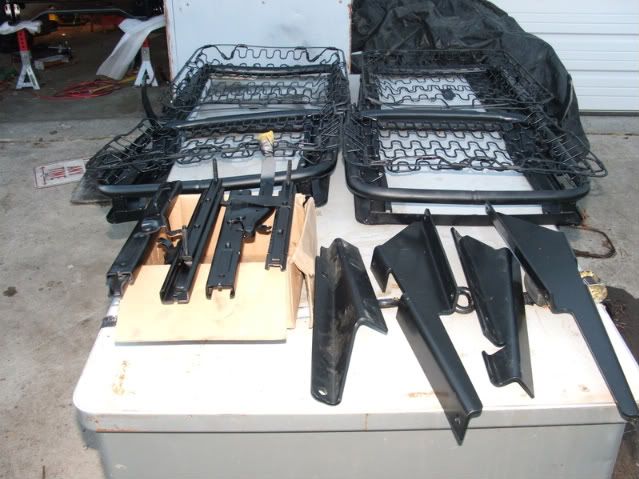
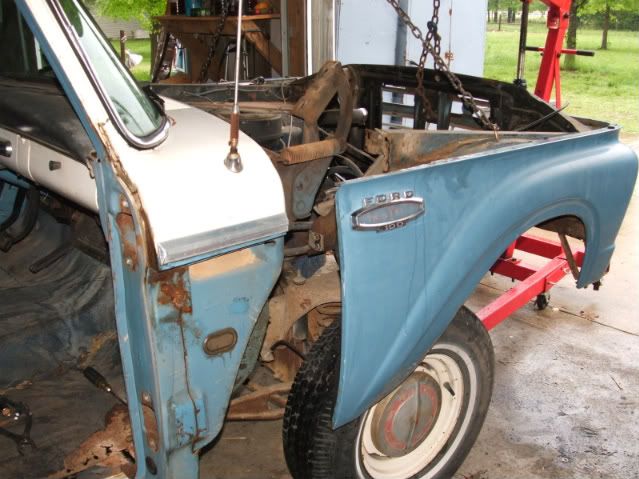
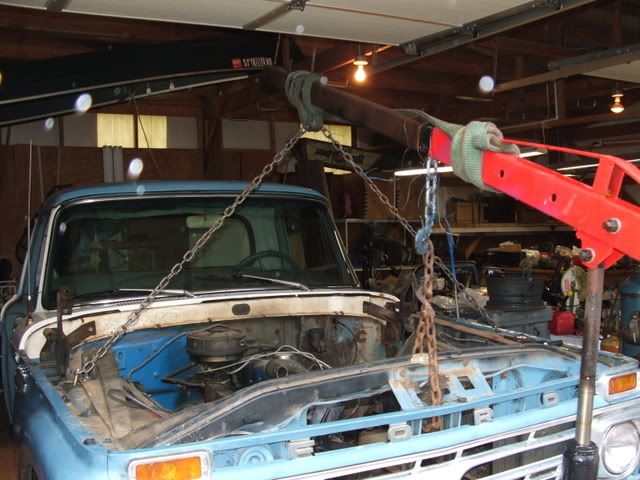
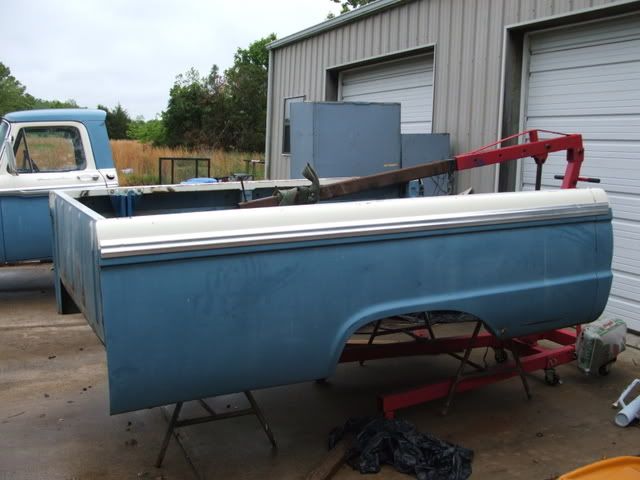
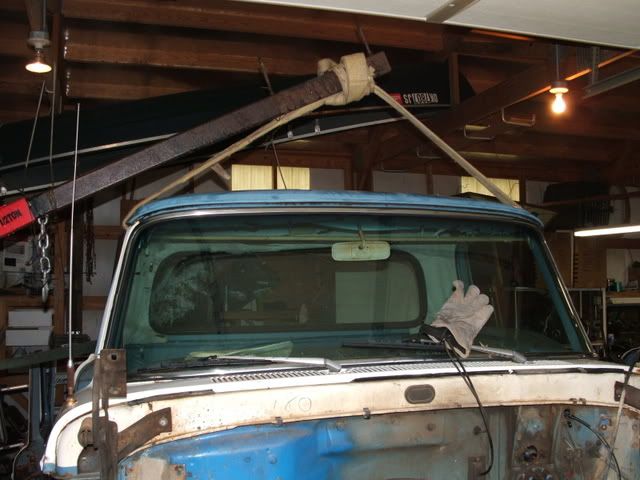
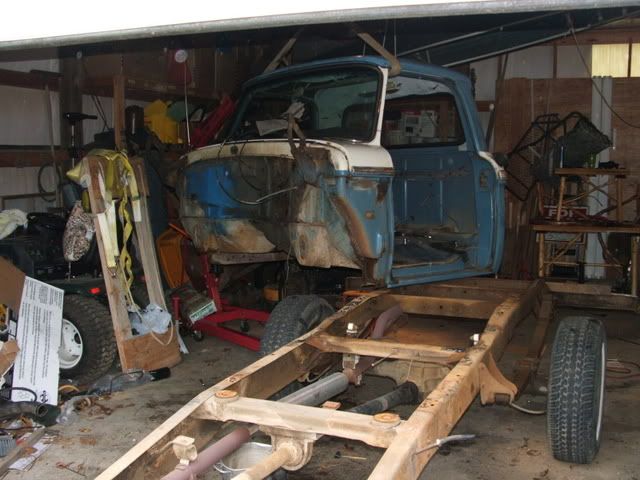
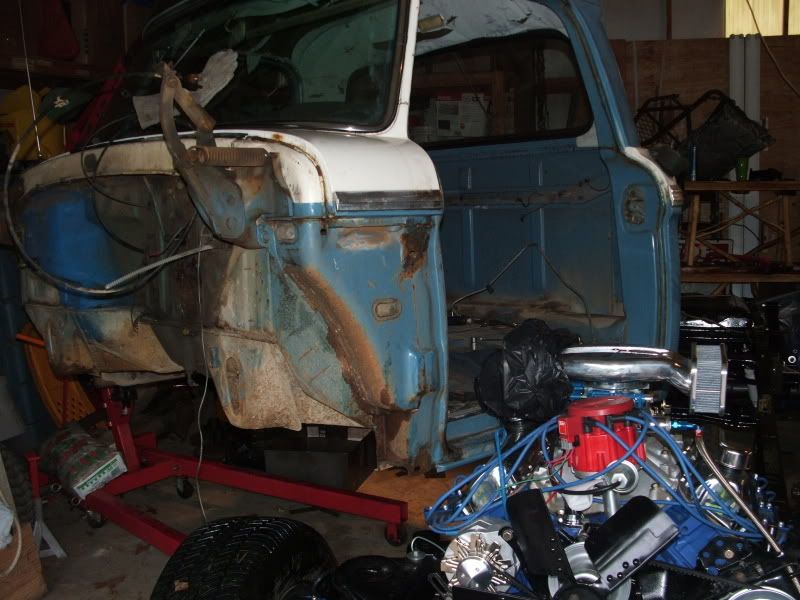
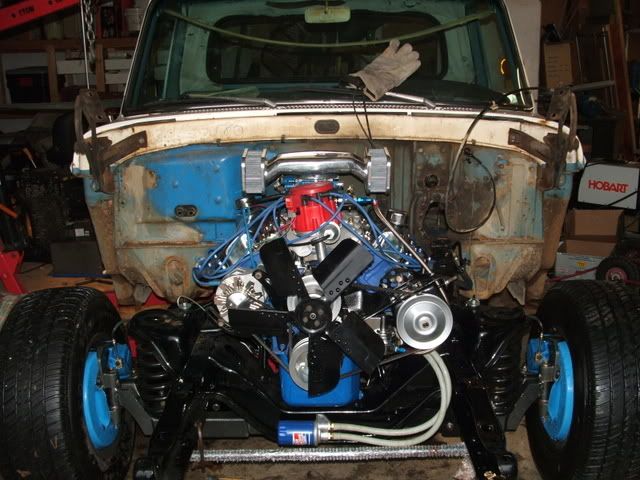
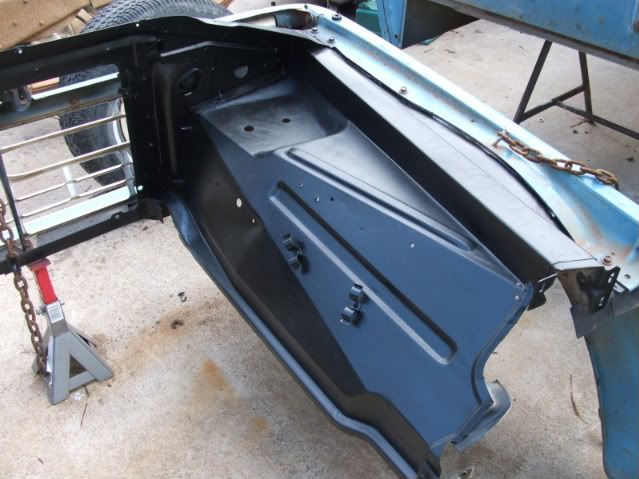
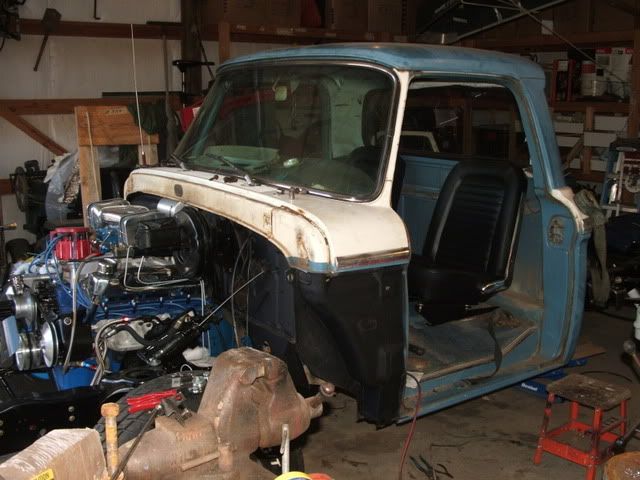
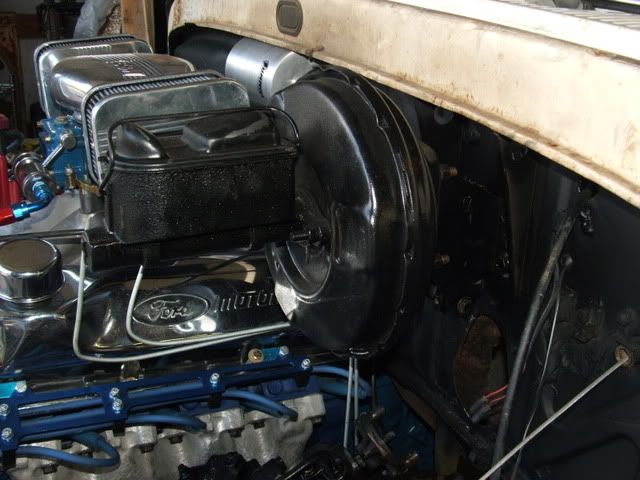
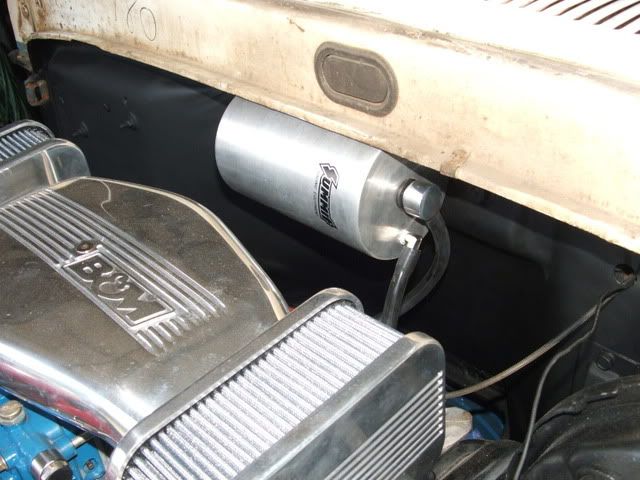
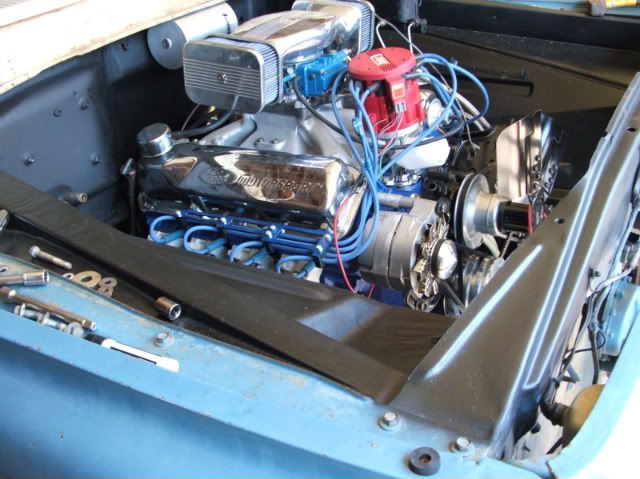
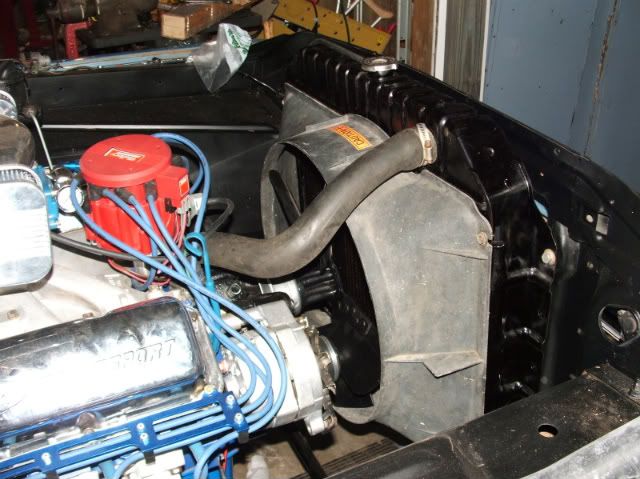
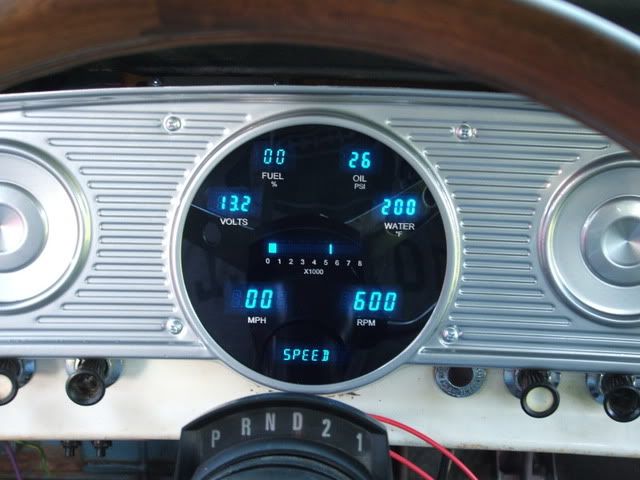
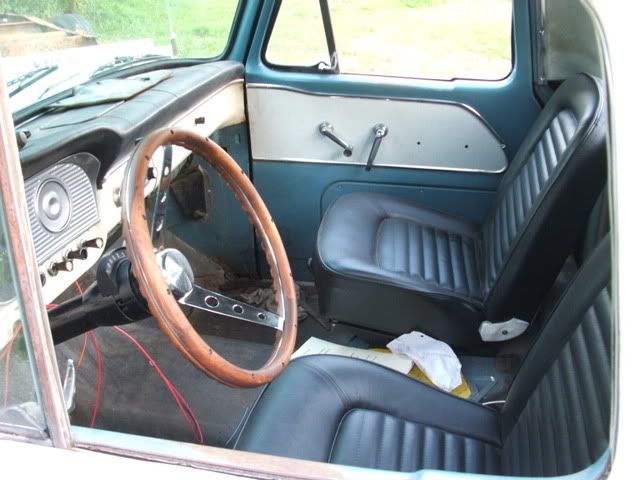
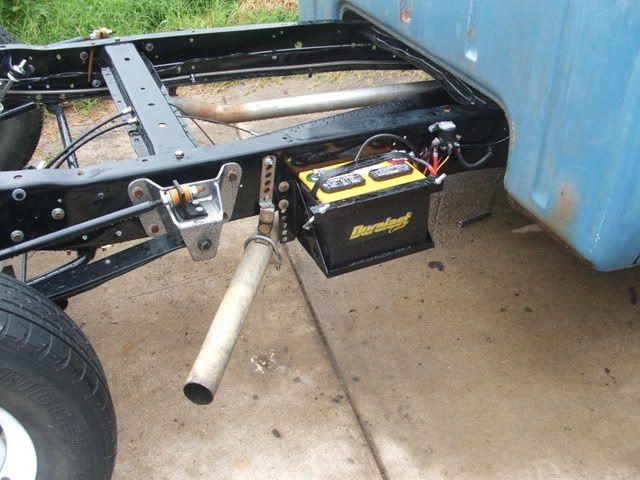
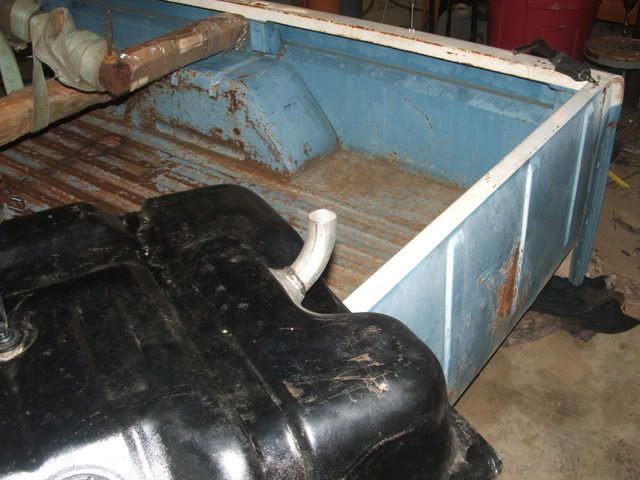
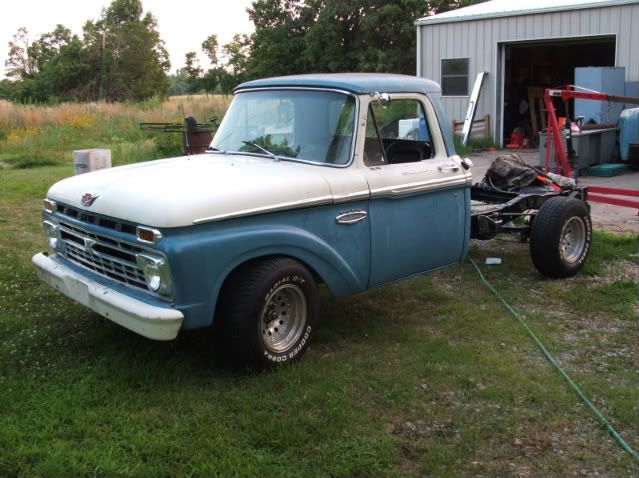
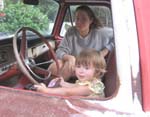
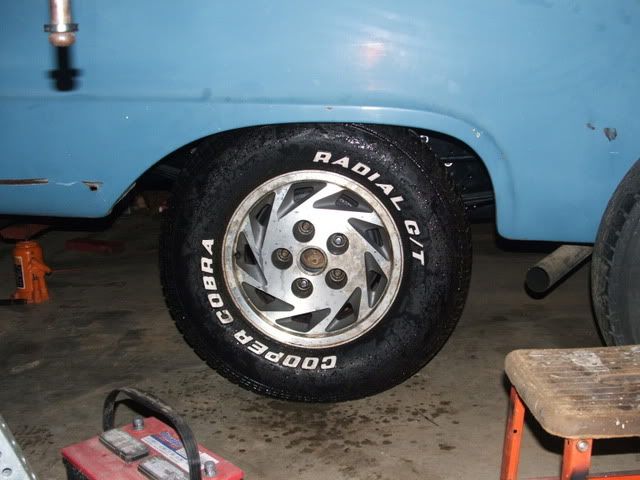
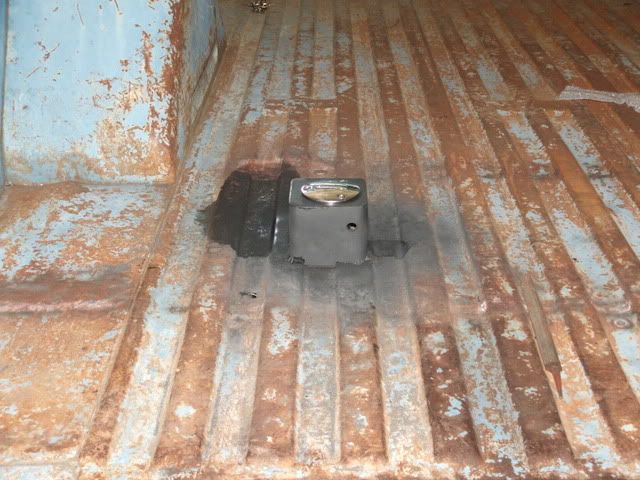
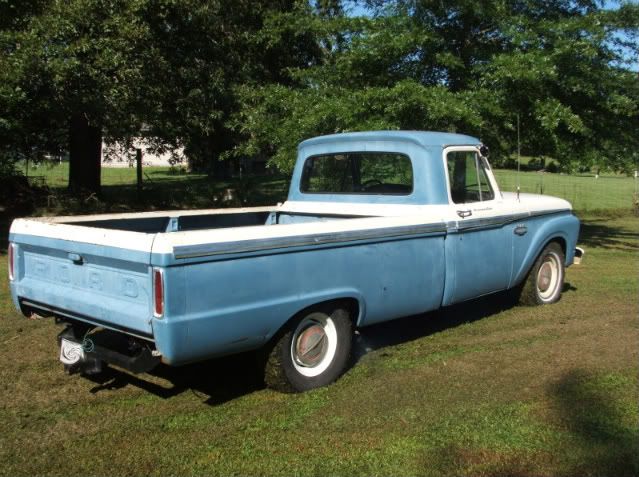
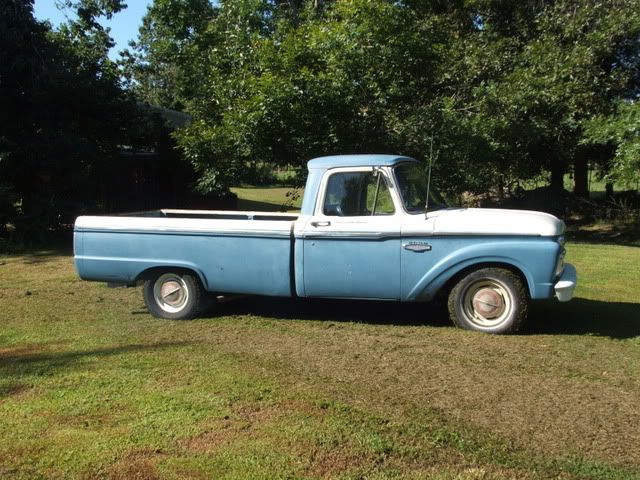
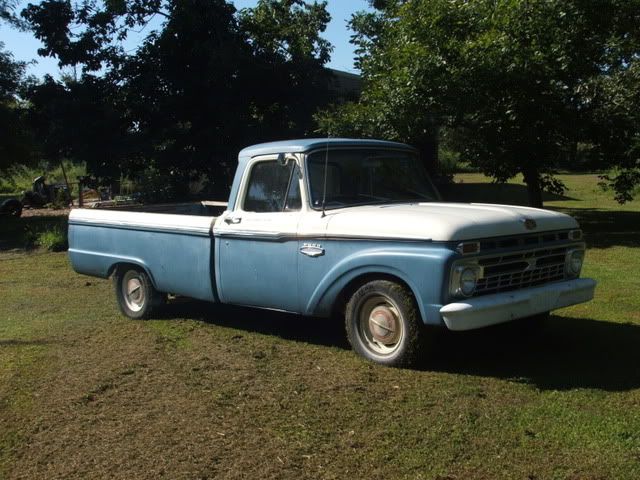
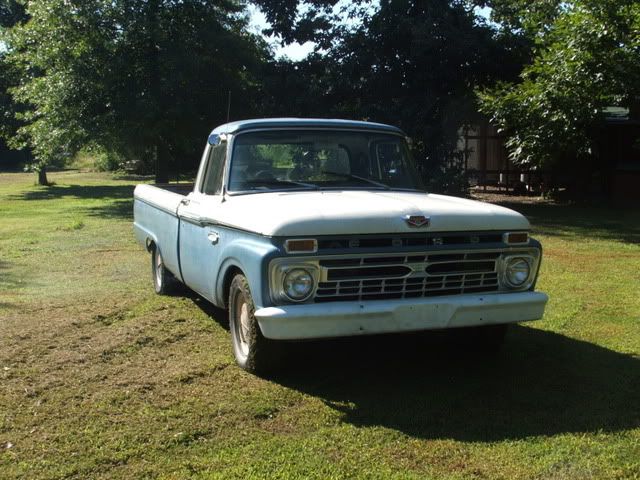
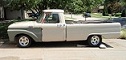
Your looking at a 1966 LWB with a 300ci and 3 on the tree. The other side is its new home. 1979 LWB frame. Power steering, disc brakes, front and rear sway bars, front lowered 3" with DJM, rear lowered 4" with drop shackles and brackets, axel moved 3 inches forward so it will be centered in wheel wells, frame and all running gear powder coated. The heart of the beast is a 351 cleveland 4V out of a 1970 Mach 1. Behind it is a C4 transmission I rebuilt with a full rebuild kit from B&M, 2500 stall TCI converter, 1 piece drive shaft, 4.11 trac loc 3rd member. Cool looking wheels do not fit inside the wheel wells (darn!). The video will show I removed the 1966 guages and replaced the bezel with a 65 down round bezel and dakota digital guages. The bench seat was removed and replaced with 1965 mustang bucket seats. Plan to build my own speaker box where the in cab tank was and a custom console. 73-77 steering column with grant wooden steering wheel installed.

Lots of other stuff, but thats a start.

Image
User avatar
jwh f-100
Posts: 1903
Joined: June 11, 2007, 6:25 pm
Location: Equinunk, PA
United States of America

Post by jwh f-100 »

Haus, Looks great!! Keep the pics coming!!!

The sticky "Before & after" thread is a spot to take a quick look at progress .

Your build thread is your spot to post lots of pics.. We love them pics.. :D :wink:
Jason

Beer will change the world.

I don't know how but it will.
User avatar
kstones63
Posts: 1504
Joined: April 7, 2007, 10:55 pm
Location: Phoenix, AZ
United States of America

Post by kstones63 »

Haus, you have a great start with as 351C goong in it. Keep the oics coming.
I saw your video of when you drove it. I am still waiting for that day on mine. I am going to bleed the brakes on mine tomorrow so maybe I will be able to at least drive it into the trailer to go to the upholsterer.
Keep the pics coming.
Kevin
kstones63
_______________________________________
63 F100
29 Ford Sedan Delivery
99 F250 PSD, 4x4, CC
95 F350 Flatbed Dually Diesel
User avatar
Alan Mclennan
Posts: 9324
Joined: October 14, 2006, 6:16 pm
Location: In the shed... Cranebrook NSW
Australia

Post by Alan Mclennan »

:D Haus, your a man after my own heart!, Cleveland thats all you need to say!, and Jason is right!, you put as much as you like in your build thread! cause we love it! 8)
Honey, If I say I`ll fix something I will, there`s no need to remind me every 6 months!!
66 f100 tabletop swb 351 Clevo C6 "Beryl"

Slick Stock 3 KCMO
Slick Stock 4 Altoona
Slick Stock 5 KCMO
Slick Stock 6 Altoona
Slick Stock 7 Salina KS
Slick Stock 8.............................. cry.gif
Haus
Posts: 229
Joined: January 20, 2008, 8:50 pm
Location: Benton, AR (South of Little Rock)

Post by Haus »

Heavy on the pics???? OK


After some research I decided to try a frame swap. 1979 F100 Donar truck. Came with 351 cleveland (60 over) and C4 trans.

Image
Image

I'll save some of the teardown drama, but here is what I really started with.

Image

ImageImage
Image


So now that its bare frame, time to start the rebuild. Somewhere at this point I became addicted to powder coating and surfing ebay for parts.

Image
Image
Image
Image

Yep, powder coated the axel also. Thought all the running gear should match. Removed 30 rivets and moved the rear axel 3 inches forward to center in wheel opening.

Image
Image
Image

Decided while I was rebuilding the carb to add a little blue.

Image
Image

Found a 351 cleveland on ebay that was already built. Held my breath and hoped for the best. Future in the thread it is running good, so I didn't buy a pig in a poke. Further investigation showed it to be the 1970 4V quench head motor.

Keepin it clean until I got further along.
Image
Image
Image

First time for a trans rebuild. Must say it was not without its problems. Currently waiting for a rear servo piston to correct a reverse problem.

Image


65 mustang bucket seats, tore down to the frames, sand blasted and painted (no powder coating, starting to get over my addiction).

Image
Image
Haus
Posts: 229
Joined: January 20, 2008, 8:50 pm
Location: Benton, AR (South of Little Rock)

Post by Haus »

So now I'm about where the first picture at the beginning of the thread was taken.

I have a couple of friends that are about as dependable as playing black jack to pay my bills. I rigged up my cherry picker to move the metal myself.

Image
Image
Image

Image
Image
Image

Out with the old frame, in with the new.

Image
Image

Cleaned up the inner fenders and firewall with a wire wheel and some primer/paint.

Image
Image

Didn't care for the power steering steering stock coolers. Went with the smallest trans cooler I could find and mounted it to the frame rail.

Image

Power brakes added.

Image

One way vacuum canister

Image

Can you really take too many engine pics, lol. Cab and front clip mounted. 79 radiator and fan shroud mounted right up without any problems.

Image
Image

Lokar gas pedal cable and kickdown cable added.

Image

Rewired truck with EZ wire kit and removed sweep speedo and installed round speedo. Dakota digital guages are awesome. No need for the big cop attracting tach. Guages have built in tach with bar and numerica reedout. 73-77 column installed. Grant wooden steering wheel also gives it a vintage feel. The seats are also where they should be.

Image
Image

Trying to keep the engine bay clutter free. Mounted the battery out of the way. 1 wire alternator also keeps things to a minimum up front. Duel exhaust exit in front of rear wheels.

Image

79 frame is 2 inches longer in front end. My attempt at metal work is to lengthen the stock bumper. Still have some finishing touches and will cover with bondo and smooth out when finished.

Image
Image

Stock 79 gas tank was modified from 2" id pipe to 1 1/2 OD pipe. Fill hole will be mounted in bed floor.

Image


Well thanks for looking at my stuff. I'm not the best with metal stuff like a lot of you guys, but I still enjoy putting stuff together. Guy at the muffler shop said, "wow your doing a ground up restorations!". I replied, "Yep, got the ground done and ran out of money for the up, lol."

Lots of work left to do. Here she is as she is today. Still working out the gas tank through bed floor fill hole. Once complete I'll mount up the steering column wires and tail lights. Then its time to ge tthe alignment done and see how she drives.

Image
User avatar
dotcentral
Posts: 1341
Joined: August 18, 2006, 5:13 pm
Location: Charlotte, NC

Post by dotcentral »

Wow, you got a lot of work done. It is looking good so far. How long has it taken you to get this far?
Driver: 71 F100 Shortbed: Disc swap, 5.0 HO EFI & AOD
Project Vehicle/Mild Custom: 66 F100 CC longbed: Sold
Haus
Posts: 229
Joined: January 20, 2008, 8:50 pm
Location: Benton, AR (South of Little Rock)

Post by Haus »

I bought the parts truck July 2008. Sorry for the delayed response.

Was waiting for a nice clear day for some pics. Replacement wheels are dropped off at the powder coaters and they will be blasted and powder coated gun metal grey. Still need to order a rear roll pan. Front bumper was extended back towards the grill to cover up the extra couple of inches the 79 frame sticks out. All in all I'm happy with how it turned out. Still working on an oil leak which is nothing compared to what I've had to do during my build, lol. Put my foot in her just a little today and both tires broke loose and left a good burnout mark. No tire hop so I'm pleased with my cheap traction bars.

May be a few months before I post much else on this thread. Despite the ups and downs of my build so far I've got a kick azz truck to drive now. Interior and paint and body are next on my list. I will continue to use this thread for interior and body work.

Replacement wheels 1992 E-150:

Image

Gas tank fill hole. Kinda tacky, but it works for me:

Image

Here she is as of today:

Image

Image

Image

Image
All my tools are hammers except screwdrivers, those are chisels.

1966 F-100 2WD
351 Cleveland **no its not a 351M**
C4 trans
3.50 rear end
User avatar
ezernut9mm
Posts: 9141
Joined: July 21, 2006, 9:37 pm
Location: KCMO
Sweden

Post by ezernut9mm »

wow. look at all those pretty parts. nice build man.
always
"i believe i've achieved satisfaction".-bubbles
"should i be gettin" baked for this boys?"-bubbles


i could no longer keep "r.i.p.ing" all of our fallen brothers and sisters, so i say here, slick loads of love and much respect to all you beautiful people.
Anthony

Post by Anthony »

:shock: WOW :shock: just WOW :shock: drool, drool, droooooool...... Anthony
User avatar
don morris II
Posts: 347
Joined: November 18, 2008, 12:29 pm
Location: Muskegon, MI

Post by don morris II »

very nice work
FORD, FAST, FLYING, FIRST, ALL START WITH F IS,NT THAT "SLICK"
User avatar
Okla66F100
Posts: 70
Joined: December 17, 2009, 5:55 pm
Location: Newcastle, Oklahoma

Post by Okla66F100 »

I know you said it would be a while before you post again but I was wondering if you got those wheels back and how they looked on the slick?
Scott

1966 F-100 Custom Cab LWB
User avatar
Alan Mclennan
Posts: 9324
Joined: October 14, 2006, 6:16 pm
Location: In the shed... Cranebrook NSW
Australia

Post by Alan Mclennan »

Yes Haus, whats the progress?, time to show us some more eye candy!
Honey, If I say I`ll fix something I will, there`s no need to remind me every 6 months!!
66 f100 tabletop swb 351 Clevo C6 "Beryl"

Slick Stock 3 KCMO
Slick Stock 4 Altoona
Slick Stock 5 KCMO
Slick Stock 6 Altoona
Slick Stock 7 Salina KS
Slick Stock 8.............................. cry.gif
User avatar
Hoofbeat Racer
Posts: 1782
Joined: July 6, 2006, 12:22 am
Location: Rocky Mountains, Alberta
Canada

Post by Hoofbeat Racer »

First time reading your build Haus. We did a ton of similar things, I did the frame swap too. Love the truck. keep us posted
Mark


Image
gumshoe
Posts: 47
Joined: November 22, 2009, 4:58 pm

Post by gumshoe »

very very nice, this is one fine truck
Bill: shasta lake ca. 1966 F100
Thunderboy
Posts: 335
Joined: August 26, 2008, 2:24 pm
Location: Sacramento, California

Post by Thunderboy »

I am following this one closely, Haus, 'cuz I am doing a frame swap, too. I like your work! I like that you've largely left the exterior alone, as well.

I'd like to know how you mounted your bed to the 79 frame. Did you relocate the holes in the bed or the frame? Where and how did you shorten the frame?
Drew


66 F250 Frame swap, EFI 408W, ZF 5-speed swap (still!) in progress
63 Falcon Futura EFI 331W, T5, but not much progress... Slicks First!!!
Lee's 64
Posts: 107
Joined: December 20, 2009, 9:48 pm
Location: Little Rock, AR

Post by Lee's 64 »

And I would like to know more about the above spring torq. bars? Homemade,work good.......need more pics of that!!!!!!Very nice truck.
IF YOU DROVE A FORD......YOU WOULDN'T NEED A GOODWRENCH!!!!!!!!!!

1964 Ford CustomCab Shortbed
1952 Ford 8N Tractor
2012 Ford F250 CrewCab
User avatar
Greg D
Posts: 10113
Joined: September 13, 2006, 4:39 pm
Location: Podunk Iowa
United States of America

Post by Greg D »

Are you going to repaint the outside?
I can certainly see being tempted to leave it alone.
:thumright:
1964 F 100 - I am going to do "something" with it.......

viewtopic.php?f=32&t=15942

1987 Mustang LX Convertible, 2.3 Auto - cruiser.
1994 F 150 XLT 2WD


~ Yes - I adopted another cat..............

Cam L Milan,
You'll be missed my friend.
Post Reply