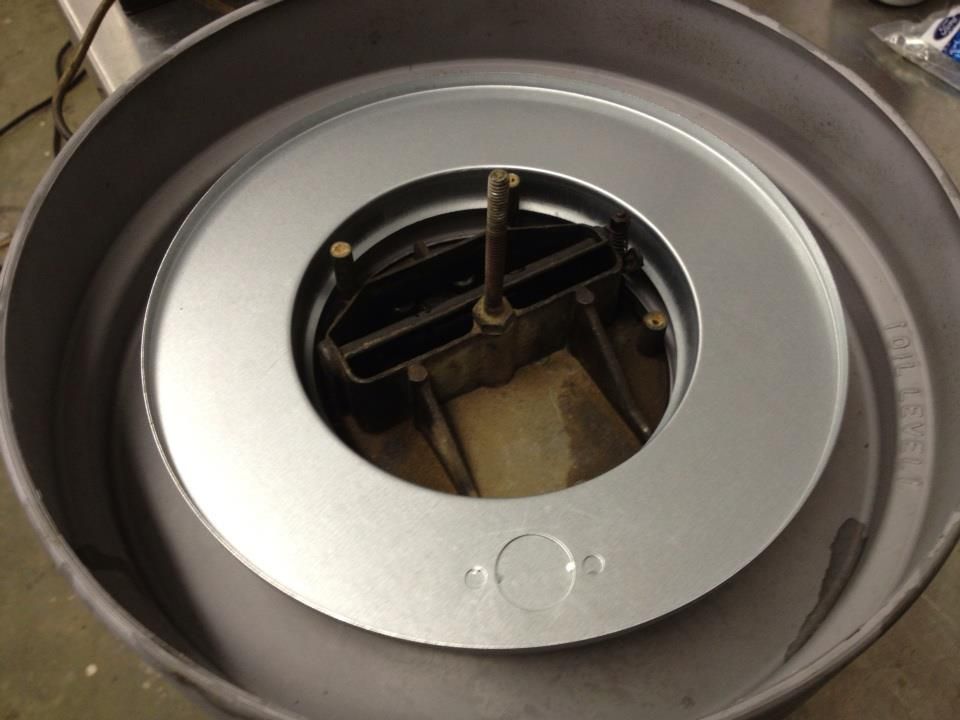
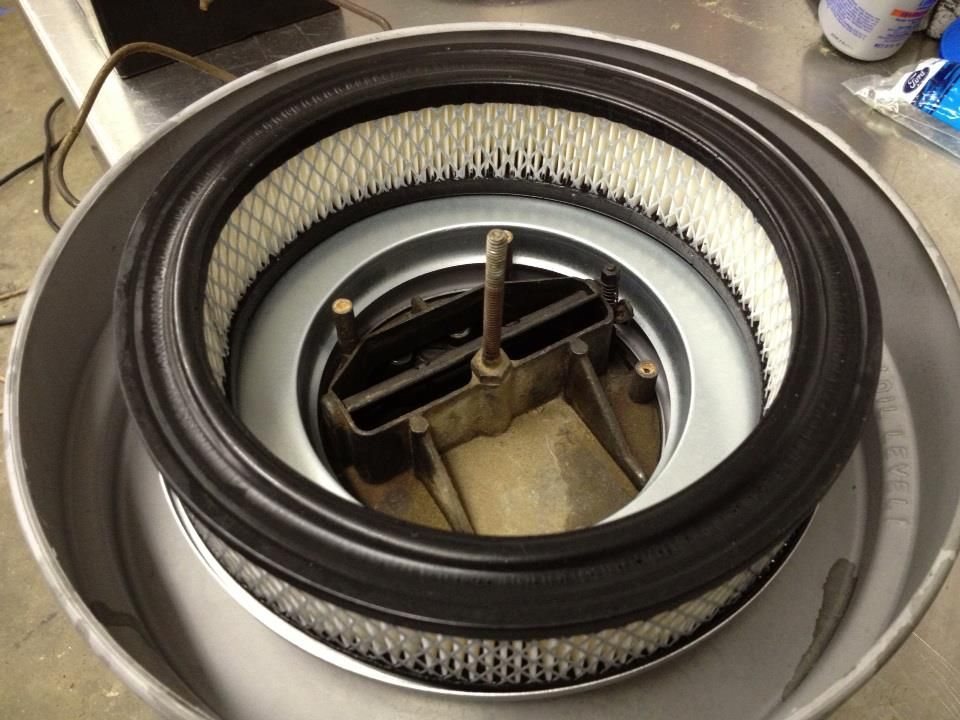
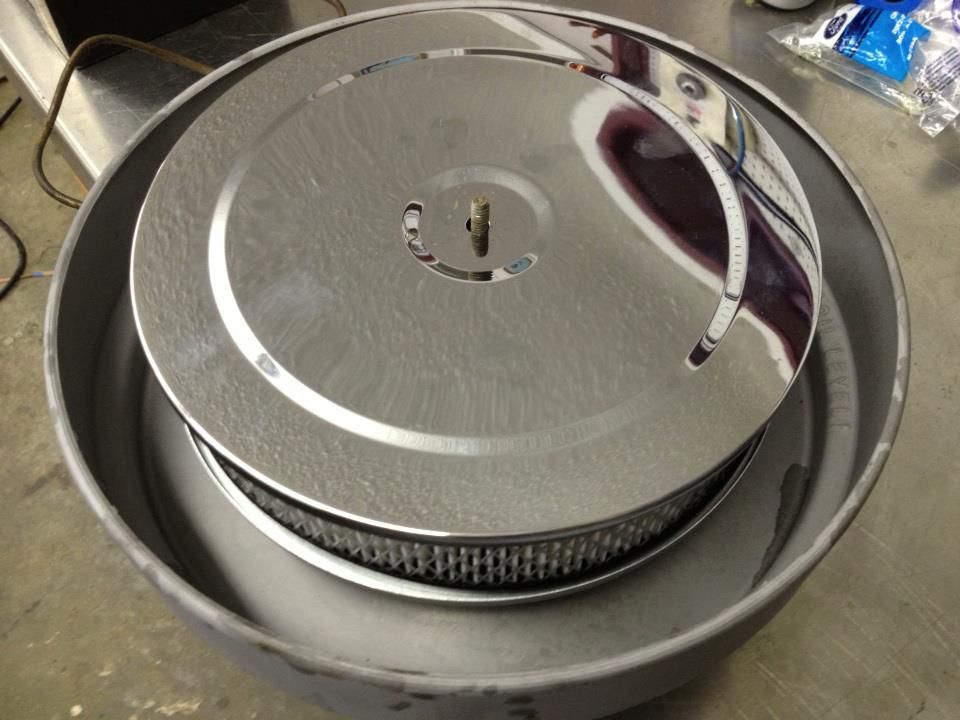
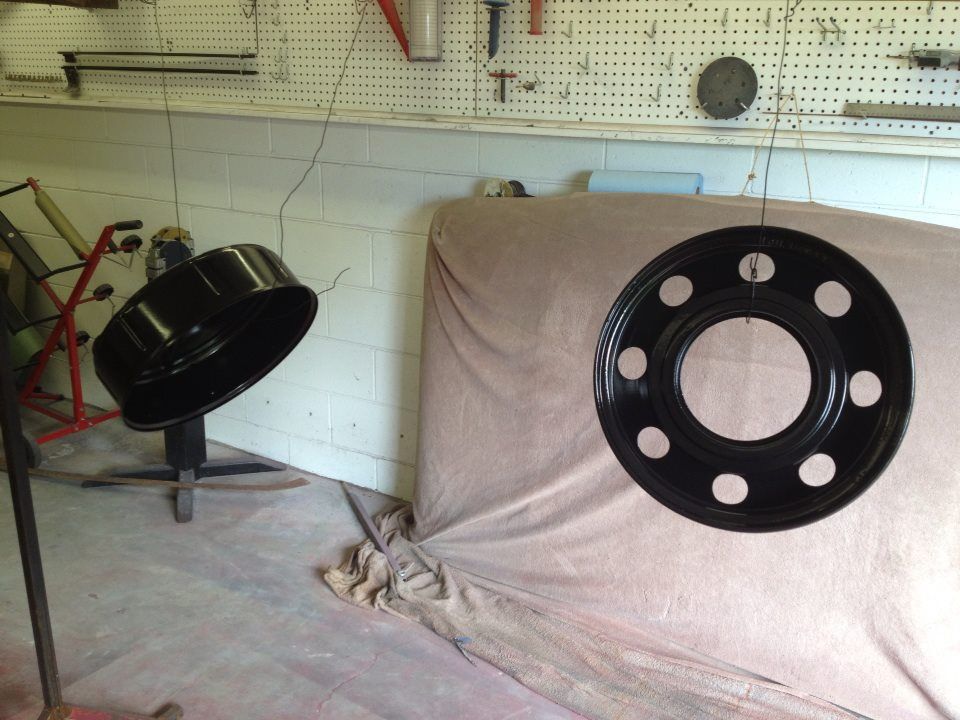
A few years ago I converted an old oil bath air cleaner to a paper type. The oil bath mesh was damaged and I have a couple extra anyway so here it is. It was easy. I noticed that there is a height difference in these oil baths(hence ,the white light base added.lol), maybe in the production run or model year. I know the 65 breather I have is taller than the 66 I have.
How about giving us the part # of the paper element . Thanks Tom
1966 F250 Camper Special parts truck
1966 F 100 w/391 ft
1965 F 100 project
1958 Edsel Pacer Convertible
1953 ford Customline 2 door
1952 8N
1967 triumph Bonneville
I'm still not a good welder but I've become a good grinder
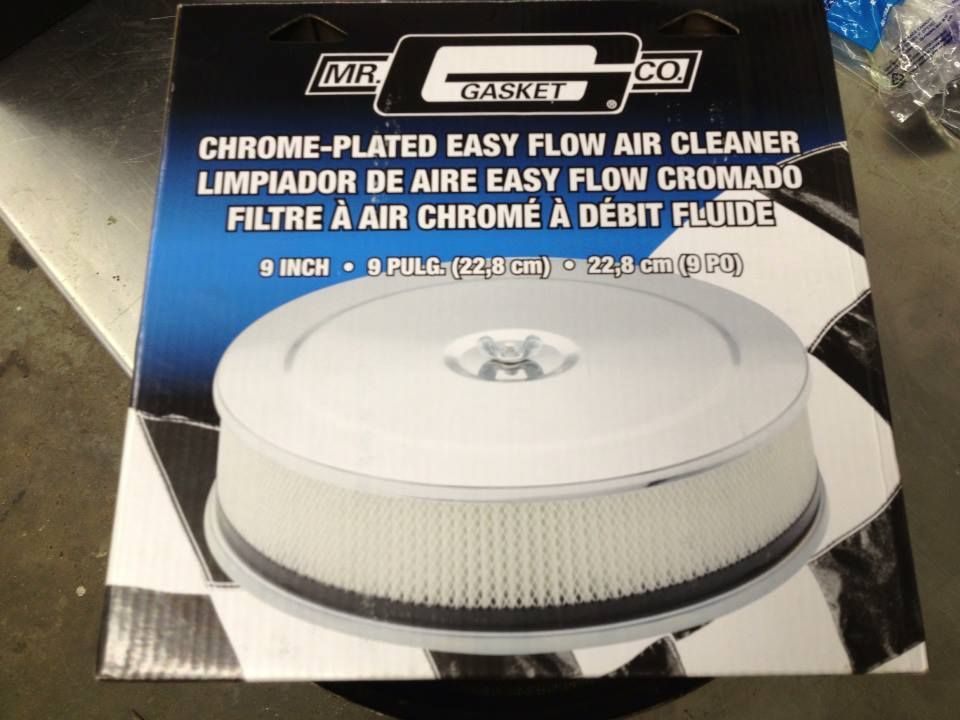
That's exactly what I did with my oil bath for my 352. I used a Purolator A42318 and it fits perfectly. The guys at the auto parts store didn't seem to mind me opening a lot of boxes until I found the right one.
I havn't convert over to a paper filter yet!
But here's acouple more paper filter numbers; don't know if its for a 2/4 barrel cansister or 1 barrel type. Fram CA146 K&N E4690.
I'm debating whether or not to swap my current build over to paper or run stock!
1964 F100 360 C/6 "Old Skool"
"A Nation that makes a great distinction between its scholars & its warriors will have its laws made by cowards & its wars fought by fools" Thucydides
DukeRoche wrote:I've considered the switch as well. Whats the advantage of paper?
Opinions differ. IMO, paper has proven cleaner than oil -- I've read a lot of stuff and the problem with oil is that voids can/do exist in the filiments and then air starts to get through with particulate matter still present.
Paper get thrown away every once in a while. No voids....
Personal experience: In the 50/60's my grandfather and father dealt with engines that had oil bath breathers. In the 70's paper filers came along. A lot of folks from that era in dust country (western Kansas) swear that the paper filters were what made engines run longer... YMMV
1965 F-100 240 Autolite 1101, Disk brake dual master upgraded, swapped over to C4 and powersteering. Bought by my Dad new in March 65'
Planned/considered upgrades:
Perhaps power brakes, 300 I6 motor and JUST maybe, AC!
these are pictures of the bottom and top of the oil bath filter element in my 65 f100 352. The first is the bottom you would see when you lift the top of the air cleaner off. The filter extened all the way around the opening where you see it broken in two there was only a slight maybe 1/2 inch thick but looking at it you couldnt tell how thick it was.
This image is of the top of the filter you can not see when looking at the top of the aircleaner. Sometime in the past owner may have had a carb fire or some such occurance. Hence a void that was not visable until I took the housing apart.
Im converting mine over to paper as well. Just some food for thought for those running oil bath. I would take a close look at what shape your element is in.
Thanks for those photos. I'm still running the oil bath in my 66. After looking at your photos, I'd be more comfortable with a filter element that I can get a visual on. How are the air filter housings disassembled? Can it be done with simple hand tools?
Yes basic hand tools will do the job. Placed the aircleaner upside down in the top of a 5 gallon bucket. This was so as not to bend or dent the top of the aircleaner. If yours is a 65 like mine you will be looking at about a 4 to 5 inch hole with about a 1/8 inch stamped or rolled edge I took a flat bar with a sharp edge and folded that edge back slightly and then finished it with a channel look pliers. I next took tin snips and cut down the center of the housing this was a little tougher but doable. I have not gone beyound this point so from here you would be on your own. I have plans to cut round holes in the lower housing and possibly weld a flat panel in the top to seal the top of the air cleaner. I will post more as I progress.
Here is where it sits now. The plan is to cut the inside piece down about half way to three quarters of the way down and leave it there for an element centralizer.After cutting the next step is to weld in a round plate to sit across the 3 indents and fill the void to the top of the air cleaner. .Next on the lower part of the canister that sits on the carb I plan to cut round holes or 4 oblong holes around its perimeter for better air intake. I will post more when I get this done.
If you would like to see how I finished my change over to paper look at the end of my 65 4wd dd build. I think I improved the very restrictive nature of the oil bath aircleaner. I think with what I did it gives the air quite a bit more ability to enter into the throat of the carb other than having to flow up and then down into the carb the way I did it it can come into the aircleaner just like an aftermarket aircleaner. I had to do a few extra steps as I run holley carbs on my FEs. Seems to me the FEs perform better and run smoother when sporting a Holley carb.
I did it slightly differently. I hogged out and trimmed the top half and put an entire chrome "tin" unit inside. I used the height of the paper element to adjust the overall height to that of the original. The cheap Chinese carb mount was so thin it fit nicely between the carb top and the oil-bath bottom half.
Eric
Poppyred66 wrote:I did it slightly differently. I hogged out and trimmed the top half and put an entire chrome "tin" unit inside. I used the height of the paper element to adjust the overall height to that of the original. The cheap Chinese carb mount was so thin it fit nicely between the carb top and the oil-bath bottom half.
Eric
Sorry, done before pics were invented! I'll outline it in more detail:
1.Measure the oil bath's overall height - or simply measure how much of the bottom part is exposed when installed on motor,
2.Gut top piece and clean both parts,
3.Screw in a piece off redi-rod of approximate appropriate length,
4.Put oil-bath bottom half in place,
5. Put cheap Chinese bottom piece in place - like I said, it is so flimsy it should slip between the carb and oil bath bottom. (I had a used chrome top and bottom in my junk pile; it just happened to be the correct diameter which is 7 or 8`IIRC.
6. Calculate height of paper element required to achieve correct height as in (1). You can often measure them in their packs,
7. Install chrome top and secure with nut. I had two tops in my junk pile and glued them back-to back so the oil-bath top wouldn`t rock - you could use anything of the right thickness to get the same result.
8. Install oil-bath top.
9. Mark redi-rod, disassemble, cut rod, replace top, add wing nut.
10. Optional: use a sheet metal hole punch to create several two-inch holes out of sight in the back of the oil-bath top.
Eric
Would anyone in Slickville have for sale an oil bath air cleaner that would fit a 66F100 with a 352 (autolite 2100 2bbl)? If so, shoot me an @: jmacb0@gmail.com
Eastronaut: Looks proper. I have a question: why did you use the base of the original at all? Could you post another pic with that base in place with the MrG base removed? Where did you get the decal? Thanks.
I have a 9in MrG assembly with a K&N E-1010 inside it. I put, for the present, a Goodwill cake tin over it so that the intake air warms a bit. It works, of course lacks the original look. I have the original assembly but don't know whether I want to cut it apart.


 I noticed that there is a height difference in these oil baths(hence ,the white light base added.lol), maybe in the production run or model year. I know the 65 breather I have is taller than the 66 I have.