'66 F100 Custom Cab Short/Styleside Factory Correct Resto
- theastronaut
- Posts: 439
- Joined: August 7, 2013, 10:43 am
- Location: Upstate SC
'66 F100 Custom Cab Short/Styleside Factory Correct Resto
Our shop started a full restoration of a '66 F100 back to stock specs a few months ago. It was originally light tan and white two-tone. It's pretty straight, complete, and rust-free apart from the outer edges of the floors and radiator support. It had a 302 added at some point but the owner still has the original 352 and three speed transmission, the engine has been rebuilt already.
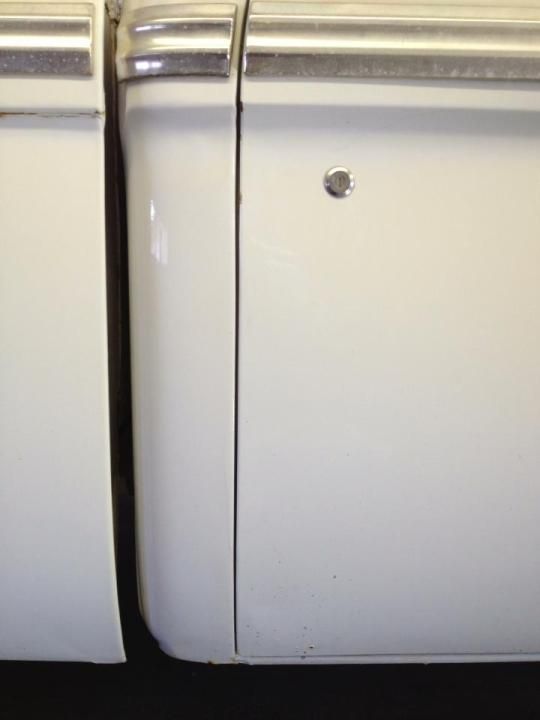
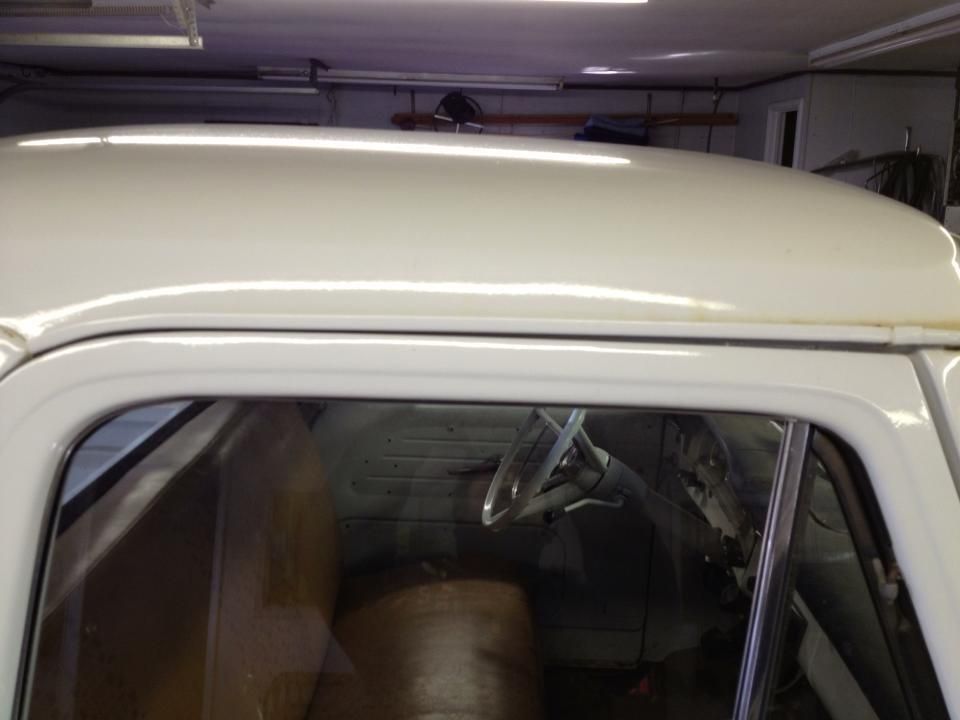
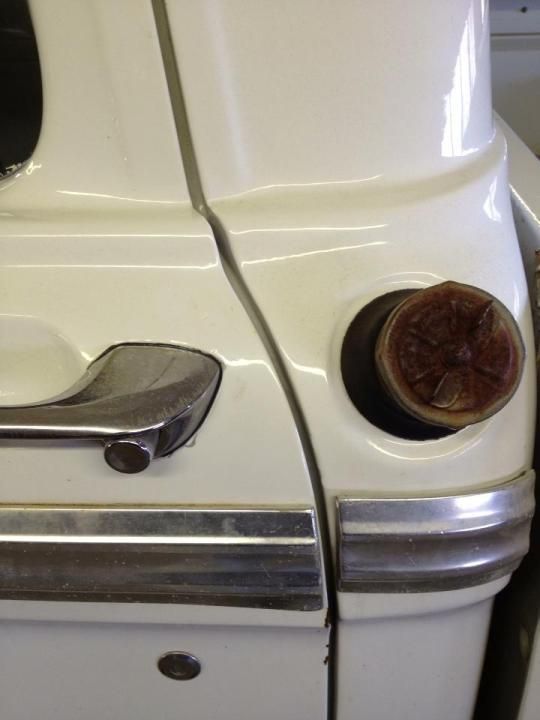
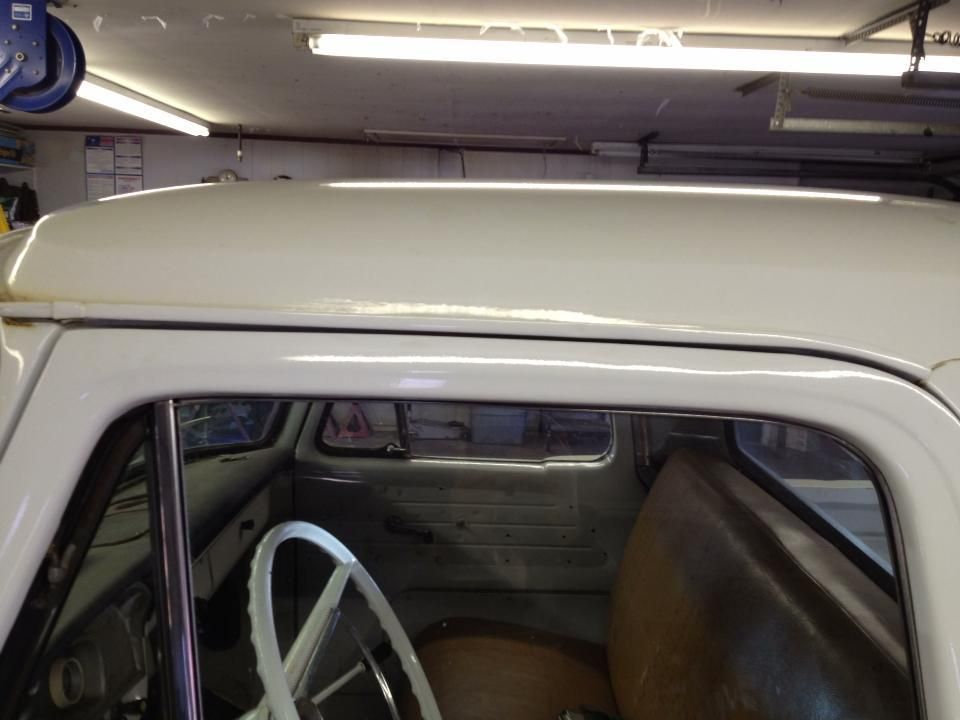
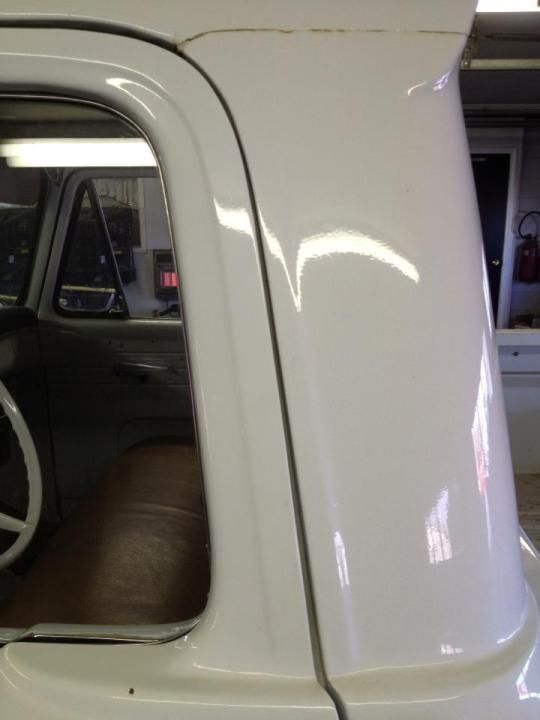
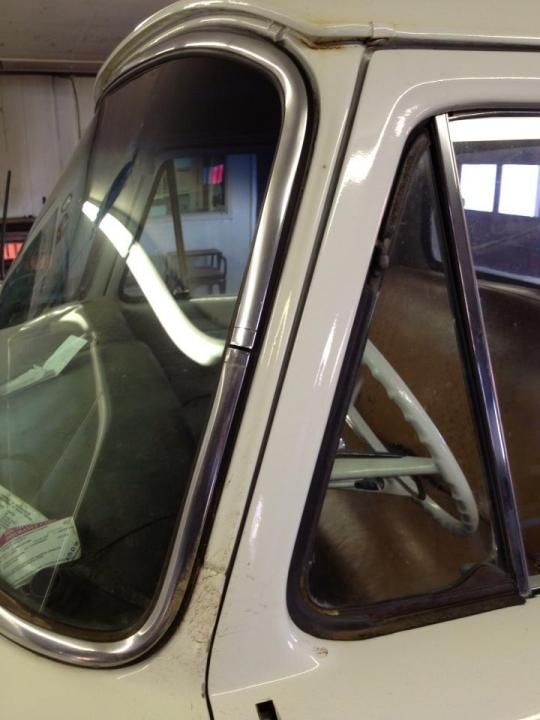
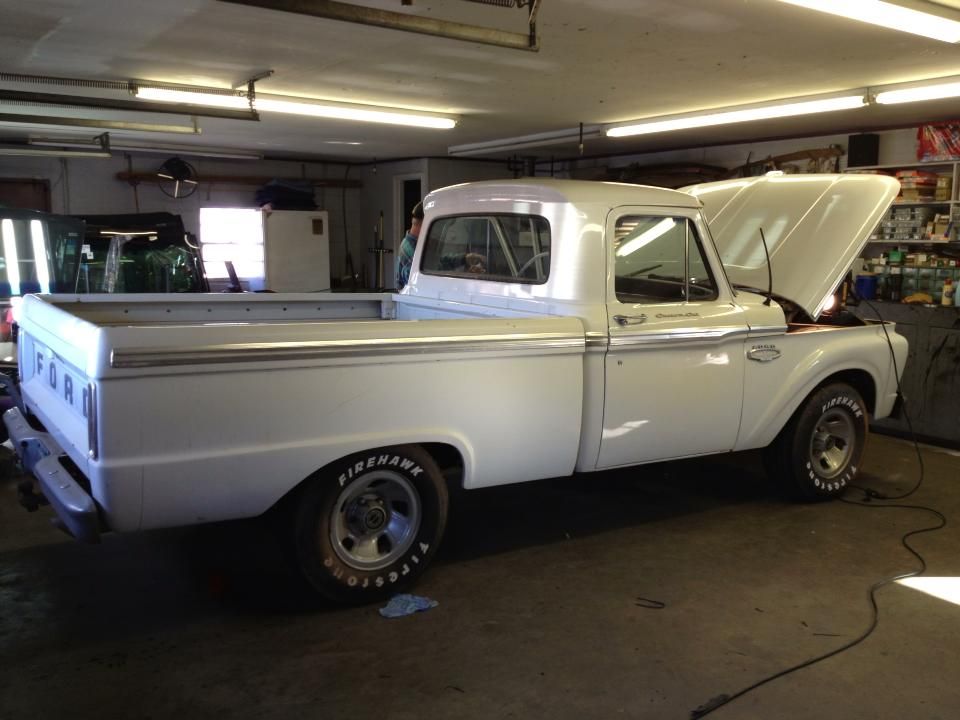
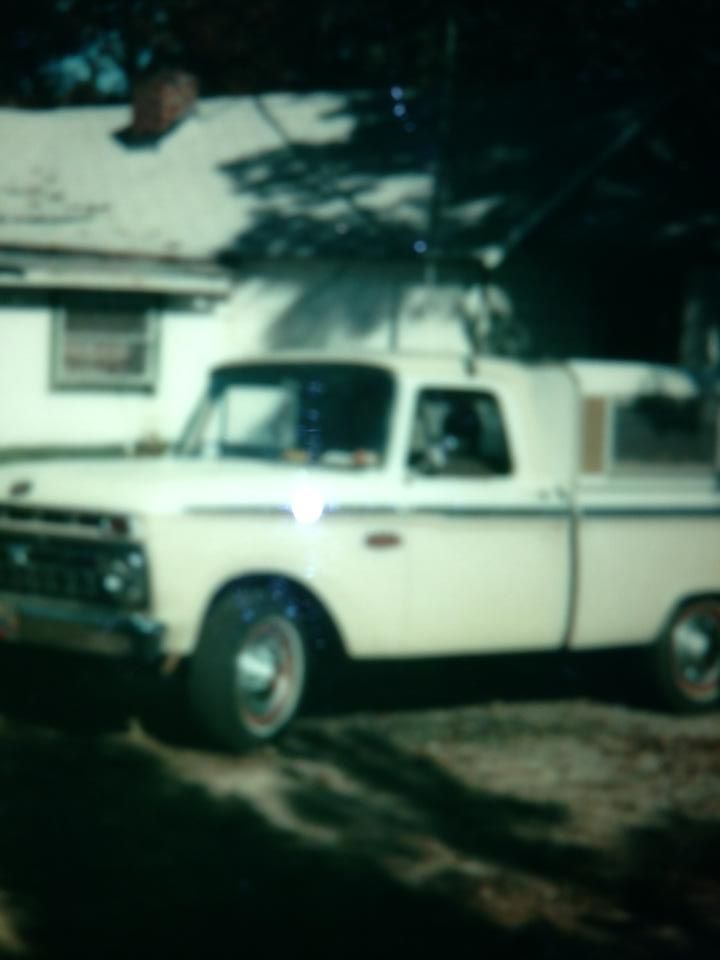
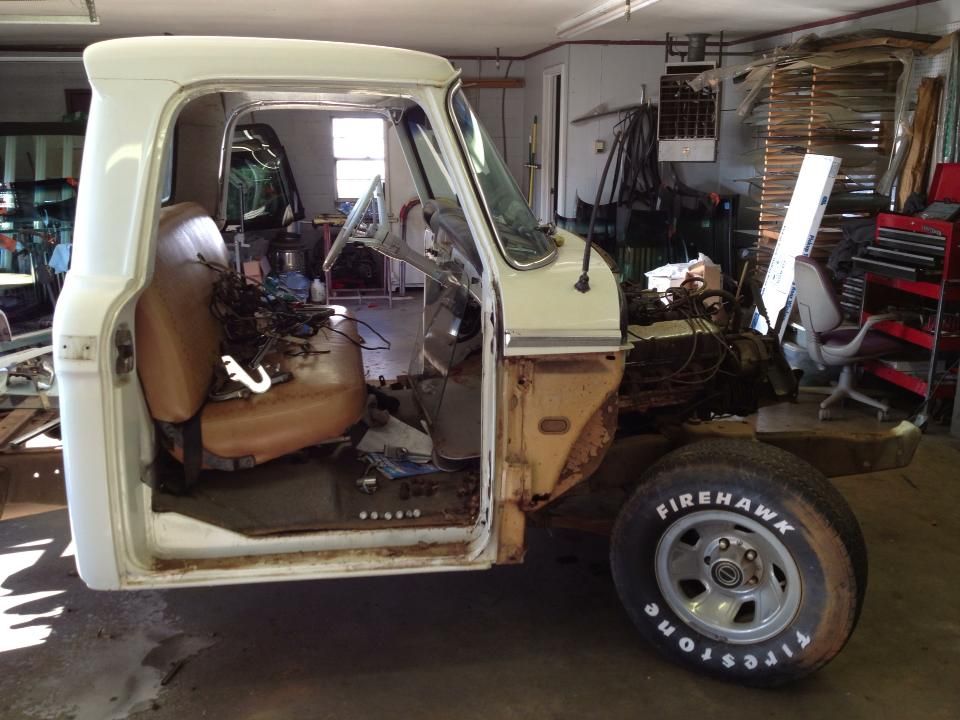
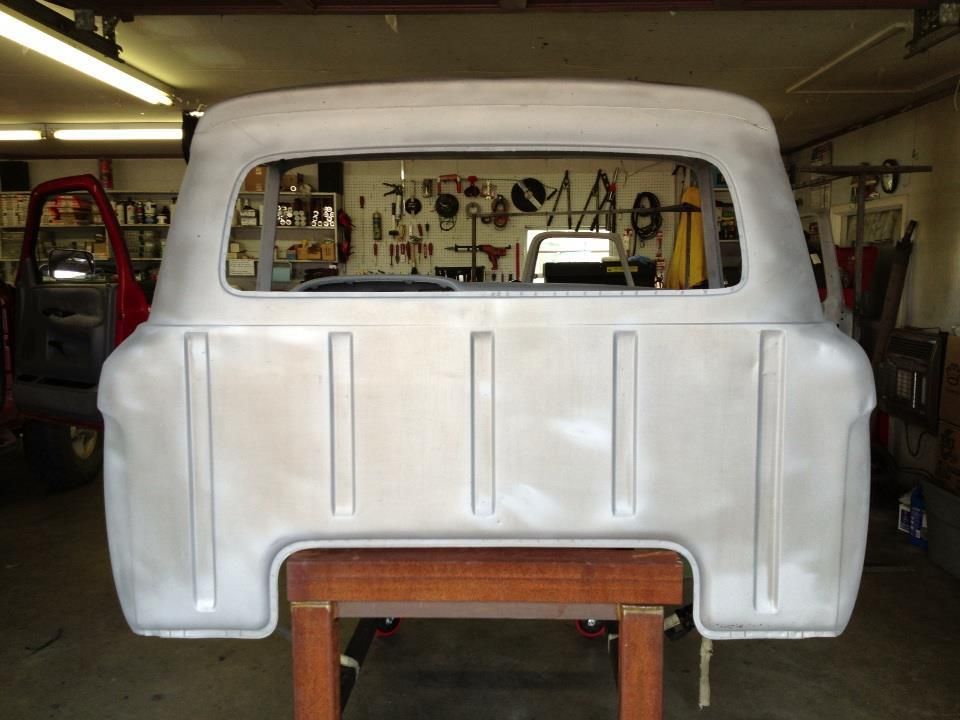
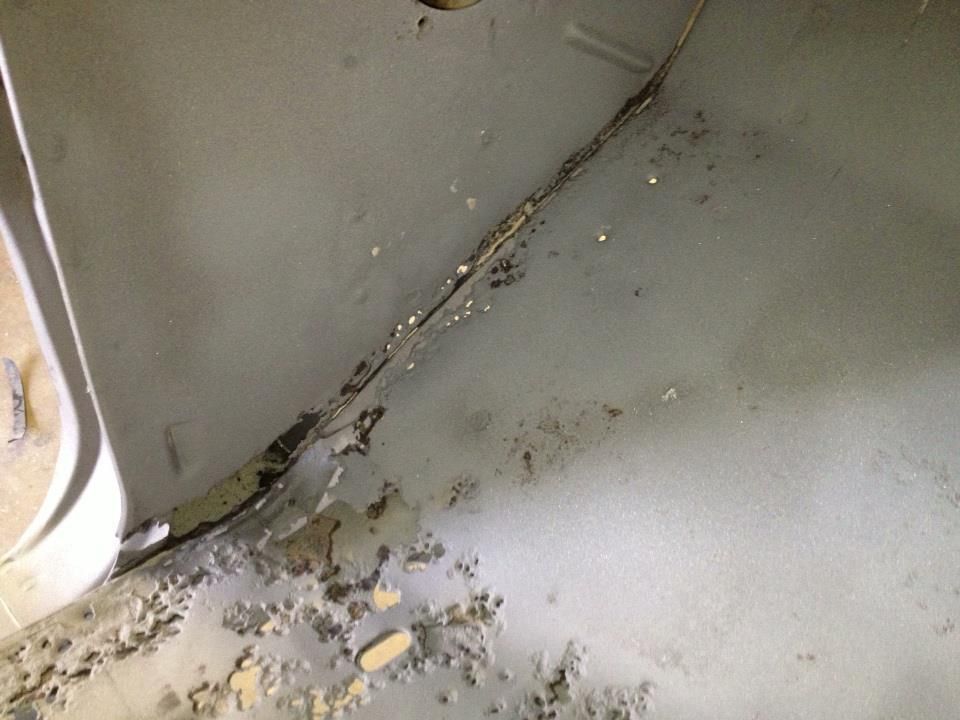
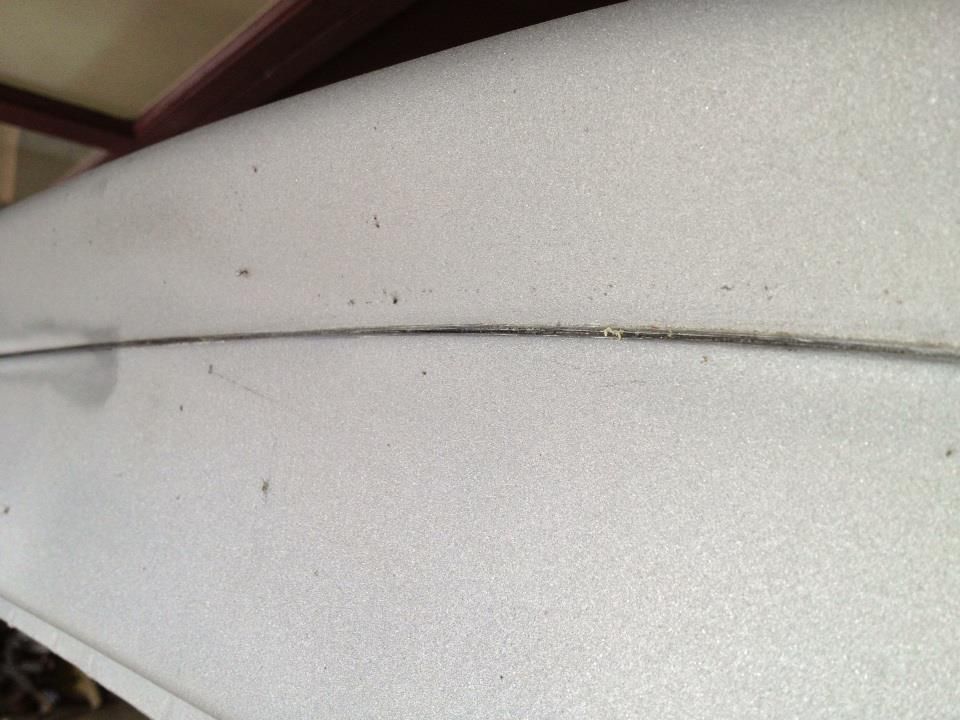
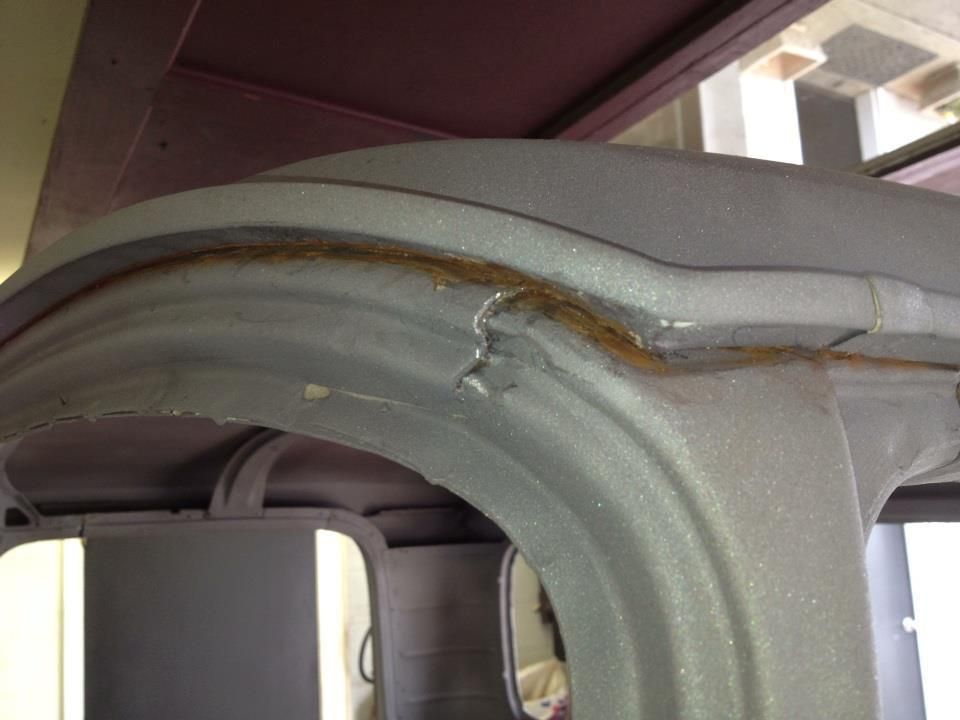
This a picture that the owner sent us. The bottom and top of the roof was light tan.
- theastronaut
- Posts: 439
- Joined: August 7, 2013, 10:43 am
- Location: Upstate SC
Re: '66 F100 Custom Cab Short/Styleside Factory Correct Rest
Teardown pics.
Fiberglass patches in the floor and kick panel, not a good sign...
Found the original masking lines under the trim and behind the bed.
Front clip, bed, and doors removed.
Engine/trans removal.
Fiberglass patches in the floor and kick panel, not a good sign...
Found the original masking lines under the trim and behind the bed.
Front clip, bed, and doors removed.
Engine/trans removal.
- theastronaut
- Posts: 439
- Joined: August 7, 2013, 10:43 am
- Location: Upstate SC
Re: '66 F100 Custom Cab Short/Styleside Factory Correct Rest
More teardown.
Cab stripped bare.
Rust in the floors.
Cab off, frame disassembled.
Cab stripped bare.
Rust in the floors.
Cab off, frame disassembled.
- theastronaut
- Posts: 439
- Joined: August 7, 2013, 10:43 am
- Location: Upstate SC
Re: '66 F100 Custom Cab Short/Styleside Factory Correct Rest
We had the frame sandblasted and I shot it with a few coats of PPG DPLF epoxy, let it sit over the weekend and lightly wetsanded it with 500 grit to knock down the orange peel and nib the dust/trash.
- theastronaut
- Posts: 439
- Joined: August 7, 2013, 10:43 am
- Location: Upstate SC
Re: '66 F100 Custom Cab Short/Styleside Factory Correct Rest
I sprayed the frame using PPG Omni MTK single stage urethane, flattened with 1/3rd PPG One Choice matting agent, and reduced 10%. Sprays very well and covered great since it was going over the black epoxy. Nibbing the Epoxy made the paint lay down much smoother- as you can see in the "wet paint" pics.
Straight out of the gun-
Starting to flatten out.
Straight out of the gun-
Starting to flatten out.
- theastronaut
- Posts: 439
- Joined: August 7, 2013, 10:43 am
- Location: Upstate SC
Re: '66 F100 Custom Cab Short/Styleside Factory Correct Rest
Got the cab and doors back from the blaster. There was more rust-thru than expected, and the passenger side door has some wrinkles right through the upper body line. I stripped out the seam sealer (it was too soft for the blaster to remove) and will be picking up a couple quarts of Ospho so it can sit in bare metal without flash rusting while we do the metalwork. All the metalwork and dent repair will be done before priming with epoxy. We will also re-blast the seams to fully clean them out before we shoot epoxy on it. I picked up a gallon of PPG DP74LF epoxy that is the same color as red oxide, which I believe was the original primer color.
The next step will be to repair the rust and fit the doors to the door openings. The bodylines will be matched up, the gaps will be evened out by welding 1/8" welding rods to the edges and grinding the gap even, and the doors will be reshaped to fit flush with the cab and fender. I make a feeler gauge the size that the gaps will be and grind the welding rod to fit the feeler gauge.
-
- Posts: 32
- Joined: August 3, 2013, 7:18 pm
Re: '66 F100 Custom Cab Short/Styleside Factory Correct Rest
Nice! Anxious to see this one through!
Re: '66 F100 Custom Cab Short/Styleside Factory Correct Rest
wow, I wish I made this much progress this quick!!
- theastronaut
- Posts: 439
- Joined: August 7, 2013, 10:43 am
- Location: Upstate SC
Re: '66 F100 Custom Cab Short/Styleside Factory Correct Rest
Hillbilly66 wrote:Nice! Anxious to see this one through!
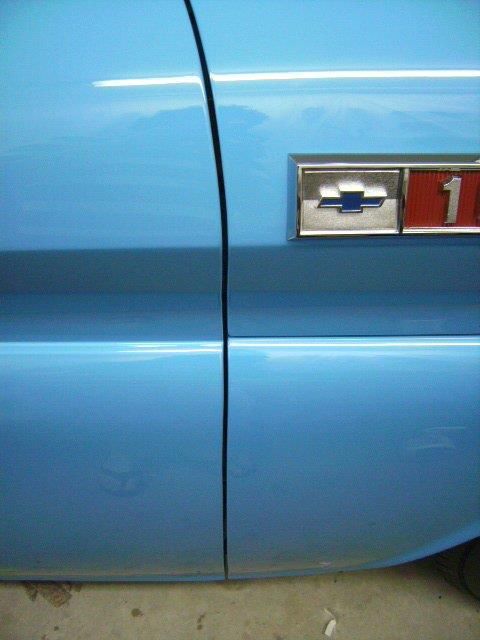
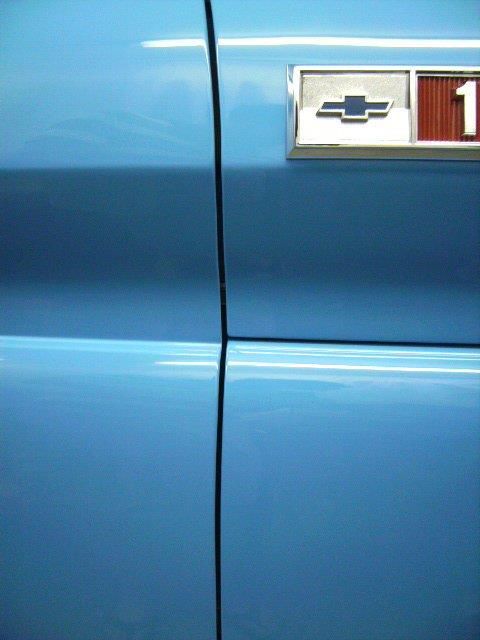
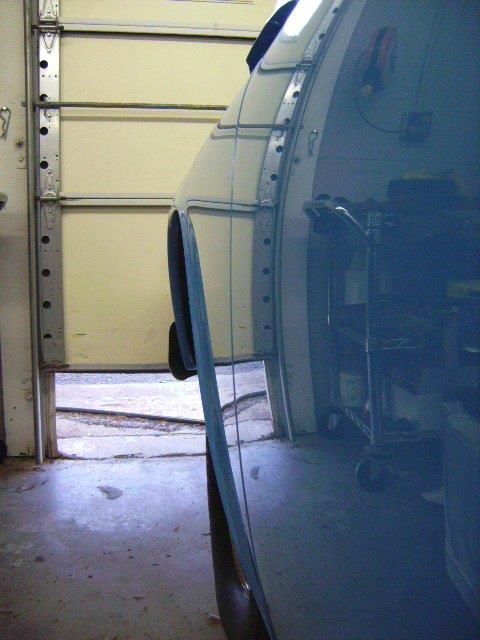
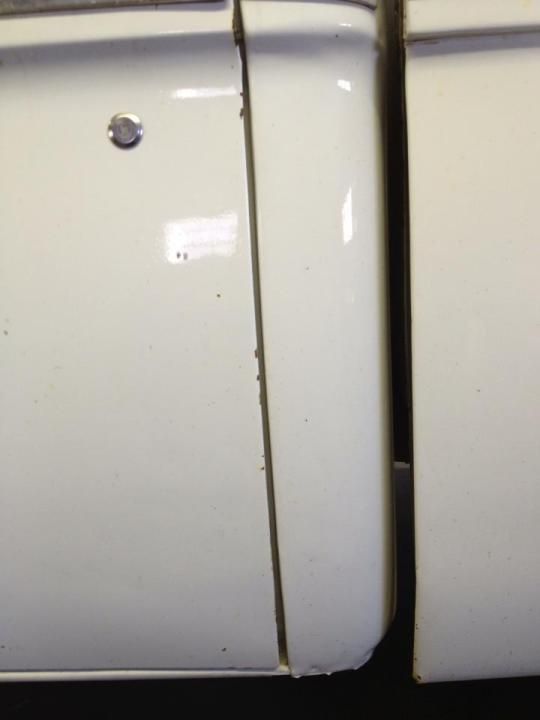
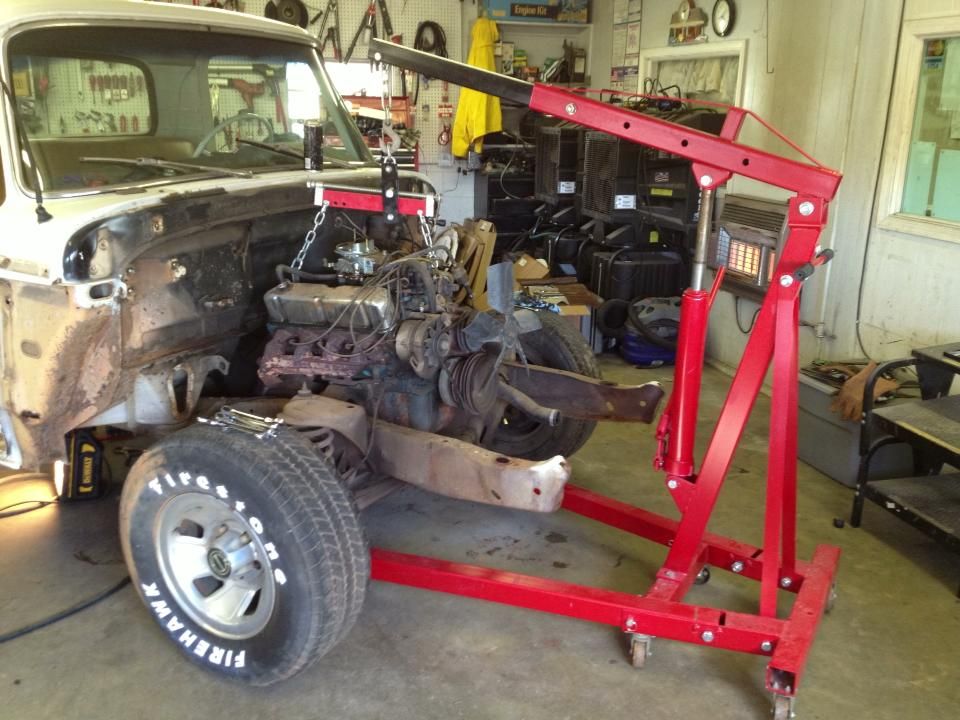
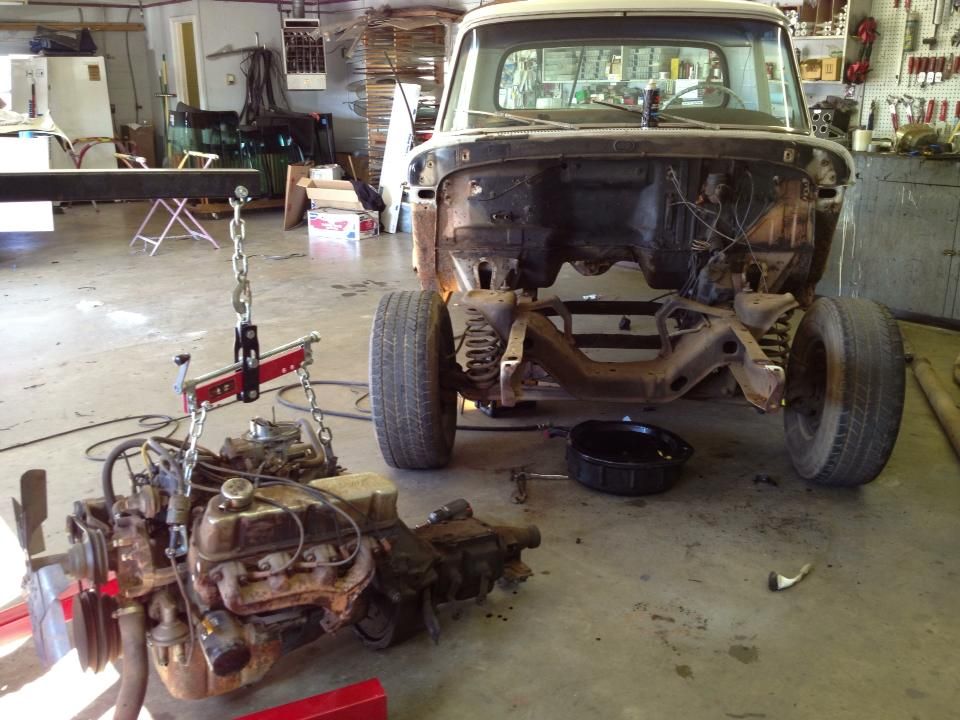
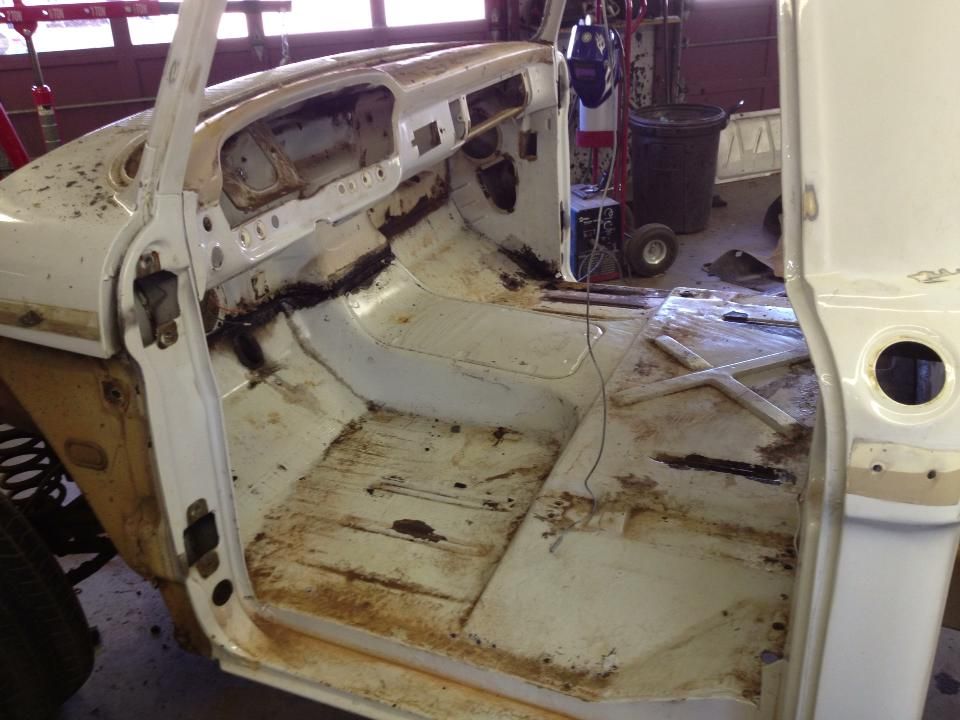
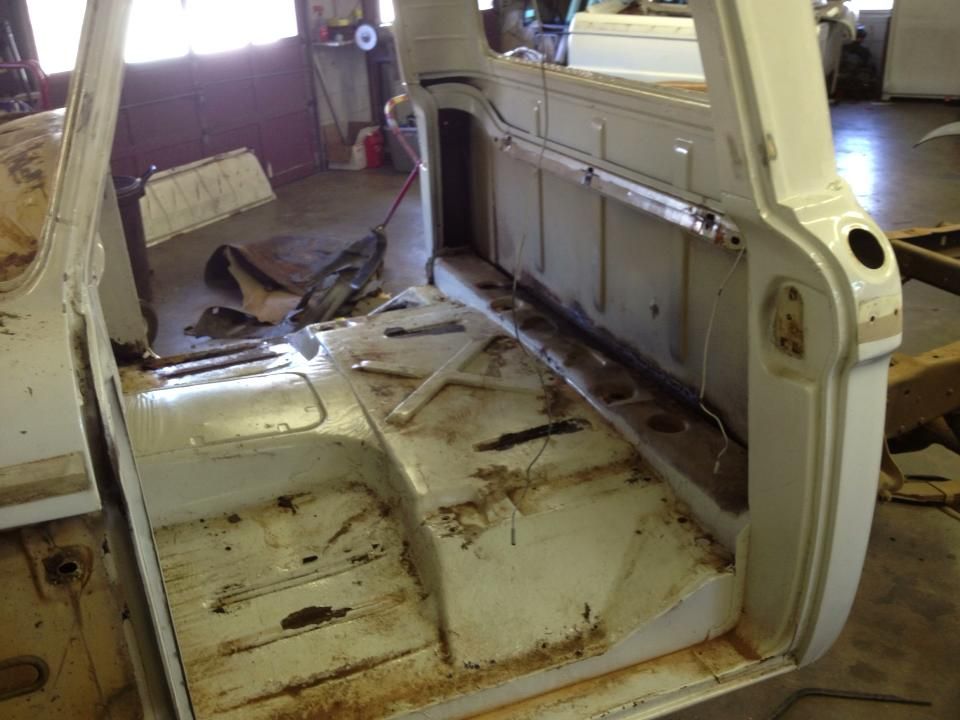
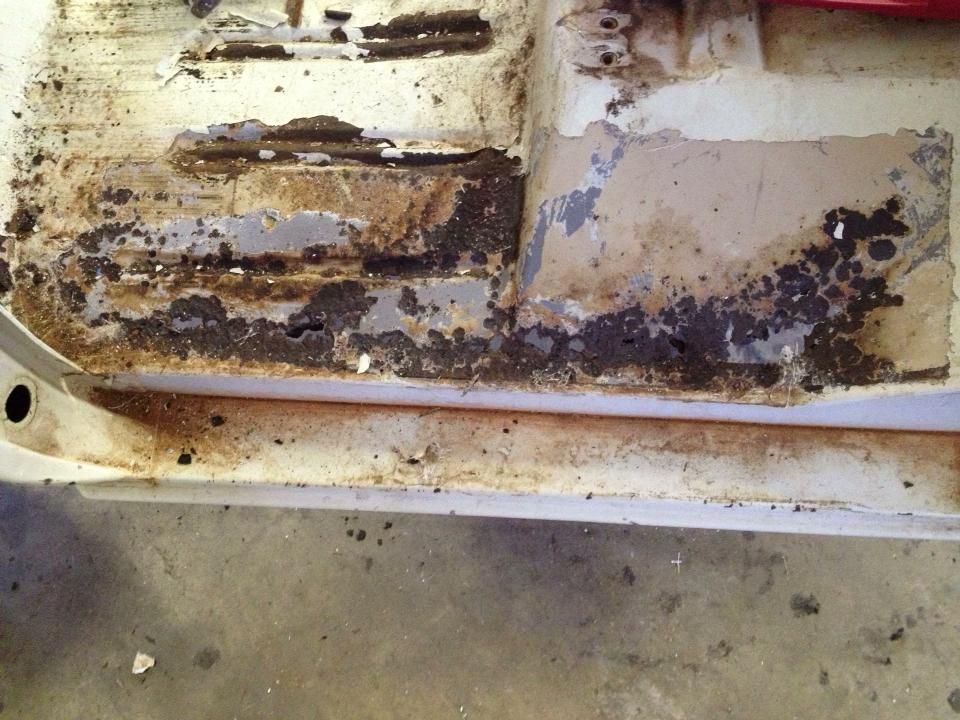
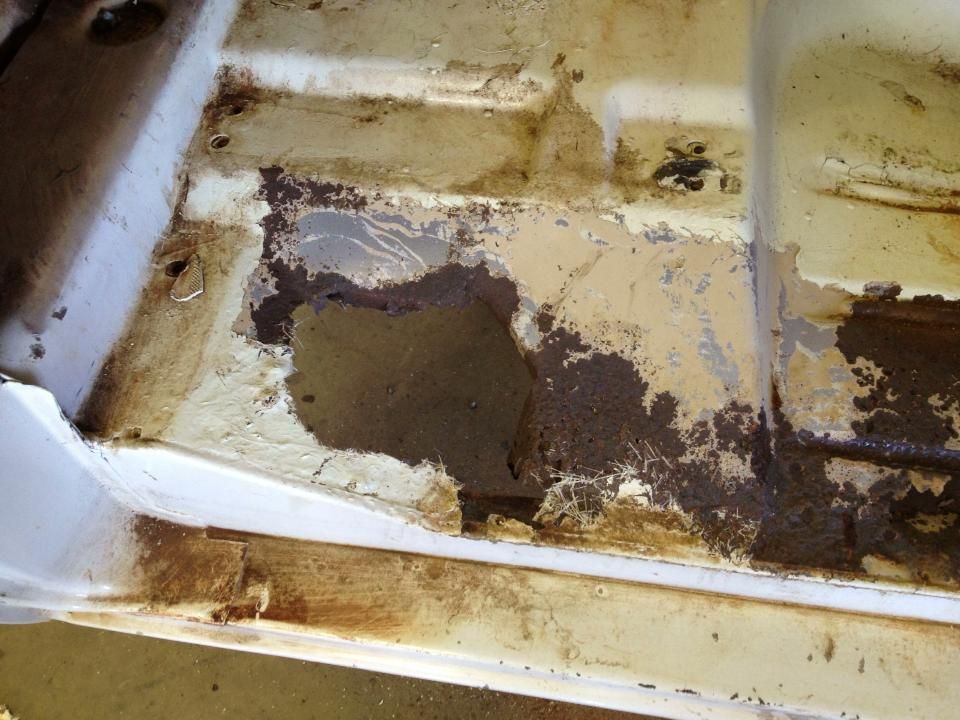
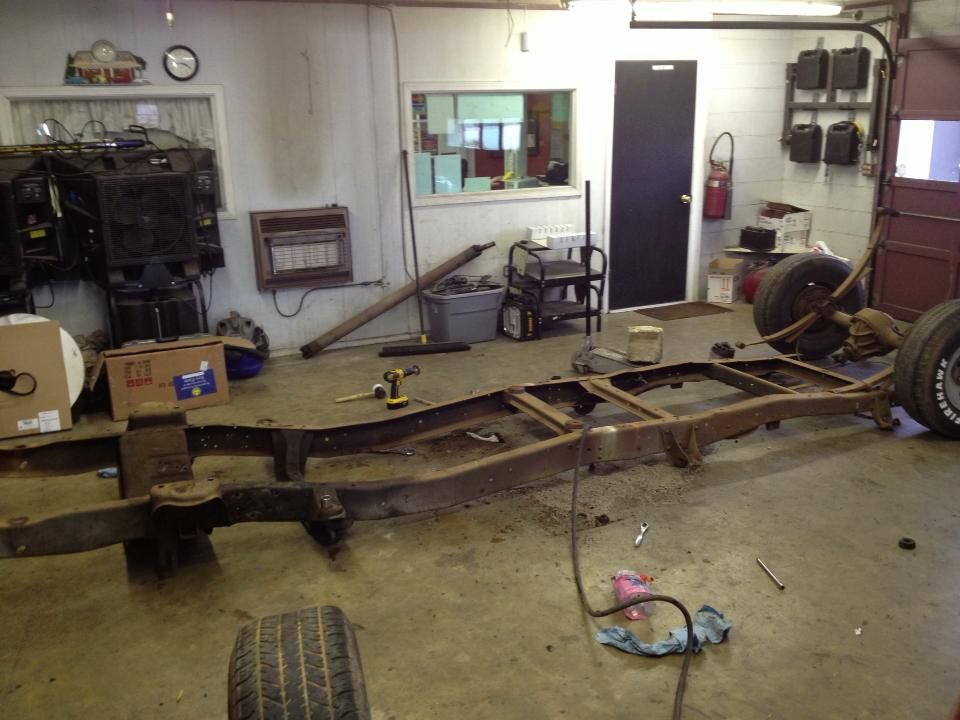
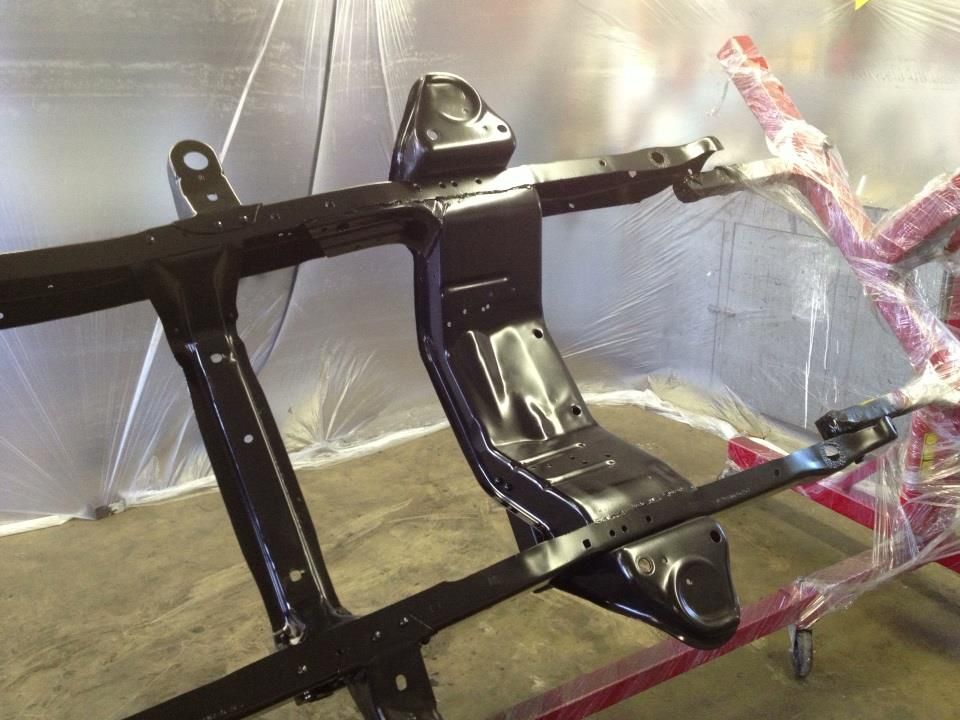
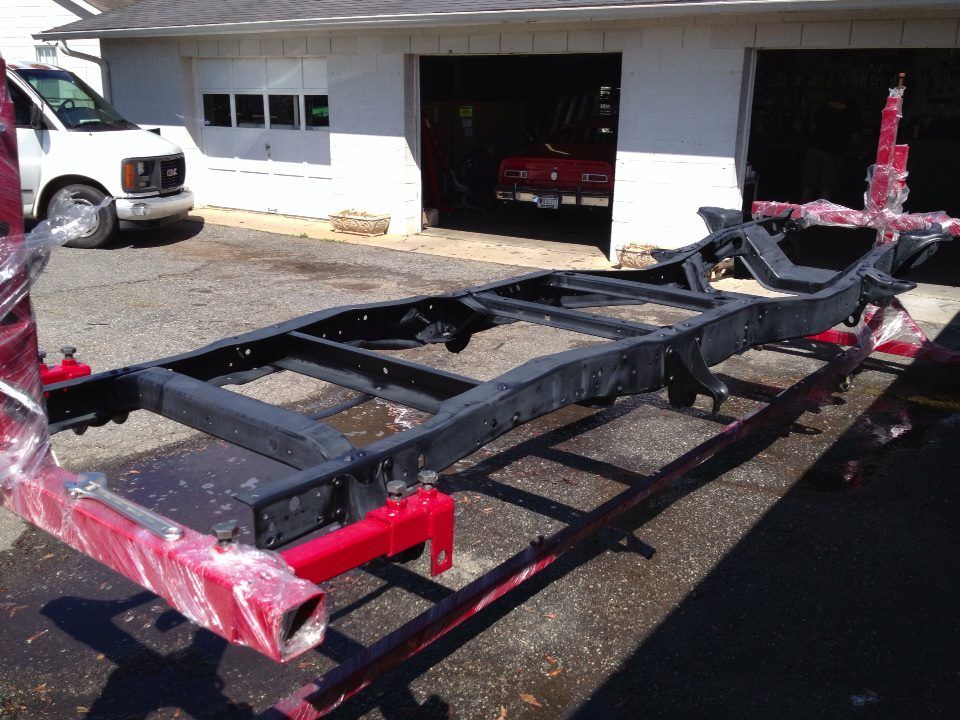
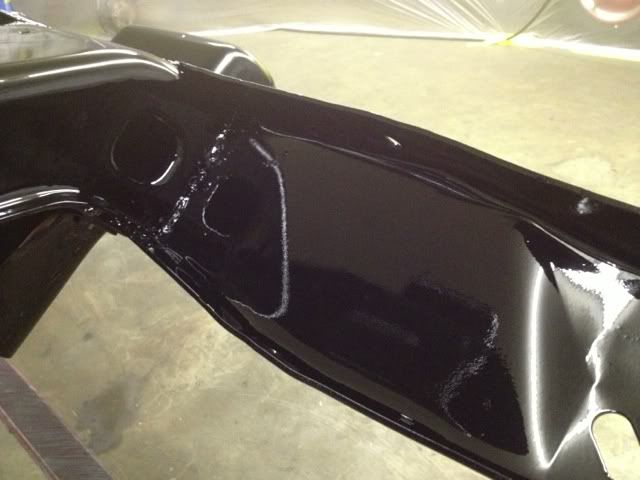
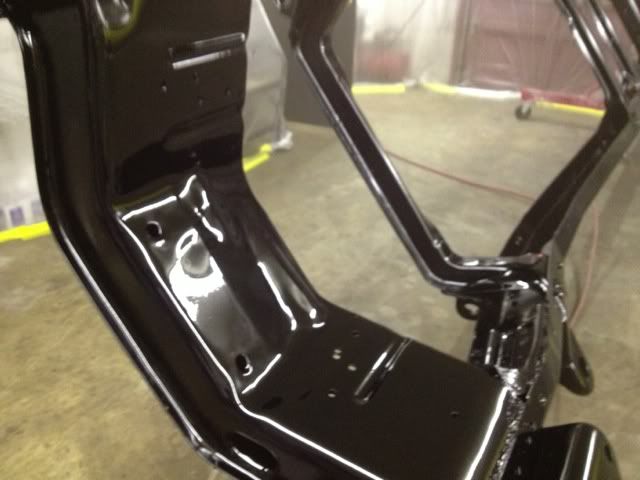
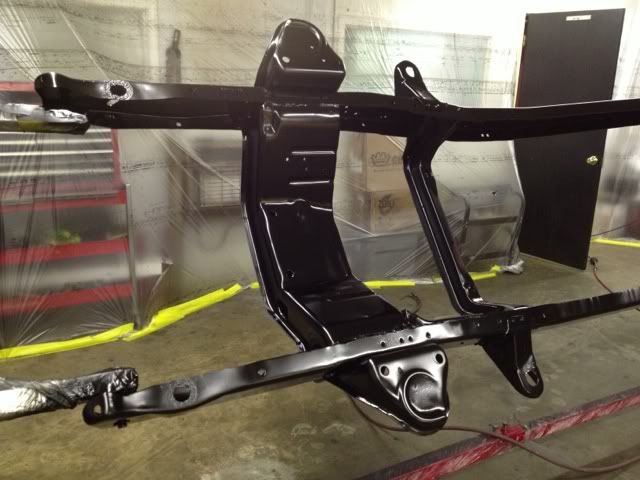
Thanks guys, I'll work on getting the thread up to date so you can see the where we are now. The frame is rolling and the running gear is nearly finished.ironminer wrote:wow, I wish I made this much progress this quick!!
- theastronaut
- Posts: 439
- Joined: August 7, 2013, 10:43 am
- Location: Upstate SC
Re: '66 F100 Custom Cab Short/Styleside Factory Correct Rest
Here is how the doors fit before removal. It will require a bit of work to make them fit flush with even gaps and body lines.
Passenger side:
Passenger side:
- theastronaut
- Posts: 439
- Joined: August 7, 2013, 10:43 am
- Location: Upstate SC
- theastronaut
- Posts: 439
- Joined: August 7, 2013, 10:43 am
- Location: Upstate SC
Re: '66 F100 Custom Cab Short/Styleside Factory Correct Rest
This is a '65 C10 that I restored (my first paint/restoratioin job), this is what the gaps and panel alignment will look like after we rework them.
- theastronaut
- Posts: 439
- Joined: August 7, 2013, 10:43 am
- Location: Upstate SC
Re: '66 F100 Custom Cab Short/Styleside Factory Correct Rest
- theastronaut
- Posts: 439
- Joined: August 7, 2013, 10:43 am
- Location: Upstate SC
Re: '66 F100 Custom Cab Short/Styleside Factory Correct Rest
Cut out the rear floor rust to get inside the floor brace. We'll blast and prime inside the brace before welding the floor pans back in. We didn't cut the front floors out yet since the new pans aren't here yet- didn't want to cut too much.
Blasted and primed the wheels and brake drums with PPG DPLF epoxy.
Cleaned out the drums, had new races installed, and had them turned.
Sandblasted the front suspension parts and pulled the bushings out. We are sending them out to have the king pins replaced and then we'll prime/paint them all separately.
- theastronaut
- Posts: 439
- Joined: August 7, 2013, 10:43 am
- Location: Upstate SC
Re: '66 F100 Custom Cab Short/Styleside Factory Correct Rest
If anyone's interested, we have taken about 380 pics so far of the teardown. Most of it is just boring stuff for reference when we start reassembly but I know you guys are picture junkies!
Link to pics:
http://apicdn.viglink.com/api/click?for ... ead-3.html
Link to pics:
http://apicdn.viglink.com/api/click?for ... ead-3.html
- theastronaut
- Posts: 439
- Joined: August 7, 2013, 10:43 am
- Location: Upstate SC
Re: '66 F100 Custom Cab Short/Styleside Factory Correct Rest
- theastronaut
- Posts: 439
- Joined: August 7, 2013, 10:43 am
- Location: Upstate SC
Re: '66 F100 Custom Cab Short/Styleside Factory Correct Rest
- theastronaut
- Posts: 439
- Joined: August 7, 2013, 10:43 am
- Location: Upstate SC
- theastronaut
- Posts: 439
- Joined: August 7, 2013, 10:43 am
- Location: Upstate SC
Re: '66 F100 Custom Cab Short/Styleside Factory Correct Rest
Got the rear suspension parts blasted, epoxied with PPG DPLF, and painted. Those rear leaf and hanger bushings were a pain to remove! We bought a 110# soda blaster and a couple bags of soda (non abrasive) for blasting the 352. It was poorly repainted when it was rebuilt and we don't want to paint over the rattle can paint that's on it. We'll have single stage color matched so we can spray it with a hardened paint for better oil and gas resistance.
Epoxy:
Flattened single stage:
The I-beams were blasted, then new king pins and bushings were installed. They're prepped with PPG DX series Metal Cleaner and Metal Conditioner and ready for epoxy.
The manifolds were blasted and coated with Calyx manifold dressing.
Posted via Mobile Device
Epoxy:
Flattened single stage:
The I-beams were blasted, then new king pins and bushings were installed. They're prepped with PPG DX series Metal Cleaner and Metal Conditioner and ready for epoxy.
The manifolds were blasted and coated with Calyx manifold dressing.
Posted via Mobile Device
- theastronaut
- Posts: 439
- Joined: August 7, 2013, 10:43 am
- Location: Upstate SC
Re: '66 F100 Custom Cab Short/Styleside Factory Correct Rest
I picked up some "EZ-Slide" graphite based lubricant paint for the leaf springs, I found it at Tractor Supply. Should let the springs move easier so it rides better. Also picked up some model paint for the paint marking on the transmission.
Lightly washed the trans to document the paint dabs.
Yellow "6Y"
Orange along the edge.
This one showed faint traces of orange paint.
Outlined to see it better.
Another orange spot.
Blue spot.
Two yellow dabs.
Another yellow spot.
Lightly washed the trans to document the paint dabs.
Yellow "6Y"
Orange along the edge.
This one showed faint traces of orange paint.
Outlined to see it better.
Another orange spot.
Blue spot.
Two yellow dabs.
Another yellow spot.