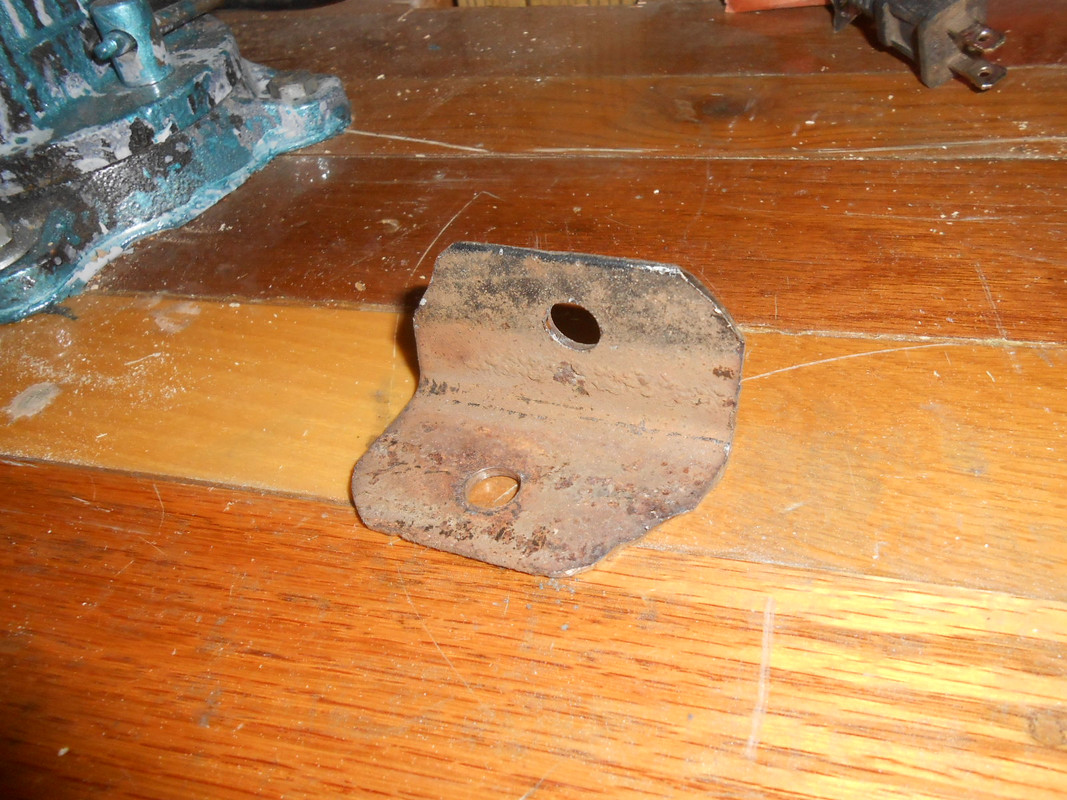
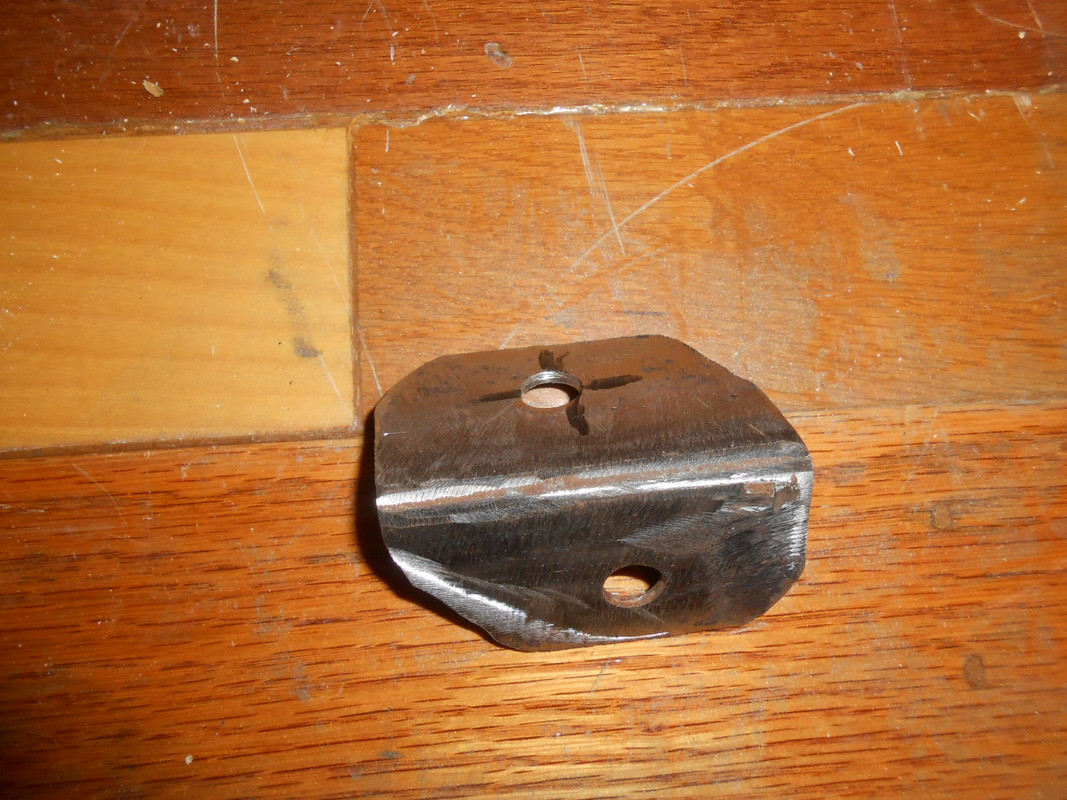
Okay...so brake booster installation. First I removed the plate that was bolted to the firewall. It was held in place by 4 bolts and had the two bolts that the master cylinder bolted to.

I did not get pics of the next step, but I drilled out the top two bolt holes as they had "cage nuts" behind them. I then drilled two new bottom holes...this gave me 4 holes to slide the bolts of the brake booster into the firewall. I made sure that the pedal shaft was centered in the large middle hole. I then bolted the booster directly to the firewall.
This is a view from under the dash, inside the truck. The 4 bolts are where the booster came through the firewall.
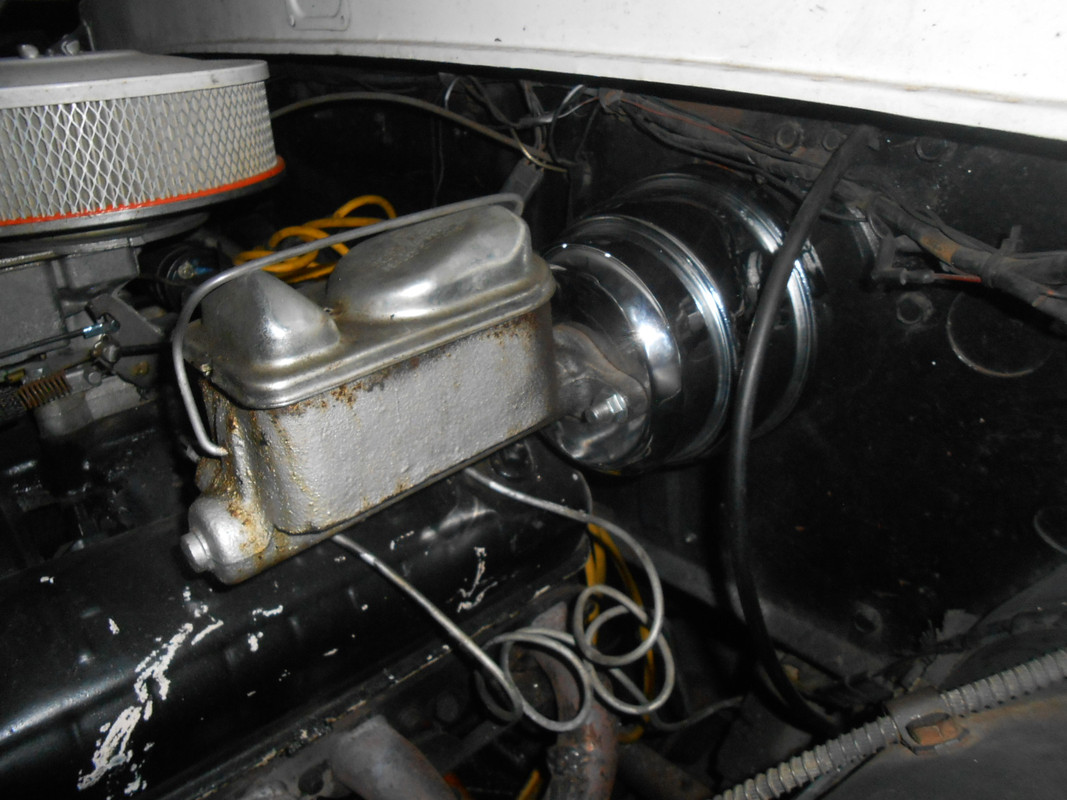
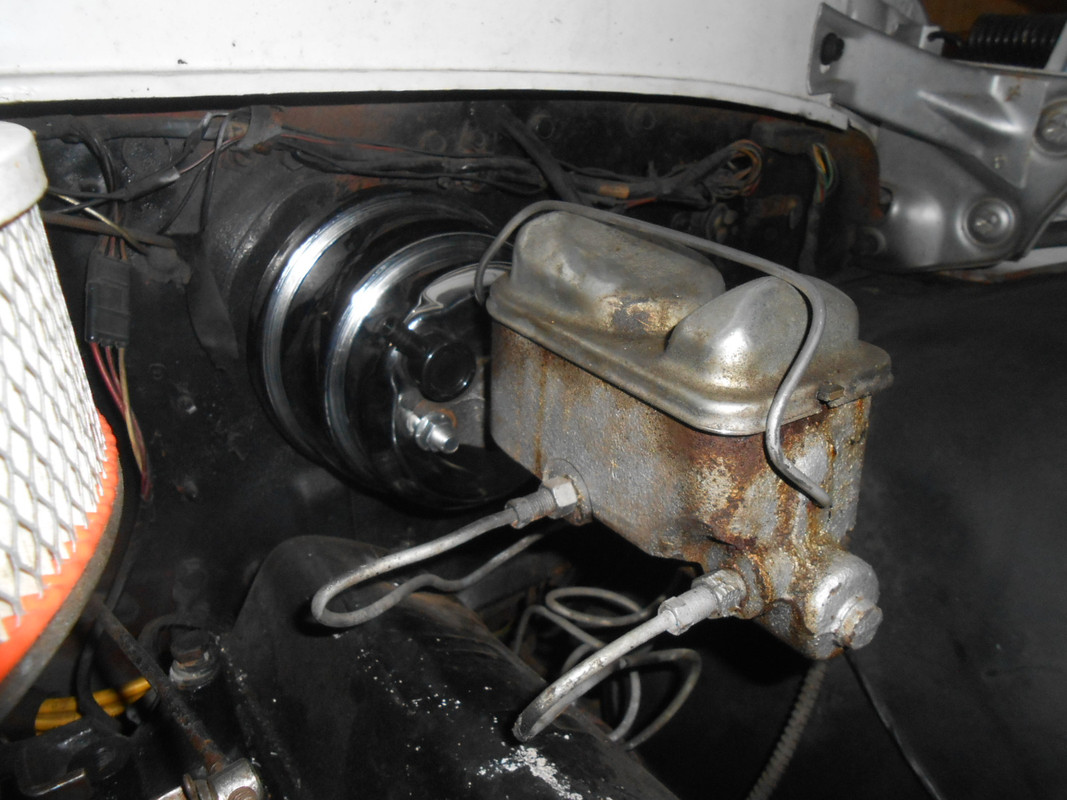
I had to drill out (wallow) the holes on my master cylinder to get it to fit onto the two mounting bolts on the front of the booster. I also had to adjust the 'rod' coming out of the booster, to the right length to go into the rear of the master cylinder. I took 3 or 4 tries to get the length just right.
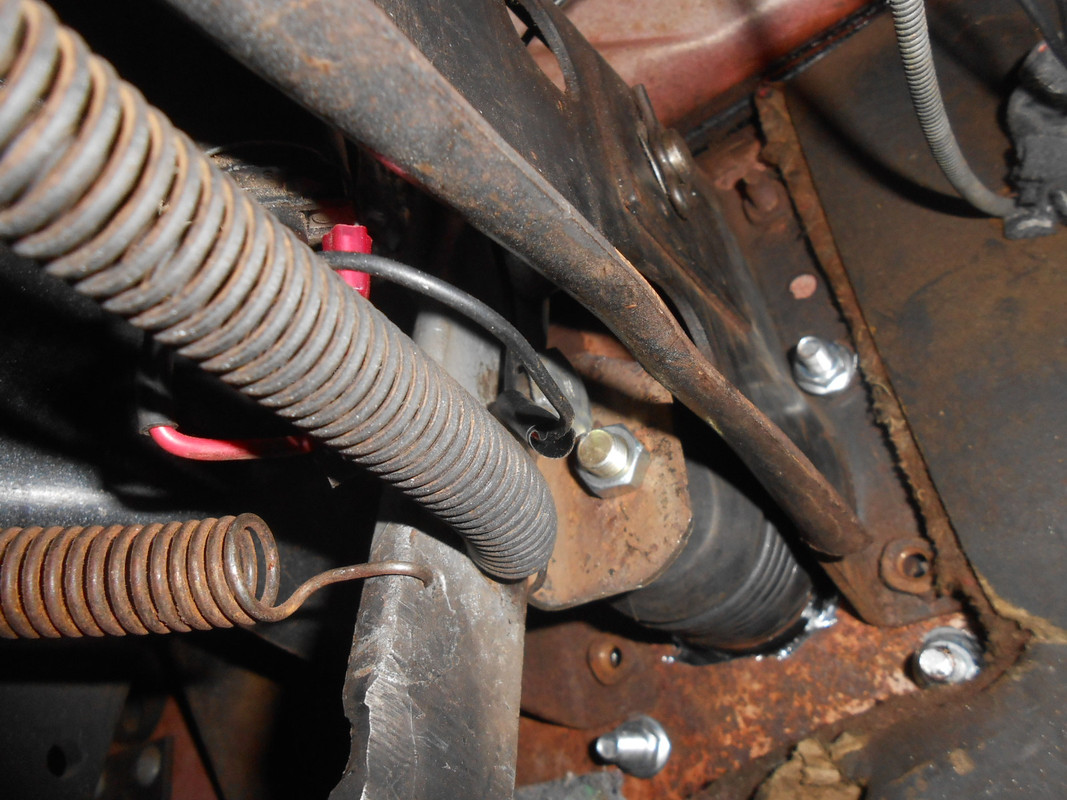
Now...with the booster and master cylinder mounted I had to connect the booster rod to the brake pedal. Originally there was a rod that was bolted to the pedal that went directly into the back of the original master cylinder. The new booster just had a threaded rod....so, I took some angle iron and made a bracket to bolt to the pedal.
It's probably hard to tell from the pic...but I bolted the angle iron bracket to the pedal in the original hole for the original rod. I then ran the rod from the booster through the other hole in the angle iron and "fixed" it with a nut on either side.
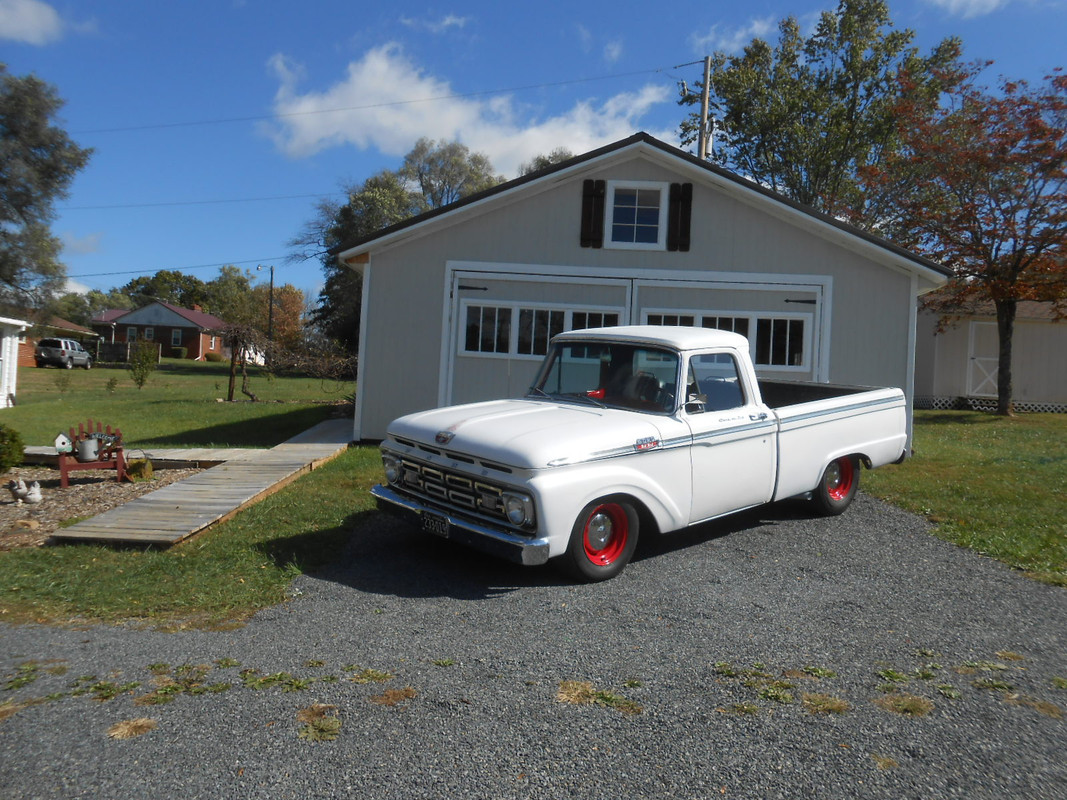
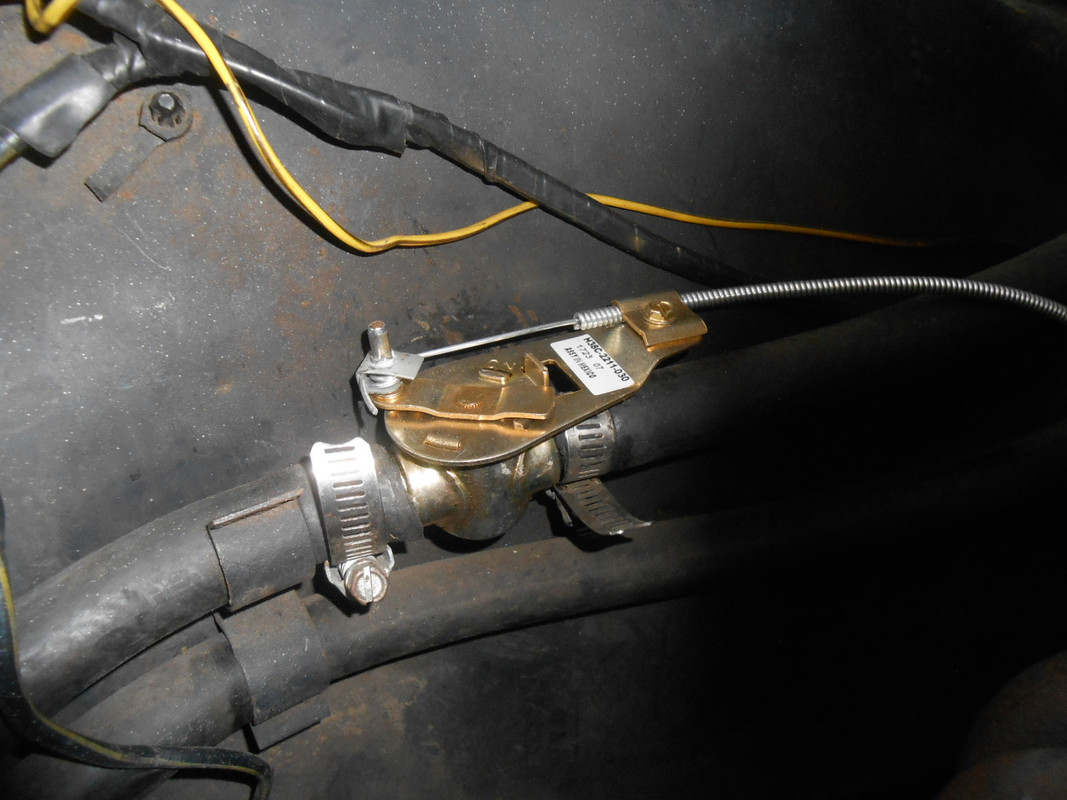
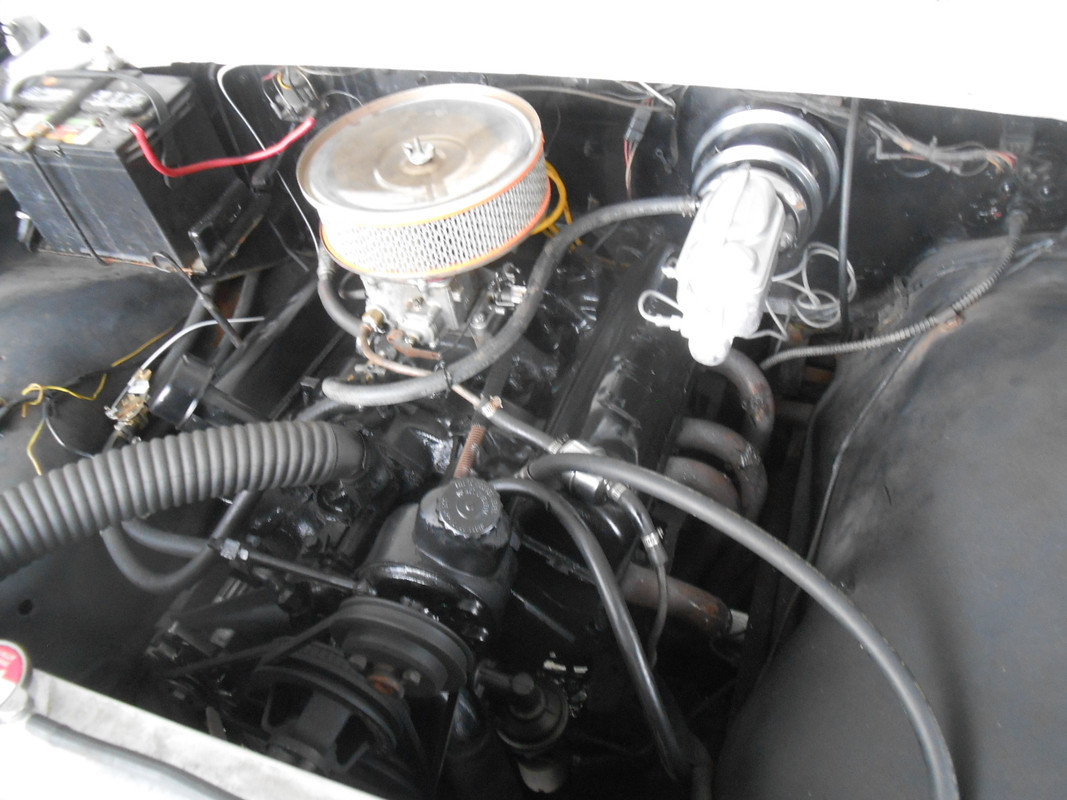
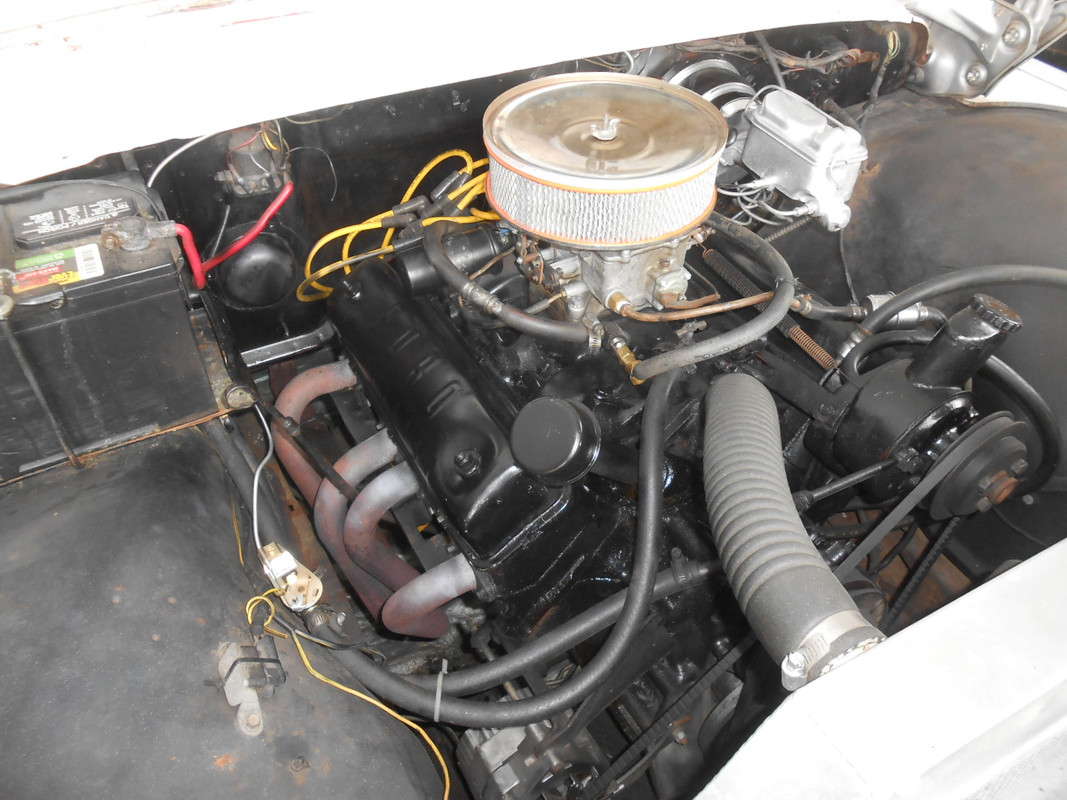
All that was left to do was to pick up some vaccum from my intake manifold...which was easy.
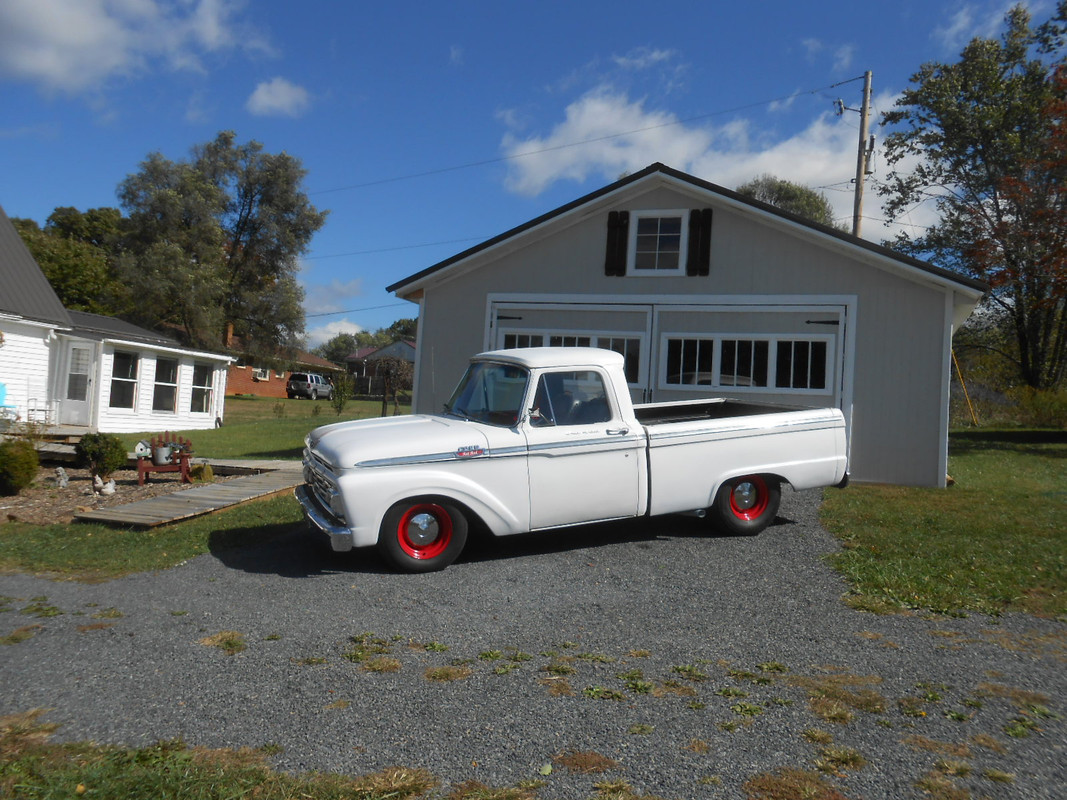
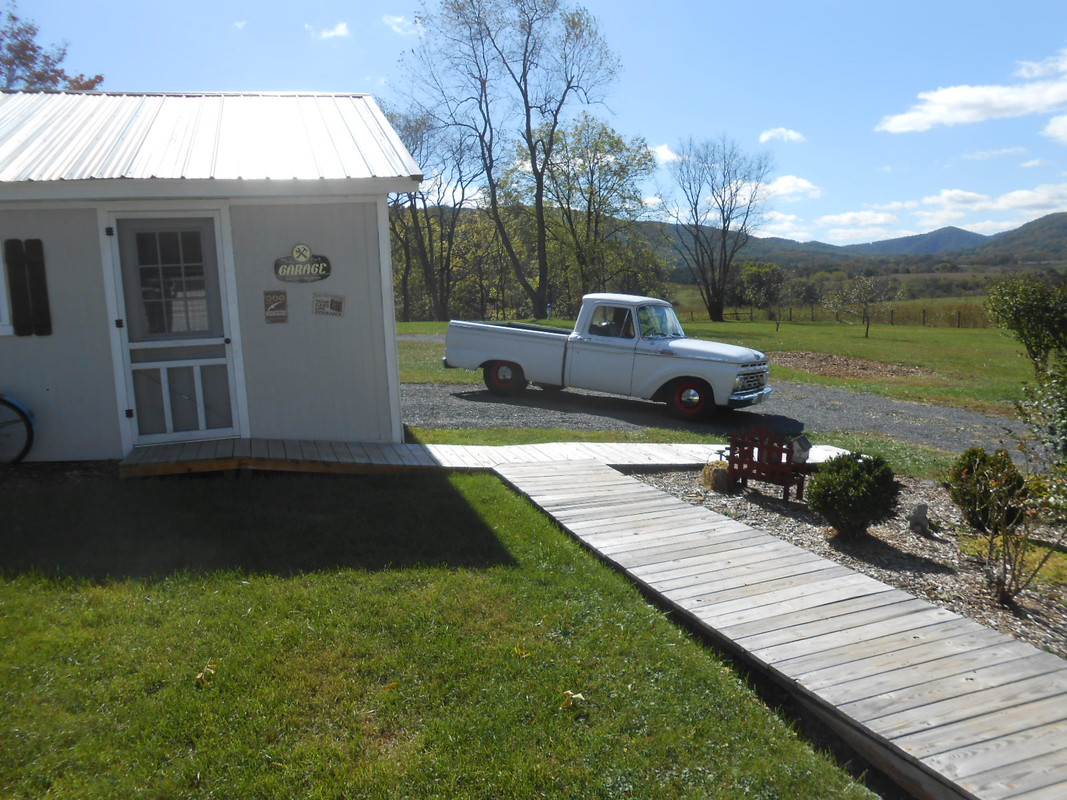
Drove the truck "to town" which is about 20 miles one way. It brakes like a dream. The pedal feel is perfect.
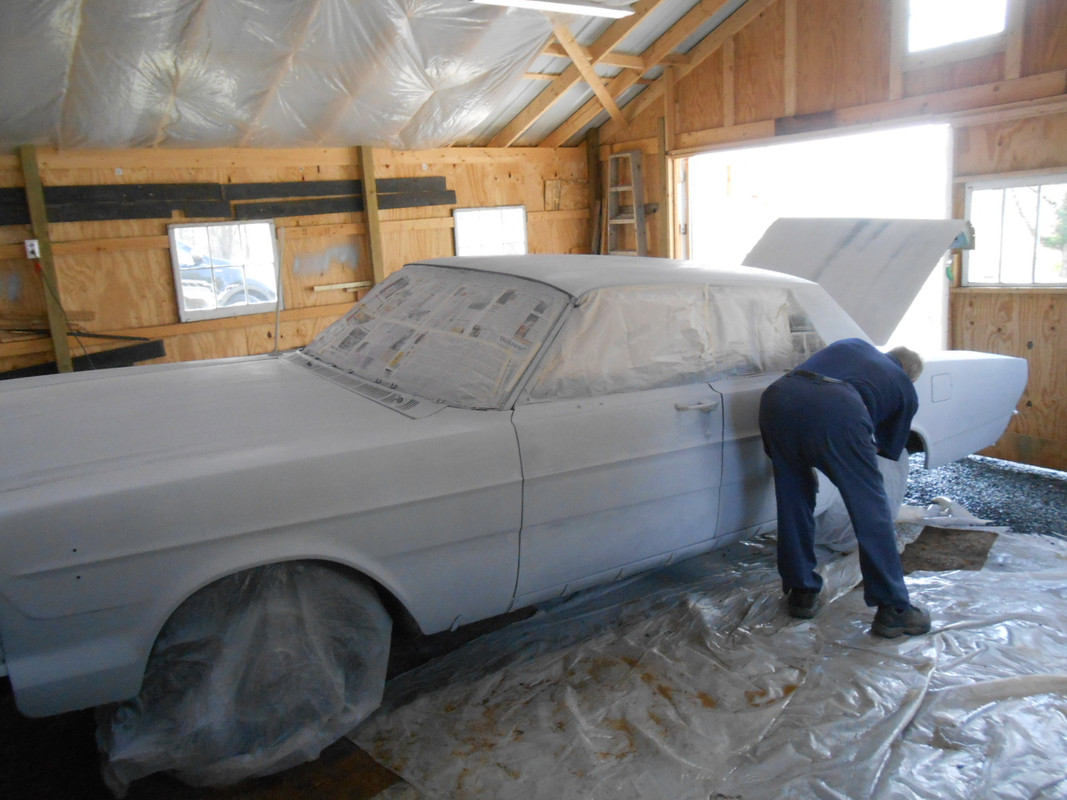
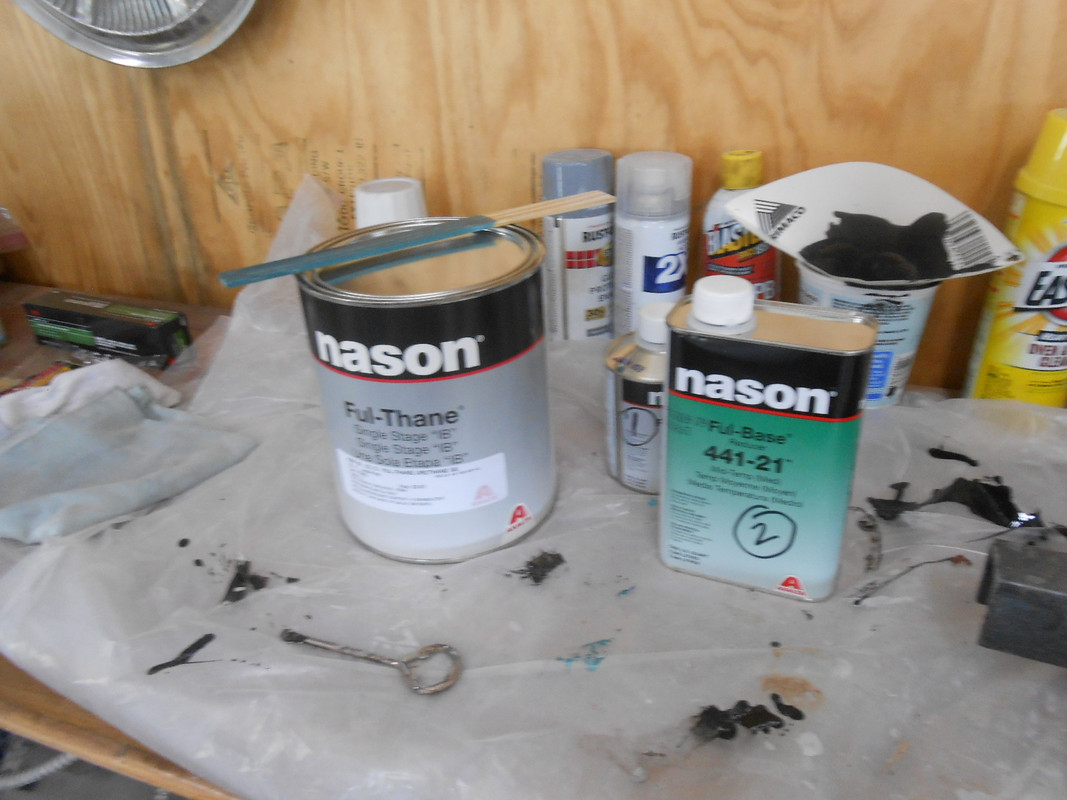
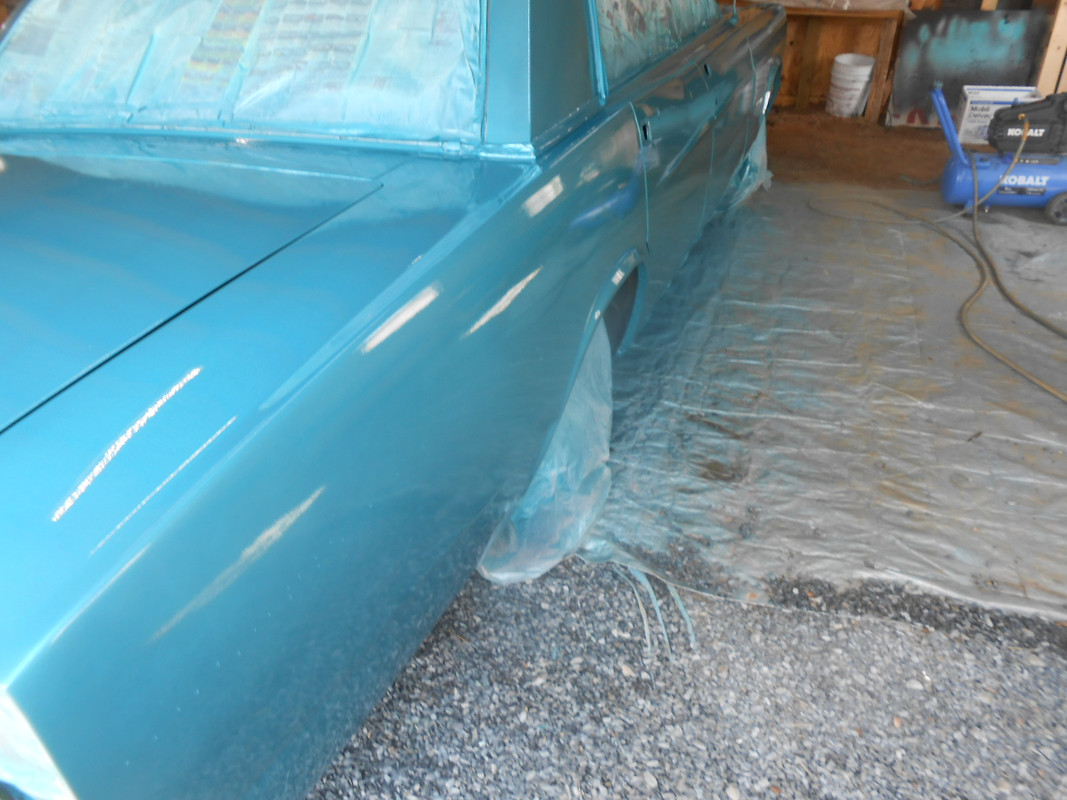
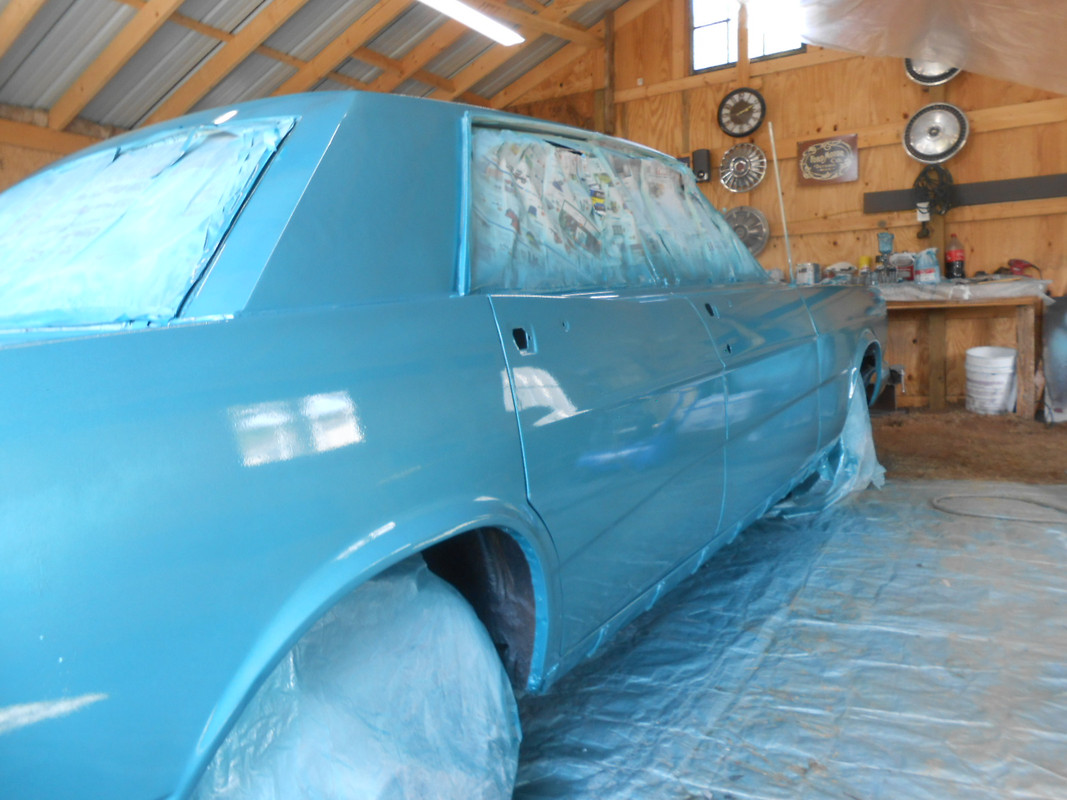
Now to paint...