So, did you have to weld on both sides of the rod or did the welding process just "melt" the rod into the seam? Sorry if that sounds like a stupid question....did you use a mig or something else? Did you also use the 3/16 rod on the verticle tail section seams?kstones63 wrote:Randy, I was fortunate and didn't have anything more than surface rust on the bed. I took a die grinder and ran the wheel down the joint to clean out the old seam sealer.
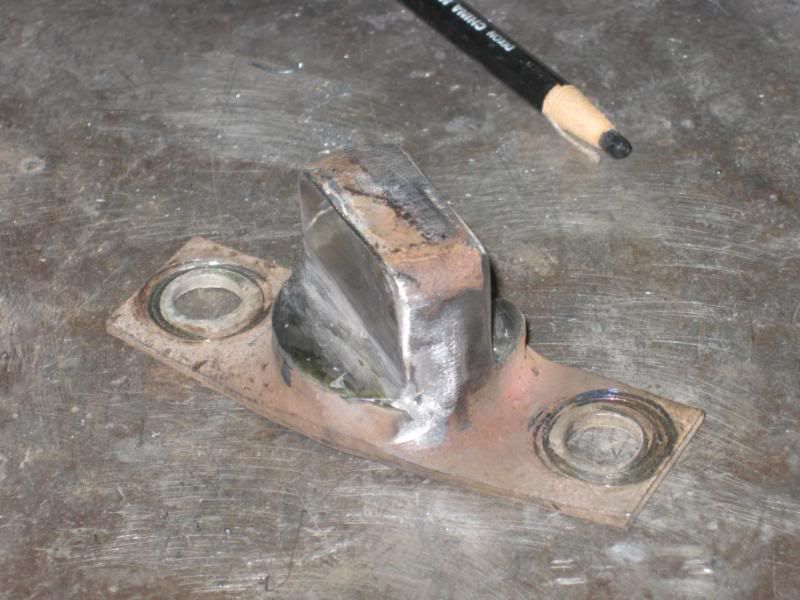
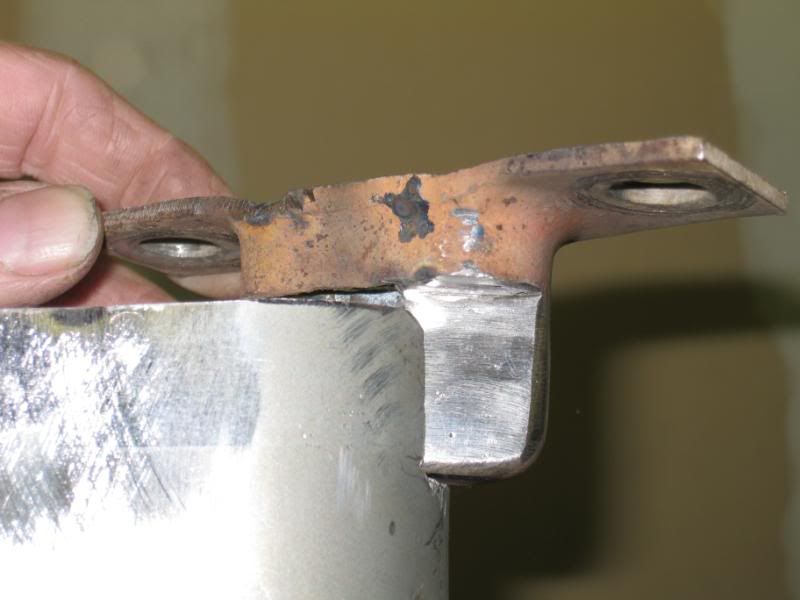
I put a piece of 3/16" rod on the side of the bed and started welding that in solid so I can make a radius to match the back part of the bed.
Kevin
Thanks for the input....it's going to be a while before I tackle something like this on my truck but I like learn as much as I can before taking that step....