-TECH- Jag XJ6 IFS into F100
Posted: March 30, 2011, 9:07 pm
I owe it to you guys to do this write up. It has also been posted on the HAMB boards.
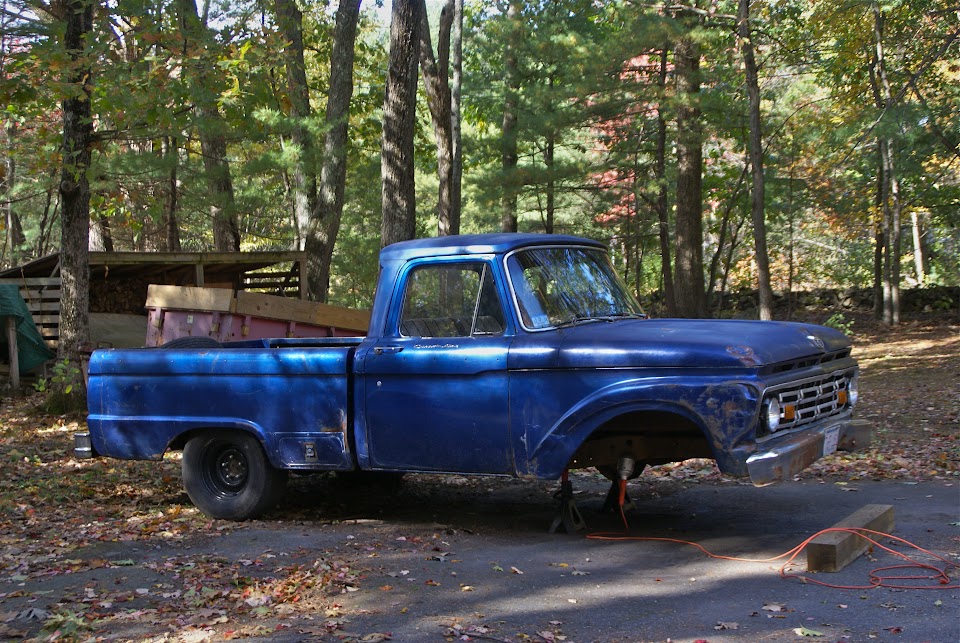
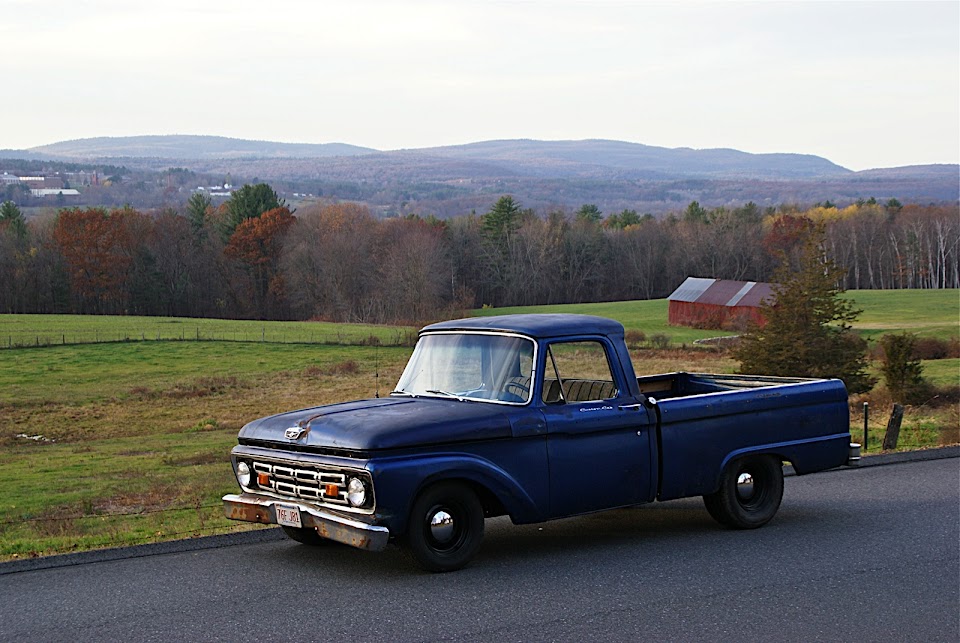
And thus we begin the all-intensive front suspension swap to rid my F100 of its poor ride, vague steering, and nose-bleed stance.
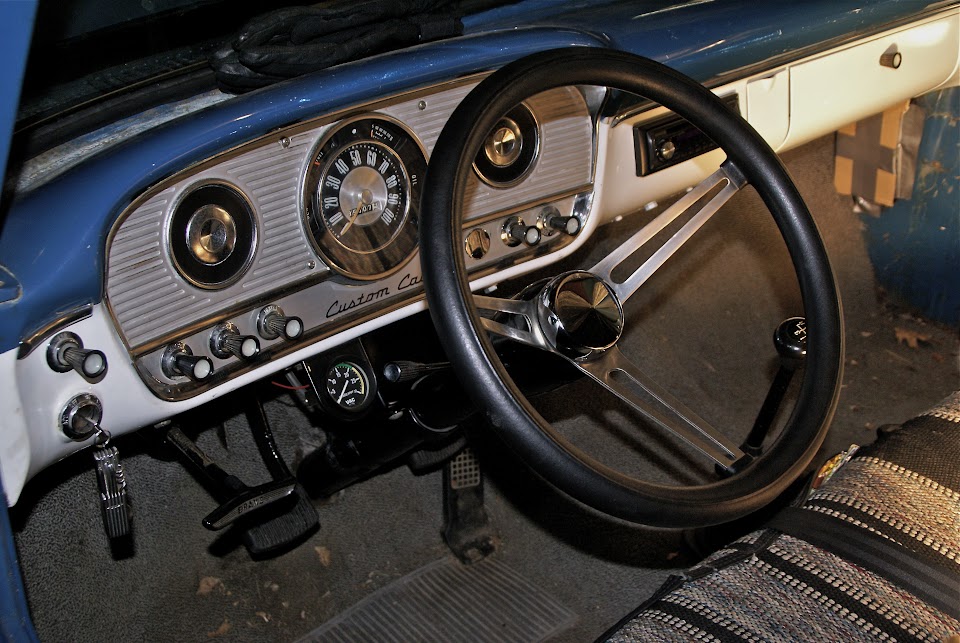
You see, this F100 is my daily driver. But it is also an old truck with a host of worn out components that drives with the grace of a tractor. And since I had pretty much decided early on that I planned to drive the wheels off of this thing for years and years to come, some major upcoming modifications became apparent. I wanted to go through the entire truck, build it the way that suited me, and know that it would be a reliable and cool ride that I can hop in at a moment’s notice and drive anywhere in the country.
The first of these major upgrades would be in the chassis department. The beauty of an IFS swap is that it upgrades your suspension, steering, and brakes all in one fell swoop. Sure, the old leaf spring & I-beam axle setup worked okay (and I certainly don’t think you could call it weak or unreliable), but it just didn’t offer the kind of smooth ride and responsive handling that I wanted in a vehicle I might drive coast to coast one day.
Thus I went into this project with a singular attitude in mind:
Do not take any shortcuts. Do it right from start to finish, no matter how much time or effort it took. I also kinda applied this logic to money. Basically, don’t be a cheap ass and skimp on important parts. Do it right the first time. Otherwise, it’s not gonna be worth a shit in the long run.
Upon doing an initial search on IFS swaps, I realized that the perfect solution did not exist merely because everyone has a different idea of what the perfect IFS has to offer. So, I needed to decide what the important points were for me and make some compromises. An early survey suggested several valid candidates. For example, there was the Crown Vic swap, which was very appealing due to its modern aluminum design and the fact that it practically bolts into place under the F100 chassis. There was the Mustang II swap, via an endless supply of bare crossmembers through complete hub-to-hub kits available from your favorite mail order store. There was the Volare swap, a tried and true old school method that got these trucks down where we wanted them. And it goes on and on. Custom kits, subframe grafts, etc. It was all out there. Honestly, I was a bit overwhelmed.
I was led onto the Jaguar front end by ElPolacko over on the HAMB forums. Actually, I had wished to ask about the Dakota crossmember that he manufactured since those who had used it seemed to really like it. Unfortunately, I soon found out that they were no longer available. I was a few months too late. “I suggest you look into something like the Jag XJ front suspension,” said ElPolacko in short reply. So I did.
I went to Google, punched in my query, and stumbled upon a few gems hidden away in the furthest corners of the Internet. Apparently, the XJ6 front end was a very popular swap down under. Those Australian hot rodder’s had it down to an art, especially with the ’53-56 Effies.
I ultimately decided to go with the XJ6 front end because of its strong, compact design, elegant looks, and modern components (like rack & pinion steering and disc brakes with big 4-piston calipers). It was clearly a nicely engineered front end that would be a big improvement for the F100. Where other IFS options failed, the Jag front end prevailed. Unlike the obscenely wide Crown Vic, the Jag nails the track width to suit the F100 (59.5” compared to the stock 60”). Unlike the under built Mustang II, the Jag is designed for a vehicle in the same weight range, if not a little more, as the F100. Unlike the hassle involved with installing a Volare clip, the Jag’s crossmember easily fits a variety of frames. For example, over on the HAMB, 53sled did a Jag swap into his ’53 Chevy coupe: http://www.jalopyjournal.com/forum/showthread.php?t=513236
And a while ago zman stuff one under a ’57 Buick: http://www.jalopyjournal.com/forum/showthread.php?t=24785 Hell, he even used the Jag rear suspension while he was at it. Anyways, point being, it will pretty much fit under anything and look good doing so.
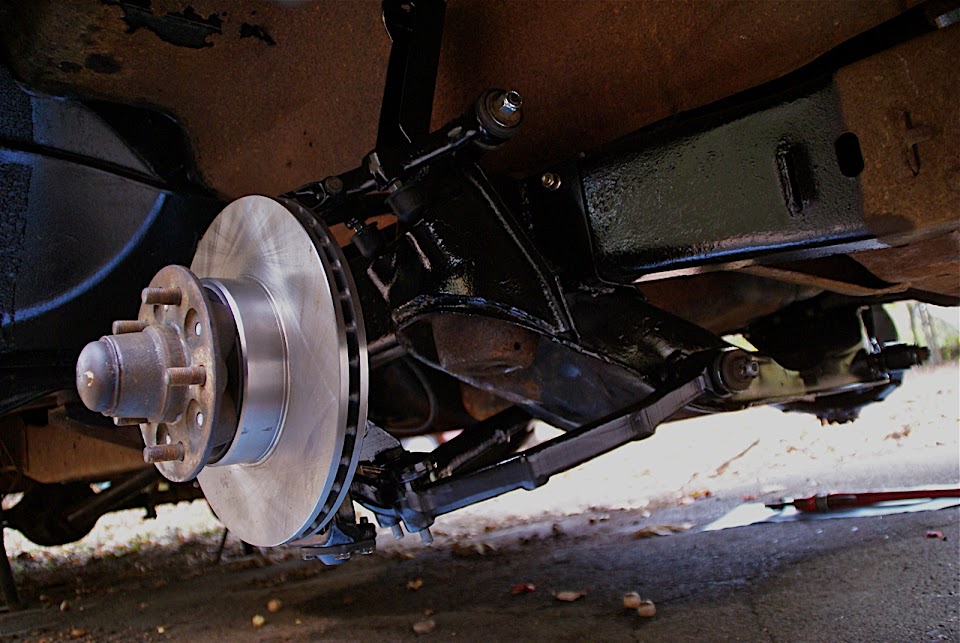
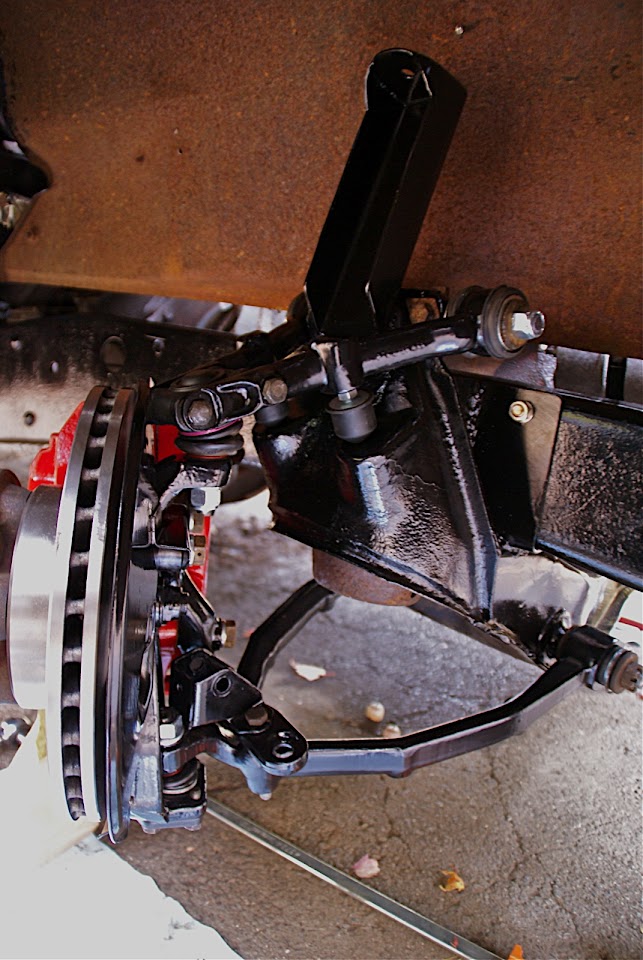
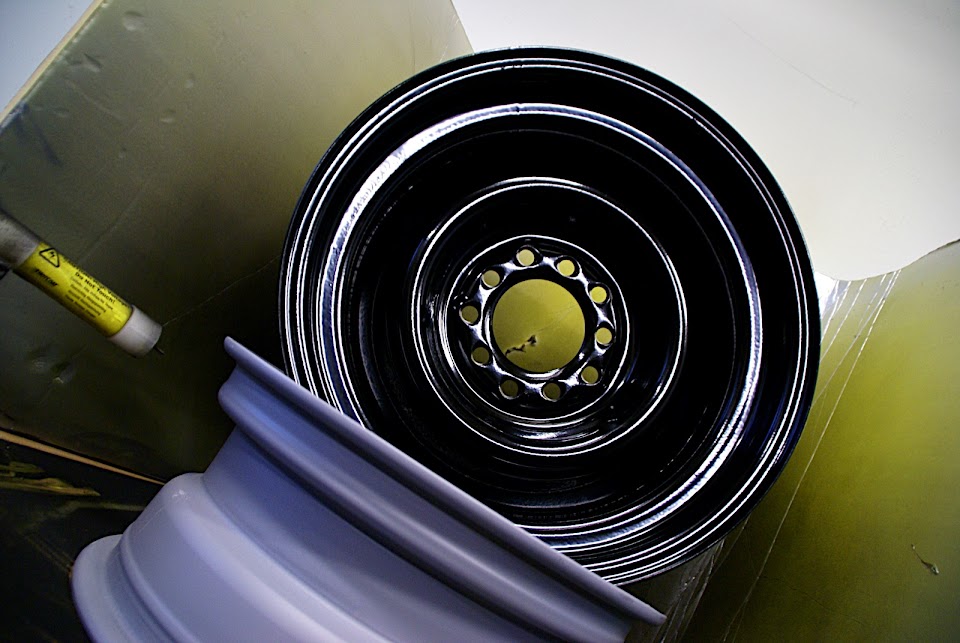
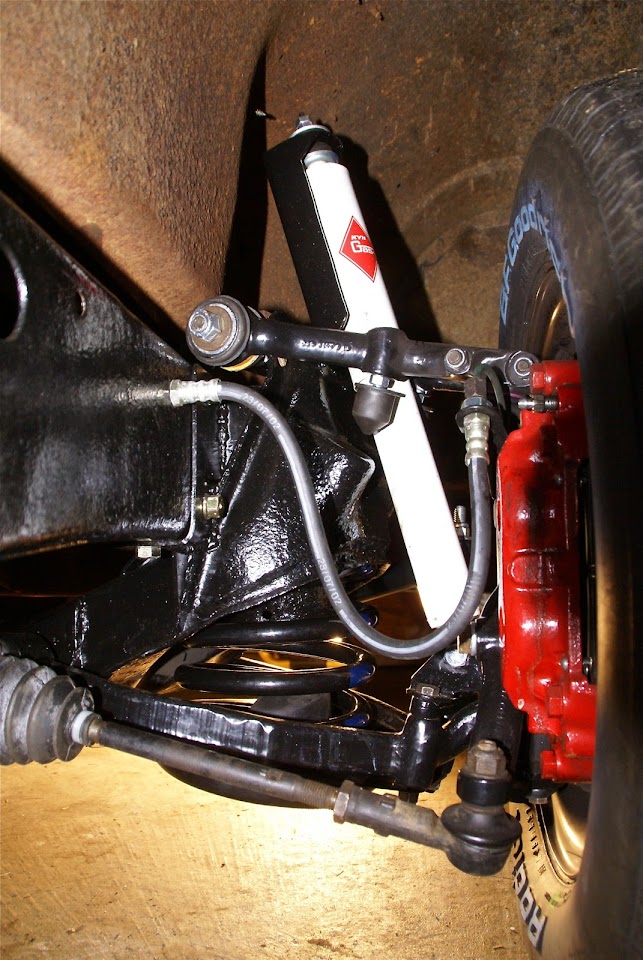
For me, it also came down to the little details. For example, the Jag features forged control arms, which are plenty strong and look nicer than stamped arms in my opinion. There are no strut rods to worry about either. Also, the hubs have the same 5x4.75” Chevy bolt pattern, and as long as your not offended by the Chevy attribute, many wheels will bolt right on. I have heard some people complain about the center of the hub being too big to fit the center bore of some wheels, but my regular smoothies fit without issue.
And now that I’ve exhausted my reasons for why the Jag swap is a serious competitor in the IFS market, it’s time to put one under a ’64 F100.
The first step is to get your ass down to the junkyard and snag the front end out of any ’79 through ’86 XJ6 Series III. The XJ12 cars will also work, but they come with higher rated springs, which may or may not be helpful for your application. The XJ6 springs turned out to be just right for my truck.

One note I would like to make about the Jag crossmember is that regardless of what you put it under, it can be made as easy or as difficult to mount to the frame as any other swap. However, there are two main ways to do it. The first way is to simply fab up a couple forward and rear frame brackets, and then bolt the crossmember right up, retaining all of the original rubber bushings, for an ultra plush ride. The benefit of this method is that the crossmember remains untouched, making it easily replaceable, and that the whole front end can be unbolted from just four points.
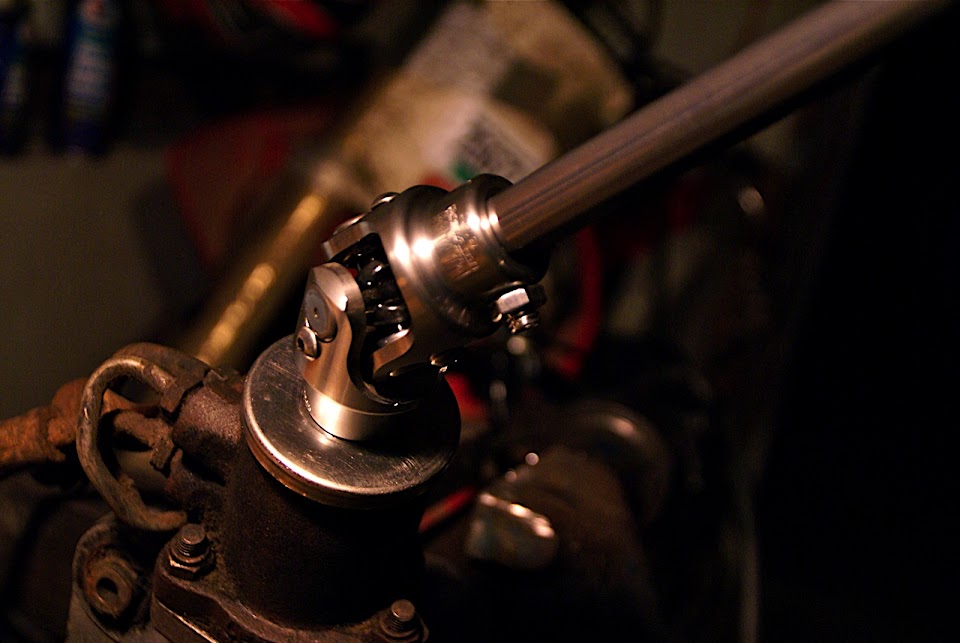
If you go this way, you will have to use the original Jag Z-joint in your steering hook up to make up for the movement in the rubber mounts.
I suppose there are also fancy telescoping shafts you can buy from Borgeson and the likes that will work just as well, but make sure you’re buckled up before looking at the price tag.
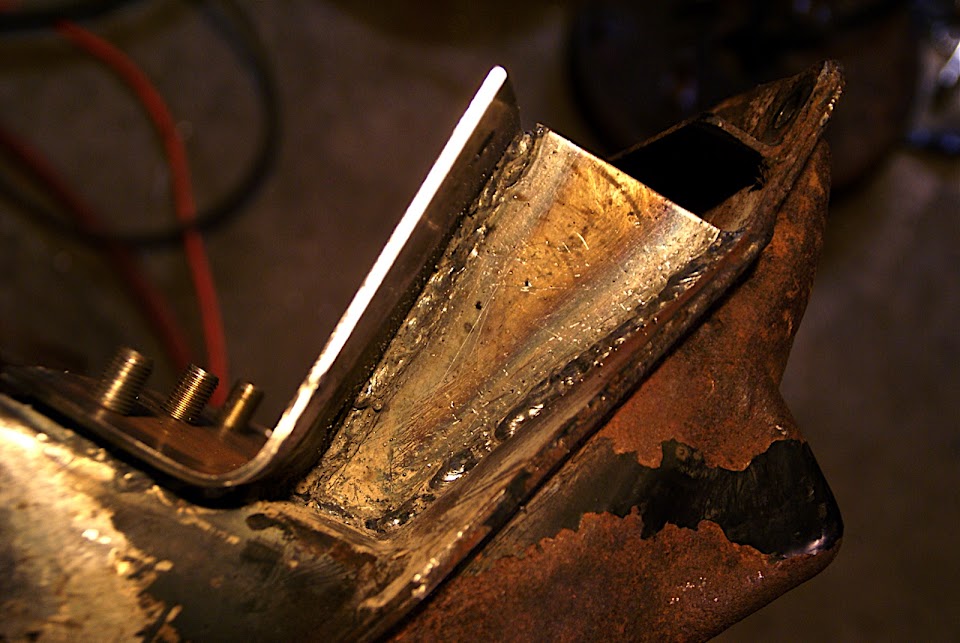
The second way is to cut off all the extremities and fabricate some perches to mount it up sleek & solid to your chassis. You can either weld or bolt it in at this point. The advantages here are a more responsive road feel and you can get the vehicle an inch or so lower at the same time because it attaches directly to the frame. Now, here’s the thing- If you choose to go with bolting it in, you have the benefit of still being able to drop out the whole shebang by unbolting it, but you keep the tighter suspension feel. This is my idea of a winning compromise.
Off to the junkyard we go.
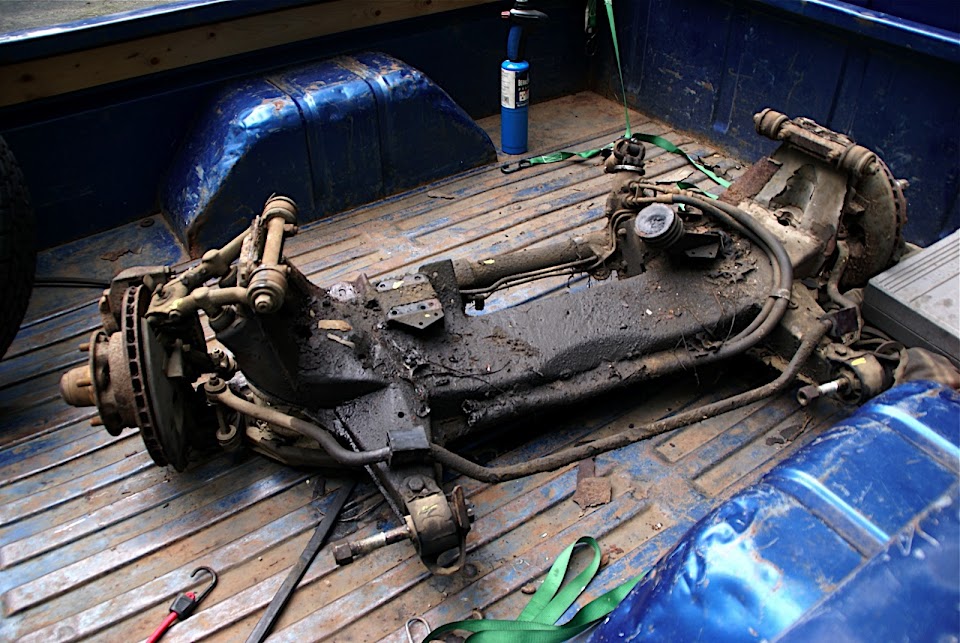
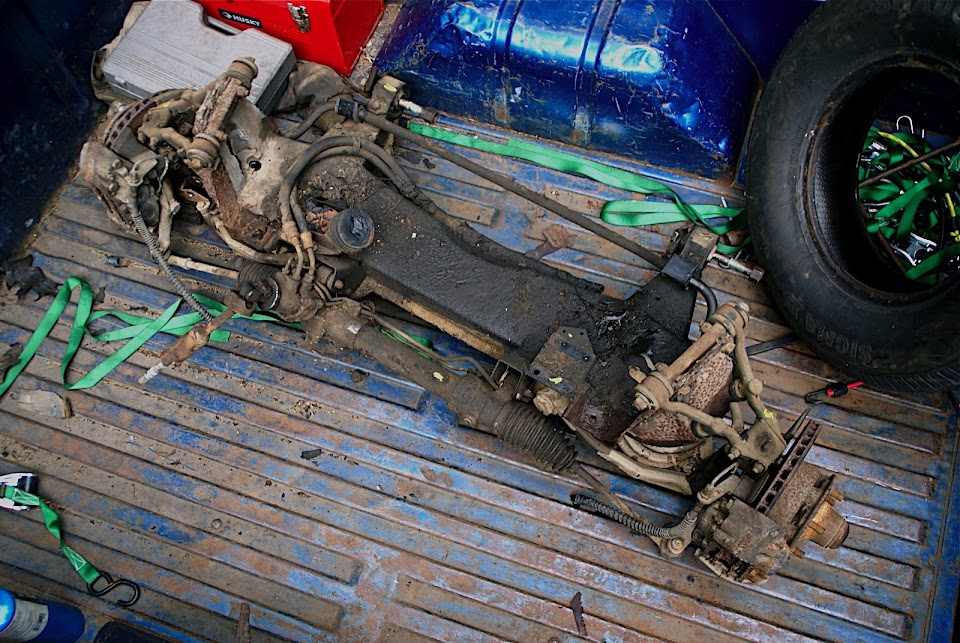
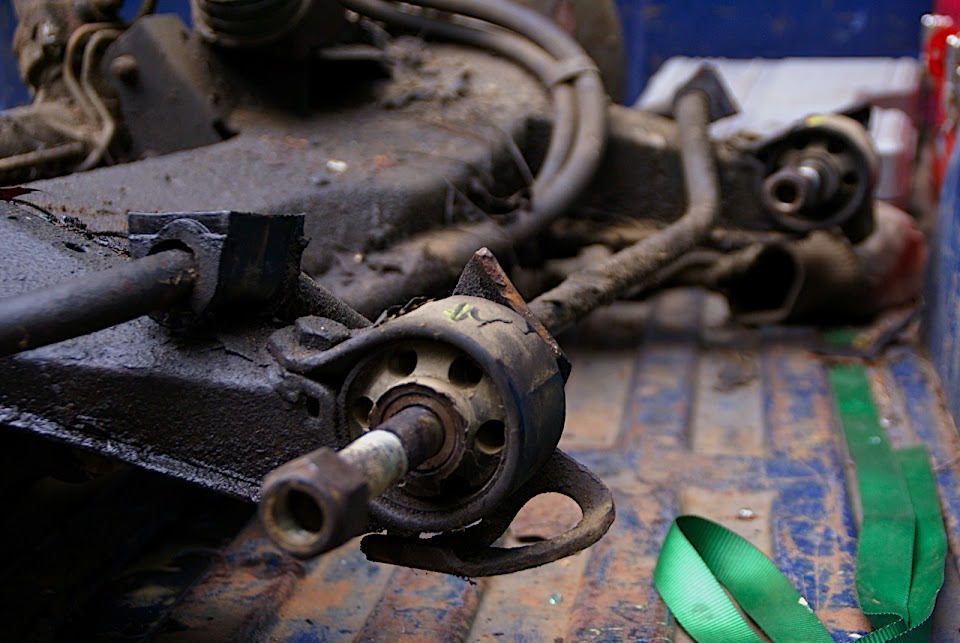
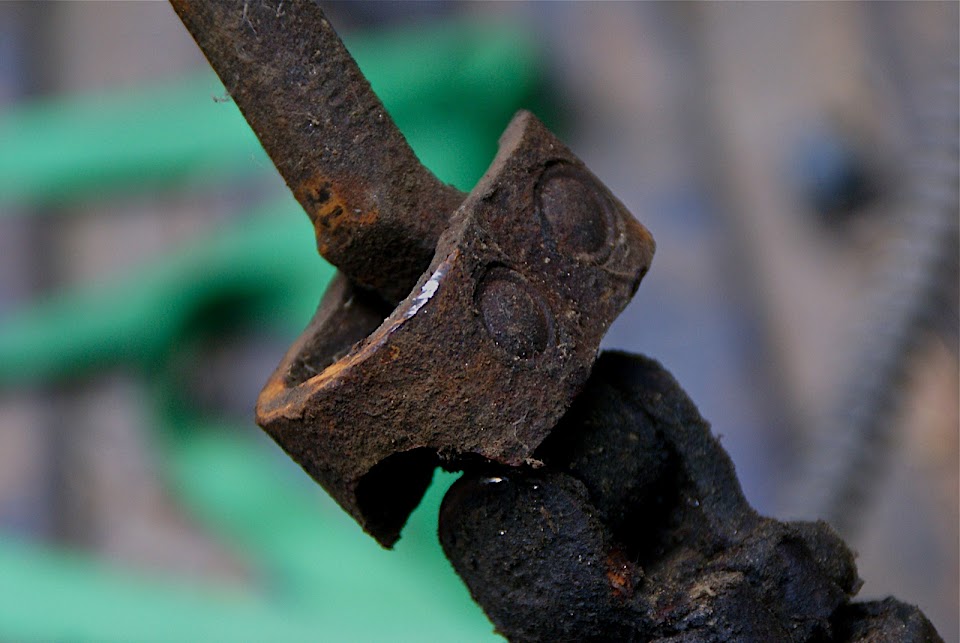
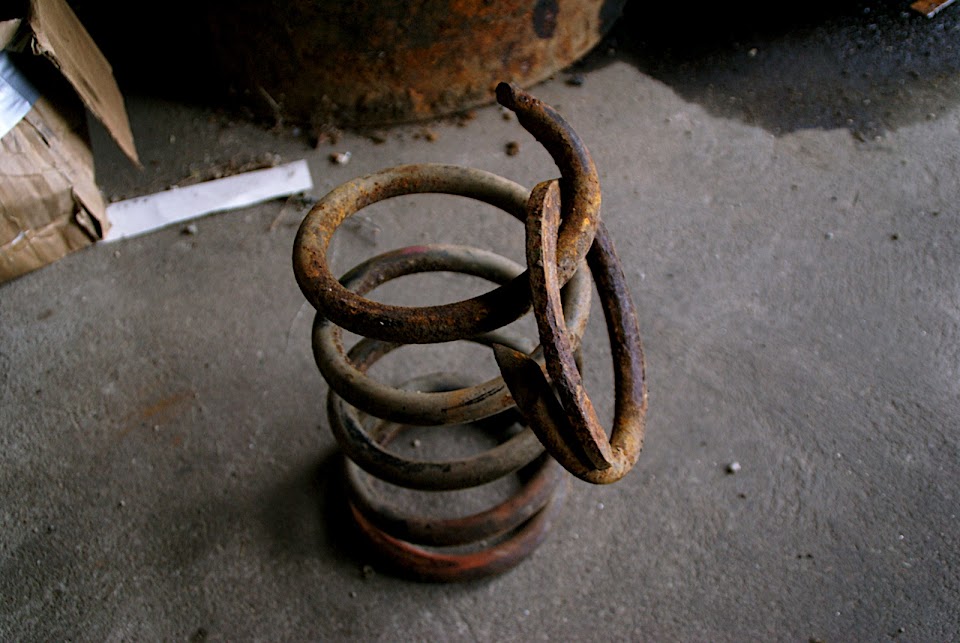
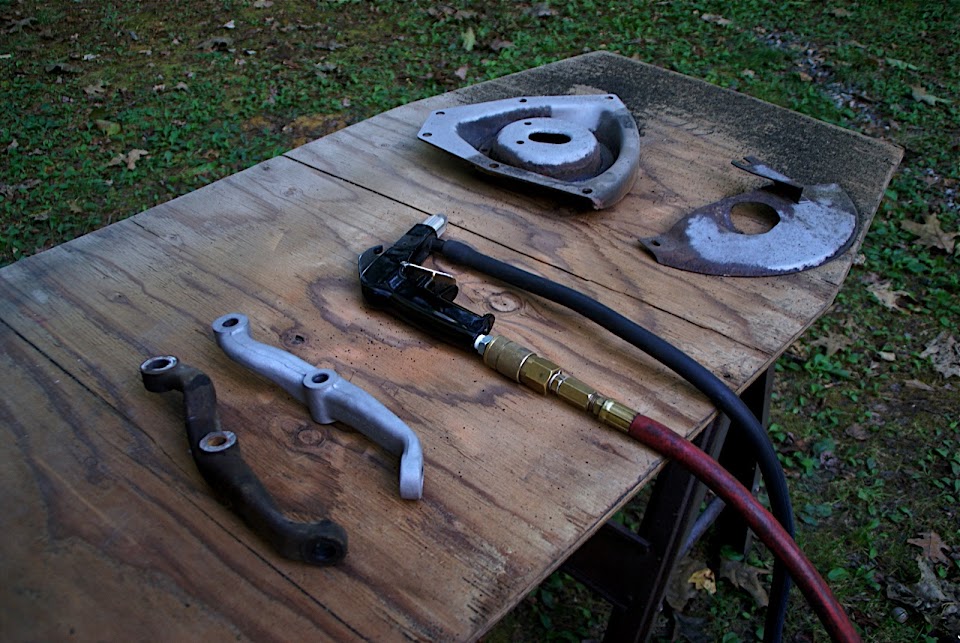
The ’82 Jag I pulled my front end out of had been crushed down in the mud under another car for who knows how long. It was at least 90 degrees out that day, and conveniently the car was black. I nearly passed out wrestling the front end out from under the car. It took a good 4 or 5 hours working at it alone. But alas, it came out. I forked over $150 for it and dragged it home in the truck it would soon be married to. Upon disassembly, I discovered that it had a broken spring (not surprisingly- probably from having another car dropped on it).
I was off to a rough start. On the plus side, nothing irreplaceable was broken or bent. But man, the whole thing was a disgusting caked-on greasy mess. I scraped ¼” thick layers of grime off it while asking myself if I should just cut out this hot-rodding hobby nonsense.
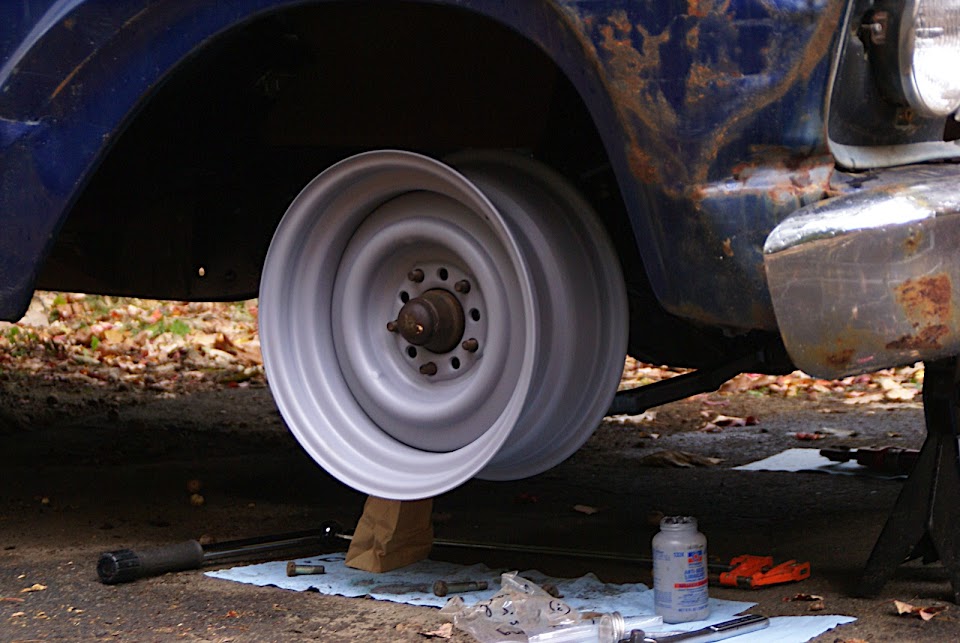
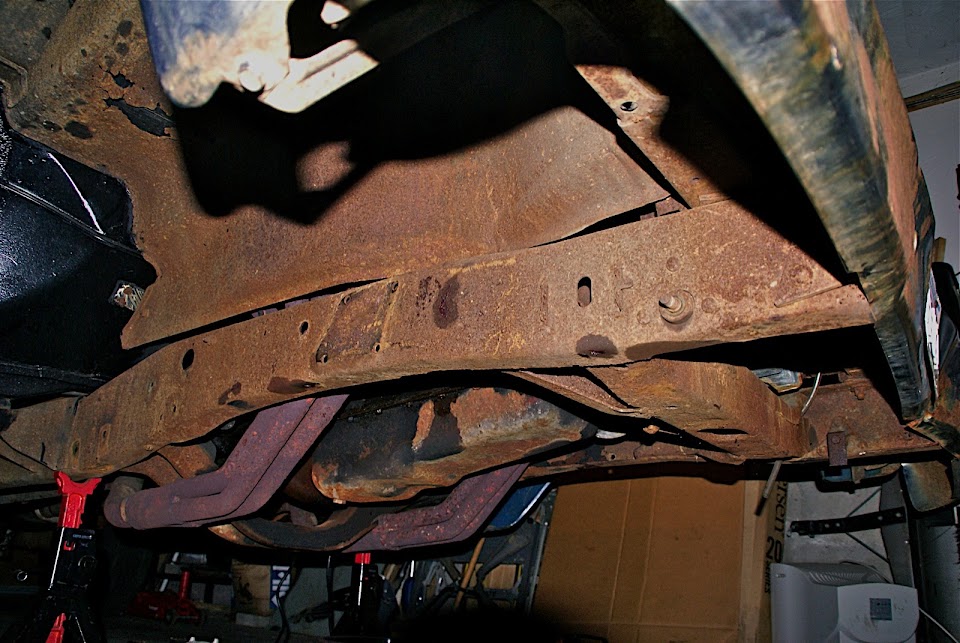
The next step was to rip out the old suspension. The truck decided to fight me all the way too. It took all of a weekend for me to cut out a few rivets and extract some frozen bolts. I could tell from how my project was going so far that this was going to get a hell of a lot more fun.
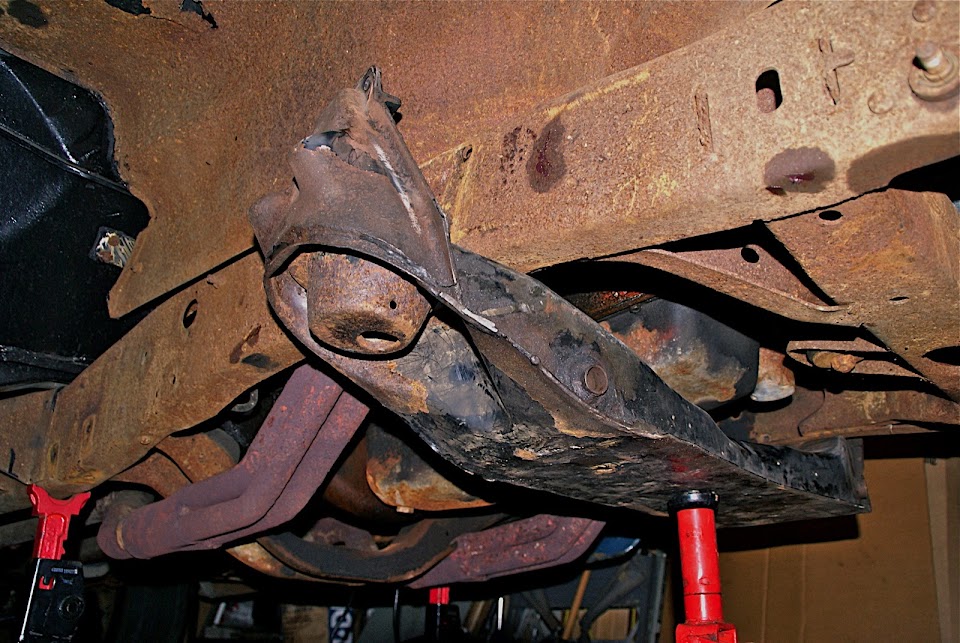
At that point, I needed to sit down and stare at the Jag IFS for a while, and figure out how I was going to mate it to the F100. After sufficient time spent listening to oldies and looking at all the stuff strewn about the garage, I realized that the most important measurement to get was the axle centerline.
F100s sitting at stock height look just dandy. But as soon as you lower them, as many of you have discovered before, the wheels tend to appear pushed back in the fender opening. It’s a subtle visual thing, but since we’re doing a whole front end swap anyway, why not make it look right while we’re at it? All we need to do is nudge that centerline forward an inch or two, and then the truck will look rad.
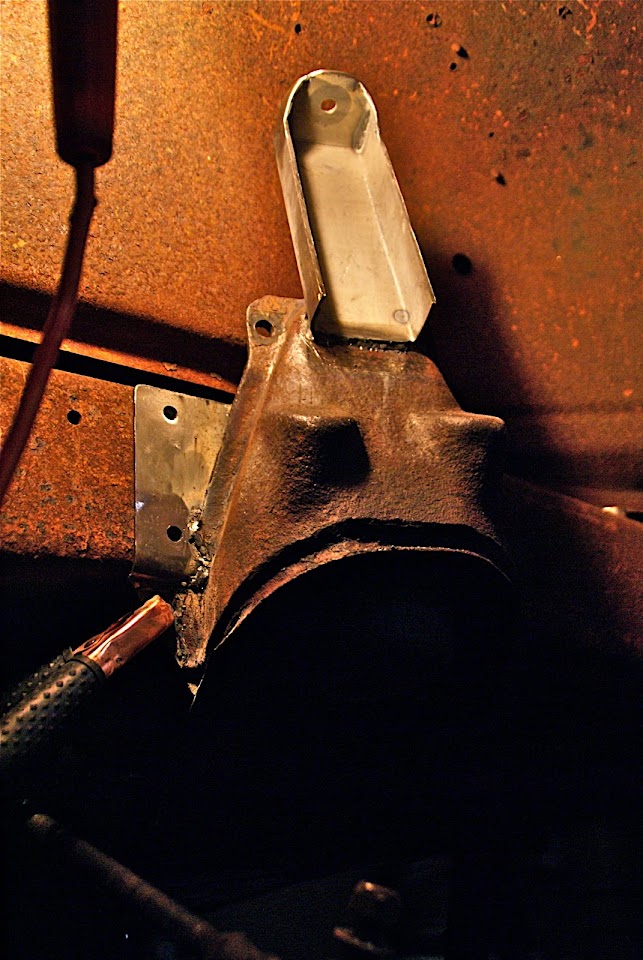
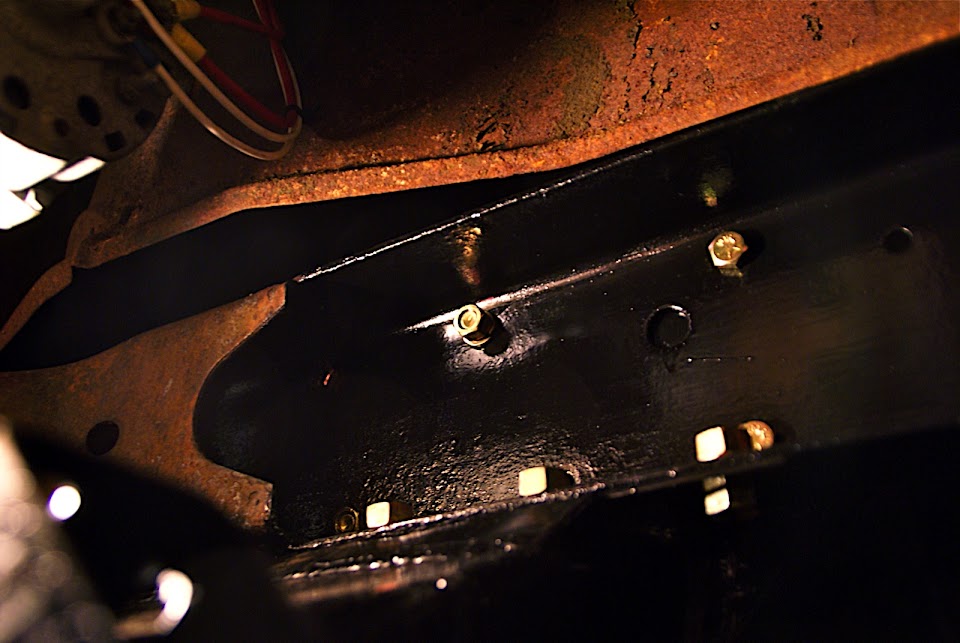
Once the axle centerline was determined (1.25” forward of the original), the next step is in figuring out how to physically marry the crossmember to the frame. I am no pro fabricator, nor do I have any specialty tools. Just a Hobart flux core machine and a couple hammers formed my basic tool palette. In fact, I had never done anything like this before, and since the truck is my daily driver, I also couldn’t afford to have it off the road for too long. That meant leaving the 292 and front sheetmetal all in place, and working at the swap from underneath. Fortunately, I convinced my parents to let me takeover their garage for the duration of the project, which proved to be a huge help. What a sad SOB I am…
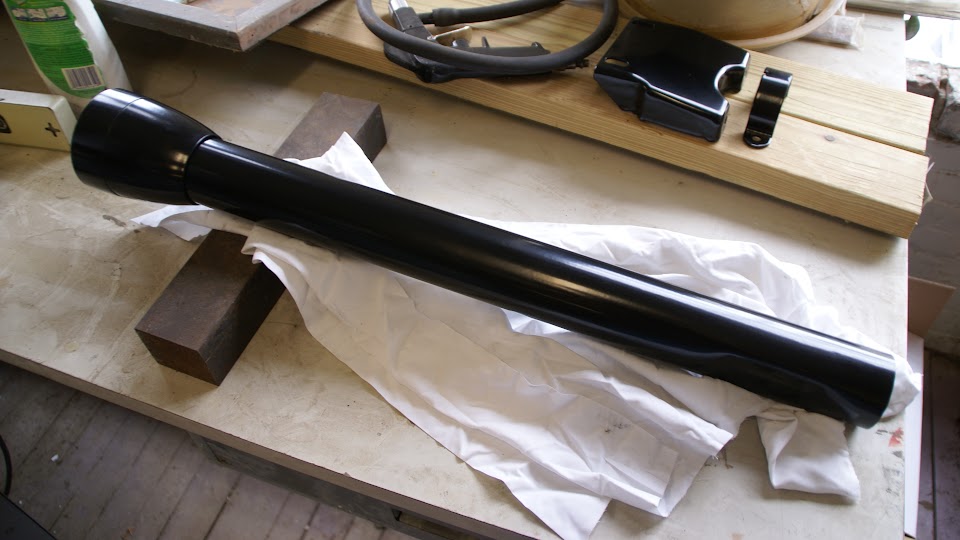
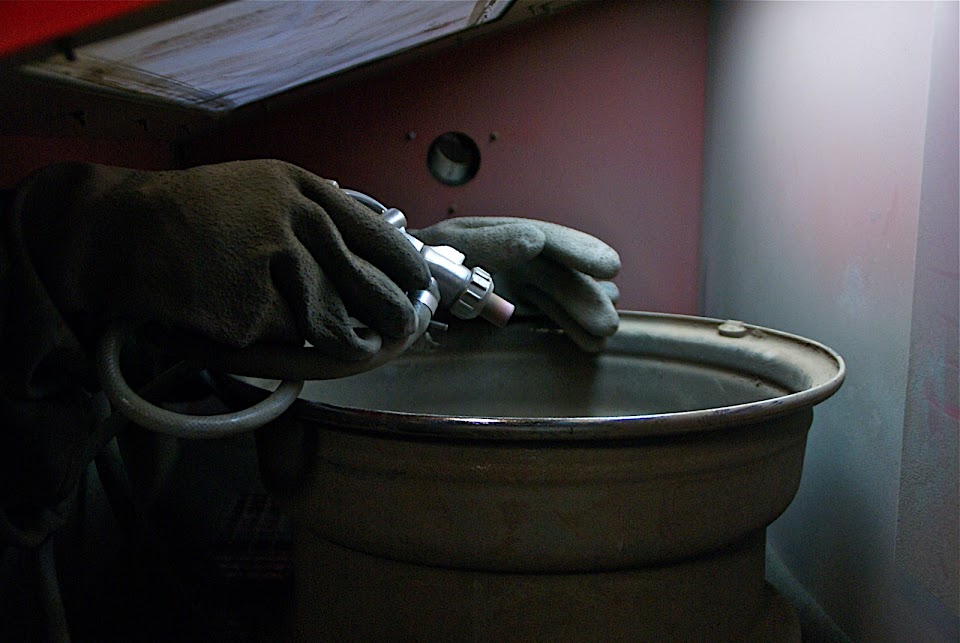
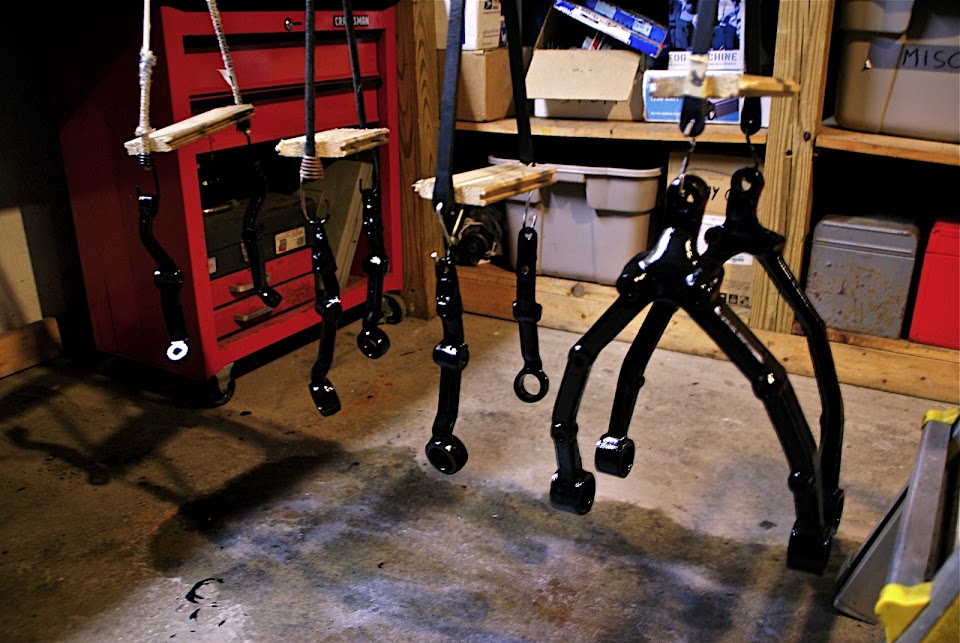
In the meantime, I began stripping the various parts, and painting them with KBS RustSeal. I am very impressed with the quality of KBS products. They are a lot like POR15, but a tad cheaper and a tad better.
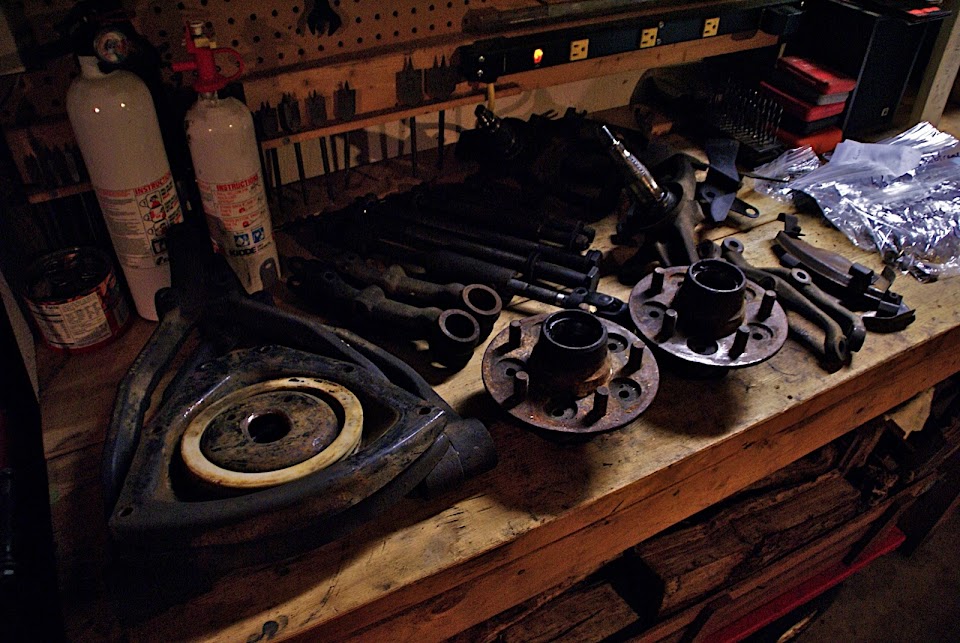
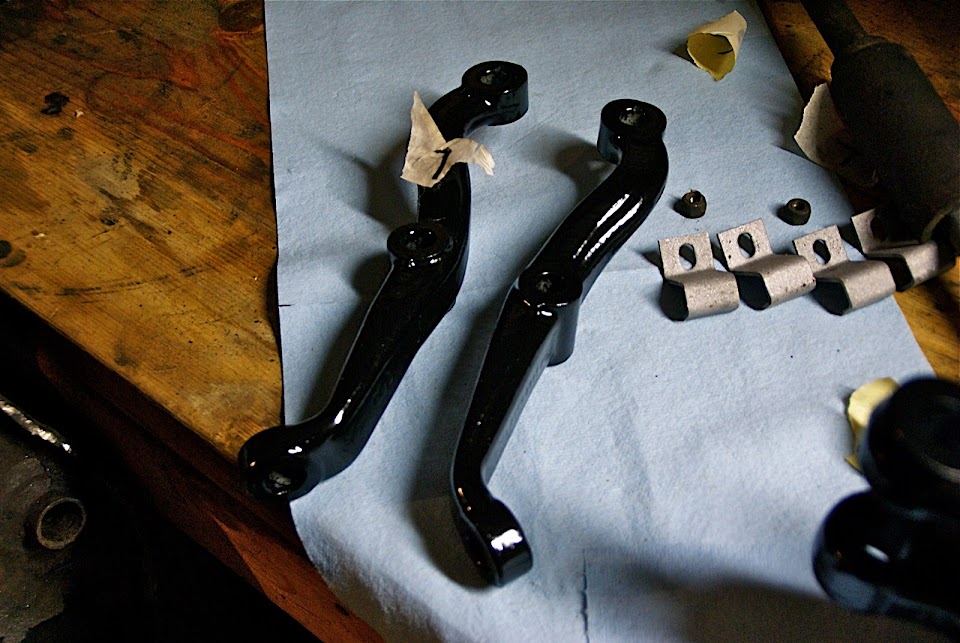
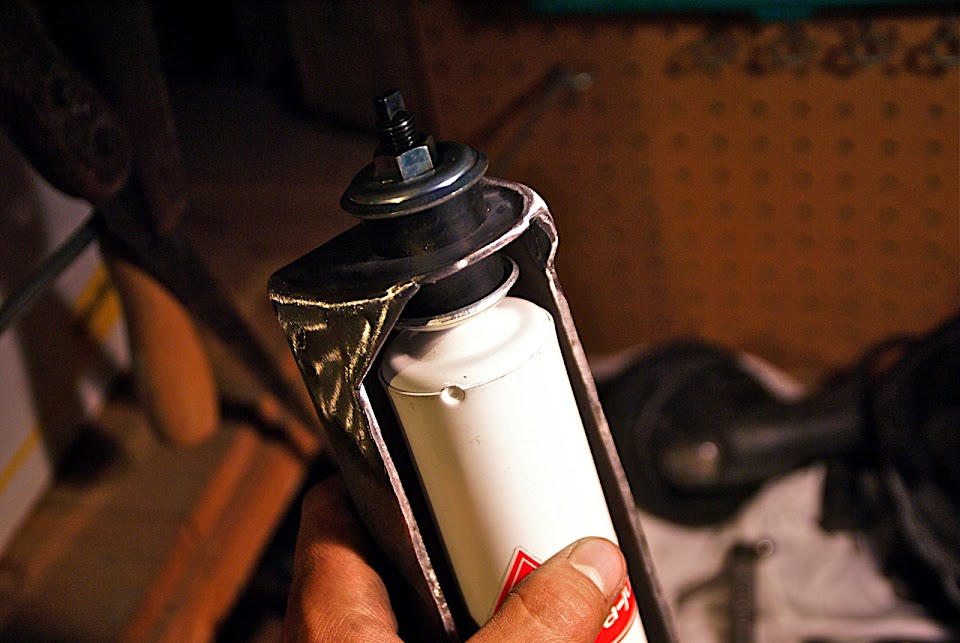
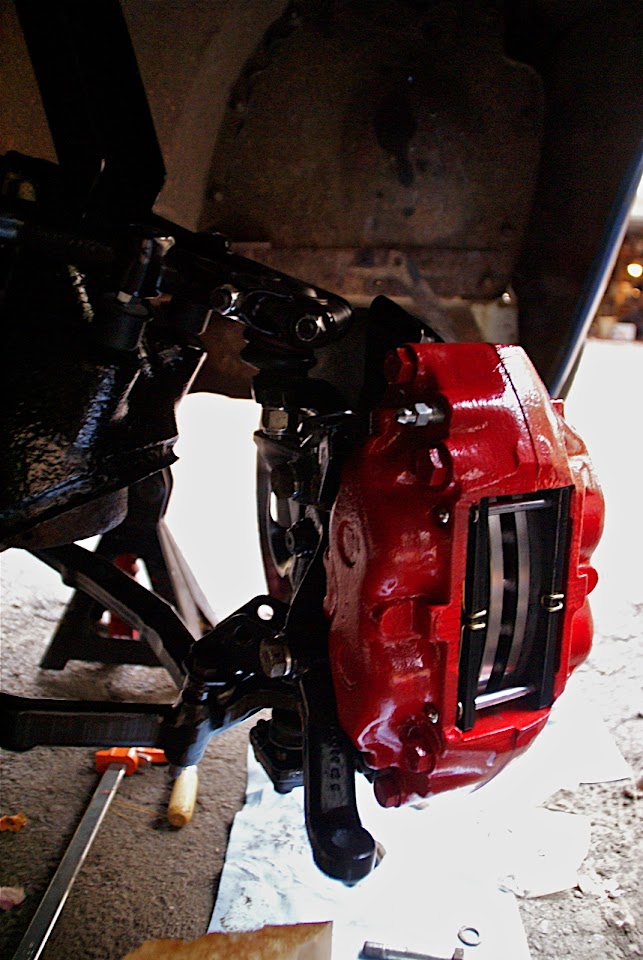
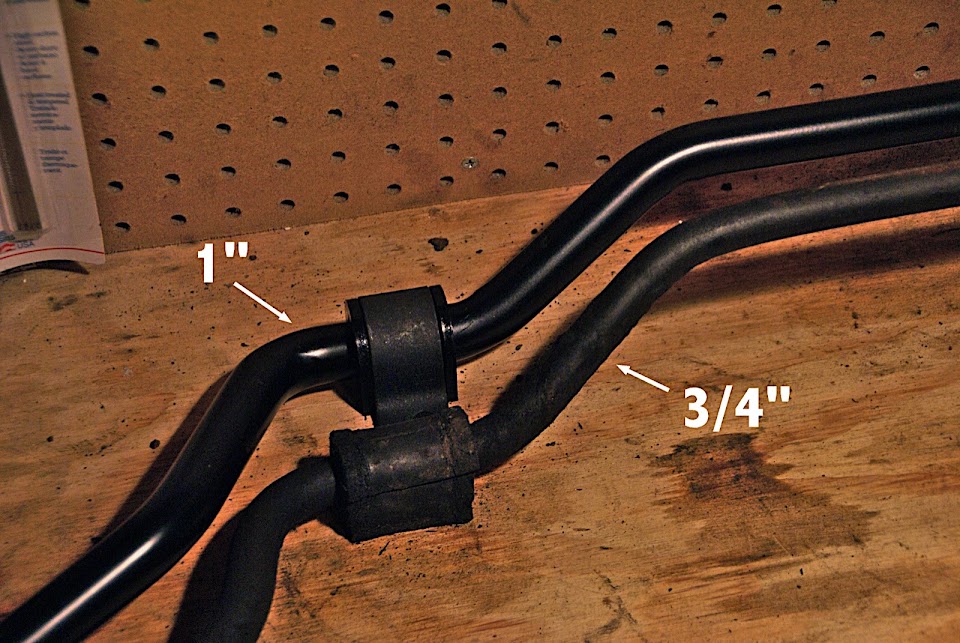
I also began ordering stuff to rebuild the suspension. I called up Andrew over at Jaguar Specialties and he walked me through the process. There are a few idiosyncrasies with the Jag IFS that you should be aware of when rebuilding them. I can write more about these for anyone who is interested. I treated myself to an upgraded 1” solid swaybar with poly bushings and end links. I decided to stay with rubber for the control arm bushings though, since I was hard-mounting the IFS anyway. I didn’t want the ride to be jarring. New Lemforder balljoints, Brembo rotors, etc. etc. completed the package. Of course, all of this can be gotten for less from places like RockAuto or even your local parts store. But whatever.
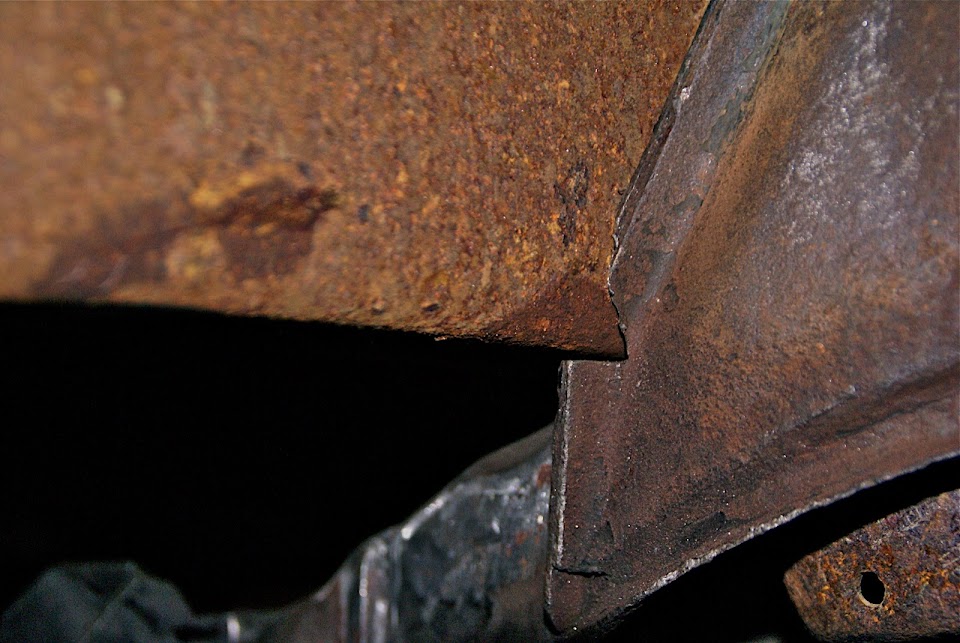
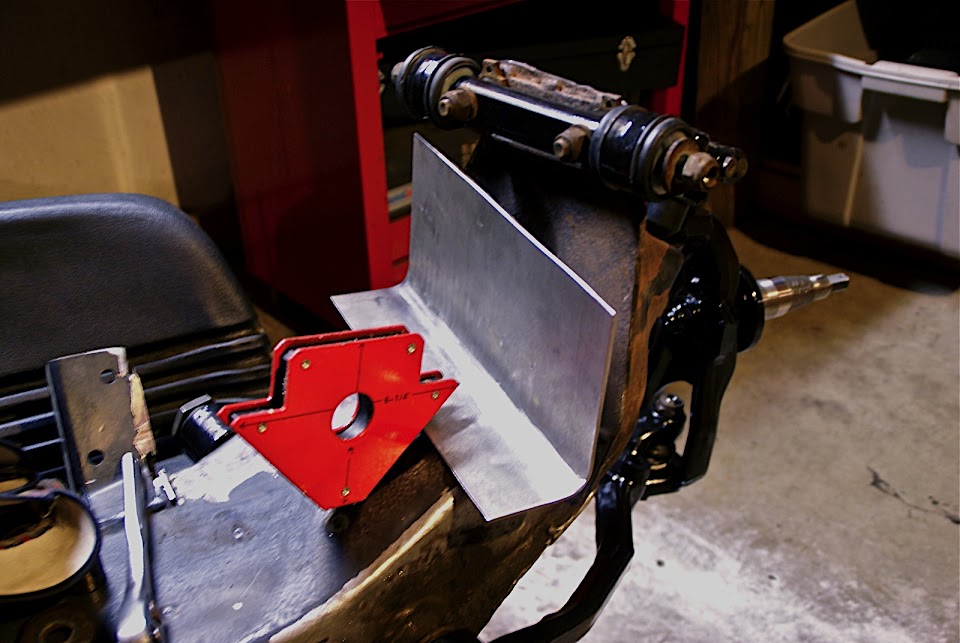
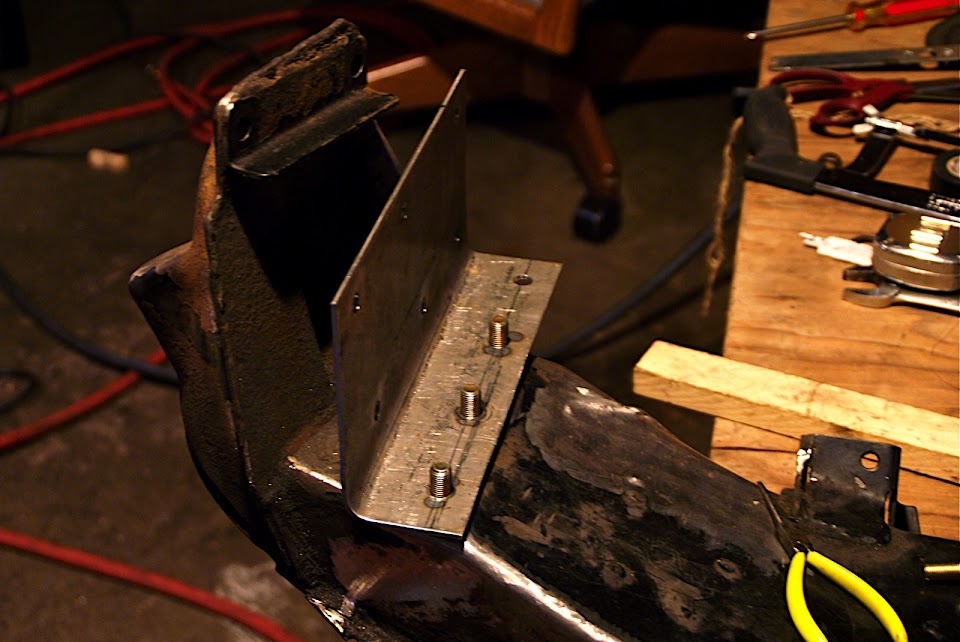
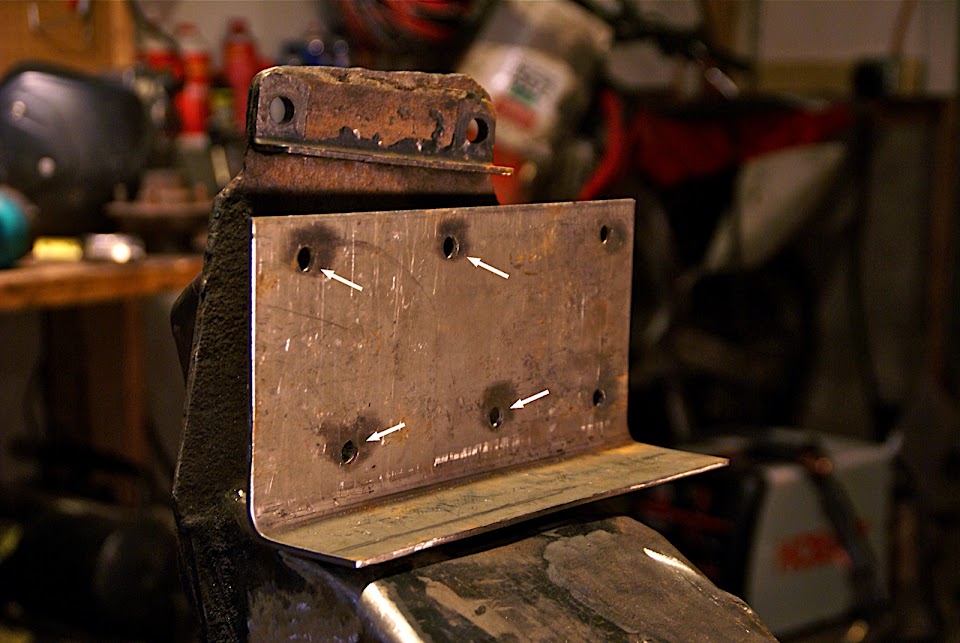
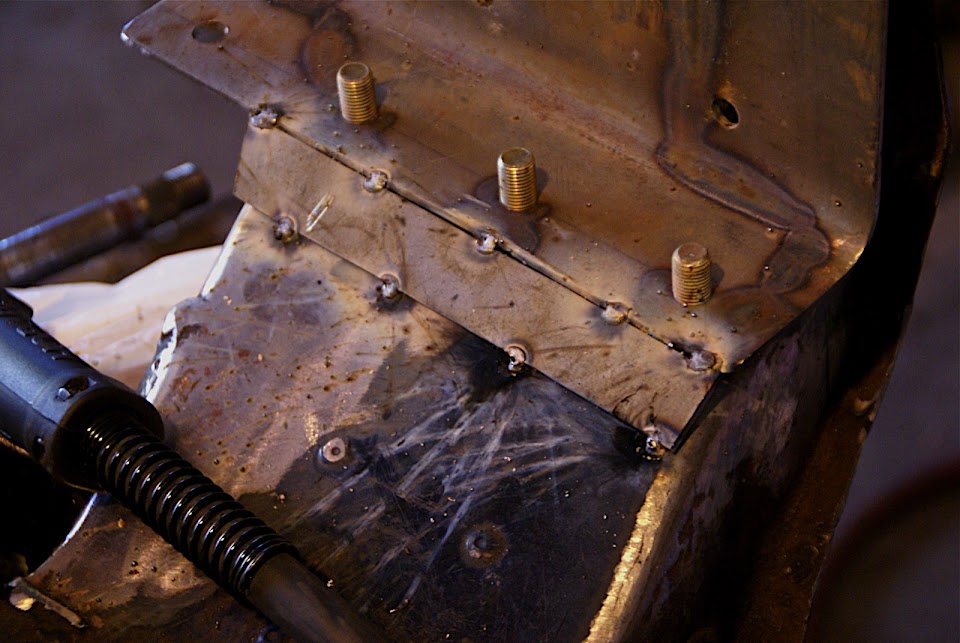
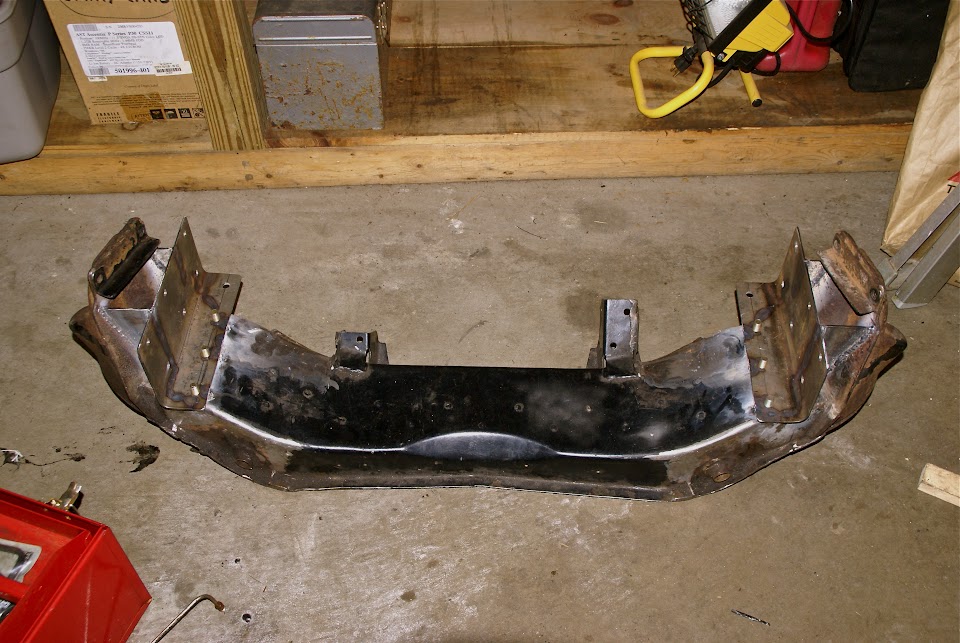
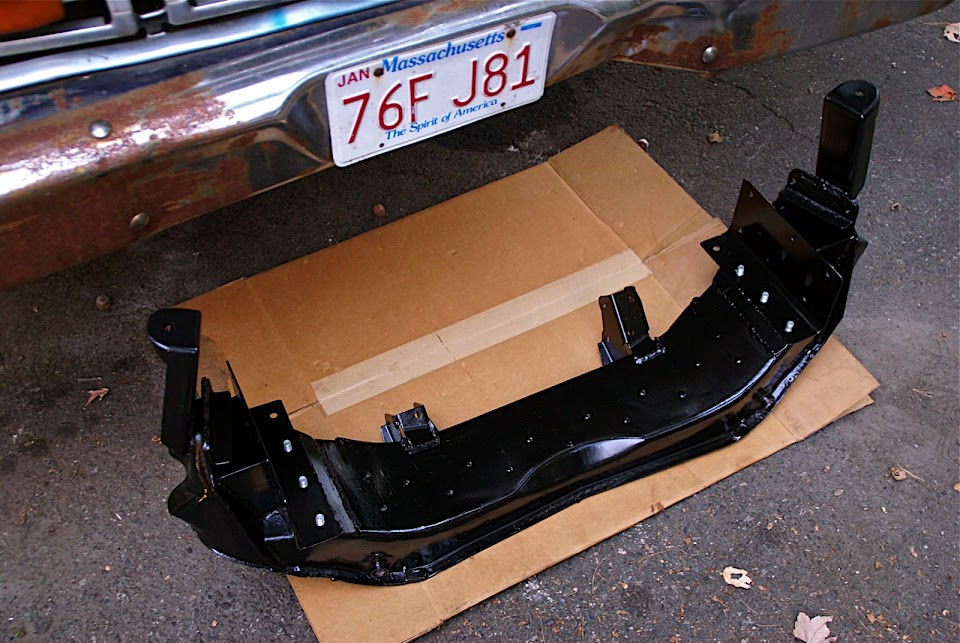
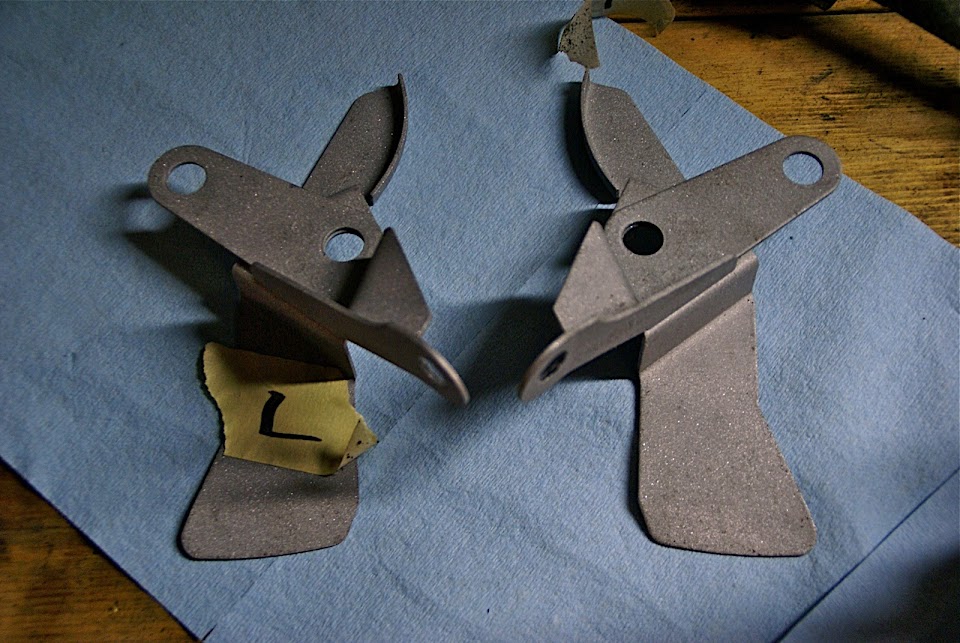
Since I wanted to solid mount the IFS, I cut off the awkward crossmember mounts and cleaned it all up with the grinder. I also trimmed any extraneous parts that didn’t need to be there.
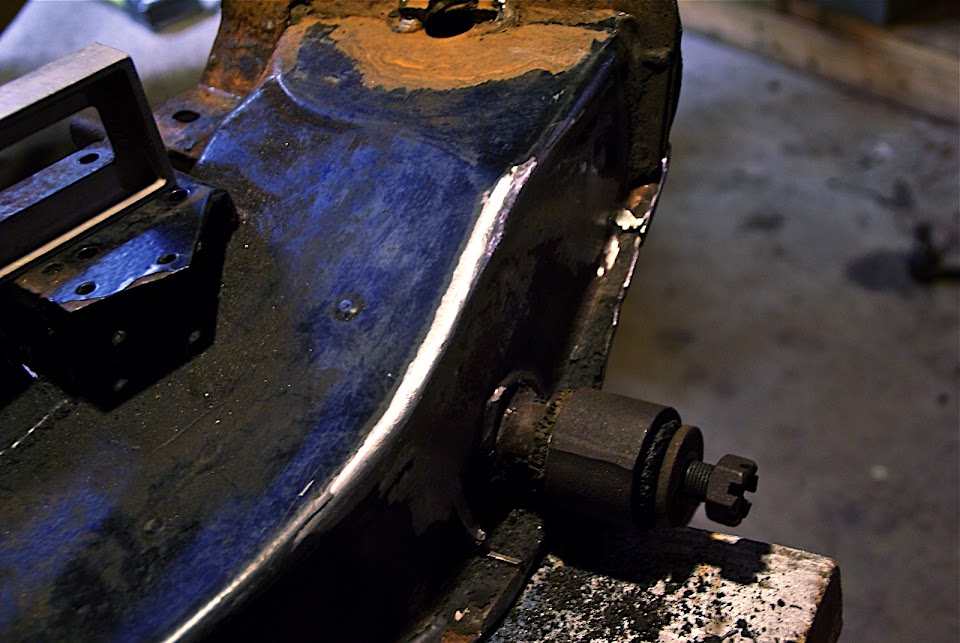
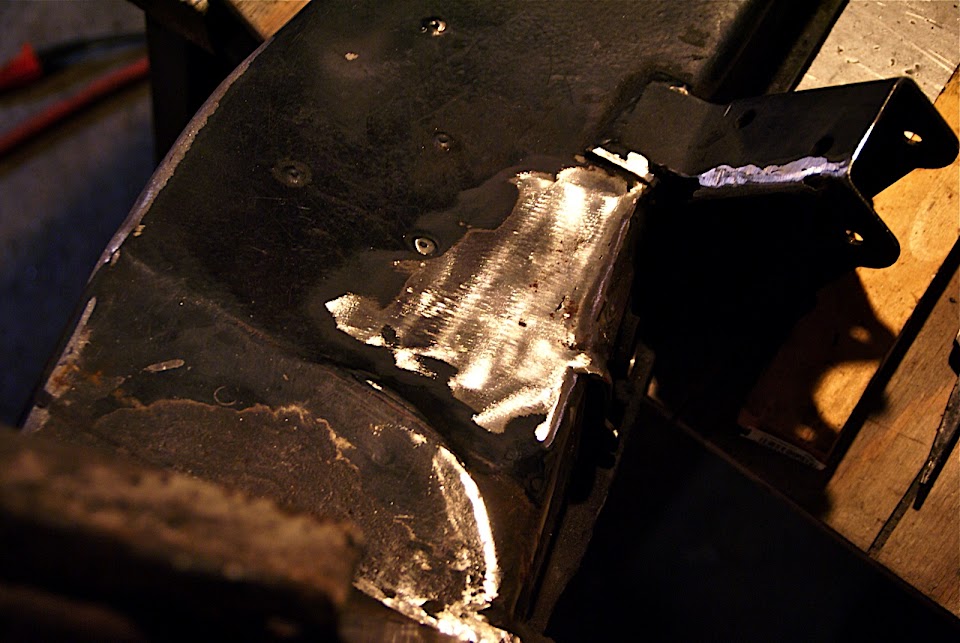
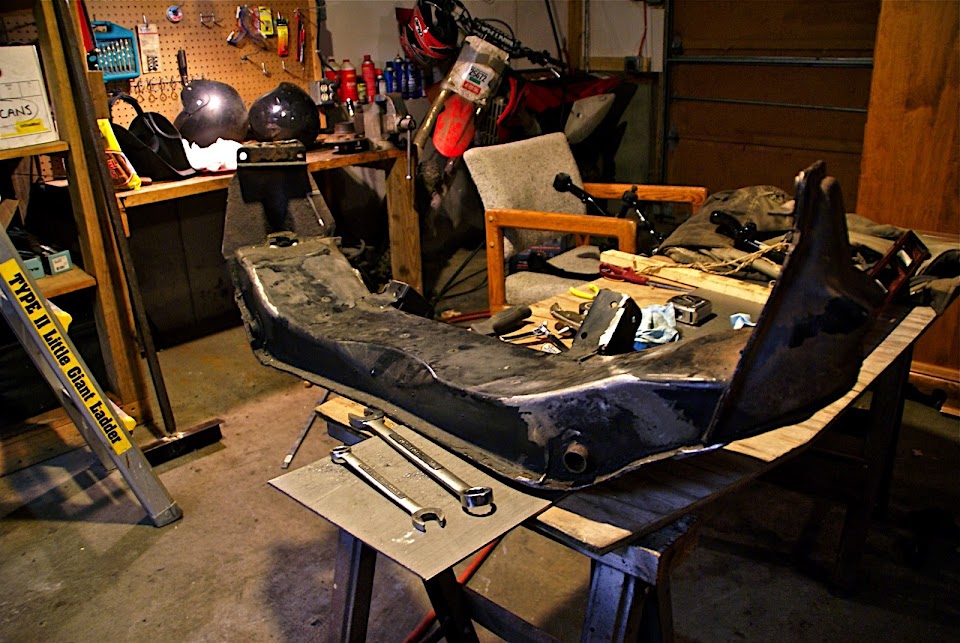
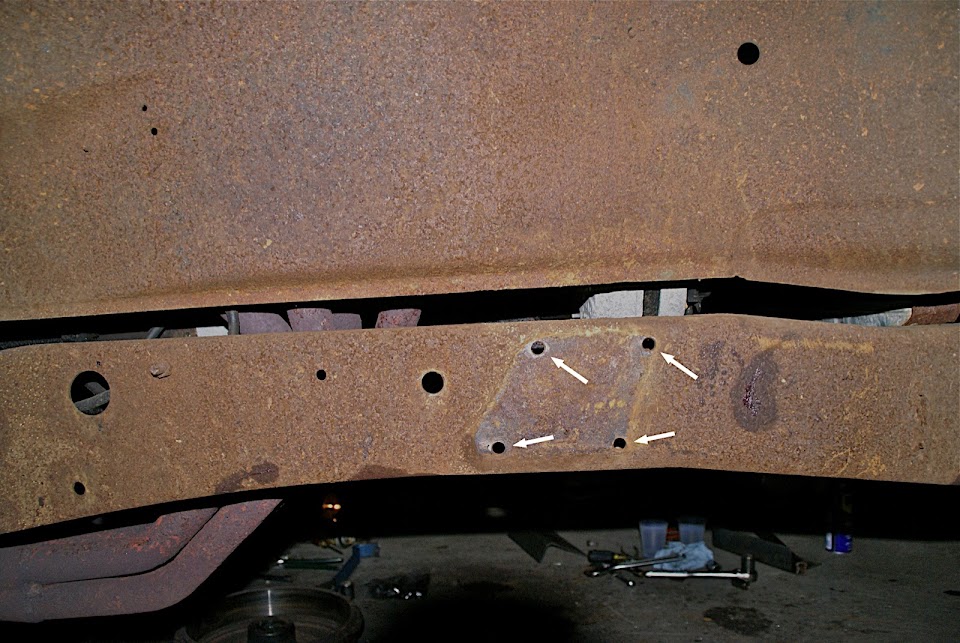
With the old suspension removed from the truck, it was easy to tell where the crossmember naturally wants to bolt up to. The original shock mount bolt holes are the perfect template to work from.