'66 F100 Custom Cab Short/Styleside Factory Correct Resto

A place just for our project & build threads.

Moderators: Kid, Casey 65

User avatar
theastronaut
Posts: 439
Joined: August 7, 2013, 10:43 am
Location: Upstate SC

Re: '66 F100 Custom Cab Short/Styleside Factory Correct Rest

Post by theastronaut »

Got the engine soda blasted and metal prepped. I'll prime/paint it this afternoon.

Image

Image


Had some rattle can color matched in urethane single stage.

Image

Image
User avatar
theastronaut
Posts: 439
Joined: August 7, 2013, 10:43 am
Location: Upstate SC

Re: '66 F100 Custom Cab Short/Styleside Factory Correct Rest

Post by theastronaut »

Painted the I-beams, backing plates, and steering arms.

Image

Image

Image


Also shot three coats of epoxy on the engine to give the paint better adhesion and also to somewhat smooth out the rough castings. This will make the paint lay down much nicer!

Image

Image

Image

Image
User avatar
theastronaut
Posts: 439
Joined: August 7, 2013, 10:43 am
Location: Upstate SC

Re: '66 F100 Custom Cab Short/Styleside Factory Correct Rest

Post by theastronaut »

I'll shoot the water pump and other blue parts separately. The valve covers and air filter housing will be bodyworked and sprayed with high build primer to smooth them out before painting. Might even wetsand/buff them! :uhmk:

Image

Image

Image
User avatar
theastronaut
Posts: 439
Joined: August 7, 2013, 10:43 am
Location: Upstate SC

Re: '66 F100 Custom Cab Short/Styleside Factory Correct Rest

Post by theastronaut »

Assembled the front brakes.

Image


Found some NOS spring buttons and assembled the spring packs, then loosely bolted them on the axle with new U bolts.

Image


Axle/springs installed on the frame.

Image

Image
User avatar
theastronaut
Posts: 439
Joined: August 7, 2013, 10:43 am
Location: Upstate SC

Re: '66 F100 Custom Cab Short/Styleside Factory Correct Rest

Post by theastronaut »

Started assembling the front suspension, enough to get it rolling. Still need to prime/paint the springs and steering parts. We need to find a someone to rebuild the steering box, any suggestions?

Image


Brakes assembled.

Image


Painted the shocks the correct black color.

Image
User avatar
theastronaut
Posts: 439
Joined: August 7, 2013, 10:43 am
Location: Upstate SC

Re: '66 F100 Custom Cab Short/Styleside Factory Correct Rest

Post by theastronaut »

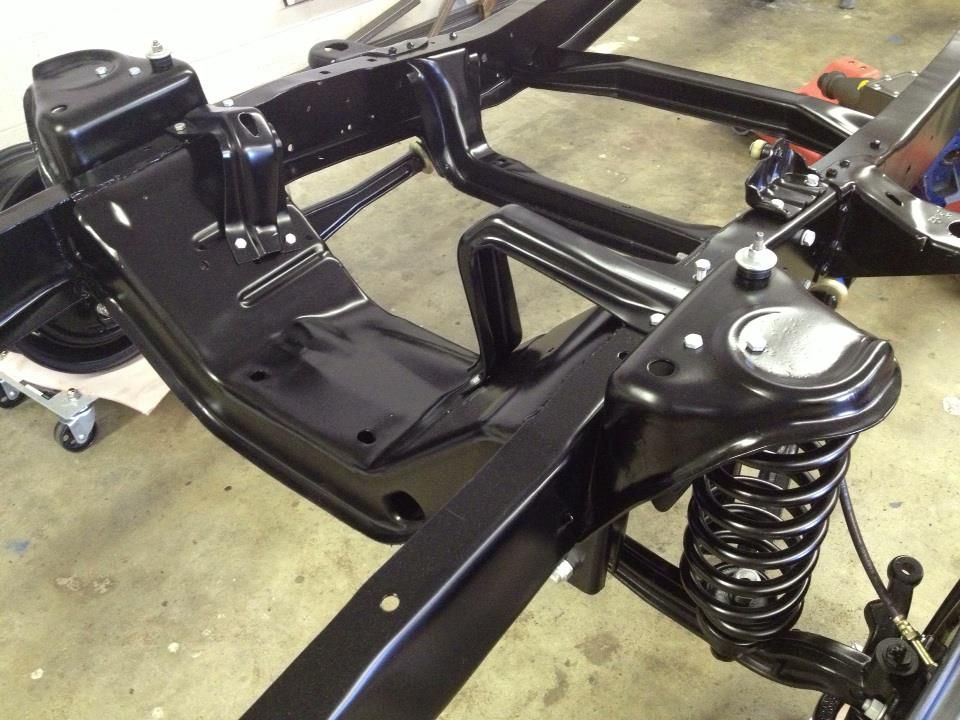
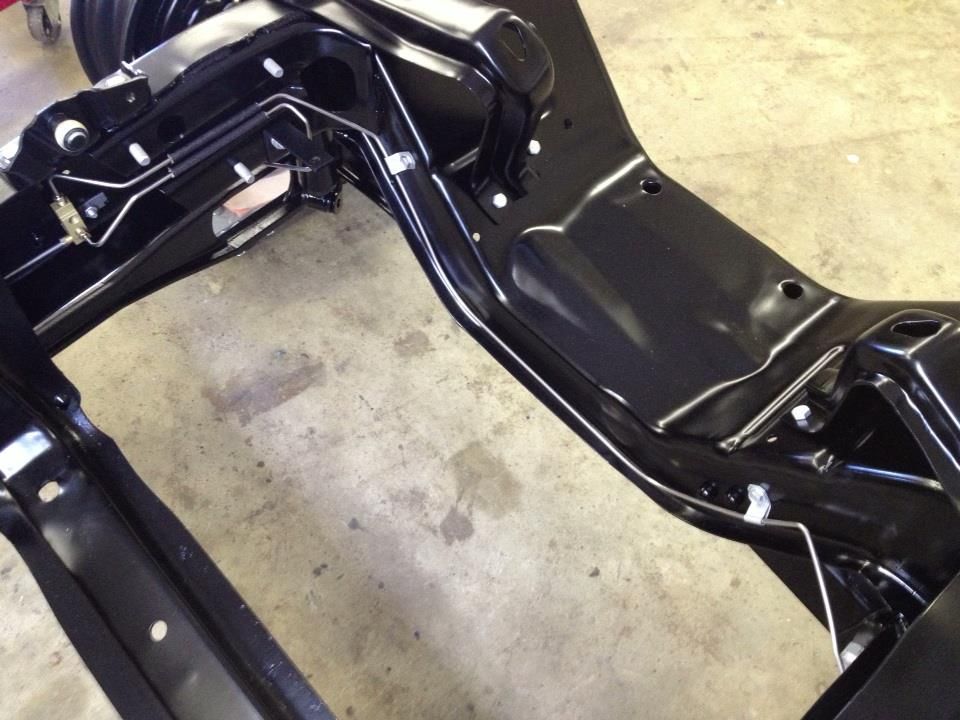
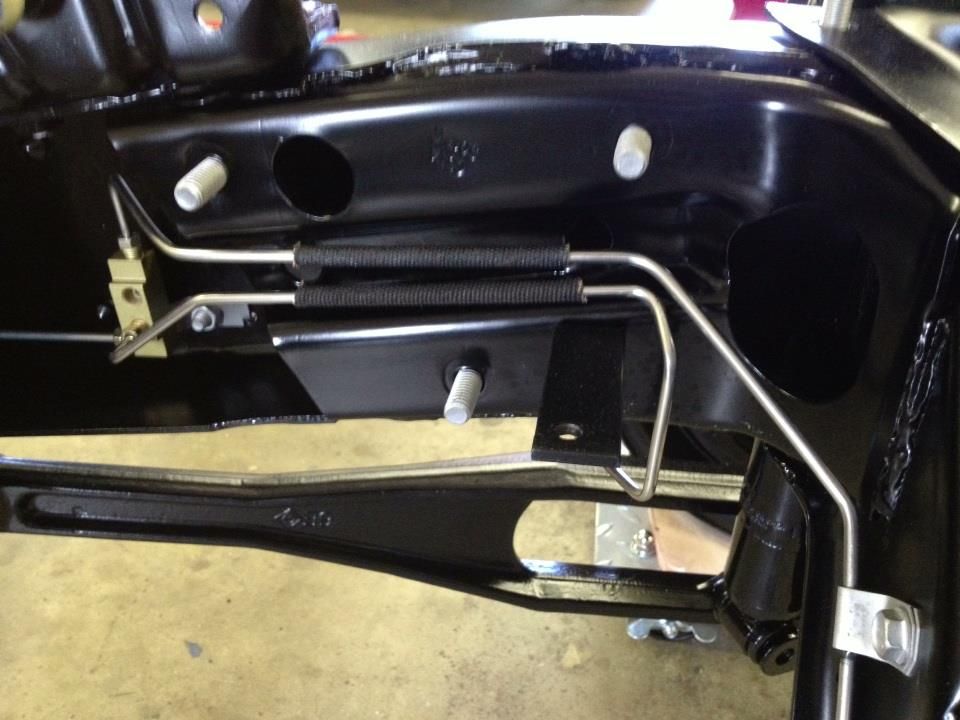
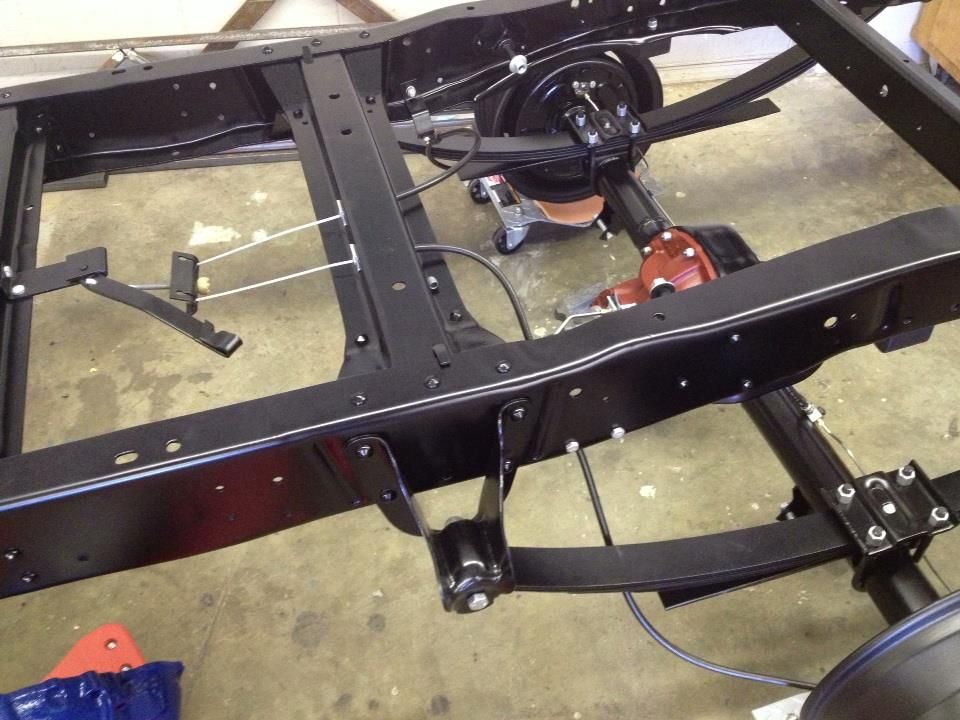
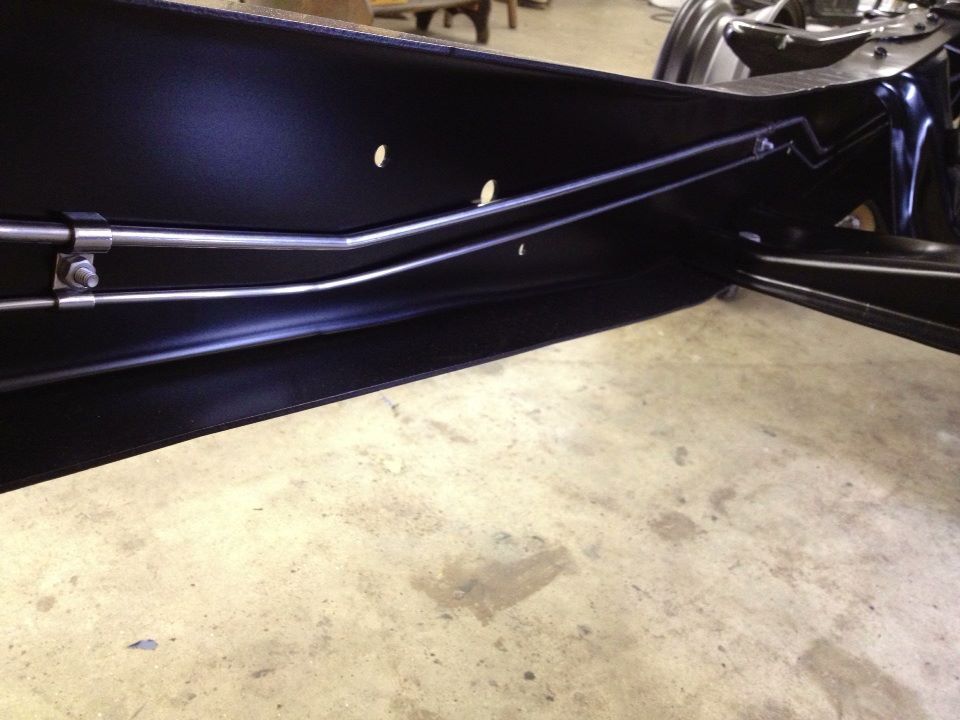
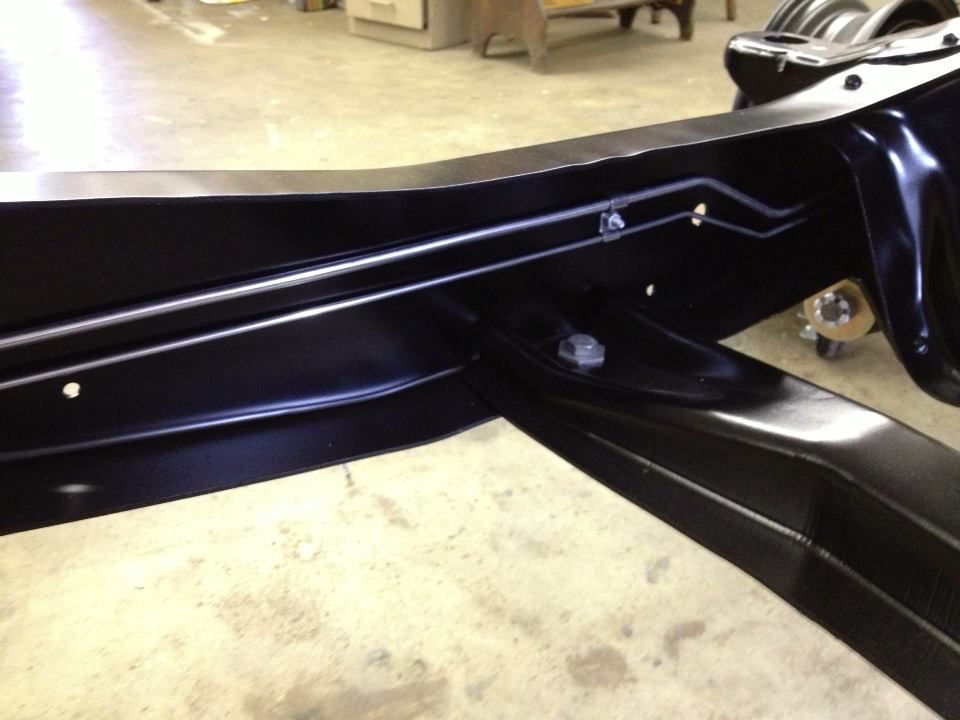
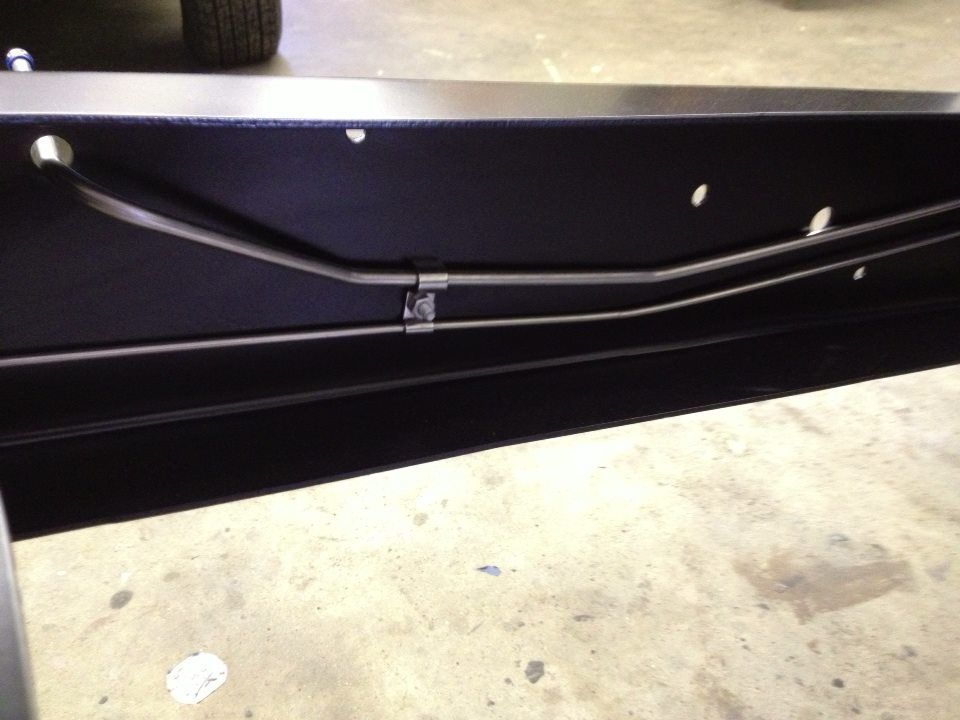
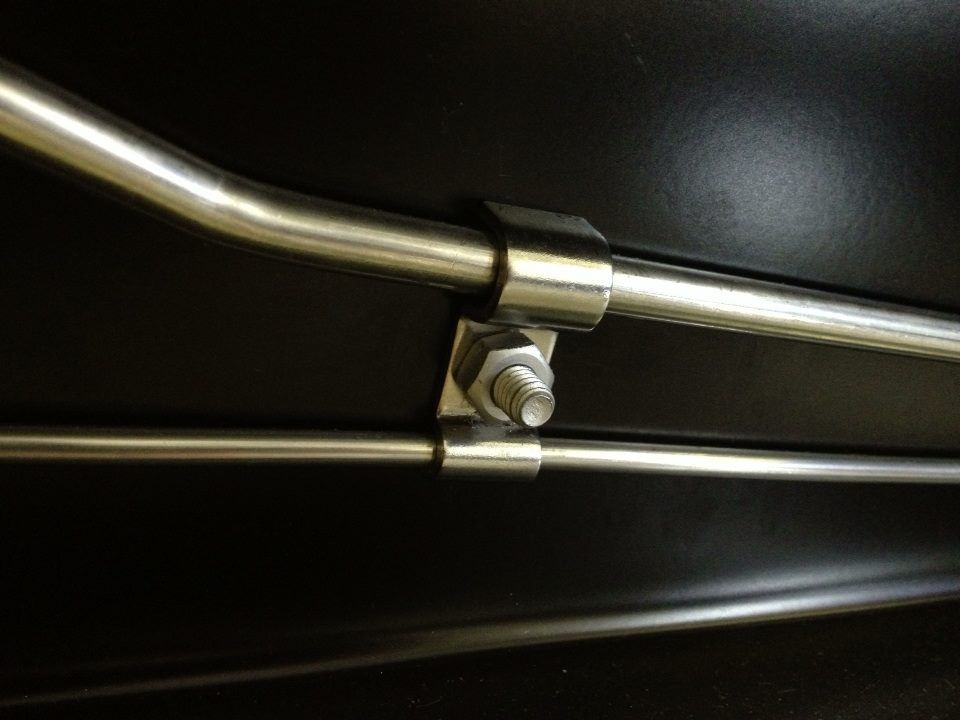
I primed/painted the front springs and trans X member and installed them. Also installed new stainless brake lines with detailed original clamps. The distribution block was soaked and cleaned, then bead blasted and cleared.

Image

Image

Image

Image


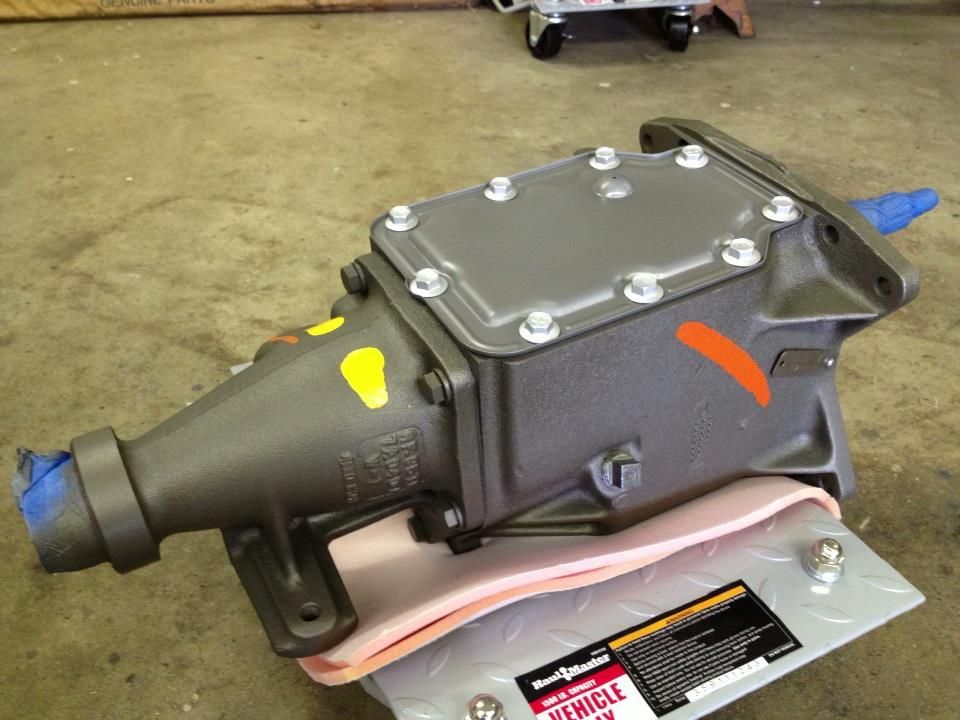
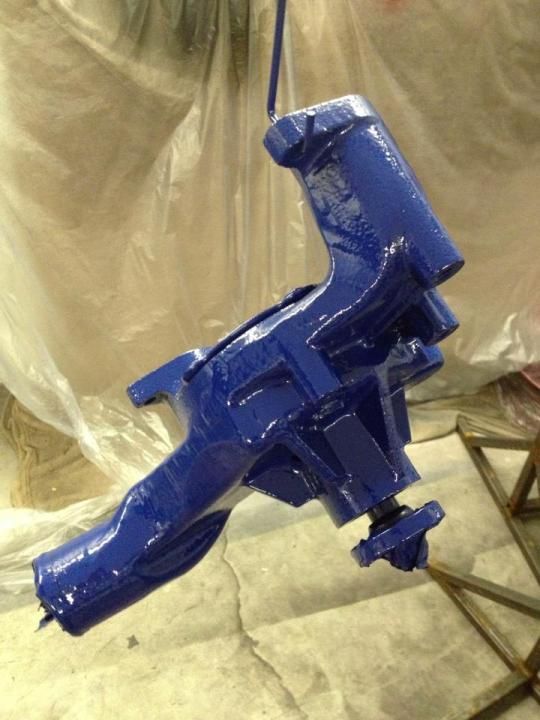
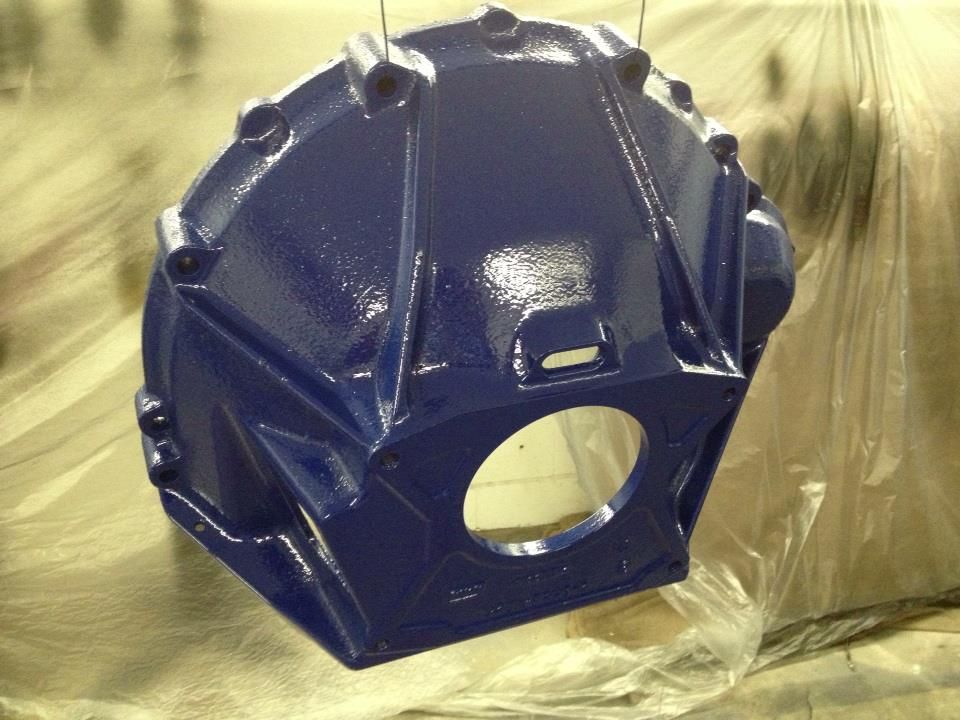
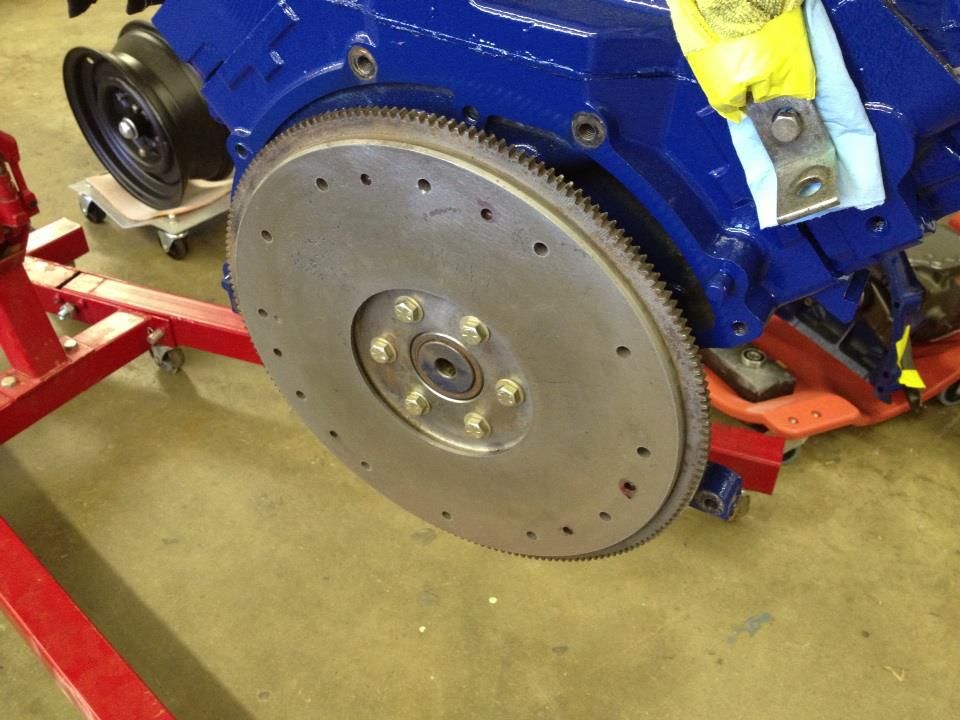
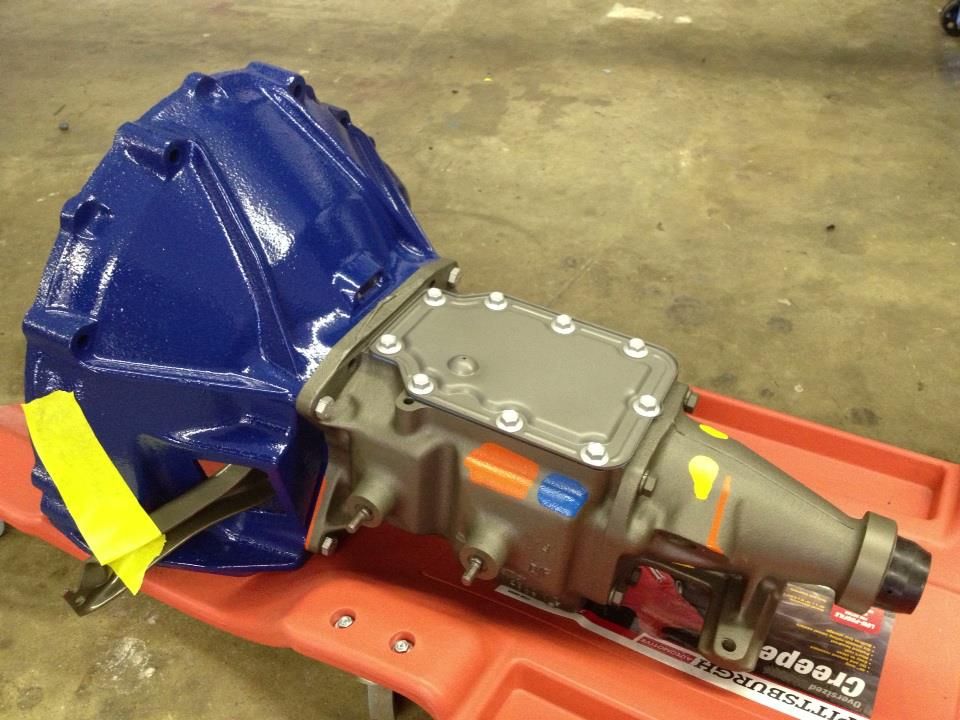
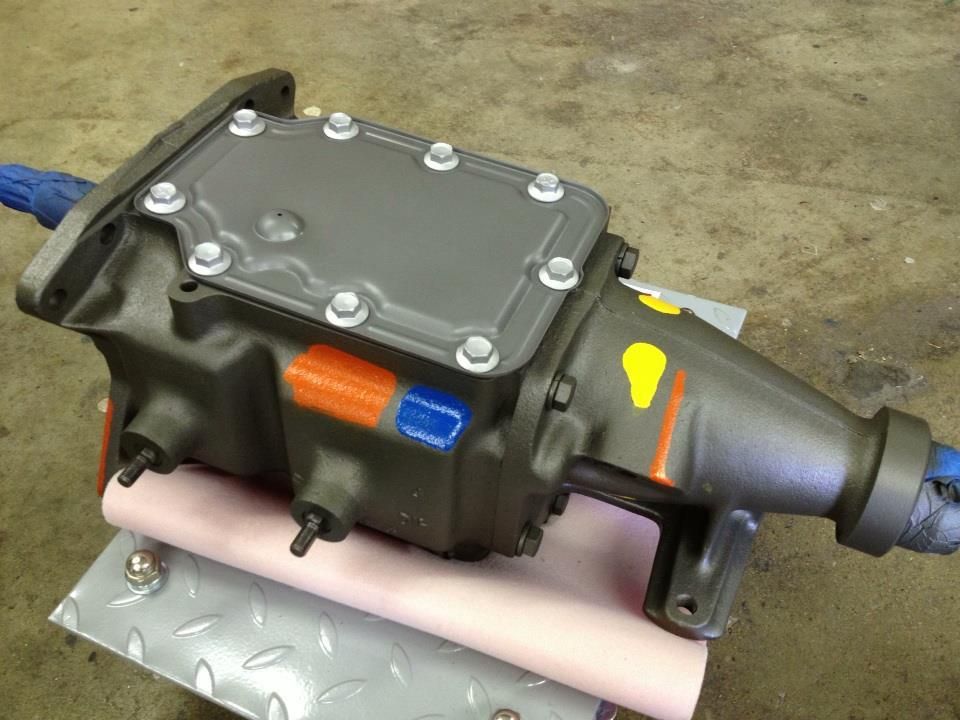
Resurfaced flywheel installed, painted the bellhousing and bolted it up with blasted/painted clutch fork. Also painted the water pump.

Image

Image

Image

Image
User avatar
mrgoob
Posts: 240
Joined: January 27, 2011, 9:01 pm
Location: Concord, NC

Re: '66 F100 Custom Cab Short/Styleside Factory Correct Rest

Post by mrgoob »

[quote="theastronaut"]Started assembling the front suspension, enough to get it rolling. Still need to prime/paint the springs and steering parts. We need to find a someone to rebuild the steering box, any suggestions?

I don't have any experience personally with these folks but here you go: http://www.larescorp.com/.


Beautiful job on the truck so far. Thank you for taking the time and effort to share. I really enjoyed the Gauge Cluster Restore thread as well.
User avatar
bird55
Posts: 558
Joined: February 16, 2009, 11:56 am
Location: Tulsa, Oklahoma
United States of America

Re: '66 F100 Custom Cab Short/Styleside Factory Correct Rest

Post by bird55 »

I really admire what the job you guys are doing.
So I'll be the one to ask, if I were to send my 64 to you for all this what kind of ballpark price are we talking?
Do you different levels of resto, or just all out?
User avatar
kstones63
Posts: 1504
Joined: April 7, 2007, 10:55 pm
Location: Phoenix, AZ
United States of America

Re: '66 F100 Custom Cab Short/Styleside Factory Correct Rest

Post by kstones63 »

This project looks great. Your attention to detail is really good.

And Welcome from Phoenix.

Kevin
kstones63
_______________________________________
63 F100
29 Ford Sedan Delivery
99 F250 PSD, 4x4, CC
95 F350 Flatbed Dually Diesel
User avatar
skidoorulz
Posts: 359
Joined: April 11, 2013, 9:02 pm
Location: Billings MT
United States of America

Re: '66 F100 Custom Cab Short/Styleside Factory Correct Rest

Post by skidoorulz »

bird55 wrote:I really admire what the job you guys are doing.
So I'll be the one to ask, if I were to send my 64 to you for all this what kind of ballpark price are we talking?
Do you different levels of resto, or just all out?


Knowing what I am going to have in mine with me doing 75% of the work. I am going to guess north of 50K by the time this one is done.
User avatar
totten
Posts: 284
Joined: January 1, 2012, 8:05 pm
Location: Erlanger,ky
United States of America

Re: '66 F100 Custom Cab Short/Styleside Factory Correct Rest

Post by totten »

Beautiful job restoring! Would love do that to mine when retired. Keep the pics. up. Thanks,Tony
1966 f-100 ranger,red and white,240,cruiseomatic,3.00 gear,a/c.
User avatar
theastronaut
Posts: 439
Joined: August 7, 2013, 10:43 am
Location: Upstate SC

Re: '66 F100 Custom Cab Short/Styleside Factory Correct Rest

Post by theastronaut »

mrgoob wrote:I don't have any experience personally with these folks but here you go: http://www.larescorp.com/.


Beautiful job on the truck so far. Thank you for taking the time and effort to share. I really enjoyed the Gauge Cluster Restore thread as well.


Thanks, we'll check into that company for the steering box rebuild. Glad you liked the thread for the cluster!


bird55 wrote:I really admire what the job you guys are doing.
So I'll be the one to ask, if I were to send my 64 to you for all this what kind of ballpark price are we talking?
Do you different levels of resto, or just all out?


Thanks! I don't doubt that we'll have 60-70K+ in the job when finished. I did a '65 C10 a few years back and didn't take it off the frame... I had over 1000 hours into it and around 15K in parts/materials. Reworking all of the sheetmetal so the gaps are flush and even takes a ton of time, along with all the little details you run into during reassembly. We pretty much only do full blown restorations, no daily driver quality work. We are finishing up an underhood restoration on a '70 El Camino SS 396. Didn't build the whole car but what we've touched is the same level of quality as the '66 Ford.


kstones63 wrote:This project looks great. Your attention to detail is really good.

And Welcome from Phoenix.

Kevin


Thanks Kevin!


skidoorulz wrote:
bird55 wrote:I really admire what the job you guys are doing.
So I'll be the one to ask, if I were to send my 64 to you for all this what kind of ballpark price are we talking?
Do you different levels of resto, or just all out?


Knowing what I am going to have in mine with me doing 75% of the work. I am going to guess north of 50K by the time this one is done.


It adds up quick when you have to pay a shop to do the whole thing! I'm building a mild pro-touring/resto-mod '66 C10 of my own, won't be painting it, and I'll have atleast 20-25K in it when finished.


totten wrote:Beautiful job restoring! Would love do that to mine when retired. Keep the pics. up. Thanks,Tony


Thanks Tony! These are all old pics so far, I'll work on catching the thread up to where we're at now.
User avatar
theastronaut
Posts: 439
Joined: August 7, 2013, 10:43 am
Location: Upstate SC

Re: '66 F100 Custom Cab Short/Styleside Factory Correct Rest

Post by theastronaut »

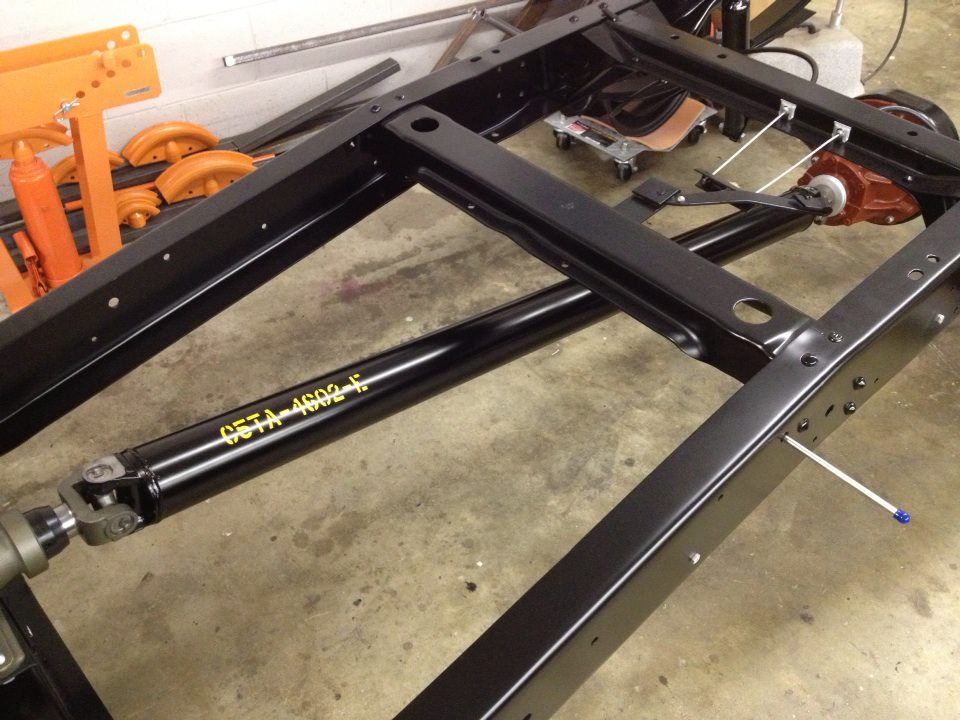
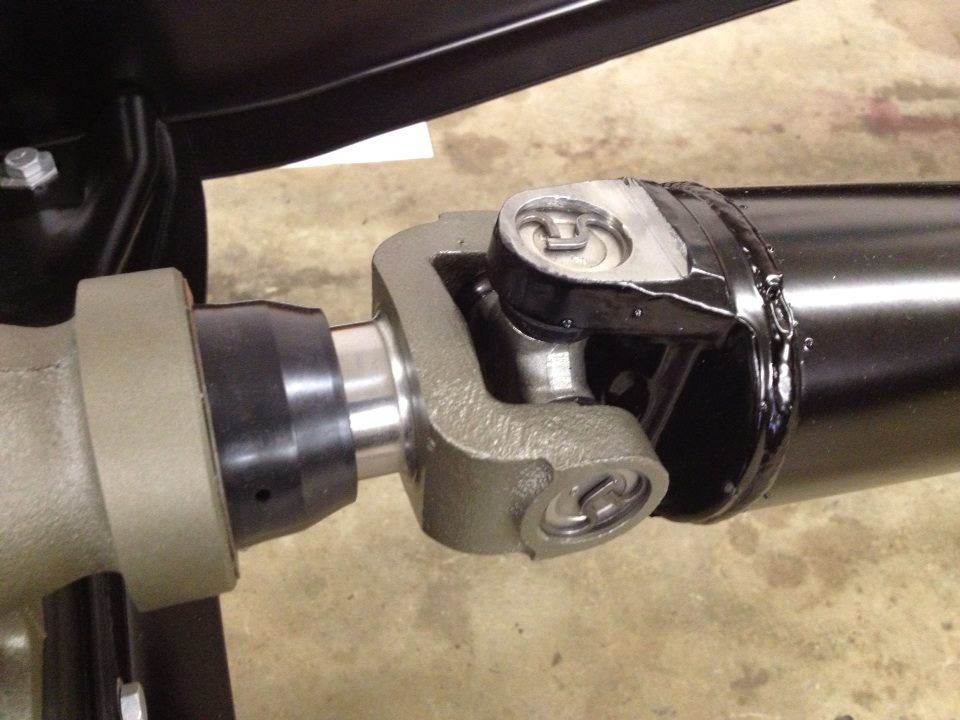
Found numbers stamped on the driveshaft so we'll replicate them. Also detailed the yoke and installed it. Wetsanded the shaft and put it on the buffer before masking and painting it a cast color.

Image

Image
User avatar
theastronaut
Posts: 439
Joined: August 7, 2013, 10:43 am
Location: Upstate SC

Re: '66 F100 Custom Cab Short/Styleside Factory Correct Rest

Post by theastronaut »

Driveshaft is blasted, epoxied, wetsanded, and painted. We had a stencil made at a local decal shop to replicate the original part number stamp in the original font.

Image

Image

Image
User avatar
theastronaut
Posts: 439
Joined: August 7, 2013, 10:43 am
Location: Upstate SC

Re: '66 F100 Custom Cab Short/Styleside Factory Correct Rest

Post by theastronaut »

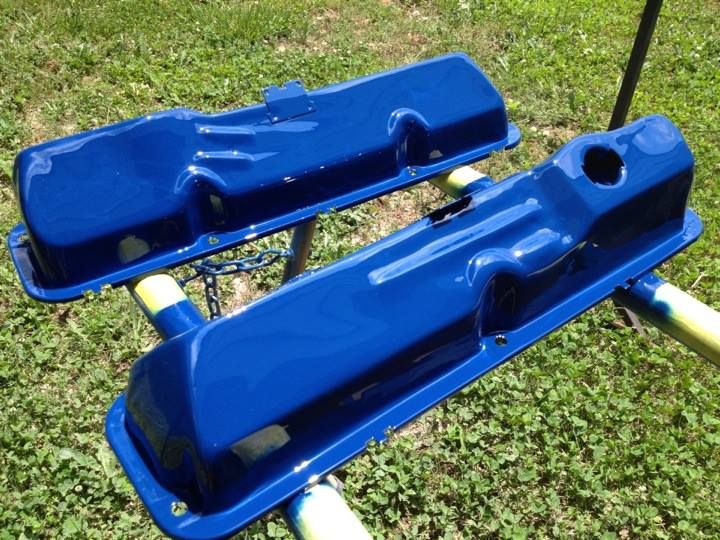
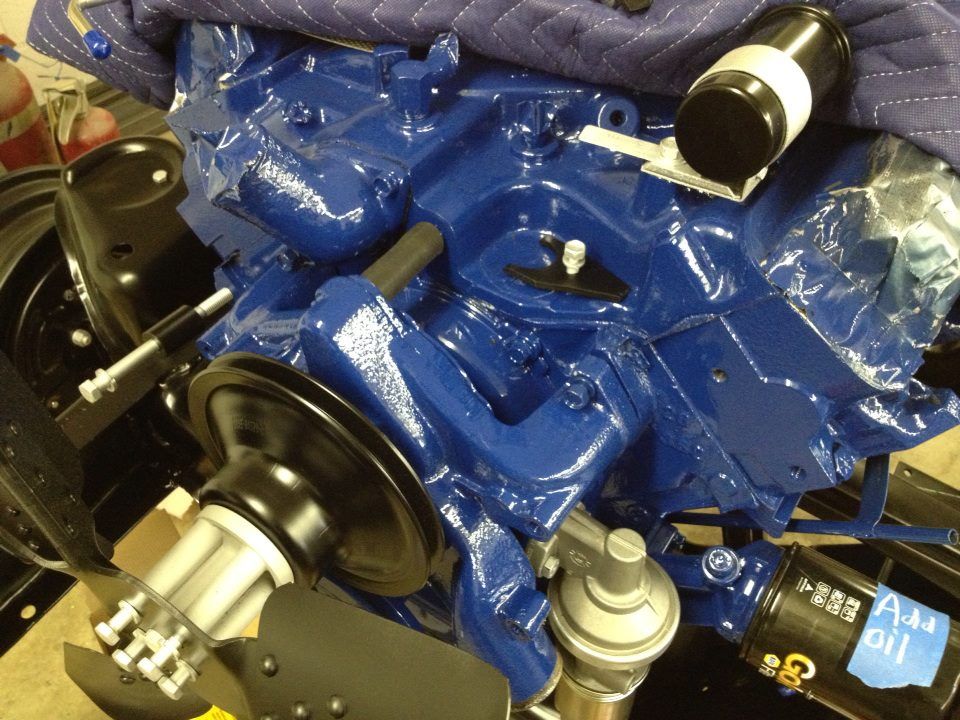
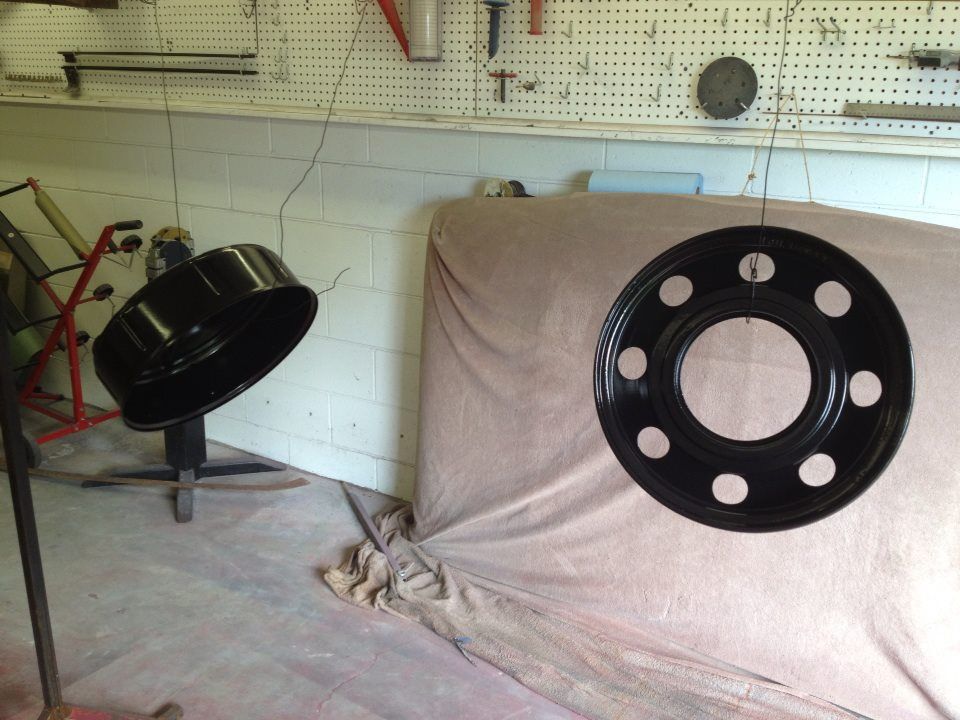
We blasted the valve covers, then I shot them with DTM high build to fill the minor rust pits, wetsanded them smooth, then sprayed three coats of urethane single stage.

Image


Driveshaft is installed with detailed U-joints.

Image

Image


Started painting and installing some of the engine parts. Waiting on the bypass hose clamps, alternator, distributor, flanged manifold bolts, and starter to come in so we can finish it up. Also need to find a carburetor.

Image
User avatar
theastronaut
Posts: 439
Joined: August 7, 2013, 10:43 am
Location: Upstate SC

Re: '66 F100 Custom Cab Short/Styleside Factory Correct Rest

Post by theastronaut »

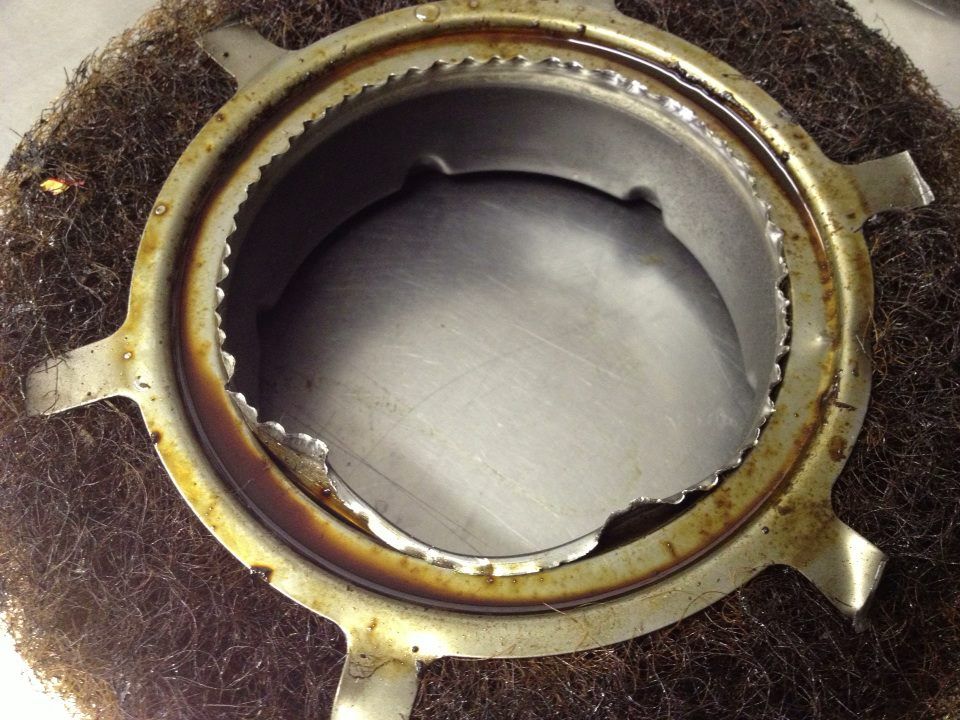
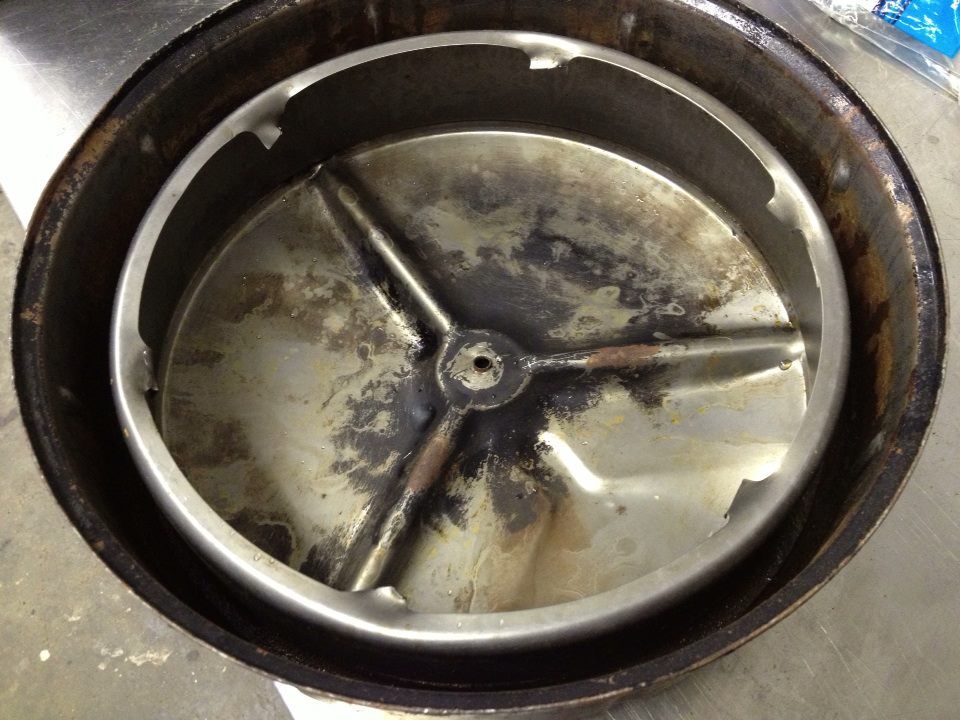
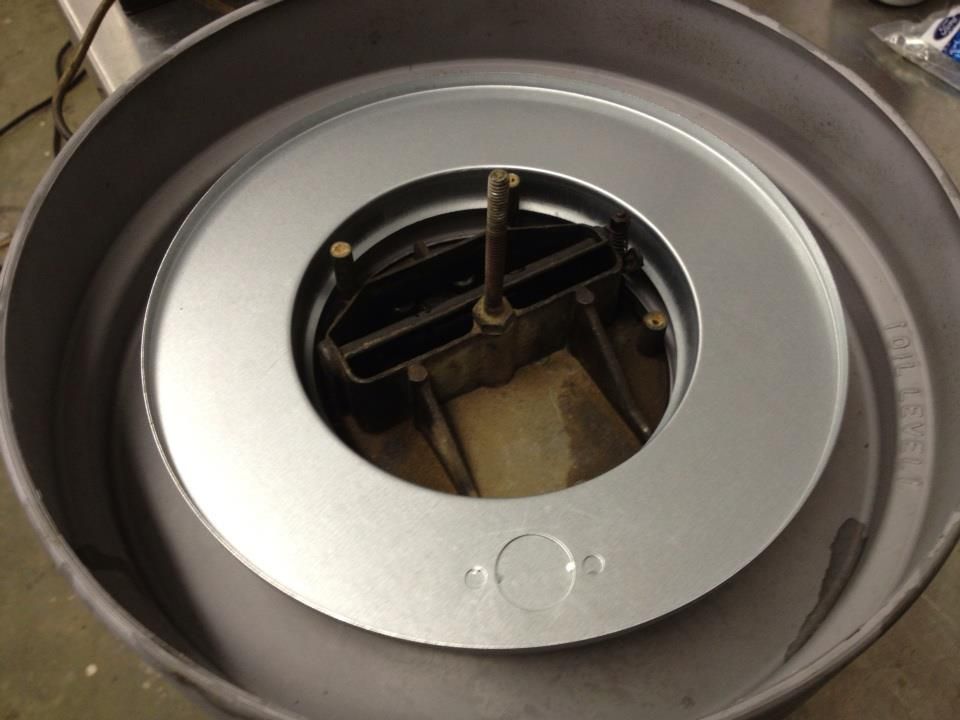
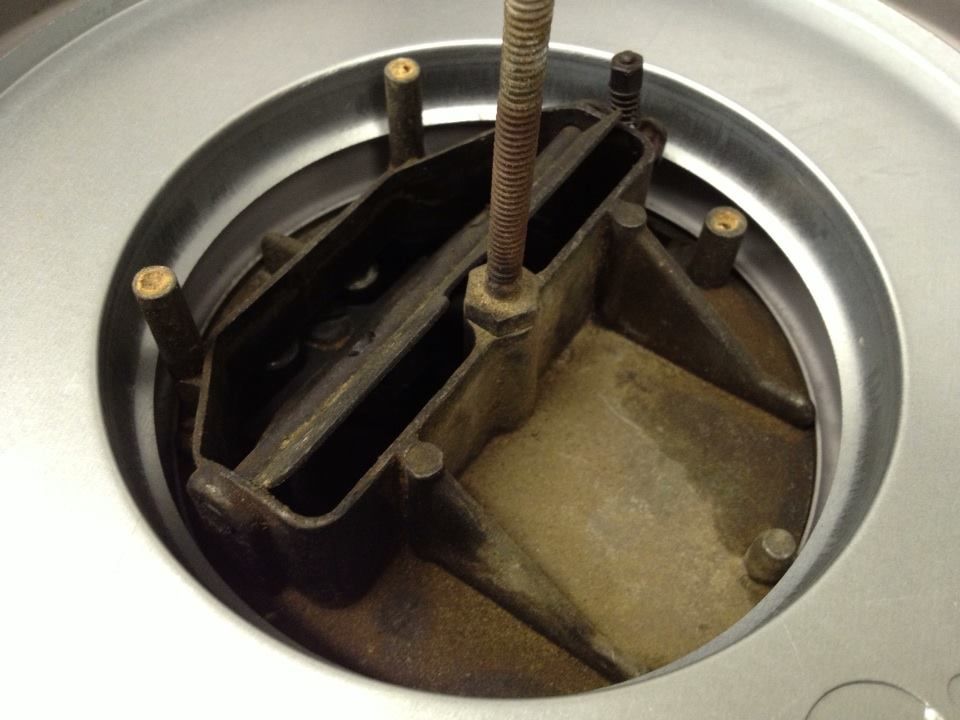
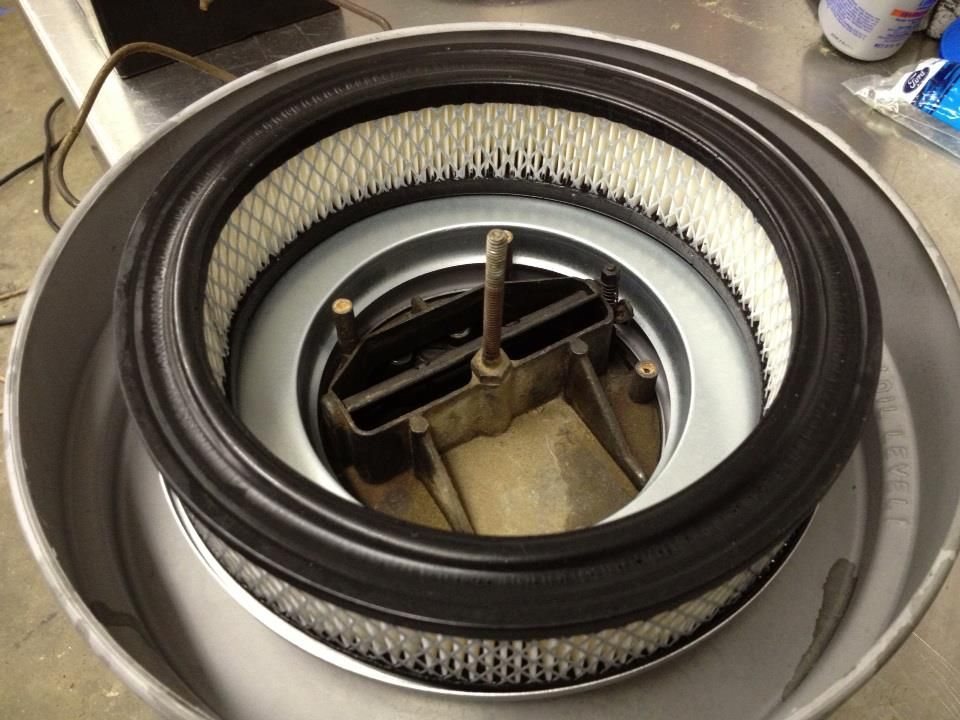
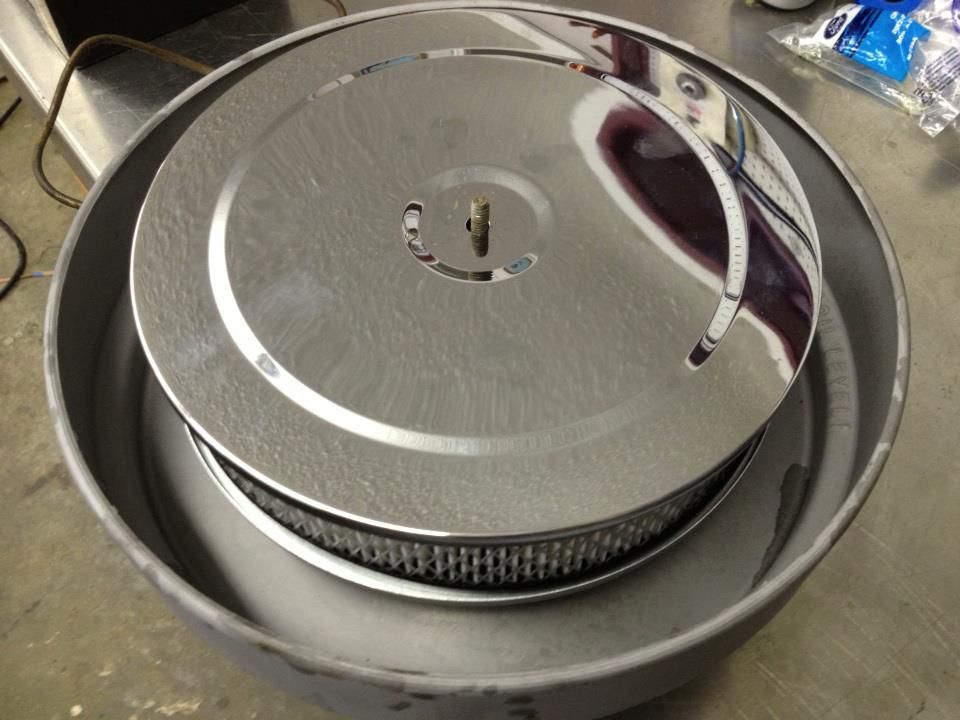
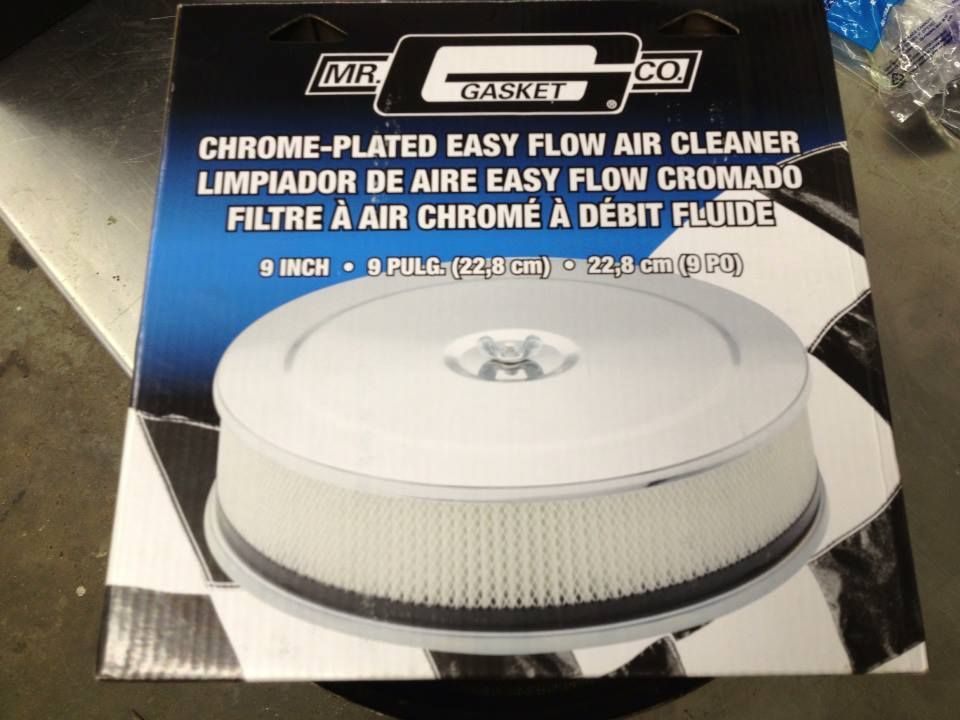
We converted the oil bath on the '66 to a paper filter using a universal 9" round Mr Gasket air cleaner. The height is perfect to keep the outer lid in the right position. No need to fabricate or weld in upper/lower plates to seal the filter or hunt around for the right filter. The original fiber filter was falling apart so we didn't want any of it getting it in the engine. Also didn't want it backfiring and puking oil all over the detailed engine!


Uncrimped the inner flange and cut the "spokes" around the edges to remove the old filter material that was disintegrating.

Image


I still need to remove the inner ring on the original lid for more filter clearance.

Image


The new air filter base fits perfectly over the original base. I will drill ~1" holes around the perimeter of the original base for easier air intake.

Image

Image

Image

Image


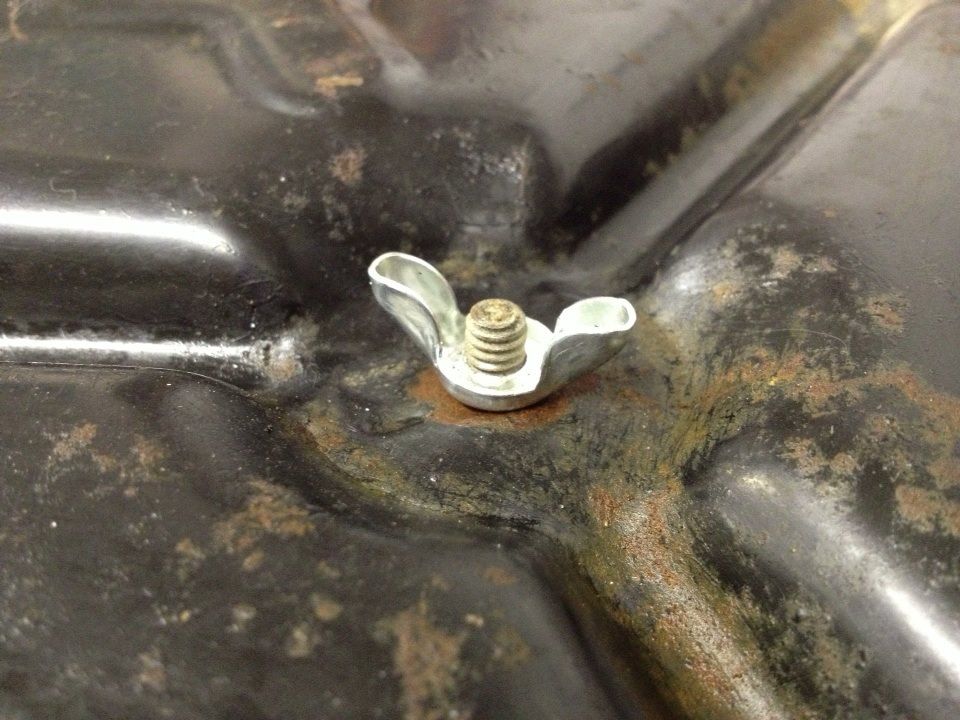
Just enough of the stud sticks through for the wingnut.

Image

Image


Finished up the mods on the air cleaner- drilling holes in the base for better air flow and cutting out the inner ring of the lid to clear the new inner filter. Then blasted and primed it with DPLF epoxy.

Image


The new fuel lines came in so they're installed with new stainless clamps.

Image

Image

Image

Image
Post Reply