'66 F100 Custom Cab Short/Styleside Factory Correct Resto

A place just for our project & build threads.

Moderators: Kid, Casey 65

User avatar
theastronaut
Posts: 439
Joined: August 7, 2013, 10:43 am
Location: Upstate SC

Re: '66 F100 Custom Cab Short/Styleside Factory Correct Rest

Post by theastronaut »

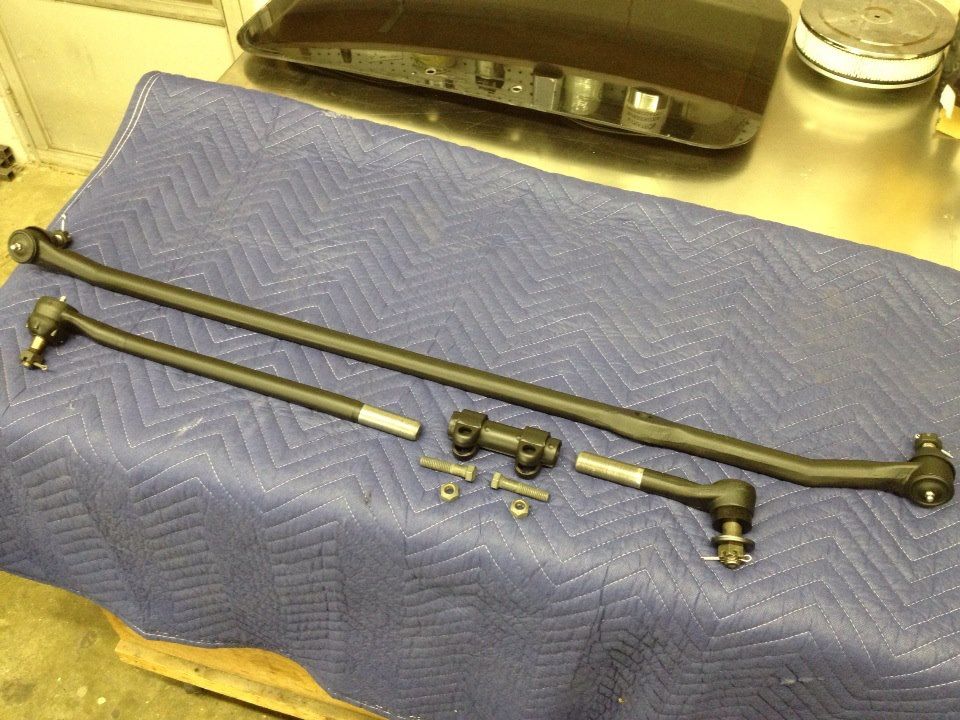
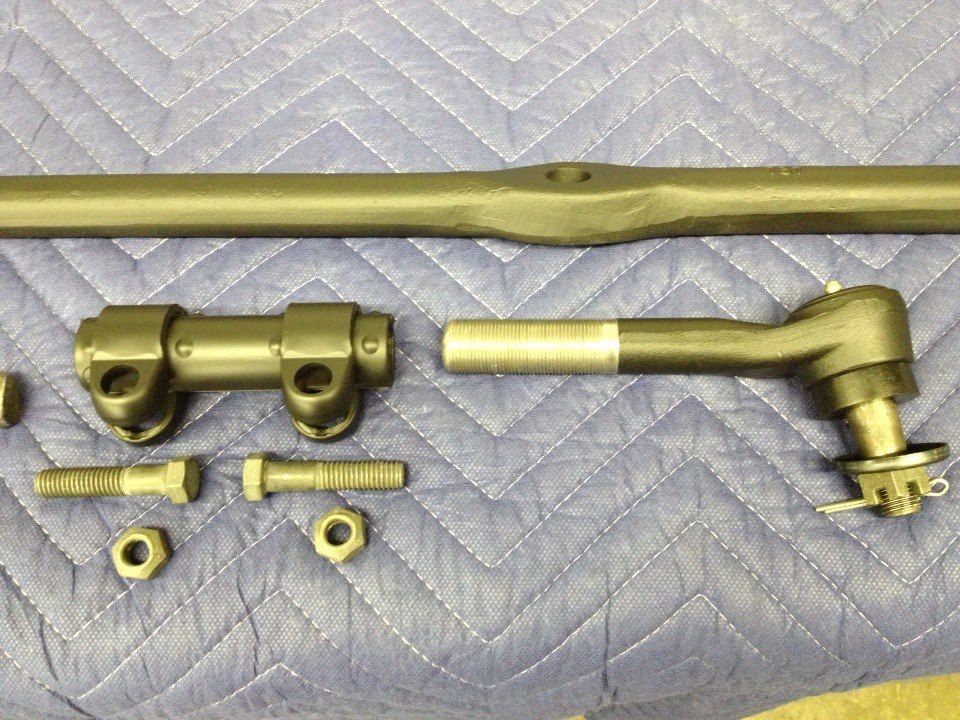
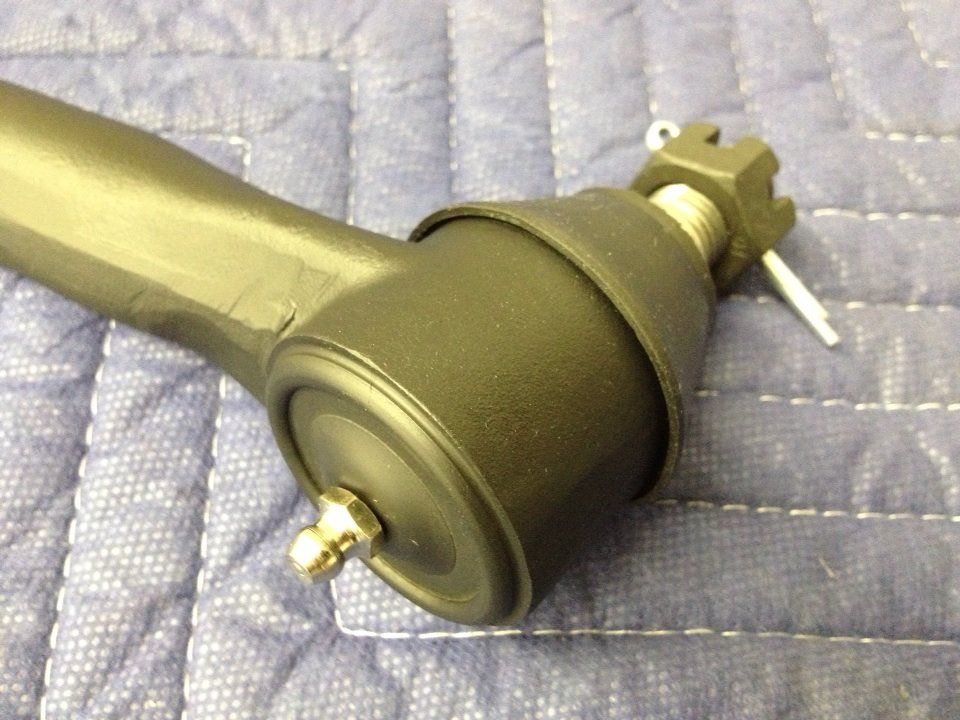
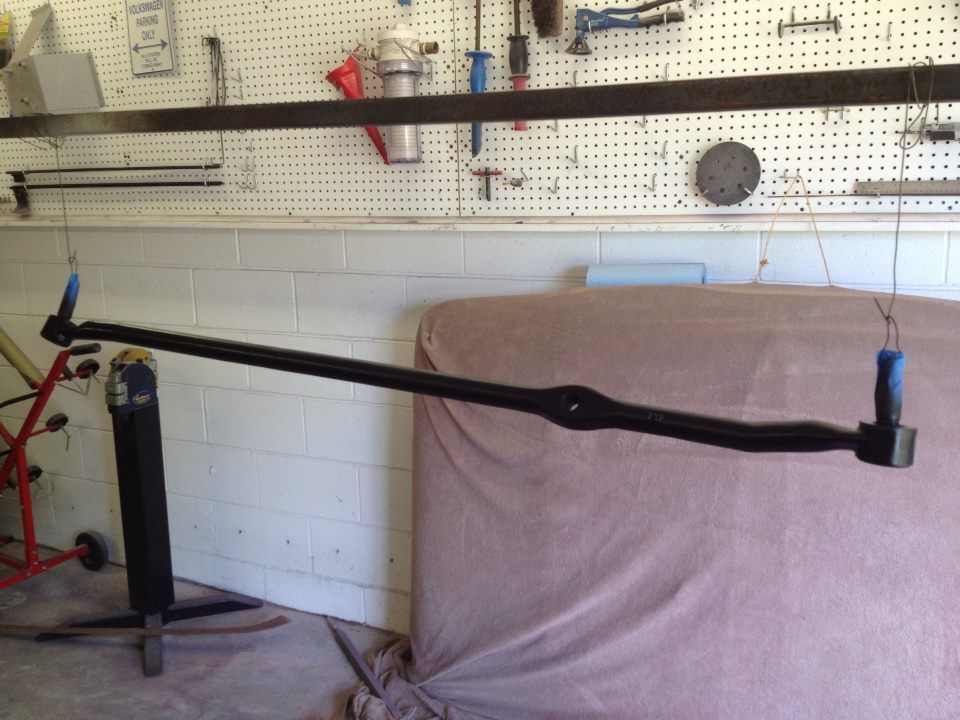
Painted/detailed the tie rods.

Image


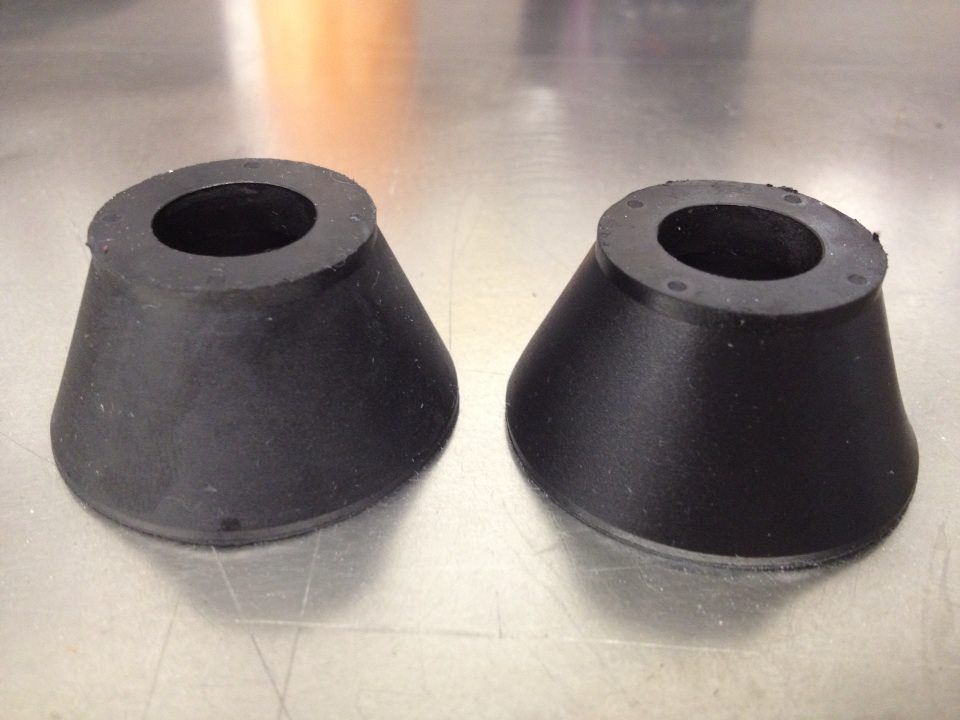
Cleaned the boots with 3M adhesive remover to clean the mold release wax off, then applied Duragloss Rubber and Vinyl Dressing, before and after.

Image


Image

Image

Image
User avatar
theastronaut
Posts: 439
Joined: August 7, 2013, 10:43 am
Location: Upstate SC

Re: '66 F100 Custom Cab Short/Styleside Factory Correct Rest

Post by theastronaut »

Air filter lid was sprayed with epoxy, minor dings filled and blocked flat, shot with high build, then flat areas blocked with 180, then wetsanded with 600. I sprayed it with the same single stage urethane we've been using, but added 25% flattener instead of the usual 33%.

Image

Image

Image

Image

Image
User avatar
theastronaut
Posts: 439
Joined: August 7, 2013, 10:43 am
Location: Upstate SC

Re: '66 F100 Custom Cab Short/Styleside Factory Correct Rest

Post by theastronaut »

Stuck the repop decal on the lid. Can't wait to get the carb back from being rebuilt/restored so we can install it and the filter back on the engine.

Image
User avatar
theastronaut
Posts: 439
Joined: August 7, 2013, 10:43 am
Location: Upstate SC

Re: '66 F100 Custom Cab Short/Styleside Factory Correct Rest

Post by theastronaut »

The carb came back today and it looks great! Also picked up some NOS clamps for the heater hoses and water pump bypass.

Image

Image


Chucked the clamps in the bead blaster and lightly went over them to brighten them up a bit.

Image
User avatar
theastronaut
Posts: 439
Joined: August 7, 2013, 10:43 am
Location: Upstate SC

Re: '66 F100 Custom Cab Short/Styleside Factory Correct Rest

Post by theastronaut »

We cut out the floor pans and started trimming the new ones to fit. The don't fit well and they're missing the upper outside edges so we'll have to make those and weld them on. The inner rockers are mostly good except for the very front area where the hinge pillar meets up and overlaps.

Image


Screwed in over the original pans to mark the trim lines.

Image


Cutting the floors out.

Image


Making a template for the seat risor area.

Image


Right side inner kick panel rust. This area is a PAIN to work around, and the layers of sandwiched metal layers is impossible to fix without tearing out good metal around it.

Image


Upper kick panel edge along the toe boards.

Image


The floor flange that welds to the kick panel underneath the truck, this was missing completely on the new pans...

Image

Image


The cab mount plates are solid.

Image


Lower kick panel edge from the outside.

Image


Drilled the spot welds...

Image


Making the new floor pan flange to weld to the kick panel.

Image


The inner rocker rust.

Image


Starting to drill the spot welds and separate the inner rocker from the other layered panels.

Image

Image
User avatar
theastronaut
Posts: 439
Joined: August 7, 2013, 10:43 am
Location: Upstate SC

Re: '66 F100 Custom Cab Short/Styleside Factory Correct Rest

Post by theastronaut »

Started back on the right side rust repair, got everything cut out and a couple pieces ready to weld back in.


Image


Separating the layers.

Image


Inner rocker out, exposing whats left of the kick panel layer.

Image


Inside half of the inner rocker.

Image


Making a paper template to fix the rusted spot.

Image


Template transfered to metal, and I rolled a bead along the spot what will be the edge once its bent.

Image


Bending the edge in the metal brake.

Image


Edge detail.

Image


Front edge folded up straight like the original piece.

Image


Both pieces bead blasted, marking the original for cutting.

Image
User avatar
theastronaut
Posts: 439
Joined: August 7, 2013, 10:43 am
Location: Upstate SC

Re: '66 F100 Custom Cab Short/Styleside Factory Correct Rest

Post by theastronaut »

Marked the lower cowl for cutting.

Image


More hidden rust.

Image


Cutting out the kick panel.

Image


Floors, inner rocker, and kick panel rust completely cut out.

Image


Ready for sandblasting, priming, and fitting/welding the new panels.

Image


Fabbed and fitted the rear floor panel.

Image
User avatar
theastronaut
Posts: 439
Joined: August 7, 2013, 10:43 am
Location: Upstate SC

Re: '66 F100 Custom Cab Short/Styleside Factory Correct Rest

Post by theastronaut »

Made the passenger side kick panel. Had a couple beads to roll in it and I had to form a curved 90* flange on one edge.

Image

Image

Image

Image


I started comparing the original inner kick panel on the driver side to the patch I made earlier, and there were differences that I didn't catch. The passenger side was rusted away badly and the template I made from that didn't carry over the original shape well enough. So I made a new template from the driver side and made two new pieces, L&R.


This shows the curved top flange that I made straight on the earlier piece.

Image


Making the top flanges.

Image


Rolled a bead on the edge.

Image


Welding the flange to the new inner rocker patch.

Image

Image

Image


Smoothing the welds with a 2" grinder, being careful not to lose the details of the rolled edge.

Image


Sanded with the DA to smooth the grinding marks.

Image


Panel for the other side.

Image
User avatar
theastronaut
Posts: 439
Joined: August 7, 2013, 10:43 am
Location: Upstate SC

Re: '66 F100 Custom Cab Short/Styleside Factory Correct Rest

Post by theastronaut »

We blasted the inner channels and painted them with Chassis saver to help prevent future rusting.

Image

Image


Made, fitted, and welded in the driver side kick panel.

Image

Image


Patched the inner rocker, it's fitted and ready to weld in.

Image
User avatar
theastronaut
Posts: 439
Joined: August 7, 2013, 10:43 am
Location: Upstate SC

Re: '66 F100 Custom Cab Short/Styleside Factory Correct Rest

Post by theastronaut »

Inner rocker welded in, added three spot welds along the top to help hold it tightly against the kick panel. The factory had no spot welds there on either side... :uhmk:

Image


Tight fit that won't move or open up later on.

Image


Started smoothing the welds on the kick panel.

Image


Finished fitting the right rear floor section and prepped it for welding.

Image


Bottom of panel prepped.

Image


Welded in.

Image


Fitted and prepped the left side.

Image

Image
User avatar
theastronaut
Posts: 439
Joined: August 7, 2013, 10:43 am
Location: Upstate SC

Re: '66 F100 Custom Cab Short/Styleside Factory Correct Rest

Post by theastronaut »

The wheels are prepped and ready to paint, and we are working on getting the bed ready to take to the media blaster. We hired a new guy to help with bodywork so things should start rolling better now, I'll be doing the cab metalwork and he'll start on the bed once it's blasted. He's done restoration work for years so he's a good fit for us.

Image


The passenger bed side has some cracks in the paint, so we figured it had some old damage repair coming through... It's been hit at some point and packed with bondo. It was a hair over 1/4" in a couple places!

Image

Image

Image


Measured the mask lines and documented the grease pencil marking on the header panel. These will be replicated exactly.

Image

Image
User avatar
theastronaut
Posts: 439
Joined: August 7, 2013, 10:43 am
Location: Upstate SC

Re: '66 F100 Custom Cab Short/Styleside Factory Correct Rest

Post by theastronaut »

I dropped off the bed, tailgate, and inner fenders at the blaster Wednesday morning while the new guy painted the wheels. I think he did ok for having never sprayed much single stage, and never sprayed with a gravity feed gun. :D

Image
User avatar
theastronaut
Posts: 439
Joined: August 7, 2013, 10:43 am
Location: Upstate SC

Re: '66 F100 Custom Cab Short/Styleside Factory Correct Rest

Post by theastronaut »

Now the thread is caught up, this is today's progress.

We picked up the tailgate and inner fenders from the blaster and started straightening the inside of the tailgate.

Image


This is what you do when stud guns/slide hammers won't work! :lol:

Image


Ready for epoxy and bodyworking.

Image
User avatar
skidoorulz
Posts: 359
Joined: April 11, 2013, 9:02 pm
Location: Billings MT
United States of America

Re: '66 F100 Custom Cab Short/Styleside Factory Correct Rest

Post by skidoorulz »

When did you remove the first bolt? How many are working on this project. Was the motor rebuilt or just a paint can overhaul/ How bout tranny and diff? were they rebuilt? This project seems to be going awfully fast compared to mine, but around here the hang up has been the body work. Seems everyone around here just wants to replace panels for insurance jobs. They say this kind of work doesn't pay the bills. My opinion is an hourly rate is an hourly rate whether you are replacing panels or doing restoration work. So far your job is looking good. I thought about doing all the factory paint and grease pen marks but during tear down I was not able to find any. My truck saw a lot of gravel roads in it's life and there petty much wasn't a spec of paint left anywhere when I disassembled it.
User avatar
theastronaut
Posts: 439
Joined: August 7, 2013, 10:43 am
Location: Upstate SC

Re: '66 F100 Custom Cab Short/Styleside Factory Correct Rest

Post by theastronaut »

skidoorulz wrote:When did you remove the first bolt? How many are working on this project. Was the motor rebuilt or just a paint can overhaul/ How bout tranny and diff? were they rebuilt? This project seems to be going awfully fast compared to mine, but around here the hang up has been the body work. Seems everyone around here just wants to replace panels for insurance jobs. They say this kind of work doesn't pay the bills. My opinion is an hourly rate is an hourly rate whether you are replacing panels or doing restoration work. So far your job is looking good. I thought about doing all the factory paint and grease pen marks but during tear down I was not able to find any. My truck saw a lot of gravel roads in it's life and there petty much wasn't a spec of paint left anywhere when I disassembled it.


We started the project in early March, I just now joined here and started posting the build thread from the beginning. We had three guys doing the teardown and labeling/bagging parts. I documented the teardown with almost 400 pictures for future reference. I have done all of the metalwork, paint prep, priming/wetsanding/painting so far. The other guys in the shop have done most of the teardown and sandblasting of small parts.

We are a family owned/operated auto glass replacement shop that's starting to get into restoration work since the glass business is being dominated by companies like Safelite, or mobile only companies that have no actual business location and therefore no overhead like we do with a full shop and two guys working on every job. After graduating high school in '05, I started out by going to tech in 05/06 to learn autobody and dad let me take in a job at the shop while I was still in tech. That was my first restoration job, the '65 Chevy C10 in my signature. It's taken off from there, and now we have jobs lined up that will keep us busy for the next 2-3 years!

The engine was already rebuilt before the owner brought the shop to us so all we had to do was soda blast it and paint it. He took the transmission, rear axle, and front I beams to his mechanic to have them rebuilt once we disassembled everything. We were able to find all of the paint marking recreated so far by gently cleaning the parts before stripping the paint and rust.

I know what you mean by bodywork being a hang up. Around here there is almost no one that will do rust repair or anykind of metalwork. Many shops that will "patch up" rust but none that take the time and replicate the factory sheetmetal like we're trying to do with this truck and the '55 International I'm also working on. We get people coming by often for us to do metalwork on their cars, but we're so backed up that we can't get to them soon enough and we don't really have anyone local to recommend them to. Most don't want to pay what it's worth though to properly restore the metalwork.

We just hired a guy to help me with the bodywork as until now I was the only one here that could do bodywork. I'm still the only one that can weld and do metalwork so it's nice to have help now to take some of the load off me! We did get the frame/running gear rebuild, detailed, and reassembled very quickly, but the metal/body work has been slow since because I've been the only one here to work on them. I'm also doing the metal/body/paint work on a '55 International pickup at work and it gets most of my time since it's nearing completion.
User avatar
FORDMANLCRACKEL
Posts: 1237
Joined: July 11, 2006, 9:48 pm
Location: williamston, n.c.
Contact:
United States of America

Re: '66 F100 Custom Cab Short/Styleside Factory Correct Rest

Post by FORDMANLCRACKEL »

Good job. Body work is a pain but I kinda enjoy it. Those rotisseries make life a lot easier. I built mine and it was 2 years before I used it. Got a truck bed on it now. Keep the pictures coming.

:welcome: welcome.gif from Eastern North Carolina.

Lonnie
The most rewarding job i ever had was being a dad.
1988 Ranger Build http://s275.photobucket.com/albums/jj31 ... %20RANGER/
User avatar
Greg D
Posts: 10113
Joined: September 13, 2006, 4:39 pm
Location: Podunk Iowa
United States of America

Re: '66 F100 Custom Cab Short/Styleside Factory Correct Rest

Post by Greg D »

Stunning work!
I hate to be the one to rain on your parade but those wheels you have aren't correct,
they are for "outtie" hubcaps - Slicks had "innie" hubcap wheels.
I have on my phone a picture of an original Paint Quality stamp from one of these trucks.
I have really enjoyed reading through your build.
1964 F 100 - I am going to do "something" with it.......

viewtopic.php?f=32&t=15942

1987 Mustang LX Convertible, 2.3 Auto - cruiser.
1994 F 150 XLT 2WD


~ Yes - I adopted another cat..............

Cam L Milan,
You'll be missed my friend.
User avatar
jkimbrel65
Posts: 965
Joined: July 11, 2006, 8:53 pm
Location: Athens Al
United States of America

Re: '66 F100 Custom Cab Short/Styleside Factory Correct Rest

Post by jkimbrel65 »

Greg D wrote:Stunning work!
I hate to be the one to rain on your parade but those wheels you have aren't correct,
they are for "outtie" hubcaps - Slicks had "innie" hubcap wheels.
I have on my phone a picture of an original Paint Quality stamp from one of these trucks.
I have really enjoyed reading through your build.


66s had outies Greg

Mike
I tried being normal once...
was the worst 10 minutes of my life
Post Reply