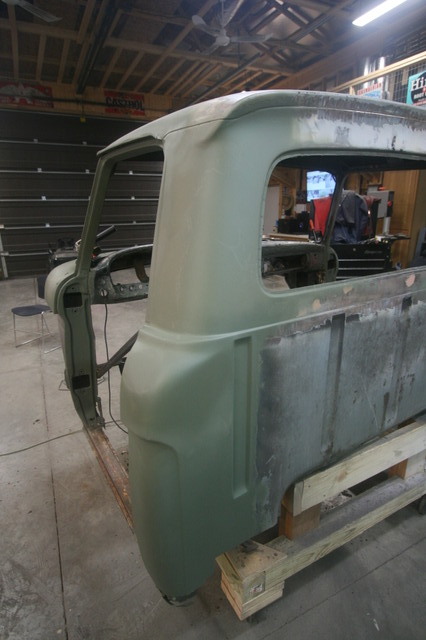
Hole repair (part 2.5)
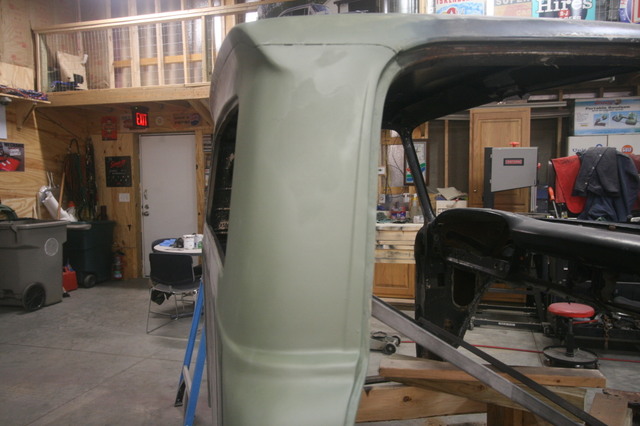
I forgot mention in my last post about the seam where the cab roof and B pillars join, on the driver's side all the seam sealer had basically hardened and fell out, you could see daylight looking through from the inside of the cab, so I dug all the old seam sealer out, wire wheeled the area and sealed it with the 3M seam sealer that I used on the drip rail for the '65, worked out nice and now it's all sealed up. I'd assume that the back of the cab will be the same way when I get to it...we'll see.
------
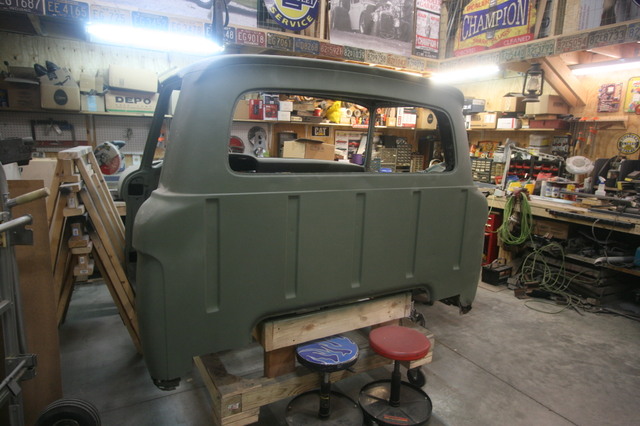
With both of the B Pillars taken care of for now ( we will revisit them later before the cab gets its final coat of primer ) it was time to move to the cab roof and fix those areas....


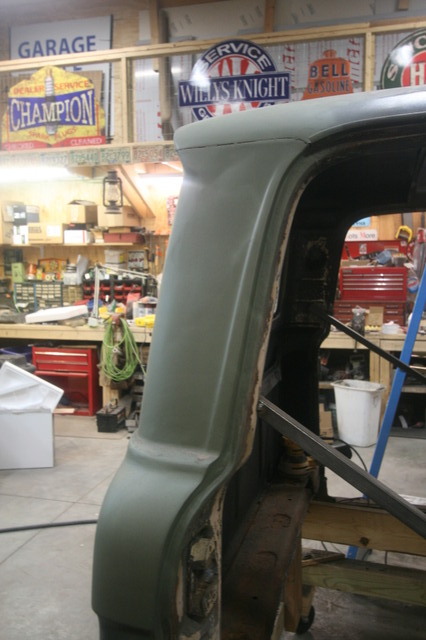
The center of the roof is pitted pretty bad, and I had to grind it off and use a wire wheel to get all the rust out of the pits, again I welded patches to cover the holes bringing metal in from the interior side and welding it from the top sealing up the holes, then the same two step process of fiber glass filler with a top coat of bondo.
Using a wire wheel to clean out the pits in the roof gives a fighting chance that the filler will stay in those pits at least a few years, none of them were really deep but just enough that they had to be filled in my opinion.
The roof above the driver's seat also had 3 holes that were bondo'd close, I really thought these would be duplicated on the passenger side like a light bar was installed at some point but only the driver's side had the holes....weird. Again the same process, metal welded in, two coats of filler sanded between coats, then etch primed, and cleaning off the surrounding area of old paint. (as far as I could reach)
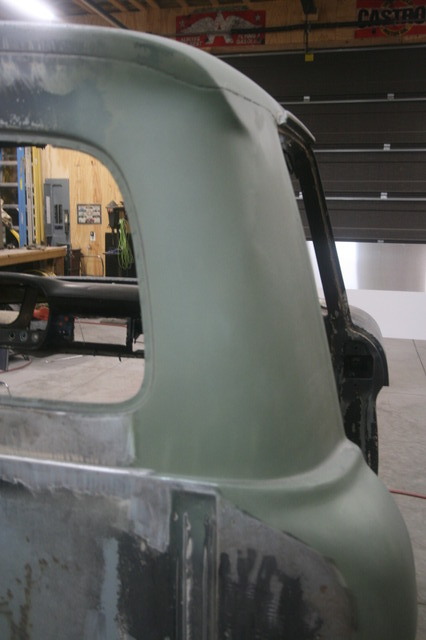
Believe it or not just doing these areas took all weekend although I didn't hit it real hard Sunday, but with these holes filled I think I have the bulk of the exterior holes filled, I still have the dash to do but for the next few weeks the wife will be using the shop so I have to keep dust and dirt to a minimum so I spent Monday afternoon cleaning and sweeping.


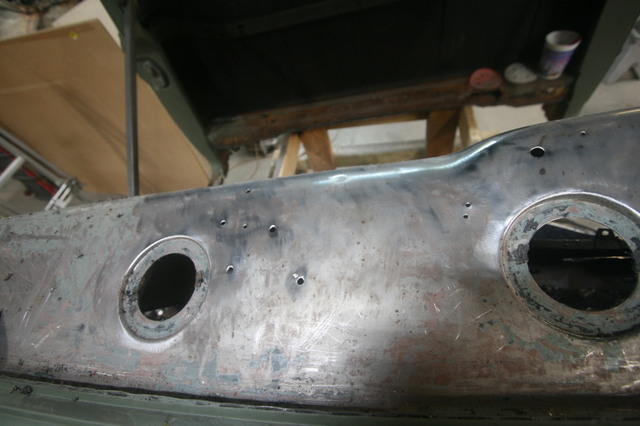
Some of the old bondo I removed was really thick, look at the picture above of the chunk I removed from the back of the cab, the thing is they didn't even grind the old paint off just applied the filler over the paint...lol
-----
So next up will be doing the dash which I think I'll use paint stripper to remove the old paint first, and welding up and filling all the extra holes however that works out some of the holes are small screw holes so hopefully I can just weld them closed, grind, and fill-sand.....
After the dash we'll need to sand the rest of the old paint off the exterior and get all of it in primer, at that point we will be ready for the CV to come in and get disassembled - cut up, and we can start fitting the cab to the CV and mock up the front end to see where the radiator support lands which will dictate where the cab has to be or a close proximity to where it will get mounted to the CV firewall.
There should be lots of room to play with since the CV has rack & pinion steering and we will not have to be concern with the steering box like the other two builds, but that front end mock up to me is important, once you commit yourself to cab placement your wheel openings and radiator support are also locked in, you can't move any of those things after the cab is mounted so it's better to take a look at just where they will be before you start welding everything to the cab.
The other aspect of this is that the frame rails from the firewall forward on the '09 CV are basically straight, this is different from the '98 CV we used for the uni or the '96 RM we used for the '65, in both of those cases the donors had a steering box and the frame in that area curved around to create a place to mount the steering box. The '09 CV isn't that way because it has that all aluminum bolt-in front suspension which uses a rack and pinion, so on one hand this gives you more room to fudge things and make them fit buy cutting off the front of the rails (bumper area), but you still need to be concern with the amount of room between the engine and radiator-fan assembly so you have enough clearance.
All of this is way less important if your keeping the slicks firewall and floor like we did in the other two builds, but with this build the front cab mounts will be dictated by the donor firewall and floor, the only adjustment you have is where you weld the cab to those parts, the rear mount will probably have to be fabricated like the previous two builds because I doubt there will be body mounts on the CV in a good location close to the original slick rear cab mounting area, my plan is to fab another mount just like the other two trucks.
---------
If you watched the video I posted on Tuesday you'll see that the guy in the video (Fred) had to cut out the floor he was trying to save for a bench seat and mate the floors at the area in front of the slicks original seat basically where the floor pans (foot wells) end, it wasn't a good idea that he figured out when he bought bucket seats, but if he had built it as he had originally planned and used a bench seat the seat would have been too high (in my opinion) which might not have been a problem if you have long legs but a short person would have had a real problem being comfortable and reaching the pedals.
I had the same thought before I cut out the floor on the '62 cab, figuring out where you cut is important because it's easier to cut more than it is to put it back, the pictures I posted that Tim (snoracer) sent me from Drew Bros show leaving that seat area from the original slick floor, but they are also building on a Roadmaster chassis which while similar is different from the CV floor. I wanted to use the seats out of the CV so I knew I needed the area where they mounted from the CV floor, this was the deciding factor on where I cut the slicks floor out....but I could have just as easily left the slicks seating area of the floor and mounted the CV seats, I did a little eyeballing of both and came to the conclusion the seats would be way to high mounting to the slicks original floor.

If you watch Fred's video you'll see the depression in the CV floor pan where the seats are mounted, then look at the height of the slicks floor that he cut out and you can easily see a difference of at least 4" but probably more like 6-8" which to me would make your feet never touch the floor with a bench seat like the slick uses, that in and of itself would make it uncomfortable to drive...again just my opinion.
I'm not trying to critique what Fred is doing in his videos, quite the contrary, and I thank him for posting what he is doing in his build because it helps me tremendously to see what direction or avenue he takes on different aspects of the build, just like watching River City's build videos gave me the confidence and courage to do the '62 uni Fred's build is showing me what I'm going to encounter as we progress through this build and I have nothing but thanks for him showing it to the world....it is very much appreciated by me.
------
My only point in saying anything about this is that when you build something like this you should do it so it's comfortable for anyone to drive..... not just the owner, you don't want to build something that "fits" you and only you. While building something so it's only comfortable for the owner or driver is fine in concept at some point in the future someone else will need to drive it or you will want to sell it and it will be or could be a problem.
You see this in "rat rods" a lot where it is built to fit the driver, this in my mind limits who you can sell it to when you're ready to sell.... and it's not that I'm unaccustomed to the concept, every race car I've ever owned had to be modified for the driver to fit comfortably, but that is a special purpose built vehicle that in most cases only has one driver, a street vehicle has to be more flexible and accommodating.
Of course this is all just my opinion...
Jon