Page 2 of 5
Re: My 63 Unibody
Posted: December 20, 2018, 9:01 pm
by BobbyFord
oldsmiley wrote:I enjoy the quality of work you do, and I'm just thrilled that you're really going to drive it. That's what they are made for......
Thank you. I really do love this truck. I've had it for 35 years.
Re: My 63 Unibody
Posted: December 22, 2018, 9:20 pm
by BobbyFord
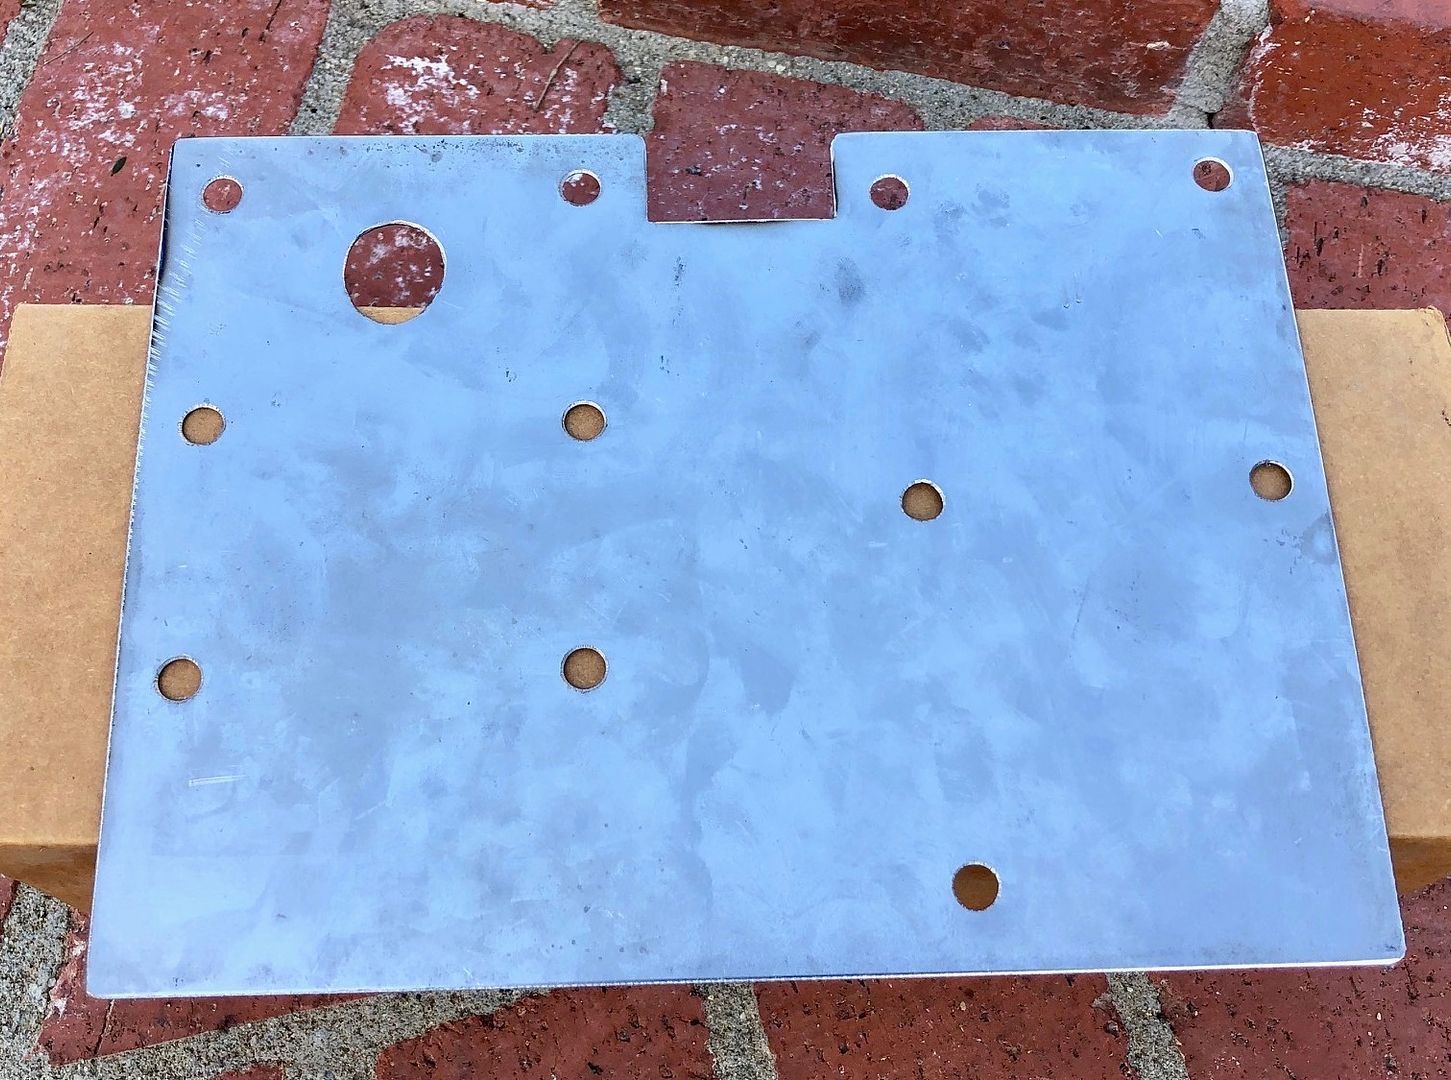
I made a large plate to block off the old master and clutch holes in the firewall.
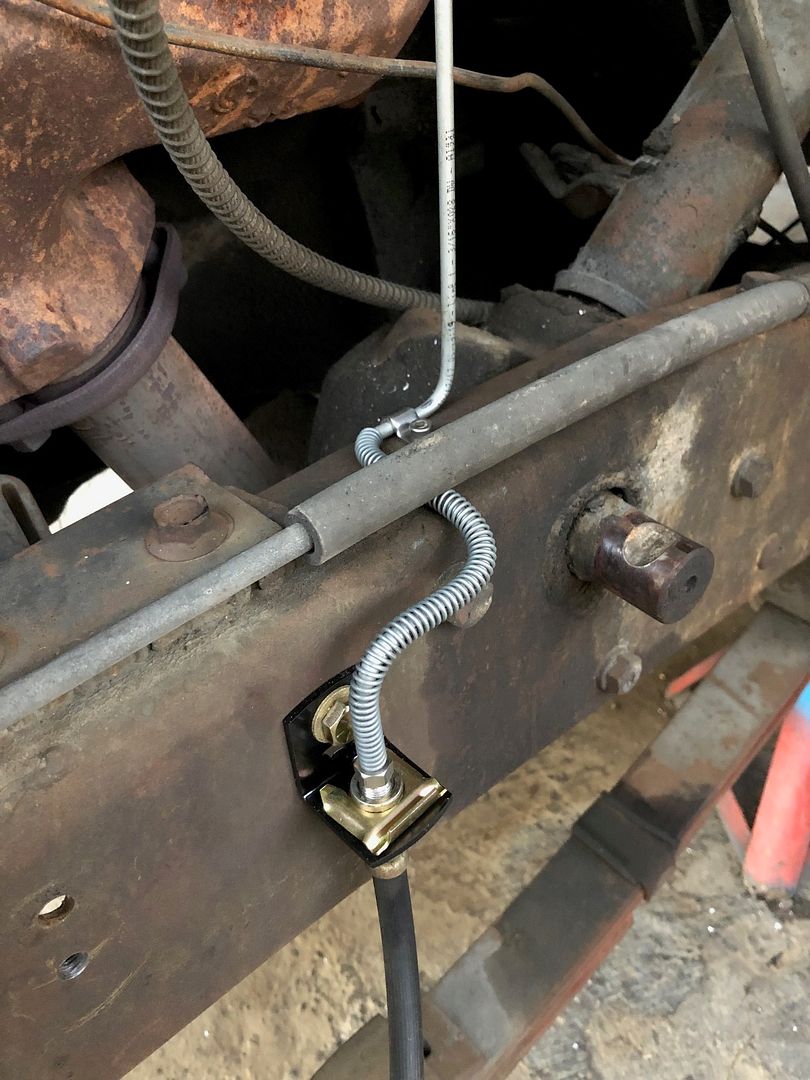
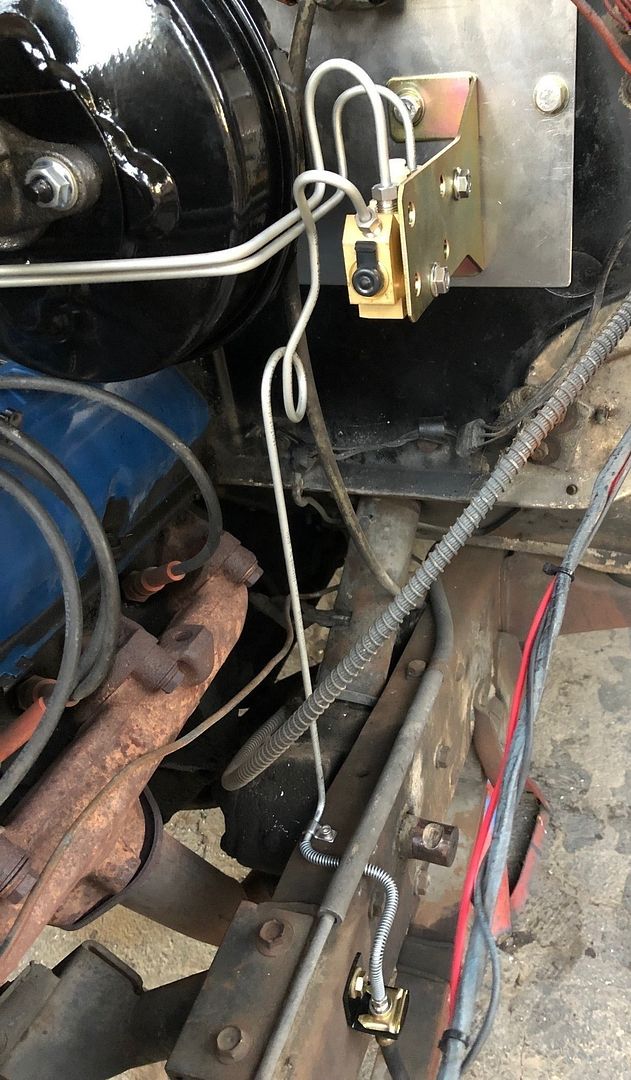
Got one brake line made today. Kit uses 1968 Chevelle frame brackets for the caliper hose.
Re: My 63 Unibody
Posted: December 24, 2018, 9:05 pm
by BobbyFord
Re: My 63 Unibody
Posted: December 25, 2018, 10:57 am
by shipwrecked
That looks great!
Re: My 63 Unibody
Posted: December 25, 2018, 11:39 am
by grump
Those lines look pretty nice. Nice work.
Re: My 63 Unibody
Posted: December 25, 2018, 12:07 pm
by BobbyFord
shipwrecked wrote:That looks great!
Thank you!
Re: My 63 Unibody
Posted: December 25, 2018, 12:45 pm
by BobbyFord
grump wrote:Those lines look pretty nice. Nice work.
Thank you!
Re: My 63 Unibody
Posted: December 25, 2018, 5:19 pm
by BobbyFord
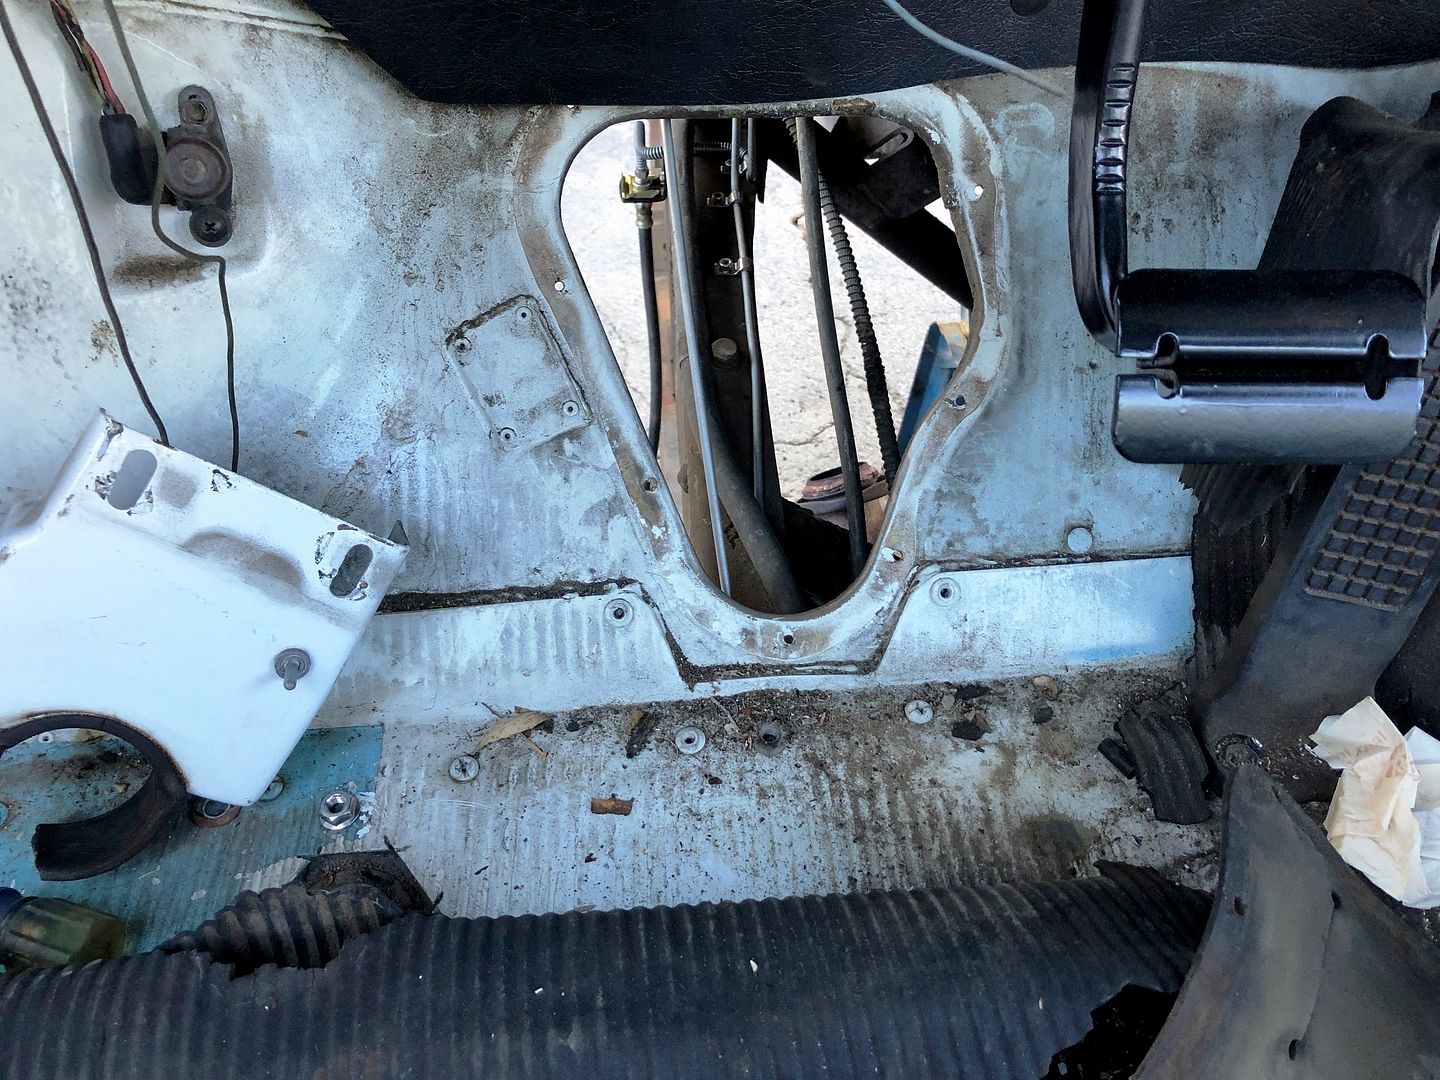
Bummer to have to tear out a 55 year old factory rubber floormat but that's what I did. It was pretty brittle and there wasn't any way to get to the steering column plate on the floor without damaging it. I forgot about the floor in this truck, getting the mat out reminded me of many years ago when I fixed the floor under the pedals. When I bought this truck in 1984 the original windshield weatherstrip had shrunk so much that there was a 1" gap in the rubber, dead center at the bottom of the windshield where the weatherstrip split. Rain leaked in under the floormat and rusted the floor under the pedals. I was in my early twenties when I cut the rusted section of the floor out, riveted in and seam sealed thick, hardened stainless steel in place of the old rotted mild steel.
Re: My 63 Unibody
Posted: December 25, 2018, 8:30 pm
by Mr. Jones
Would you show what you’re using to bend those brake lines...
Thanks
Re: My 63 Unibody
Posted: December 25, 2018, 8:38 pm
by BobbyFord
Mr. Jones wrote:Would you show what you’re using to bend those brake lines...
Thanks
I have two benders but this is the one used on the brake lines:
https://imperial-tools.com/products/470 ... ng-handle/
The circular loops were hand bent around the handle of my floor jack.
Re: My 63 Unibody
Posted: December 27, 2018, 7:49 am
by BobbyFord
There’s not really anything available to seal the booster assembly to the firewall so I’m making something out of a piece of 16 gauge mild steel plate.
Re: My 63 Unibody
Posted: December 27, 2018, 8:48 pm
by BobbyFord
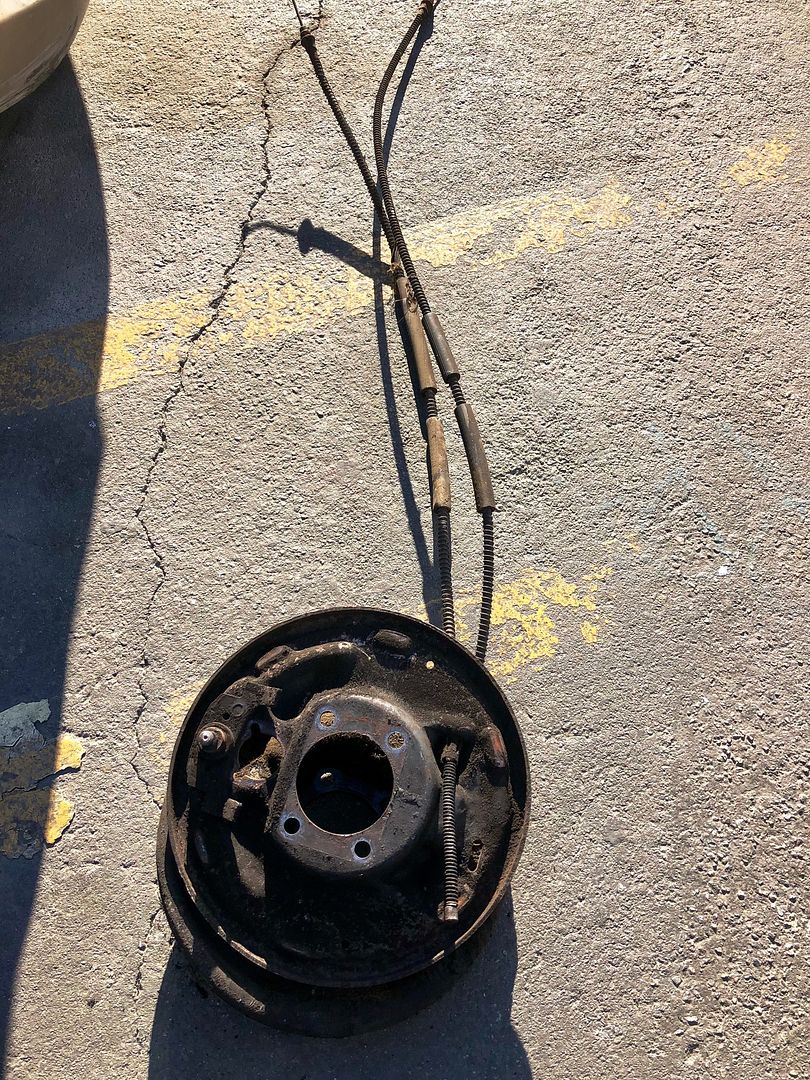
Too windy to work on the truck today after I got home but I did go to the local Pick N Pull yard earlier and get some later model rear backing plates so I can install some wider rear brakes.
Re: My 63 Unibody
Posted: January 1, 2019, 11:12 am
by BobbyFord
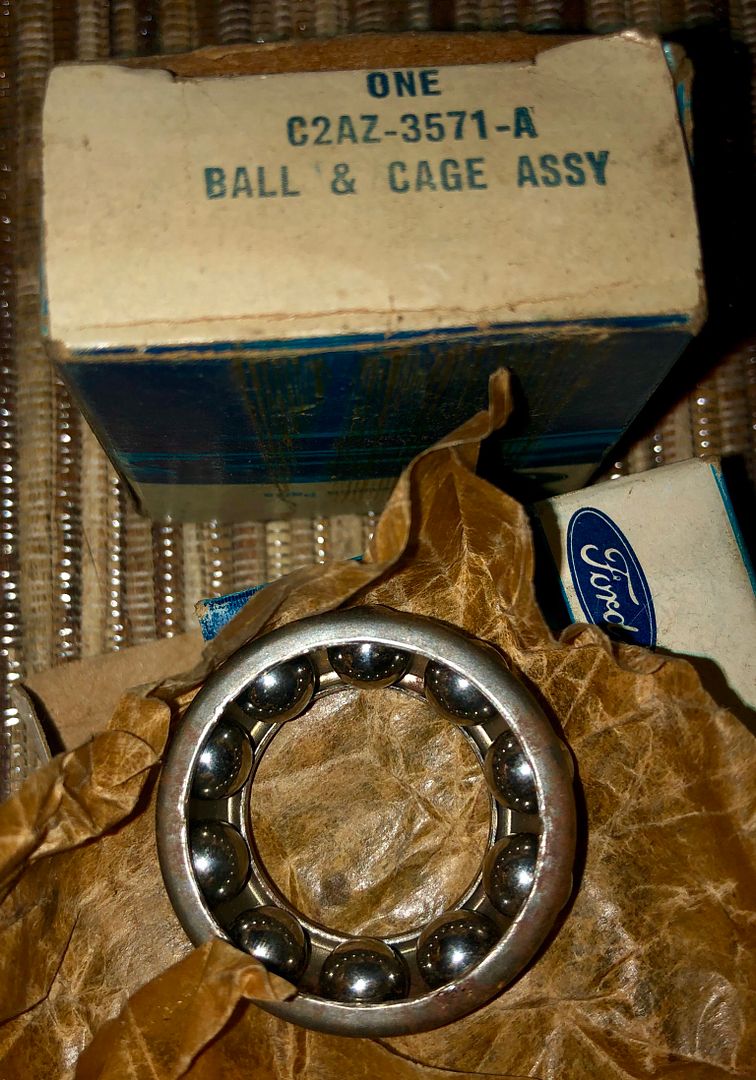
I'm going to pull the steering box back apart. The aftermarket bearings I used were Chinese. I was able to find some NOS 1962 bearings online, still waiting for the bearing races to get here. If anyone is interested, the preload on these bearings is 3-6 inch lbs.(unloaded column), the sector mesh adjustment is 8-13 inch lbs. Worm bearing preload adjustment must be performed first.
Re: My 63 Unibody
Posted: January 1, 2019, 3:02 pm
by BobbyFord
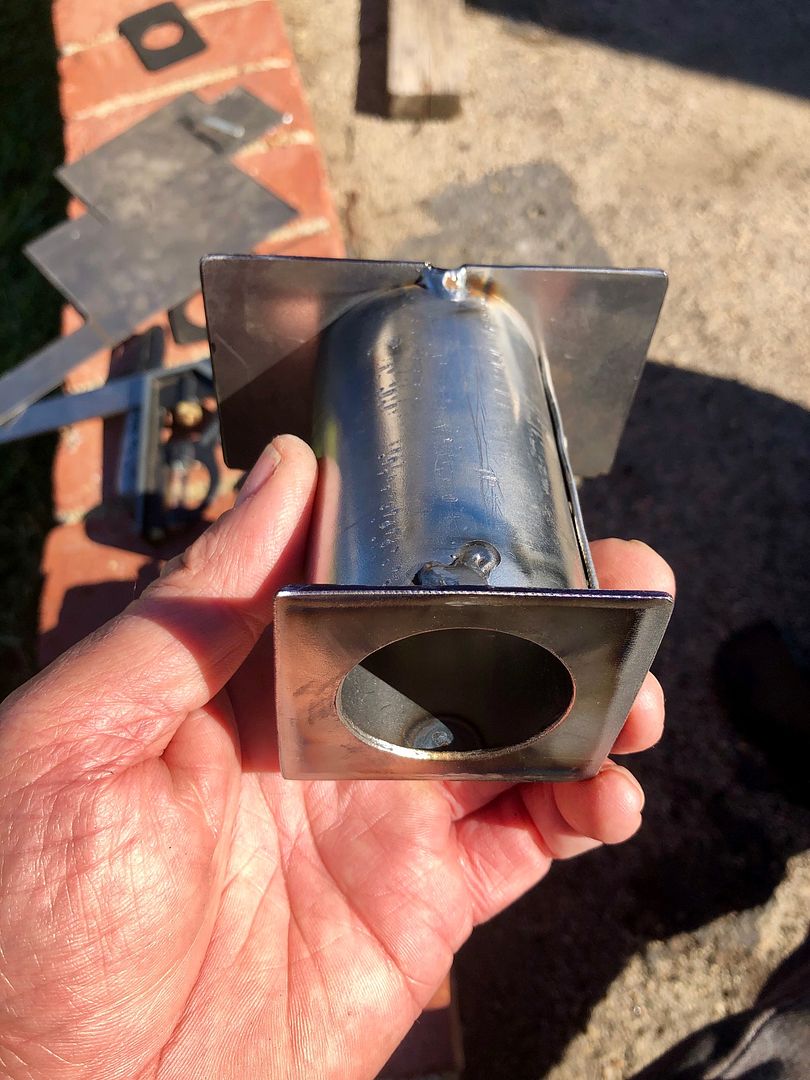
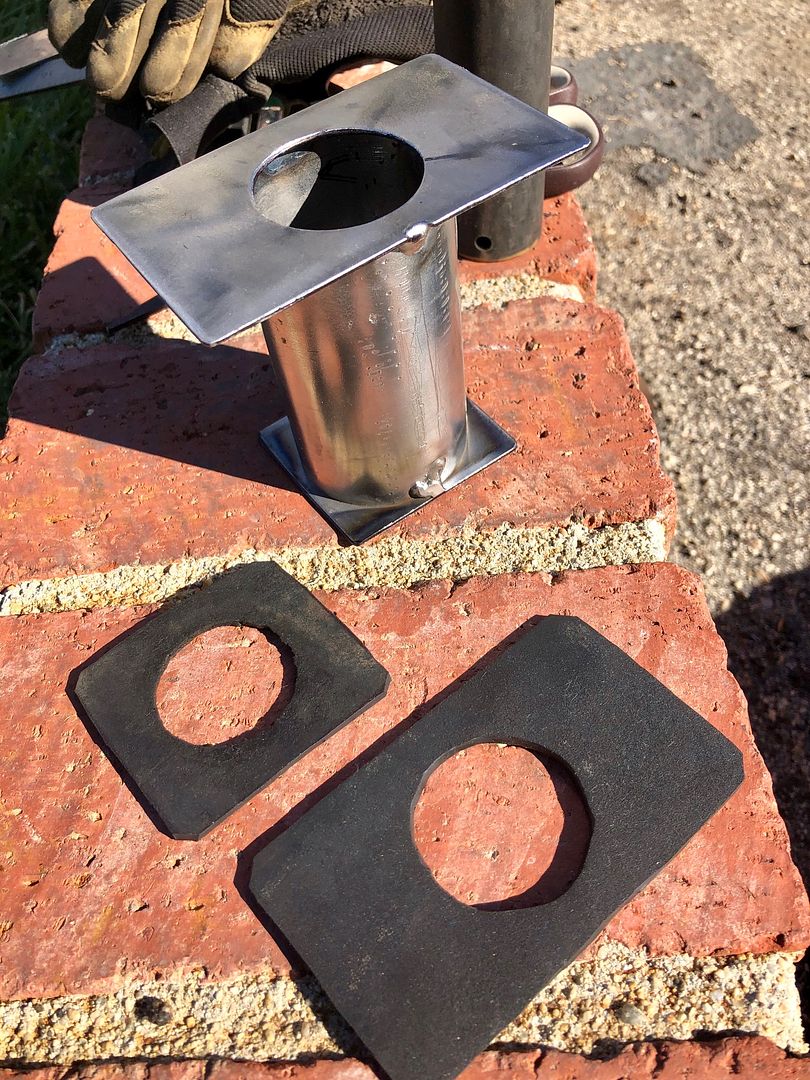
So here's what I came up with to seal the brake booster to the firewall.
I rolled up a piece of mild steel plate and tacked it together, then tacked on some end plates.
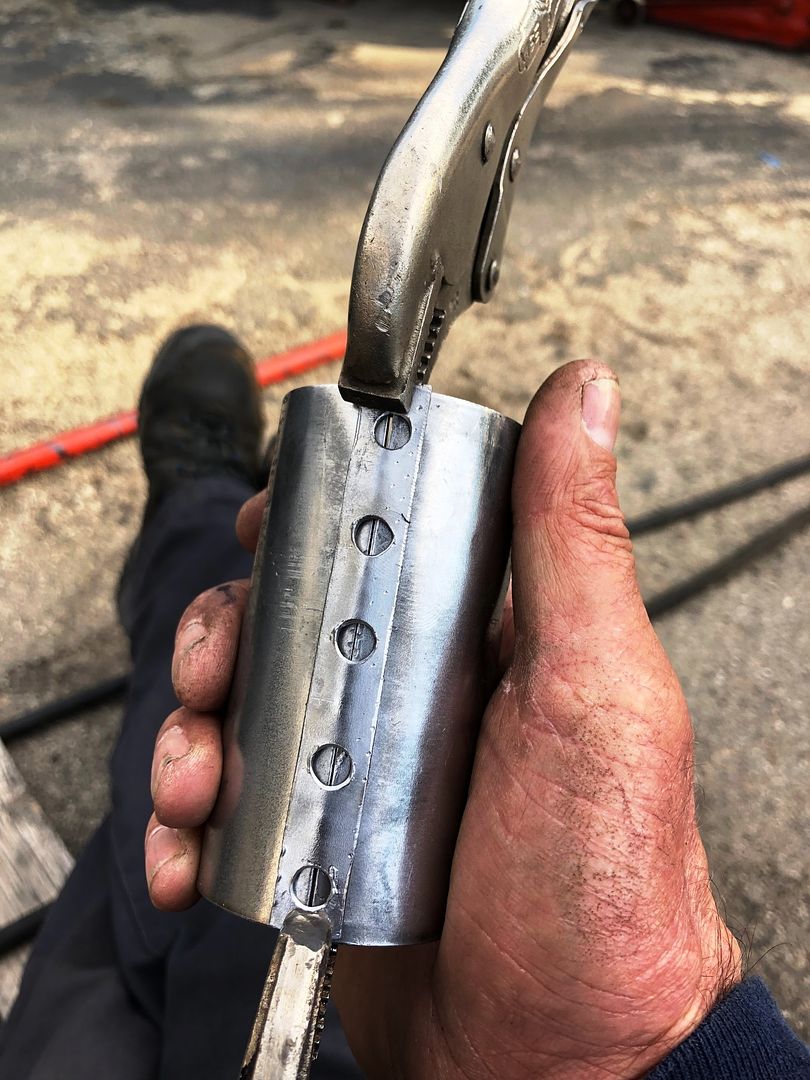
Then I cut some rubber gaskets out of the old steering column floor seal.
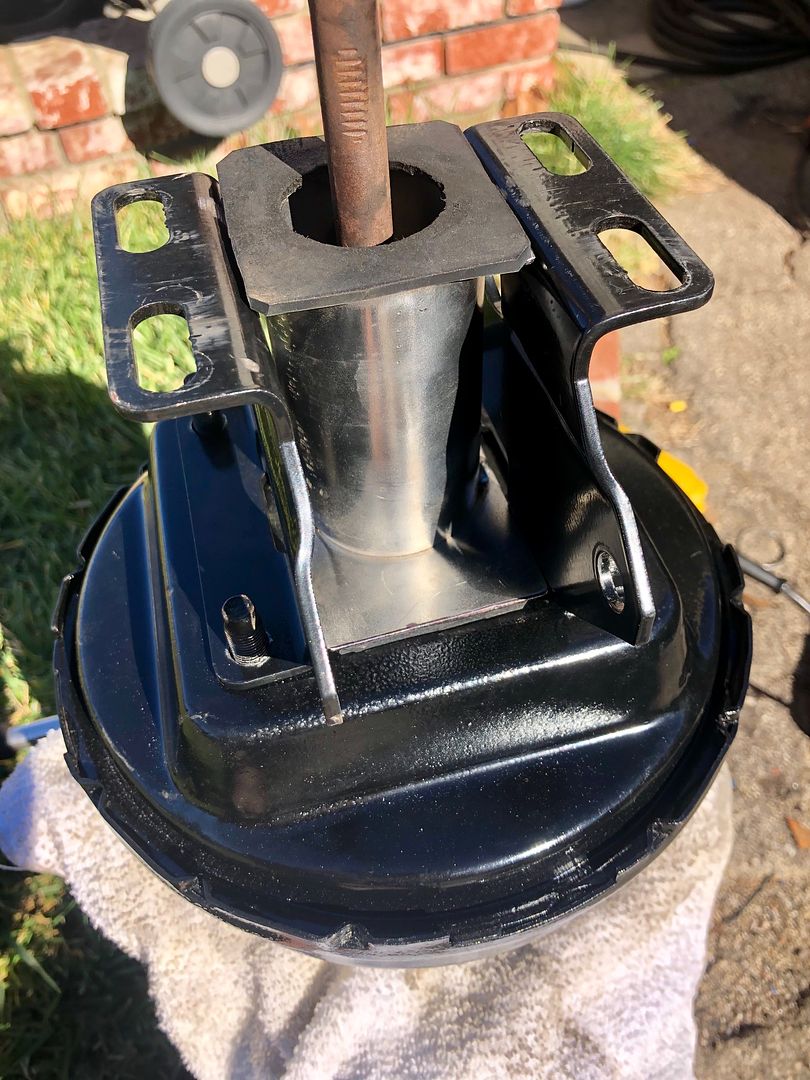
Looks like this assembled.
Re: My 63 Unibody
Posted: January 8, 2019, 8:09 am
by BobbyFord
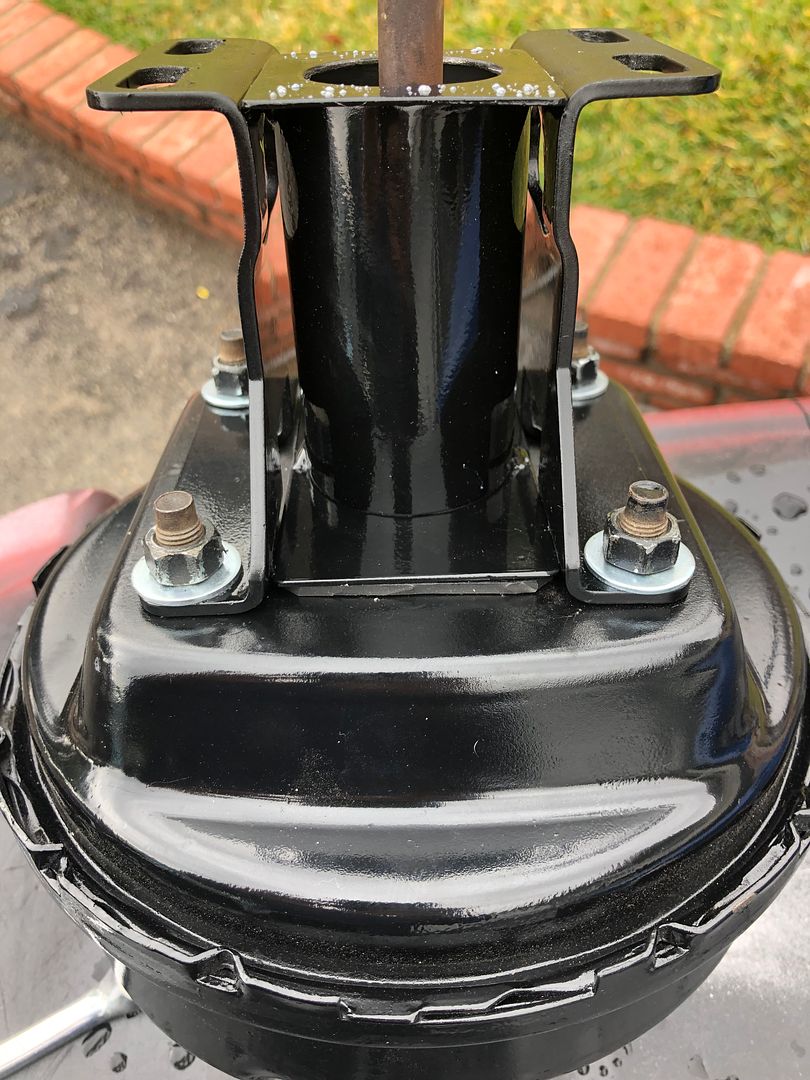
I had to make some adjustments to the booster tube. Finally got the booster mounted yesterday.
I’m making a bracket to mount a later model brake light switch to the pedal assembly. No more pressure switch.
Got the wider backing plates cleaned up and painted.

Re: My 63 Unibody
Posted: January 8, 2019, 11:21 pm
by BobbyFord
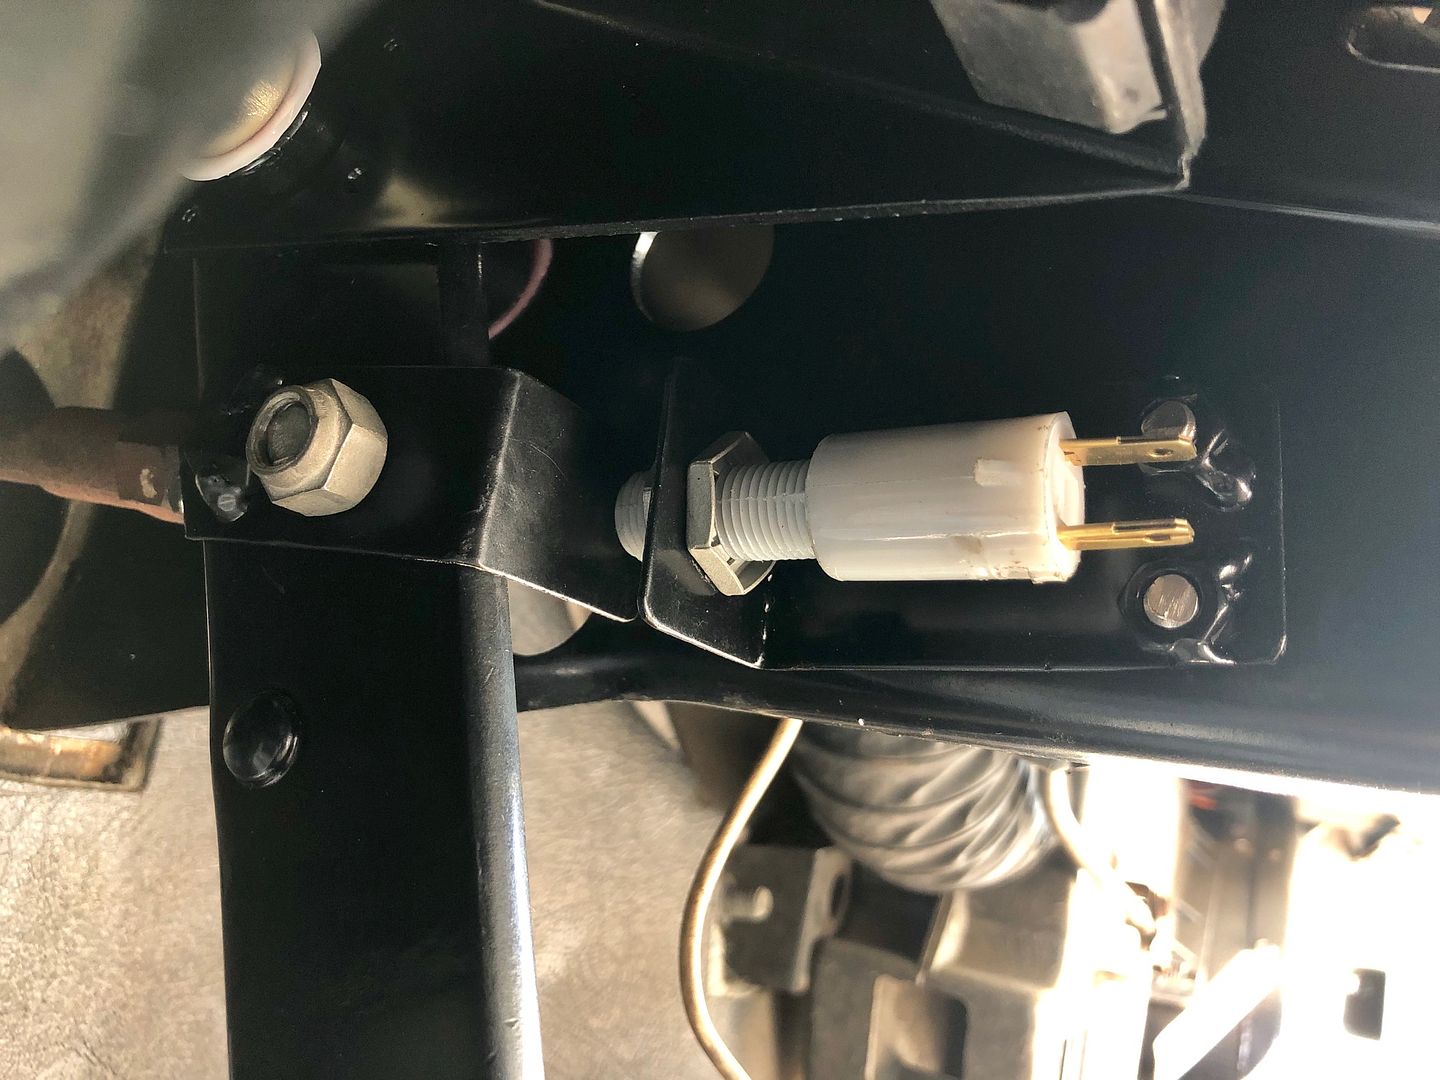
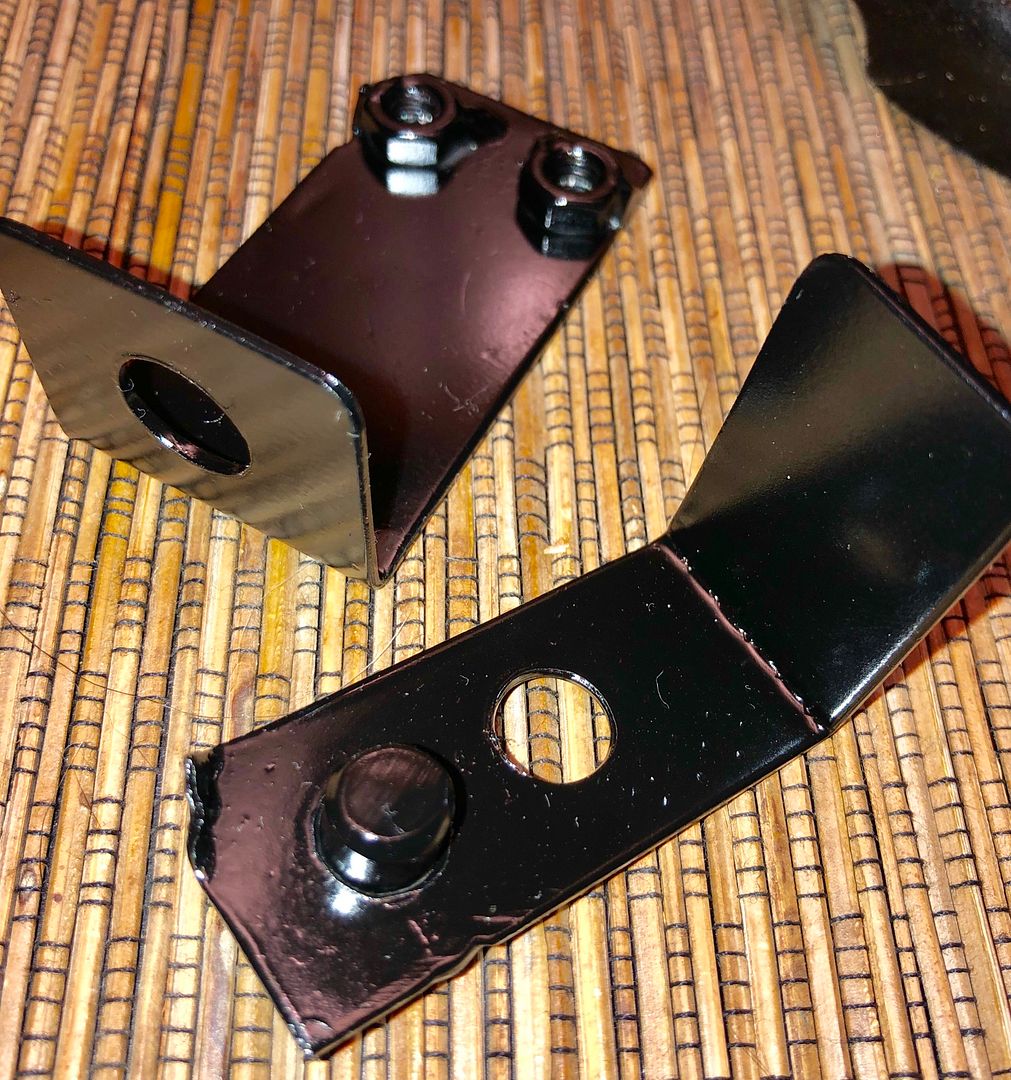
I’m going to install a later model plunger type electric brake light switch. The old pressure operated switch was on the old master cylinder. The new switch will be on the pedal assembly. So I made a bracket to hold the switch to the pedal bracket and another bracket that mounts to the pedal arm and actuates the switch.
It’s a PITA to have to make so many items. It eats up a lot of time.
Re: My 63 Unibody
Posted: January 9, 2019, 3:52 am
by JeffinMooresville
Looks good, I am at same point on brakelines, yours look great. Overall excellent quality of work. I have 390/c6 with what i think is original radiator that ran with the straight 6. I am concerened about cooling ... will see , may have to swap that out.
Re: My 63 Unibody
Posted: January 9, 2019, 8:09 am
by BobbyFord
JeffinMooresville wrote:Looks good, I am at same point on brakelines, yours look great. Overall excellent quality of work. I have 390/c6 with what i think is original radiator that ran with the straight 6. I am concerened about cooling ... will see , may have to swap that out.
Thanks, Jeff.
I too was running a stock radiator. The problem is that, with the Trans-Dapt engine swap crossmember, the fan position is down low on the radiator and there is no way to run a stock fan shroud. My stock radiator was very clean inside but wouldn’t adequately cool this truck, especially in traffic and during hot California summers.
Re: My 63 Unibody
Posted: January 18, 2019, 8:23 am
by BobbyFord
It's been raining here off and on for about a week so I haven't been able to work on my truck.
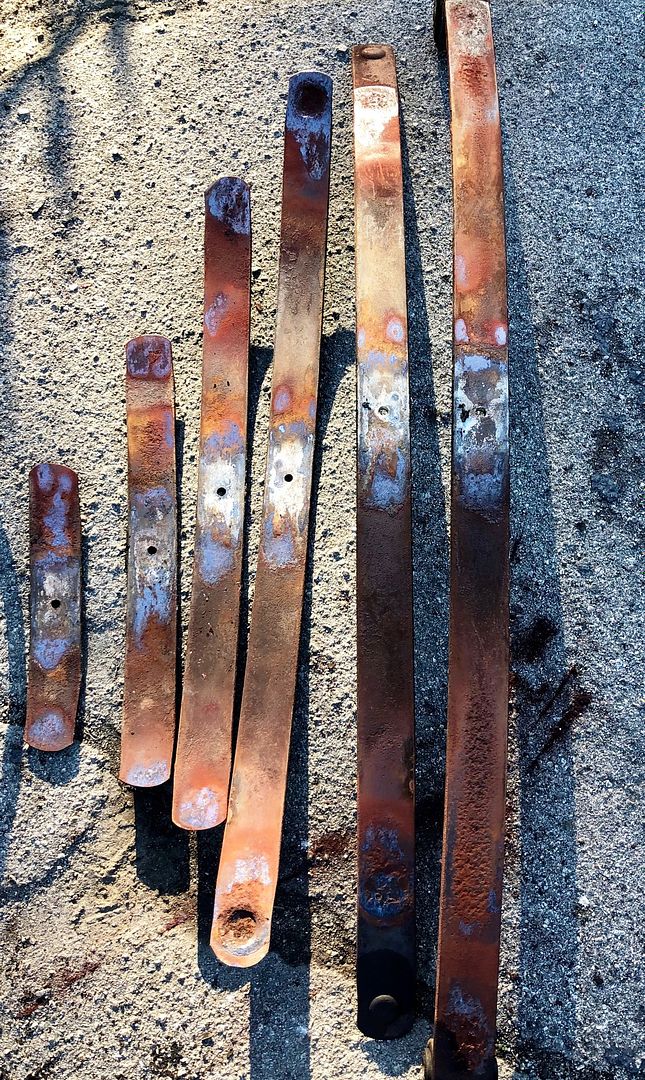
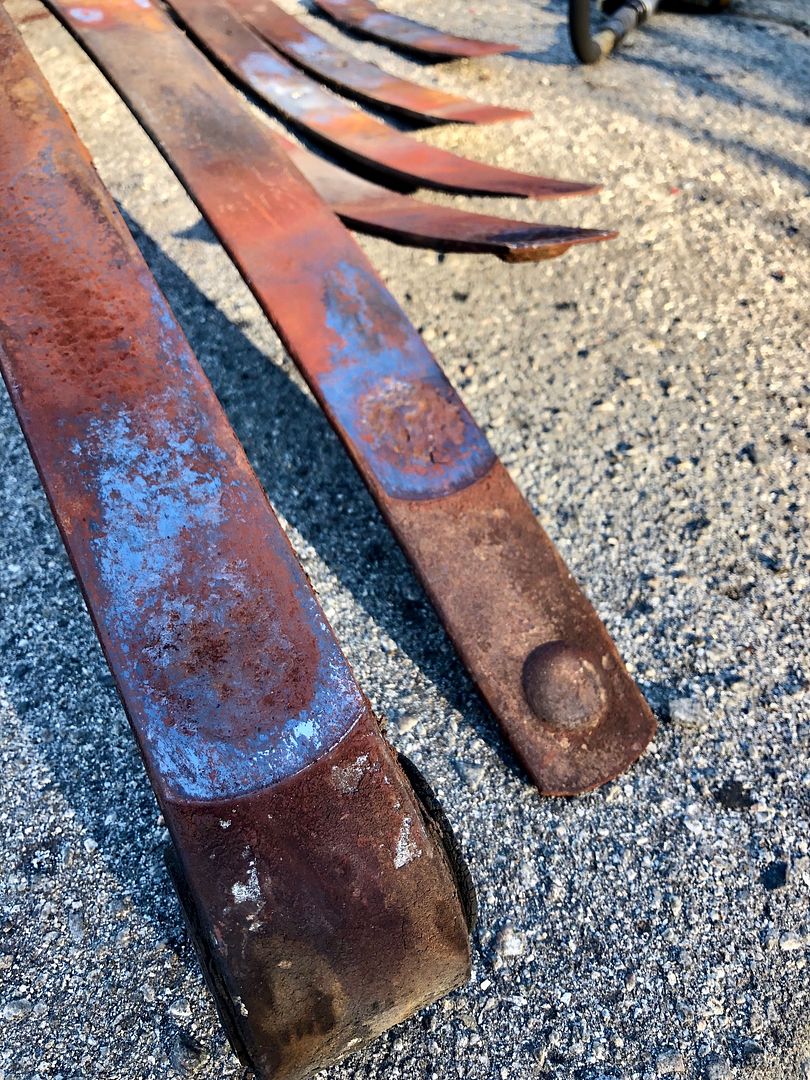
My leaf springs should arrive today from Eaton Detroit spring. This old leaf pack is completely worn out.
These are the brackets I made for the pedal mounted brake light switch
Re: My 63 Unibody
Posted: January 19, 2019, 1:53 pm
by BobbyFord
Got the brake switch and brackets mounted this morning...