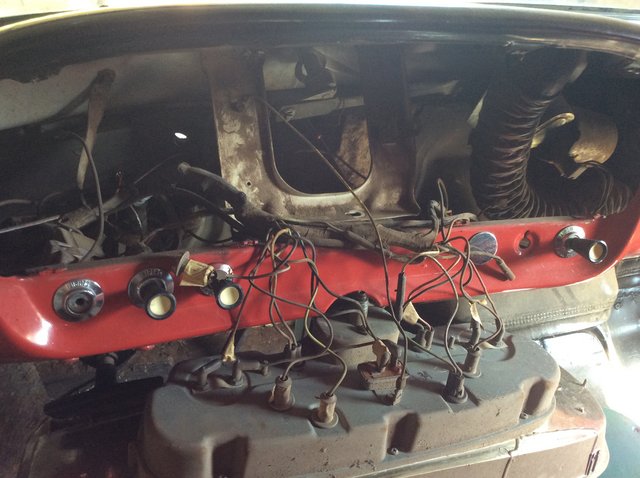
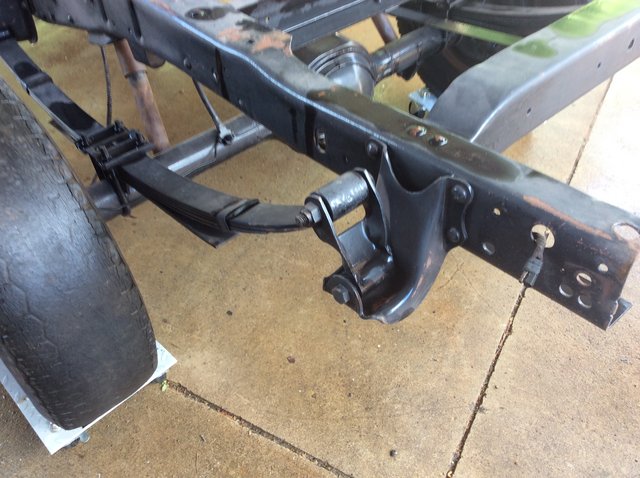
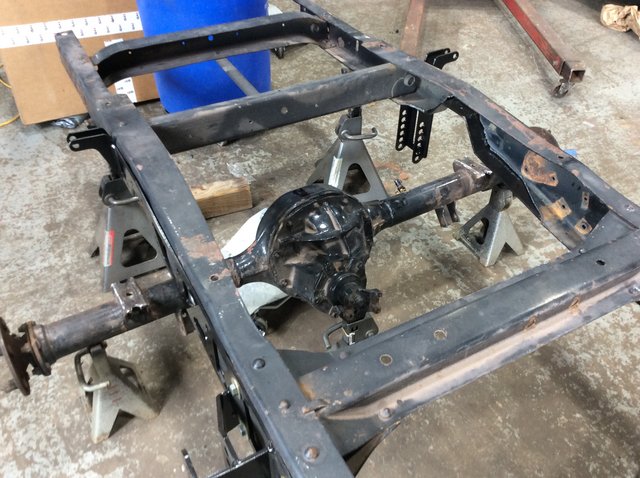
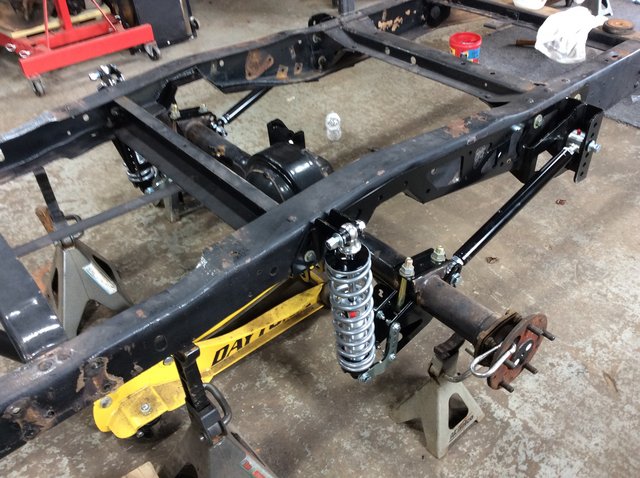
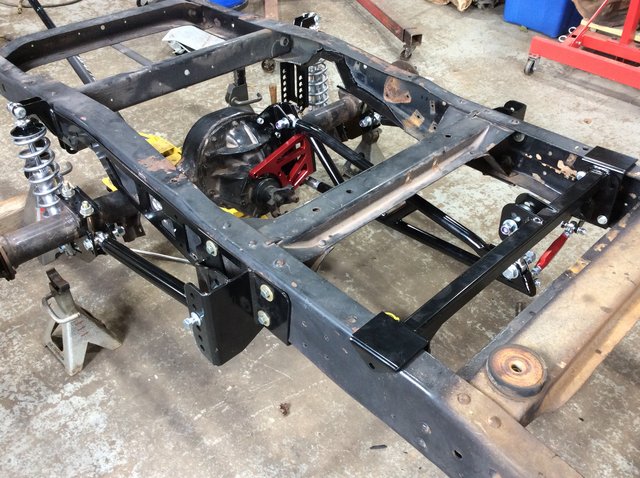
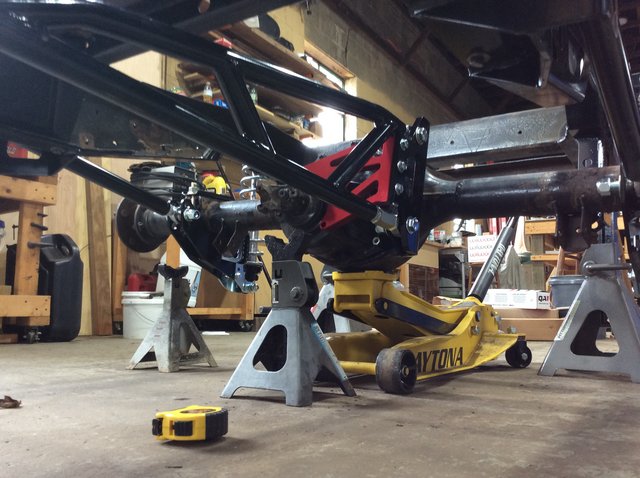
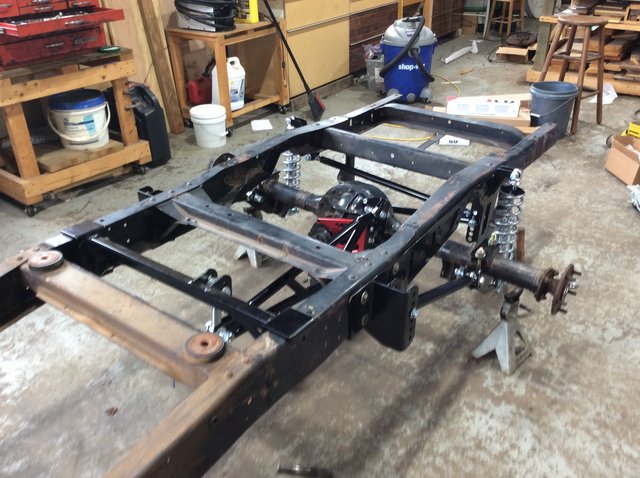
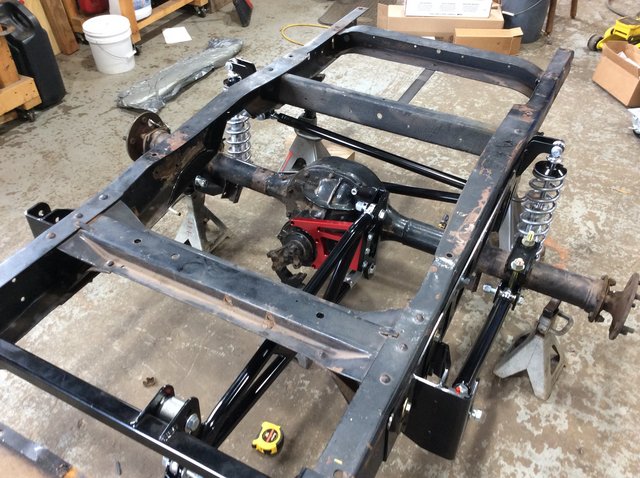
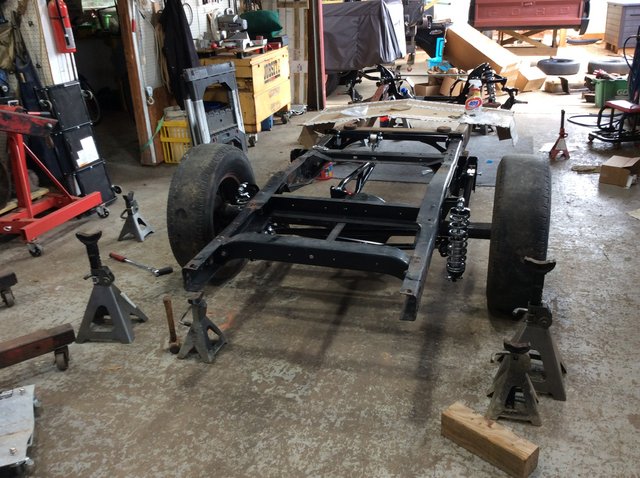
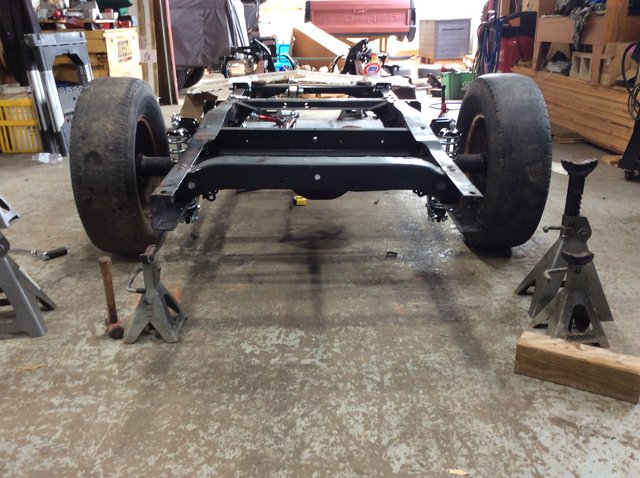
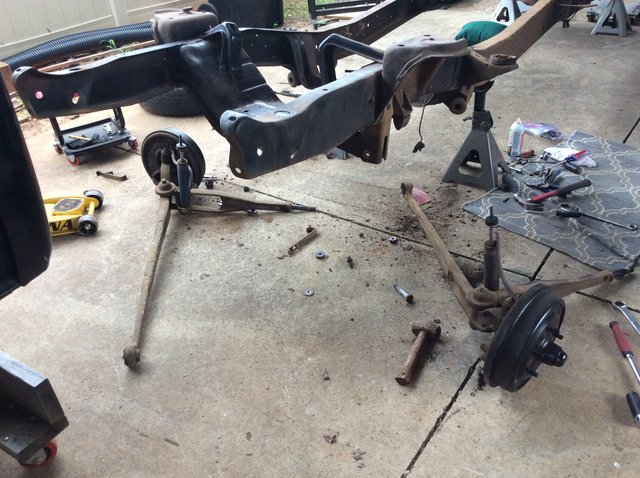
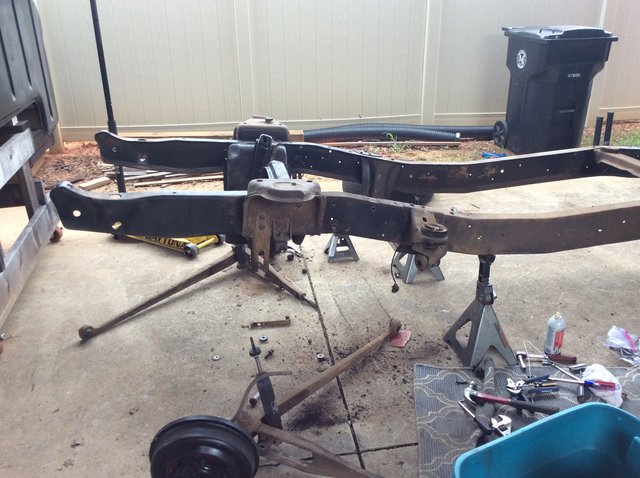
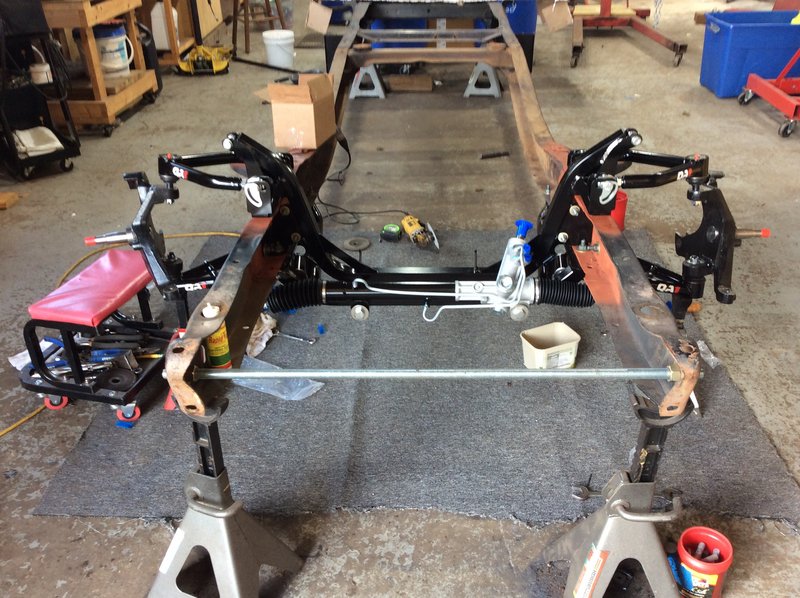
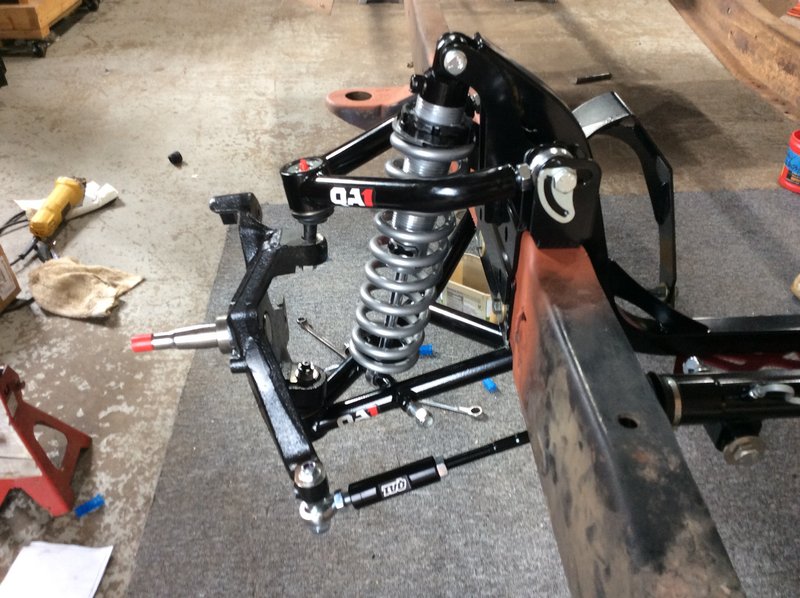
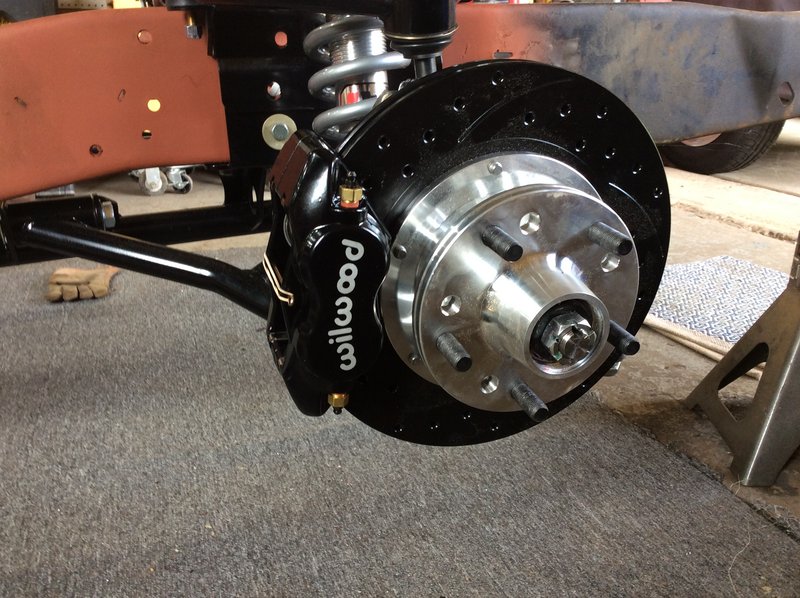
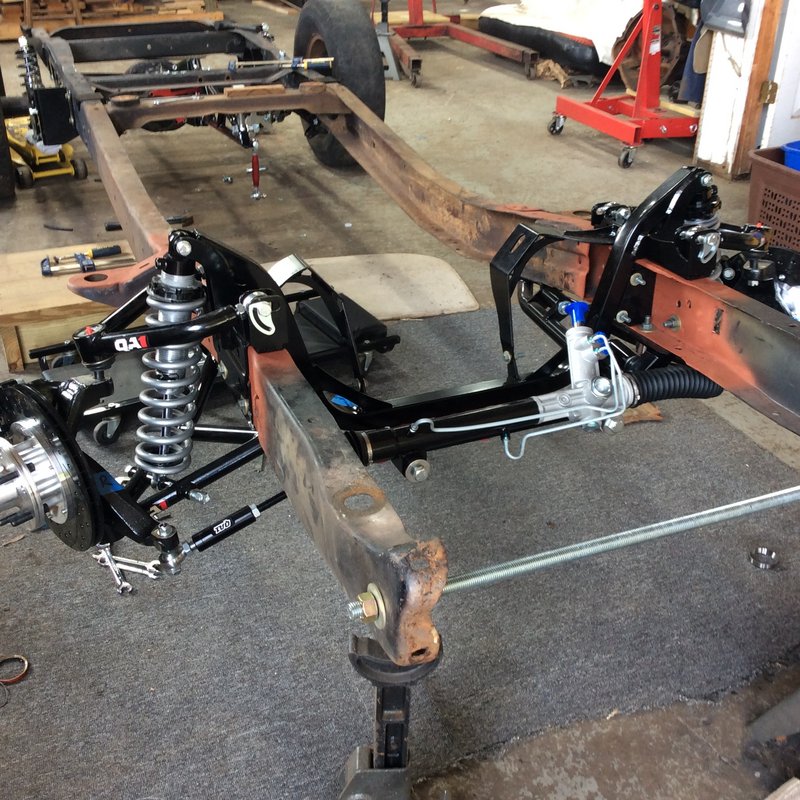
Everything has been going along pretty good so far. The kit uses 79-81 Camaro front spindles and i ordered the extra drop so they are 2” drop spindles. Kit does not include rotors or brakes, so i decided to go for Wilwood brakes.
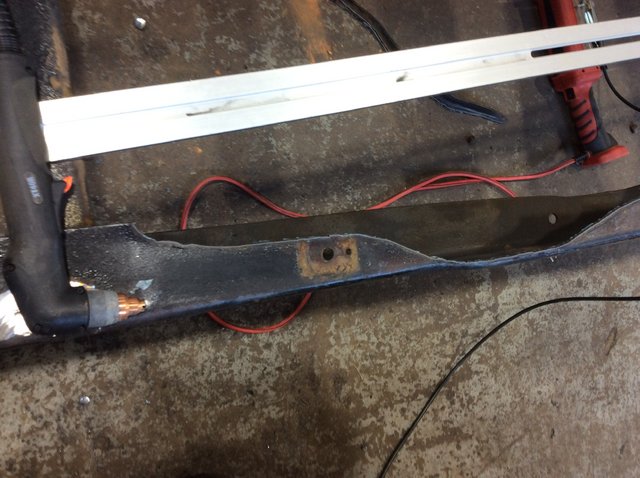
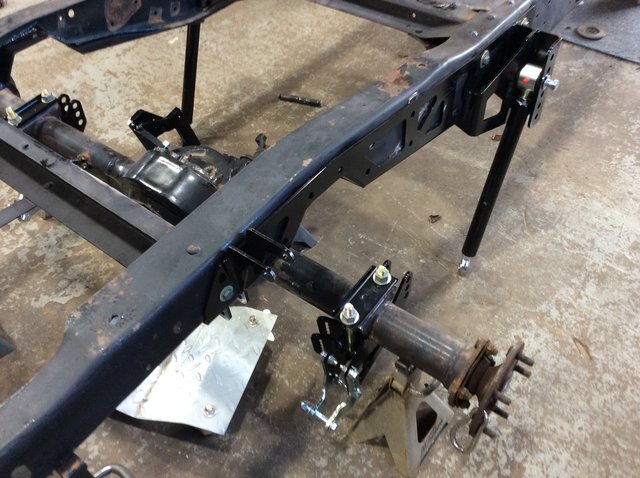
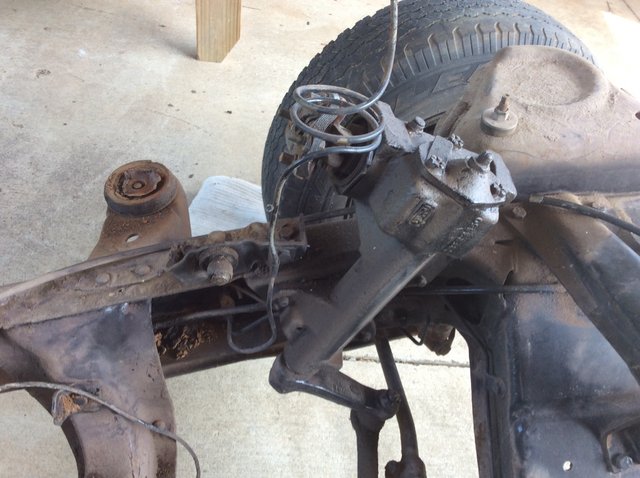
Well the wilwood brake kit requires that you cut the stock caliper brackets.
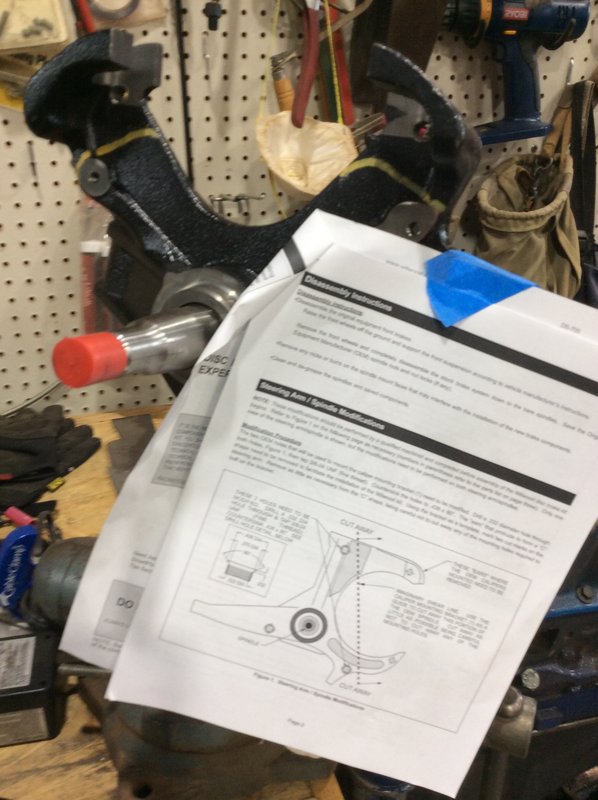
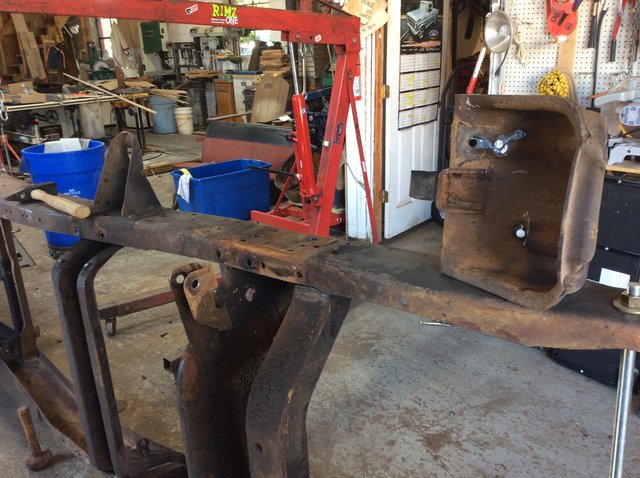
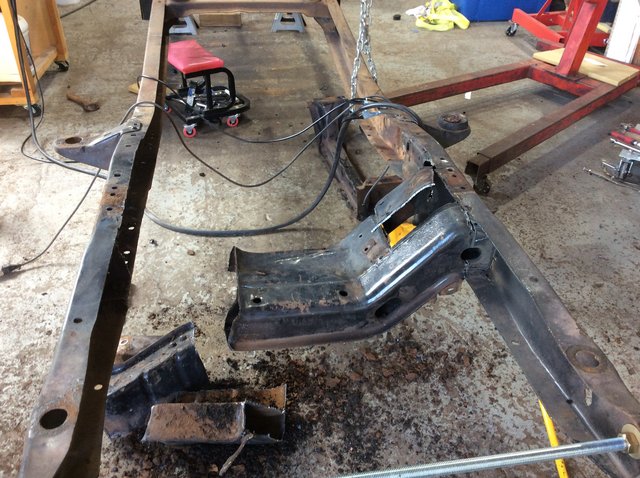
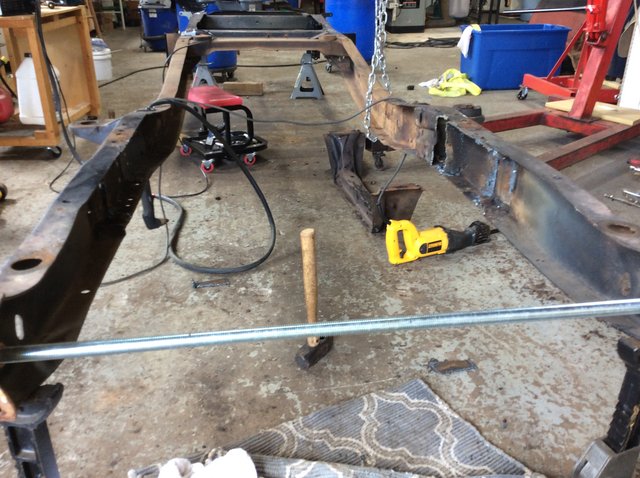
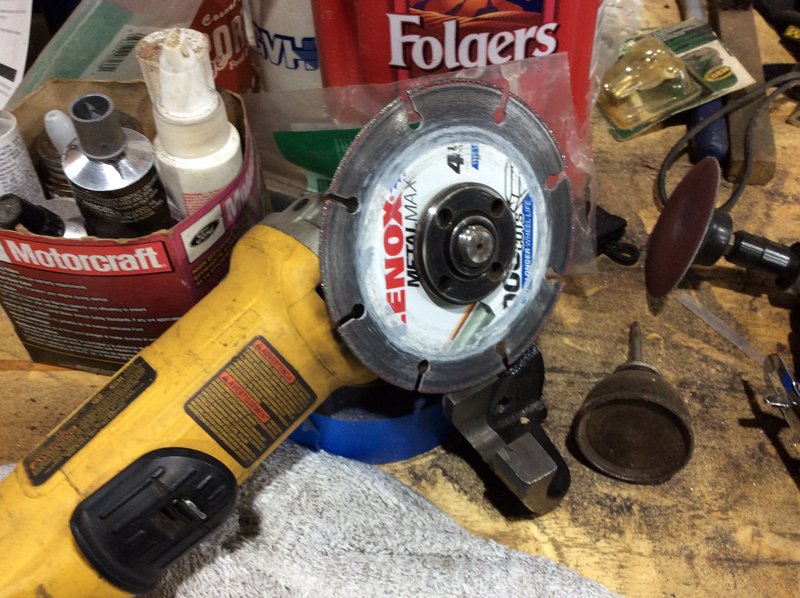
Speaking of cutting, i have been using these lenox metal blades on the grinder and really like them. They are $15 a blade, but so far seem to hold up. Found at tractor supply or lowes.
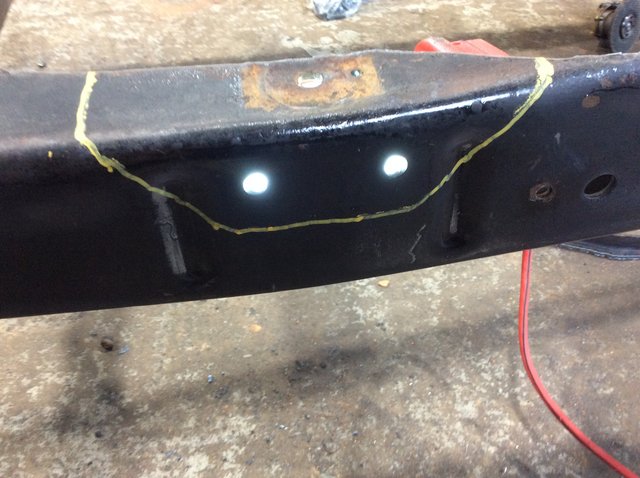
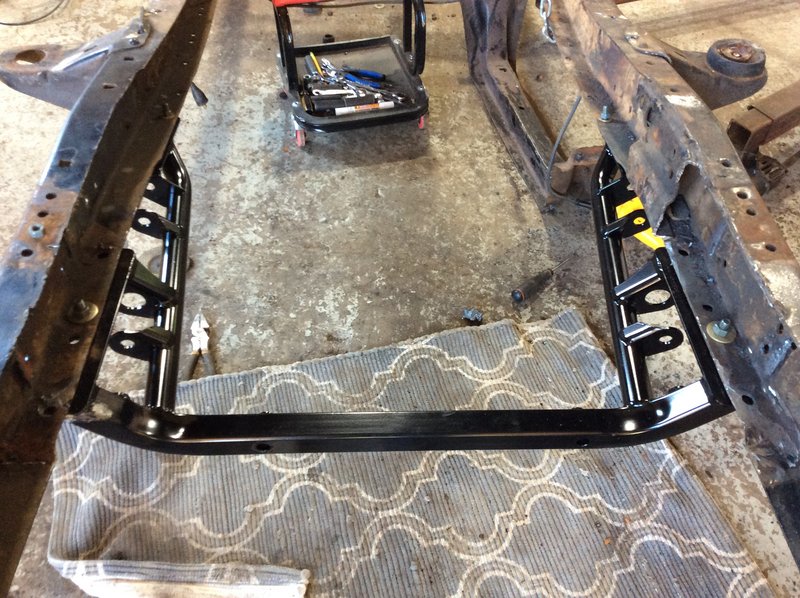
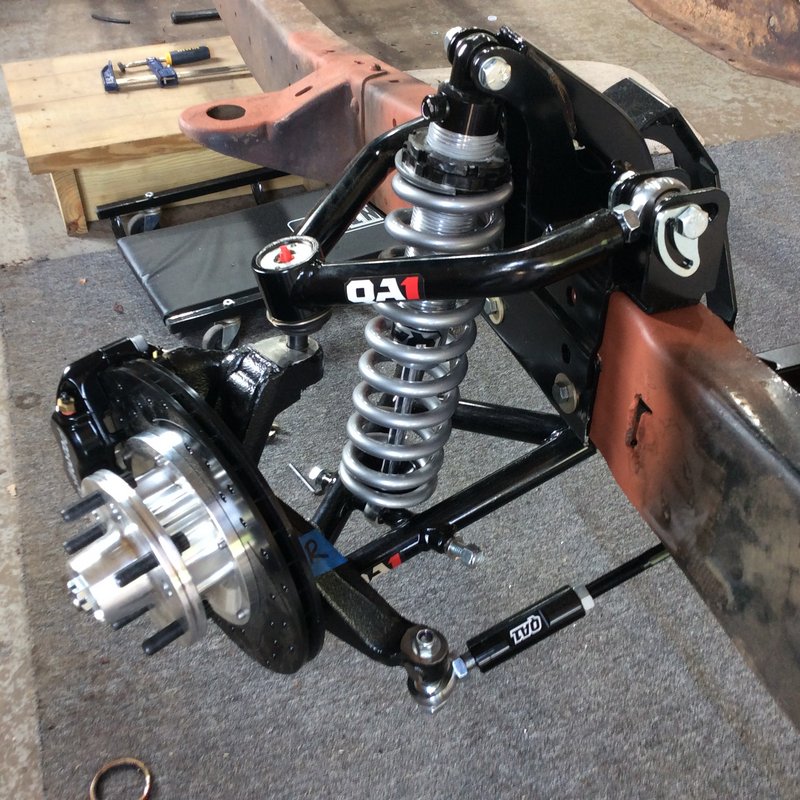
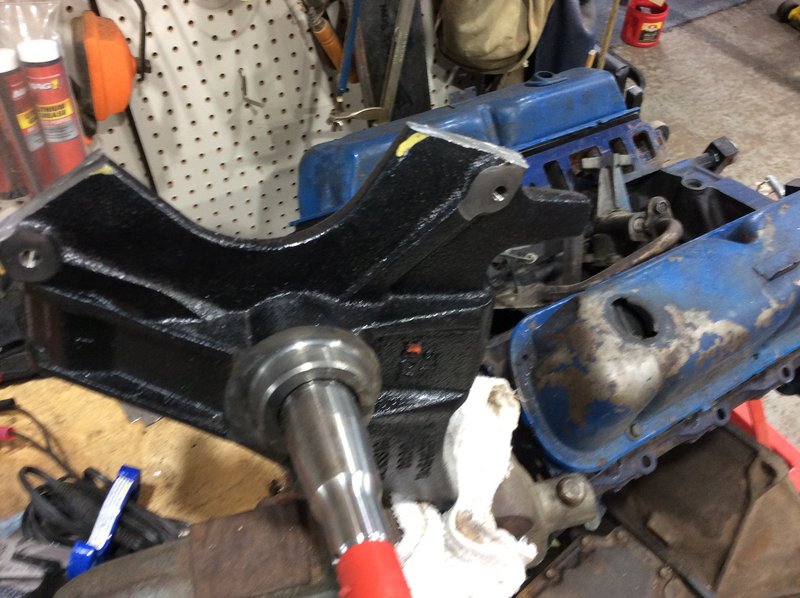
Ok, so cutting part done, put the spindles back on and mount the hubs.
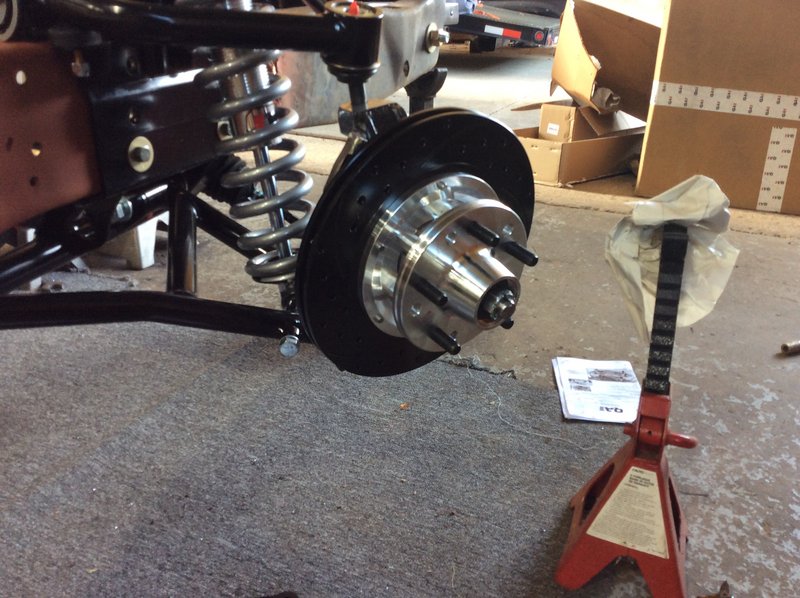
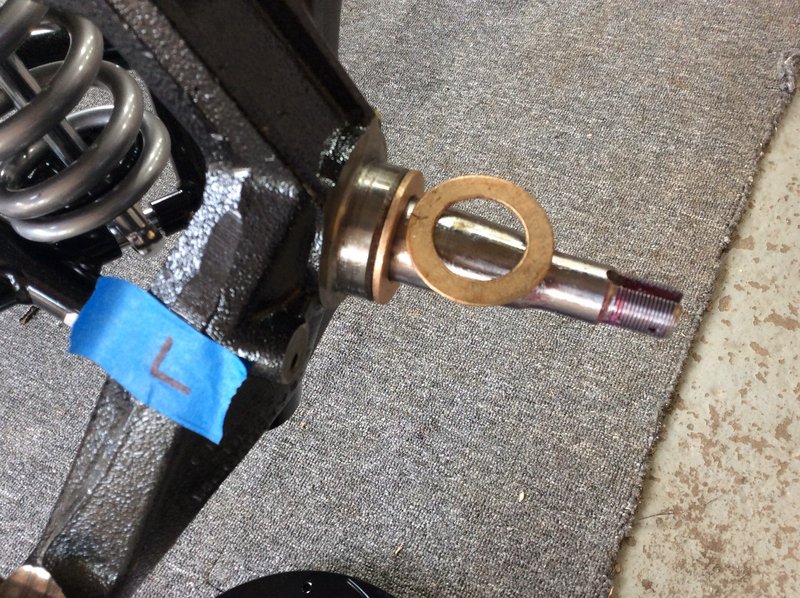
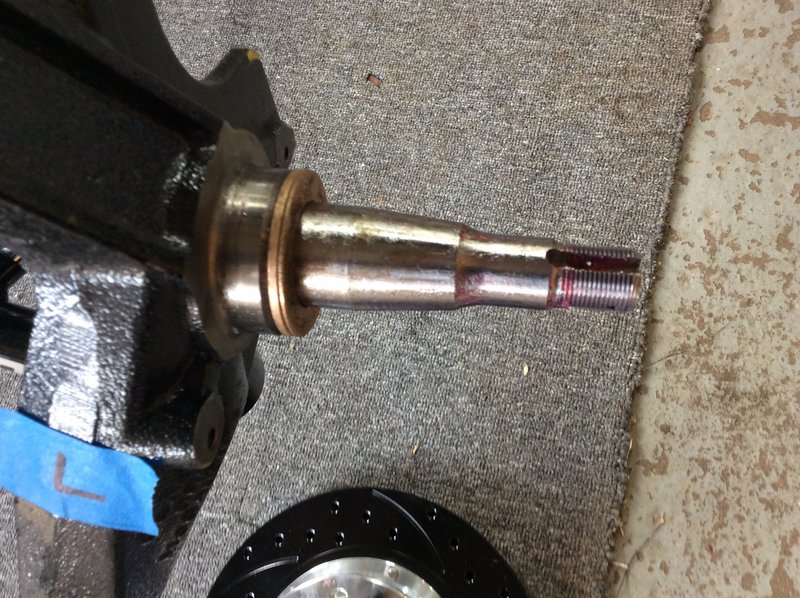
Now comes the problem, the hub and rotor assembly slide in the spindle too far and parts of the hub assembly, bolt heads etc. come in contact with the spindle bracket when rotating.
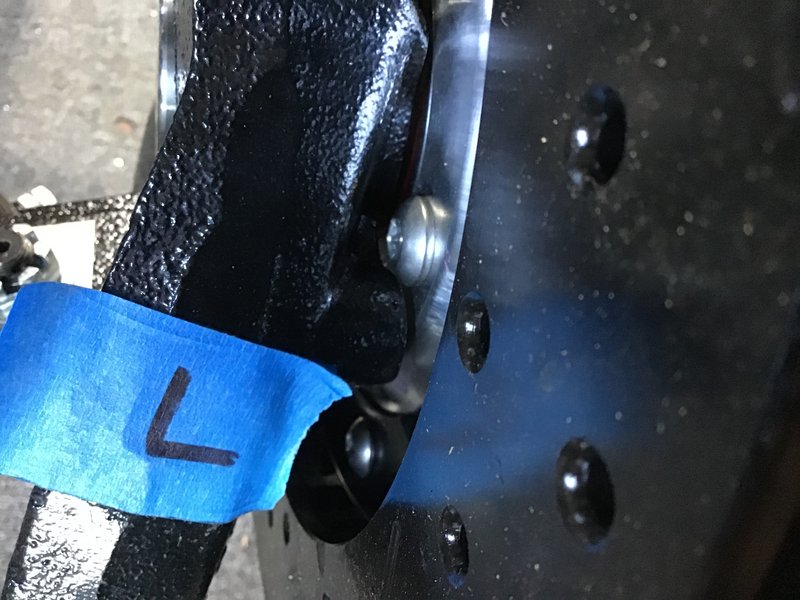
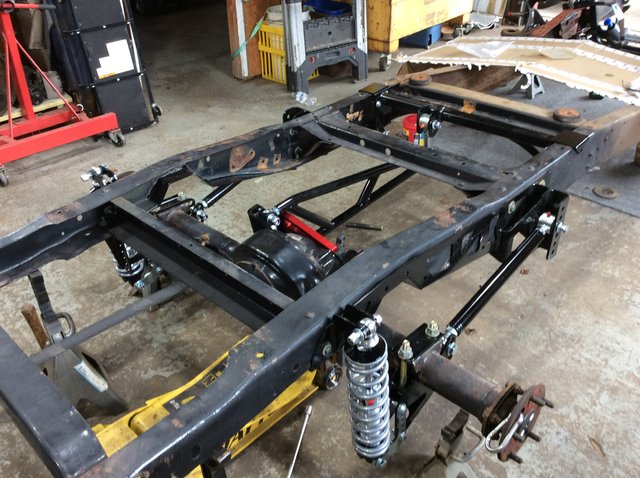
It looks like it needs maybe 1/8 or 1/4 for clearance. Drivers side is more-so than pass side. Thought maybe it was incorrect bearings, but have eliminated that, now i think it is the spindles.
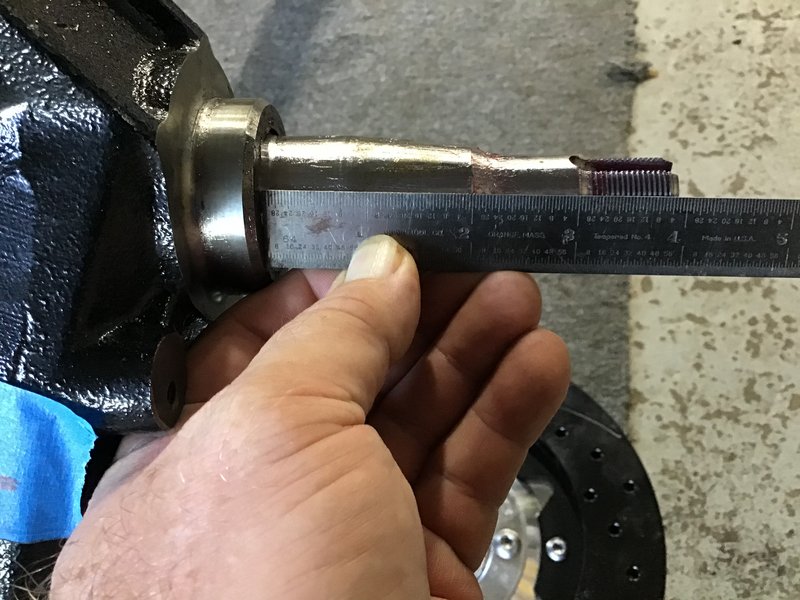
Seems like the critical dimension is the turned area on the bracket, left of zero on the ruler. I wonder if i can add a shim washer to the spindle to move the assembly out a little. That is the surface that the inner bearing rides on.
Anyway, that is where i am now, so looks like i will spend some time on the phone with QA1 next week. So far they have been good tech support wise.
Also still looking for a set of wheels and tires for the mock up. Need some 15” 5x4.5 or 5x4.75 bolt pattern. Hubs will allow either. Been watching craigs list, and struck out so far on salvage yards, just have not found the right yard yet.