This project has been in the works for a couple years now. I've had a lot of other stuff to do and am finally getting back on this.
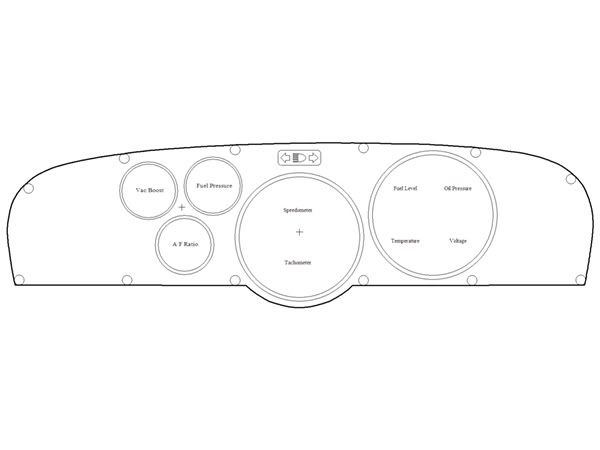
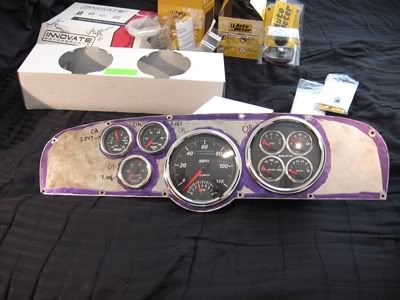
I will be installing a speedo, tach, oil pressure, coolant temp, fuel level, volt, vacuum/boost, fuel pressure, and a/f ratio package with custom indicator lights. The last three gauges are not just for show. I have plans...
The 2D cad work:
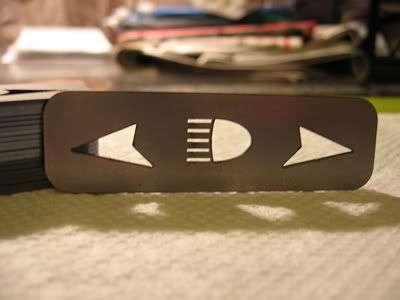
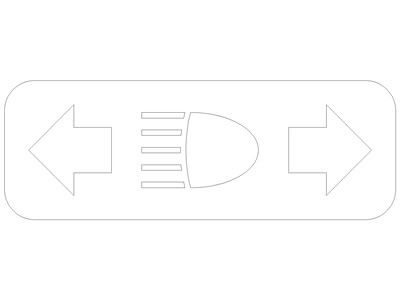
A larger view of the indicator light concept.
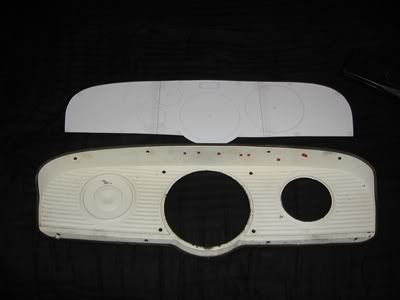
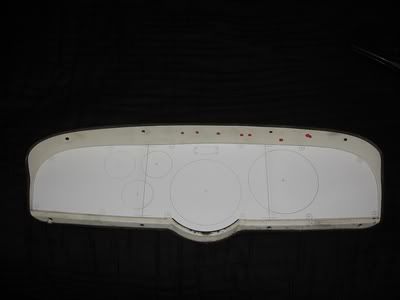
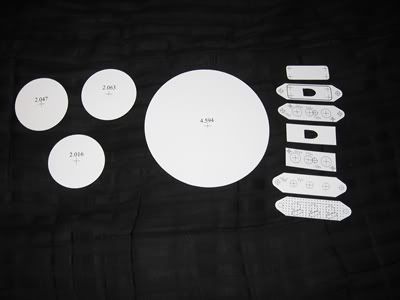
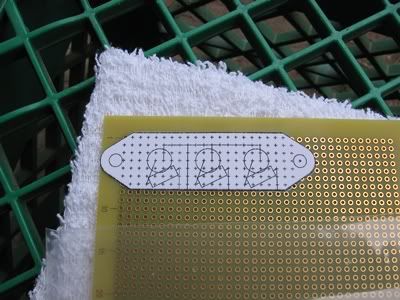
The template, made with 3 pieces of 40lb letter sized paper, taped together.
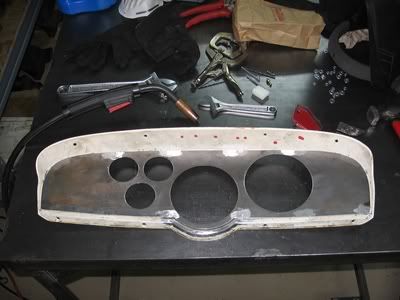
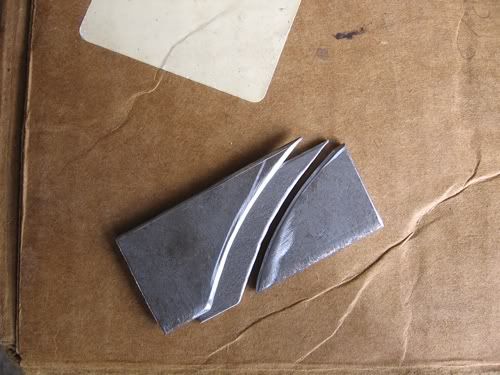
And the steel!
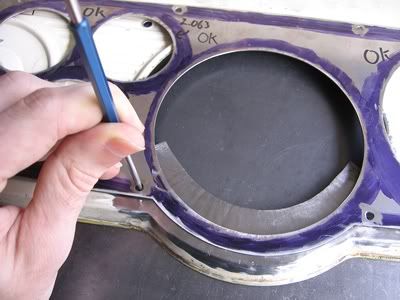
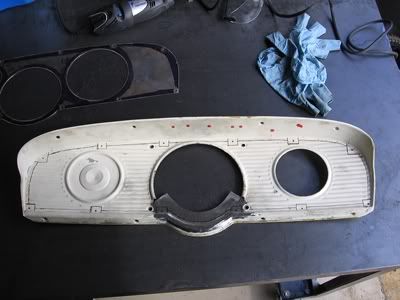
The gauges were fitted in their respective locations. So they will not necessarily fit into another hole, though they are very close in size. Hopefully none of them break.
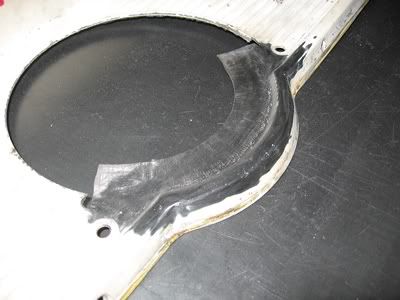
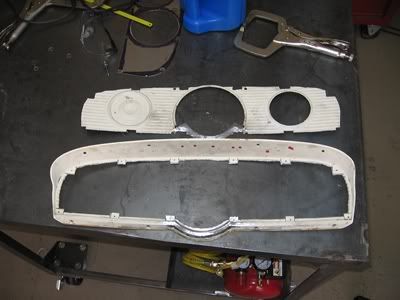
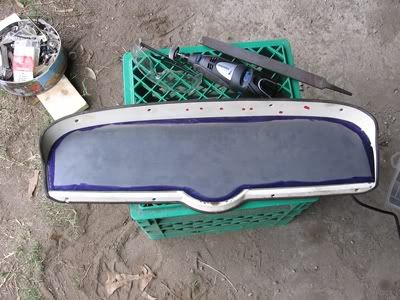
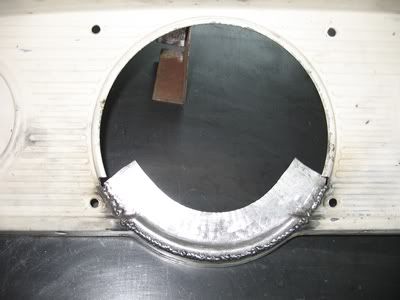
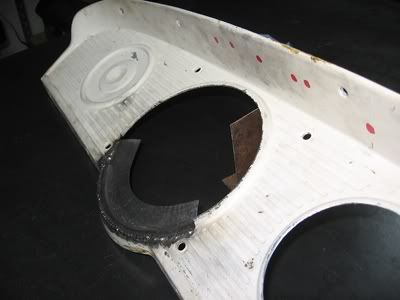
To fit these gauges will require some reworking of a stock panel.
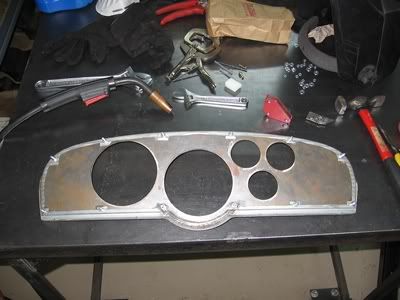
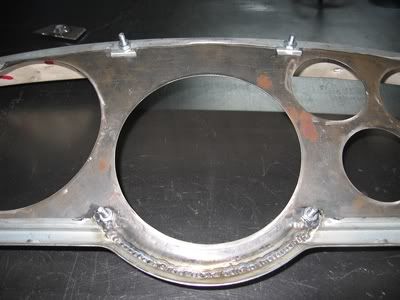
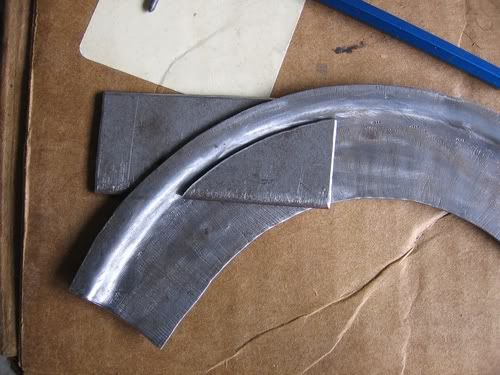
This piece was made using a sheet metal brake for the first bend, some clamps carefully shimmed steel and a hammer for the secong bend, and a shrinker/stretcher to make the curve.
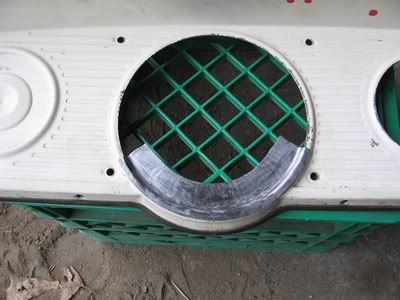
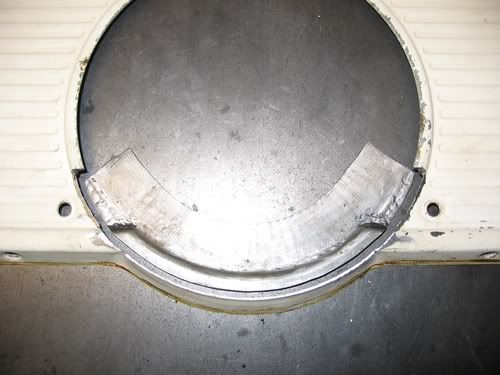
The dies I made to flatten the curved piece where necessary in order to match the instrument panel.
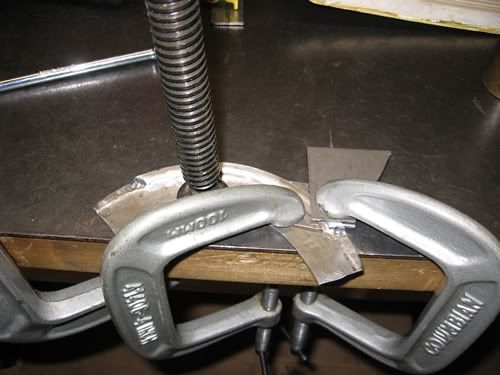
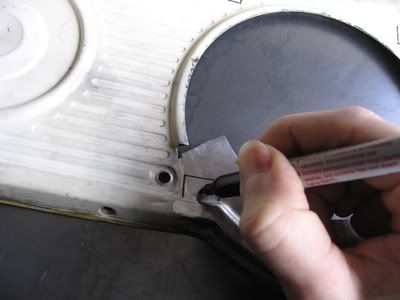
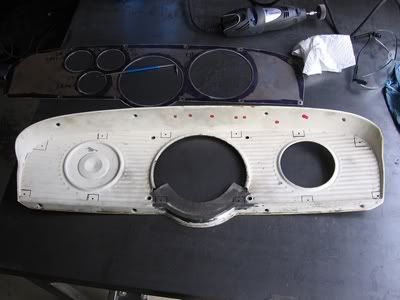
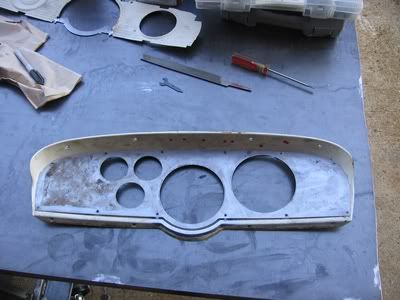
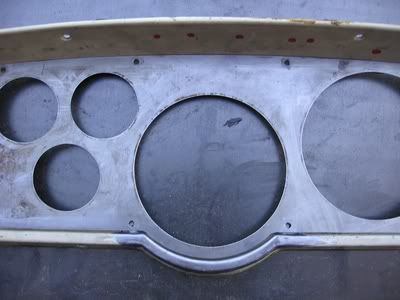
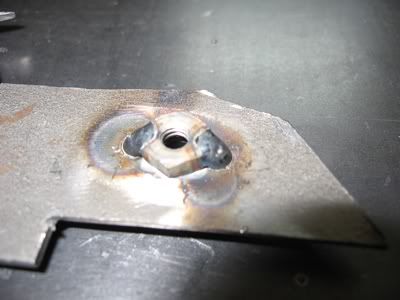
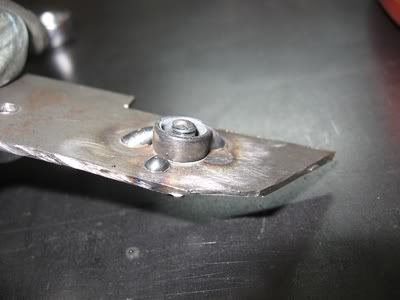
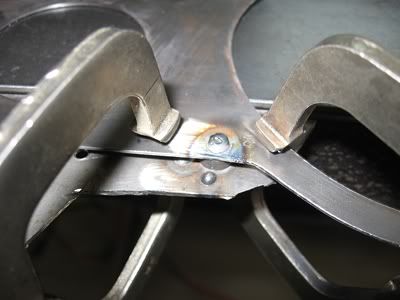
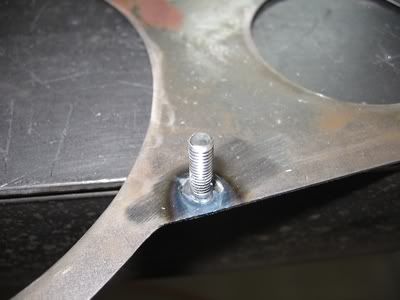
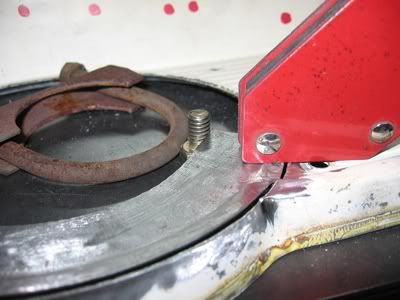
Getting it lined up tor the first tack was tricky. A combination of the panel not being flat, and my novice metal working skills. The solution I came up with is to use magnets to hold it in place and a bolt so that I could use the threads for fine adjustment. The mass of the bolt was not significant enough to stay in place with the force of the piece acting on it so the exhaust clamp prevented the bolt from moving.
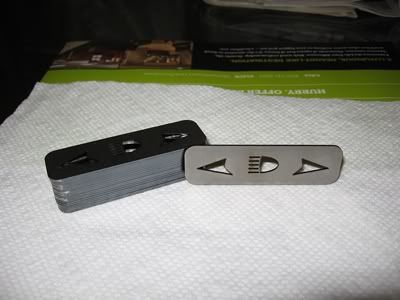
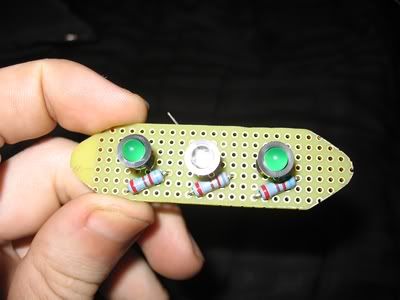
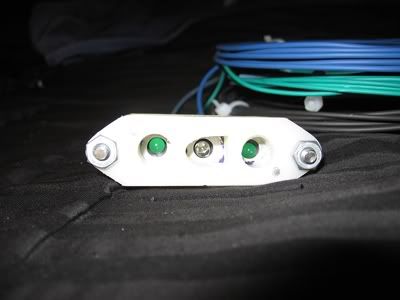
This is the plan for the indicator lights. They will be illuminated with LEDs

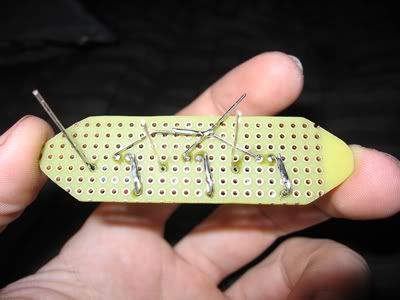
The making of the indicator lights.
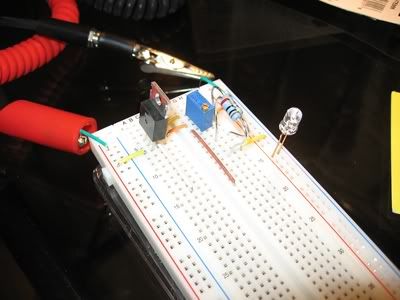
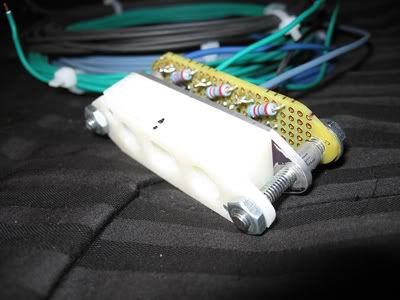
The layout was figured with the help of some cad software. Very convenient. Leds typically require about 3 volts (read your packaging) so resistors are required to drop the voltage from 14.4 volts.
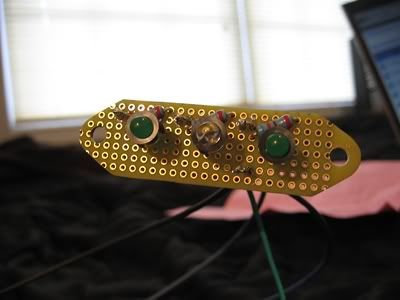
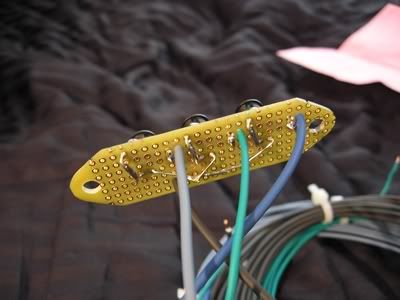
Wires added. It will be plug and play.
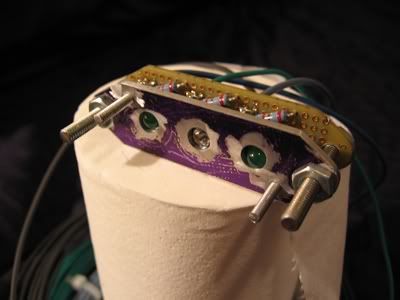
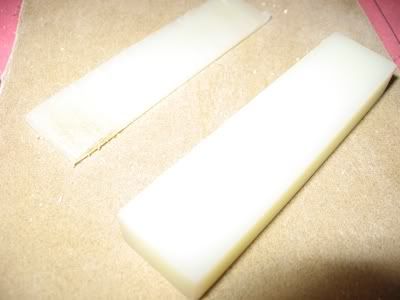
The first (and hopefully last) version of the housing will be made of white nylon. It was cut with a table saw and hand sanded smooth on a flat plate.
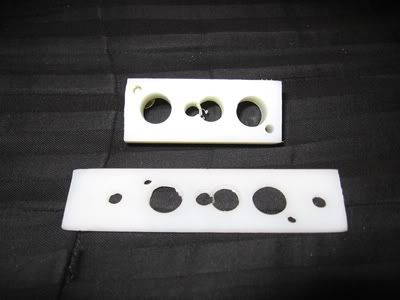
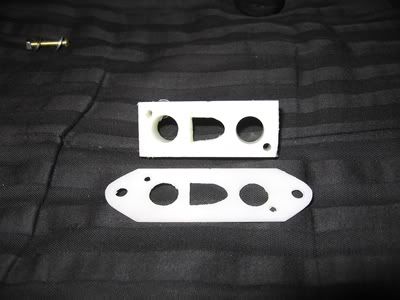
Holes were drilled and then filed where necessary to get the approximate shapes.
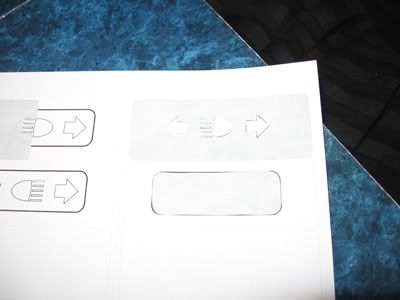
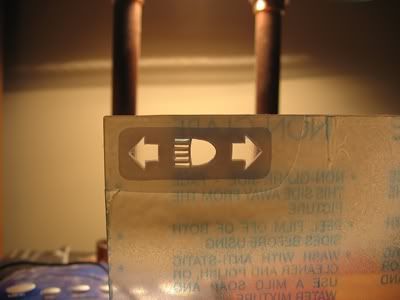
The tricky part will be the lens. This is the way I have determined I will do it but I haven't made it yet.
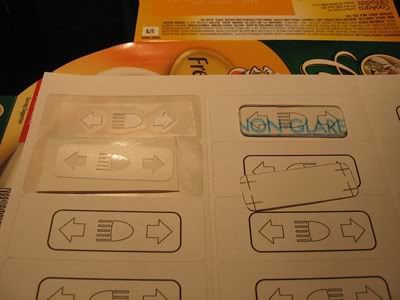
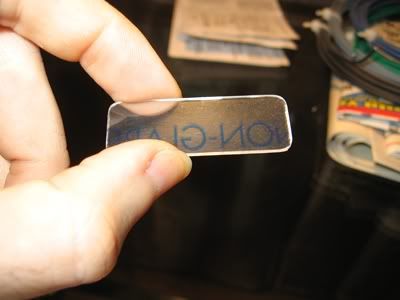
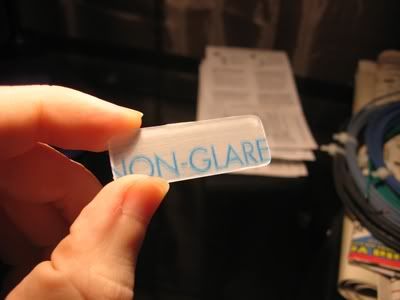
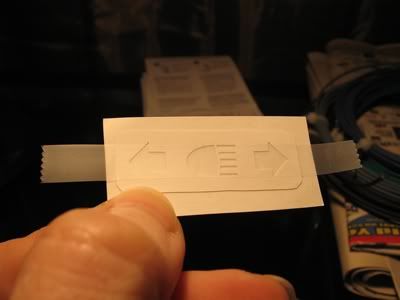
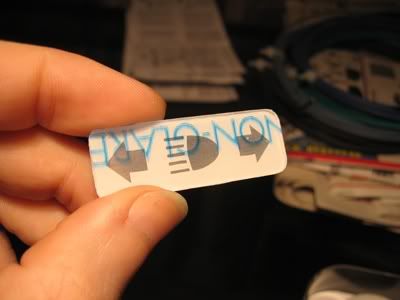
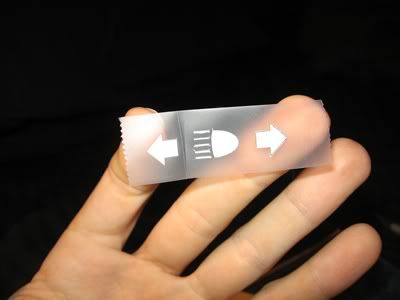
Templates will be printed onto adhesive backed labels. They will then be cut out and carefully positioned. In this first set of pictures, the first sticker you see will be adhesive backed pvc. The intent of this is to help prevent bleeding of the light since the lens will be one continuous piece. The idea is that it will block much of the "stray" light from entering the lens and allow that which is needed to pass through where it is needed.
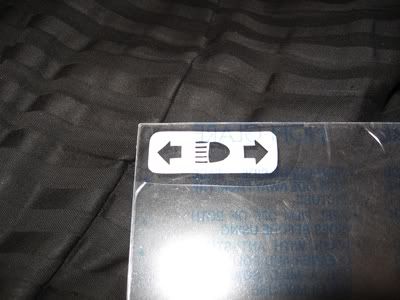
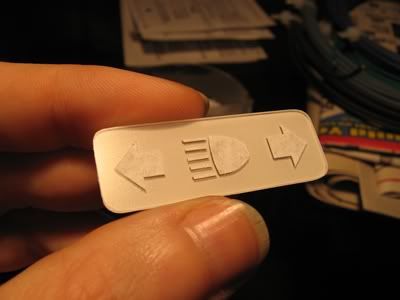
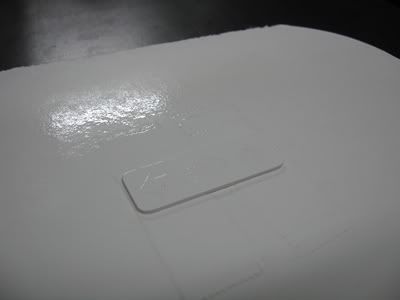
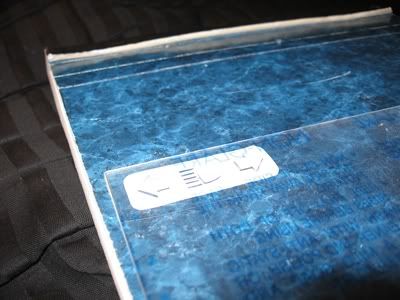
The lens is going to be painted but I don't want to paint over the portion which is for the indicator lights. Rather than placing each piece individually, I came up with a method using scotch tape. I cut them out of the labels with a sharp xacto knife and peel away the unneeded portion. This way they stay exactly where they need to be. Then I gently apply a piece of tape over them and peel them off. Now I can more easily position them to be directly over the piece on the back. Then I carefully cut away the scotch tape and peel what remains off of the label. Because the tape was gently applied, it comes of easily, but is still a little tricky, leaving the label behind to mask off the area I don't want to paint. I did try simply cutting the scotch tape away but for whatever reason I could not get that to work satisfactorily and if it's not mostly cut away, the labels just peel off. With the tape trimmed, the knife can be used to hold down the label and prevent the label from peeling while the tape is removed, when necessary.
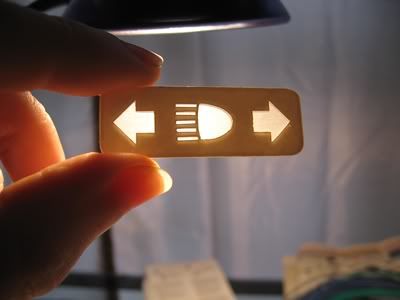
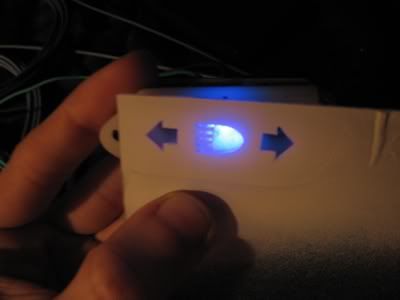
It looks great in person. Soon after these pictures were taken I sanded the back side with 220grit to frost the lens and it looks much better than it did as a clear lens. And, the housing will need to be deeper. The high beam indicator led is too close for how wide the icon is so the round shape of the beam can be seen. I'll get everything installed and functioning as is before I correct that.
What's left is to make the final lens, finish preparing the original panel, weld the fastening studs to the insert, paint, and wiring. This project will be finished by summer.