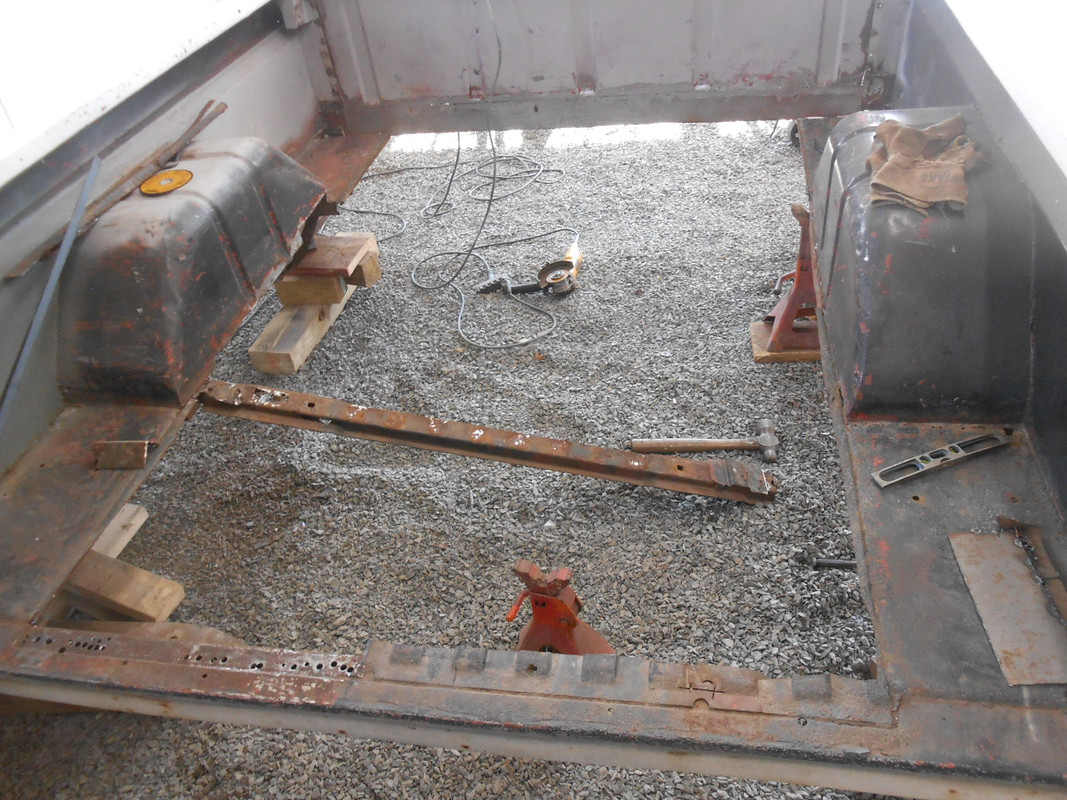
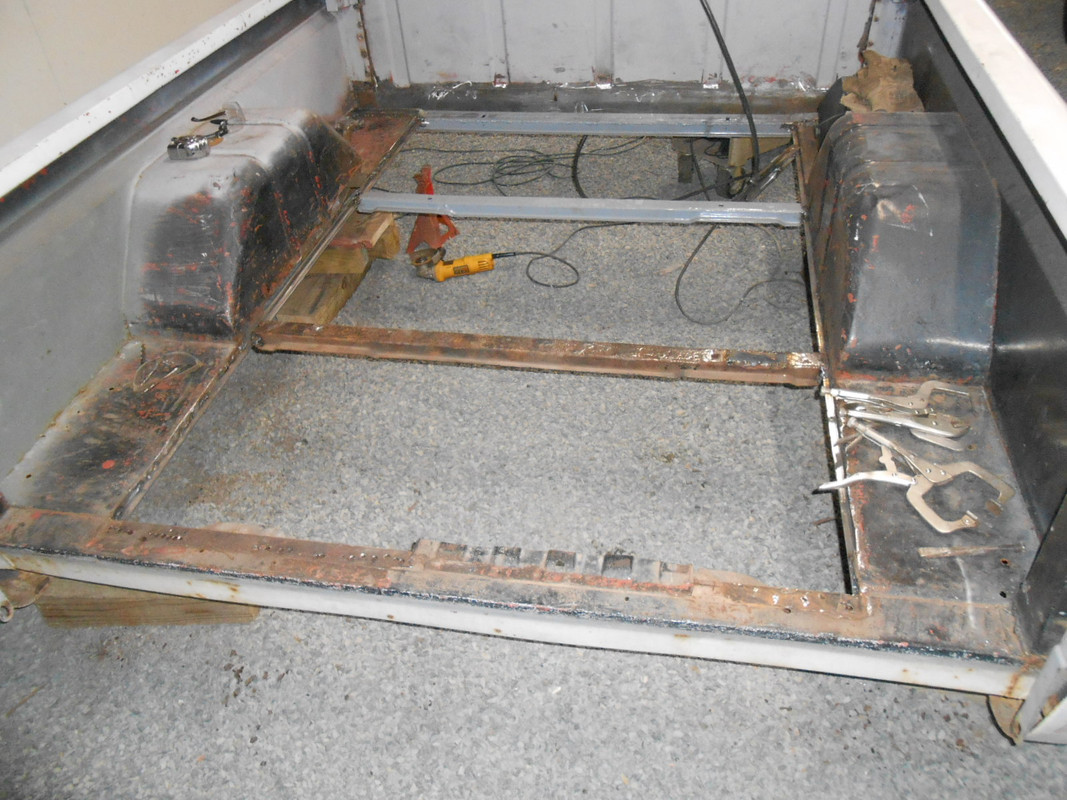
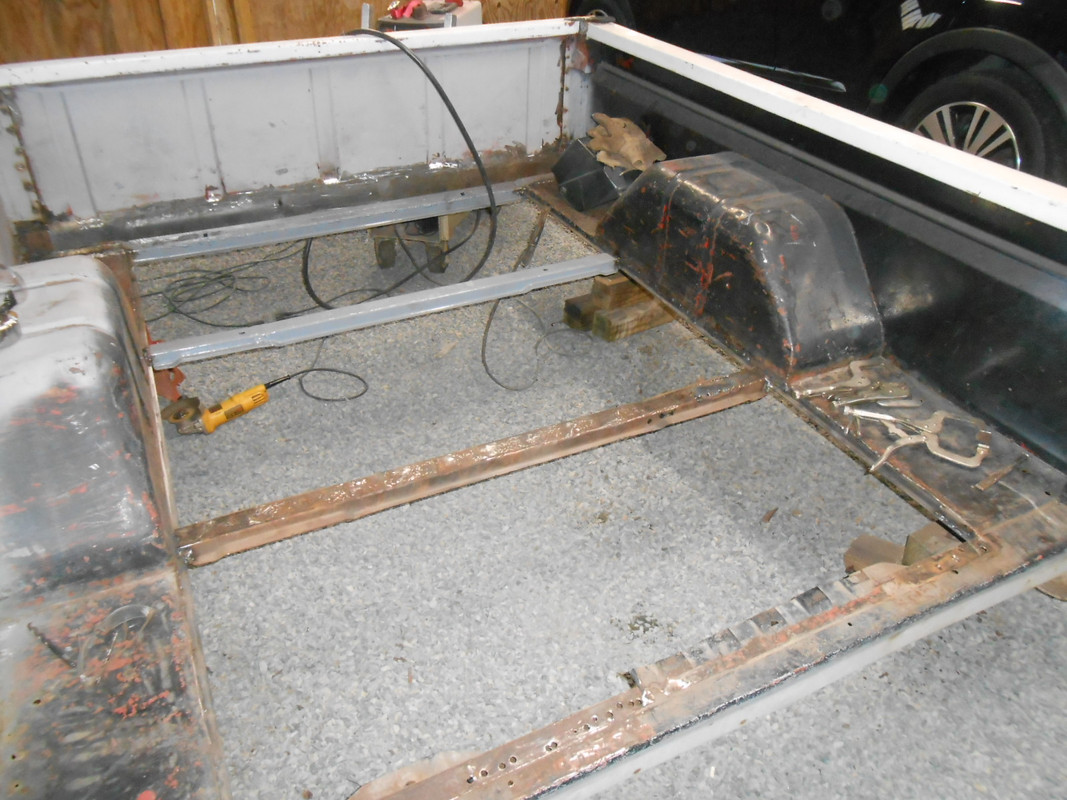
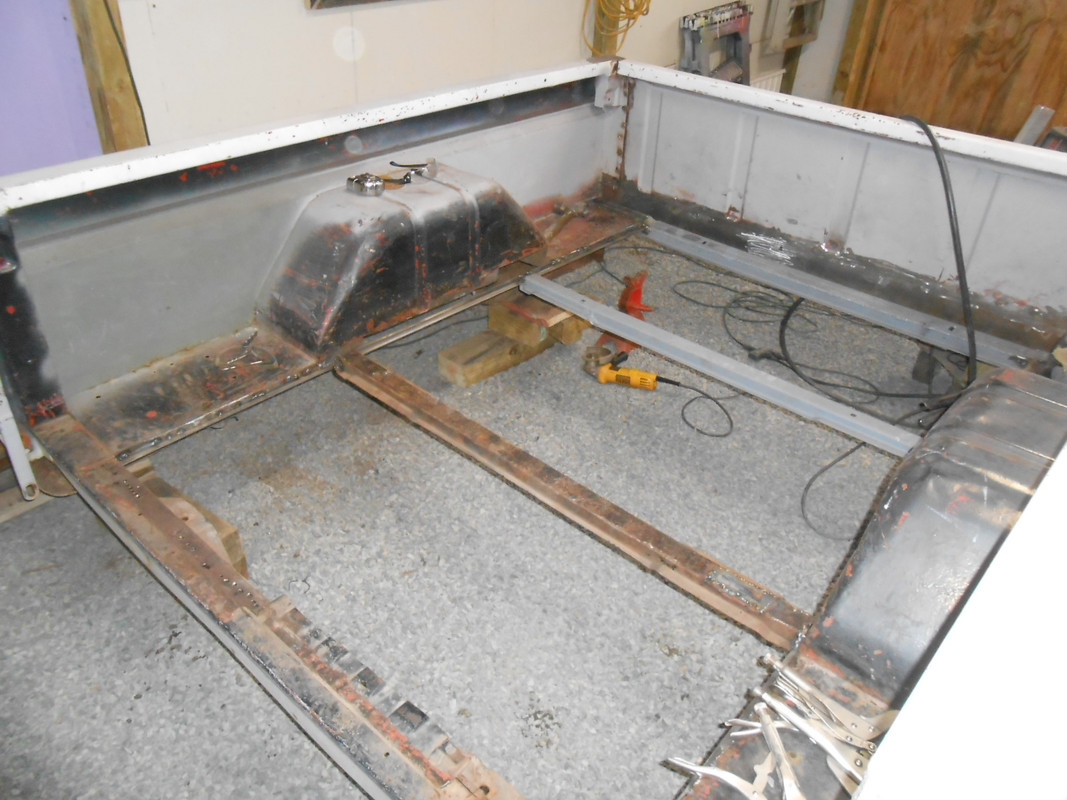
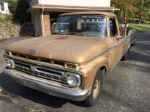
Drilling spot welds on an old truck always makes me think about the assembly processes "back in the day". It was some persons job to run a spot welding rig. 40+ hours a week!
Drilling spot welds on an old truck always makes me thing about the assembly processes "back in the day". It was some persons job to run a spot welding rig. 40 hours a week!
Thanks! Yes...it's a pain to drill all of those out...but if I want to fix the rust, etc. this is what I have to do, lol. I thought alot about someone (a Joe, or Bob, or George) 56 years ago in the factory "going nuts" with the spot welder...lol....probably thinking, "that's not going to come apart..."
The way I understand it the auto makers used so many spot welds because they figured that 30-40% of the welds could be bad and not affect the safety integrity of the vehicle. I know whenever I've had to drill out spot welds they sure seem to have all held just fine. lol. I've got experience with spot welders and it doesn't take much for them to start putting out weak welds.
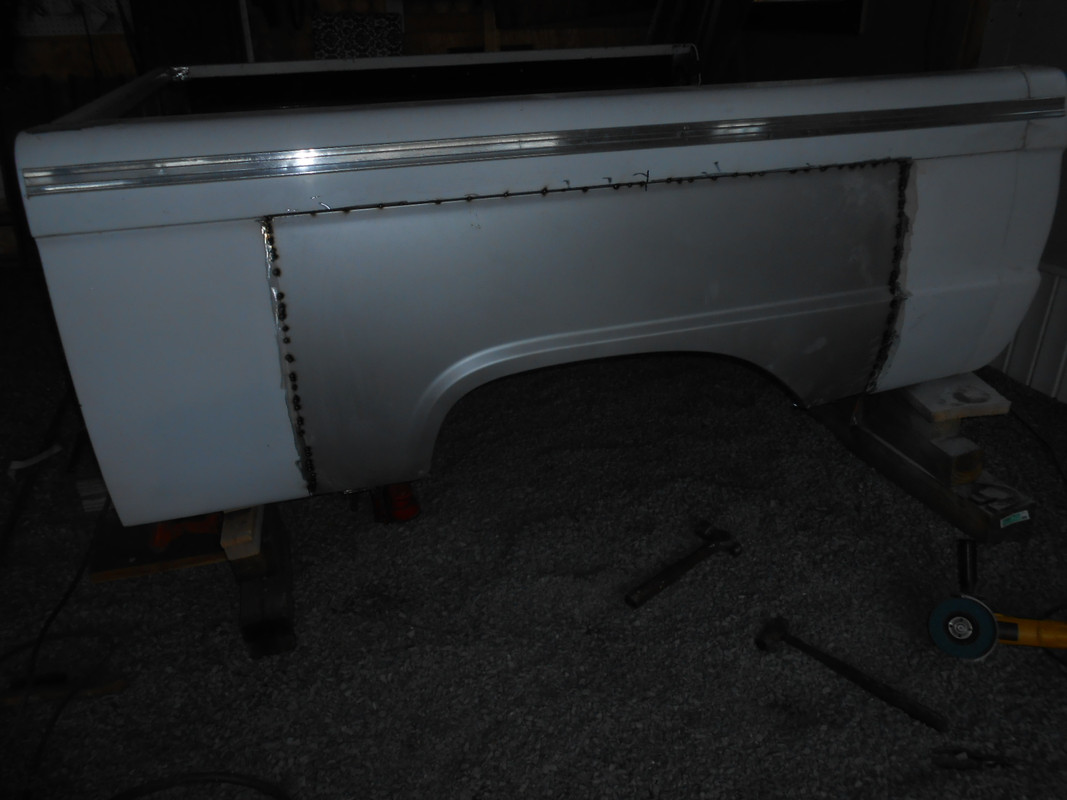
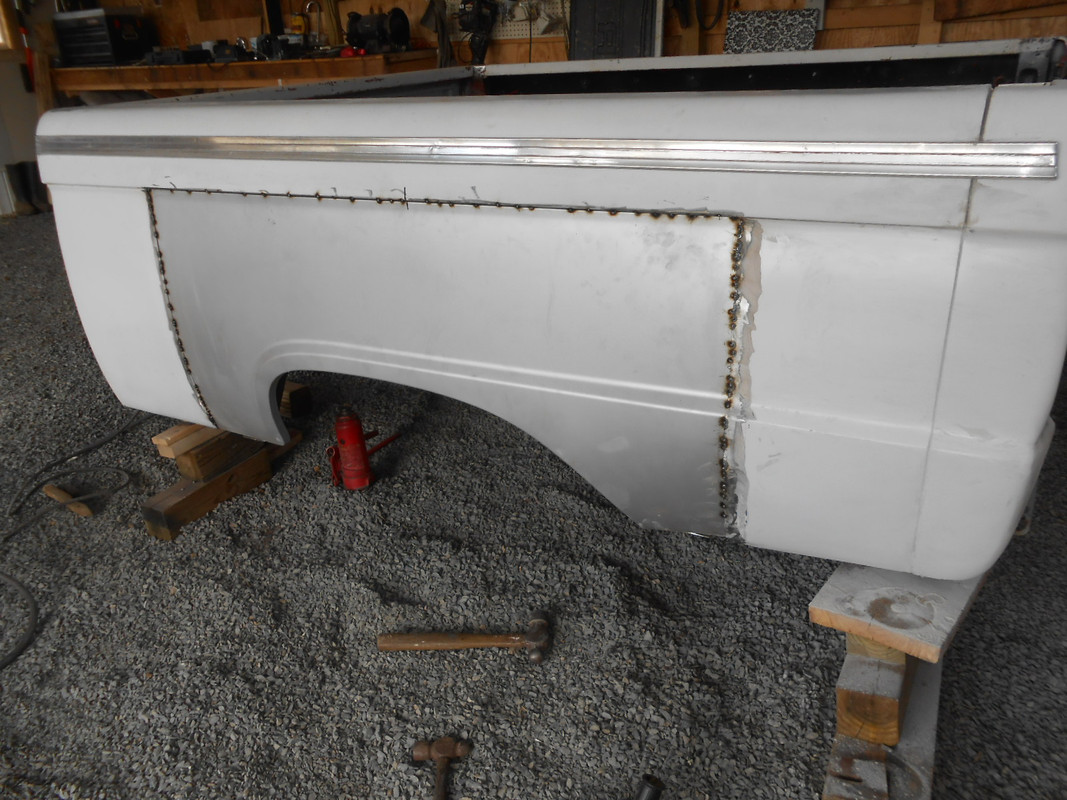
ratrapp wrote:did you use the whole bronco patch panel or did you cut it down?
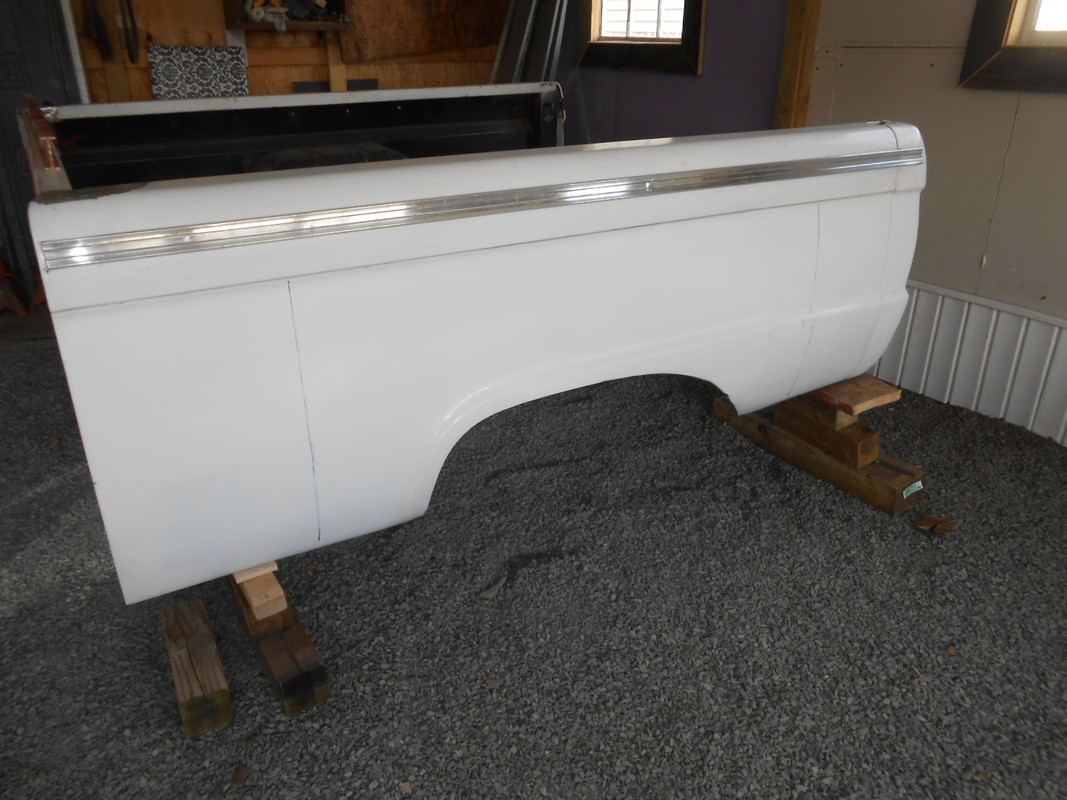
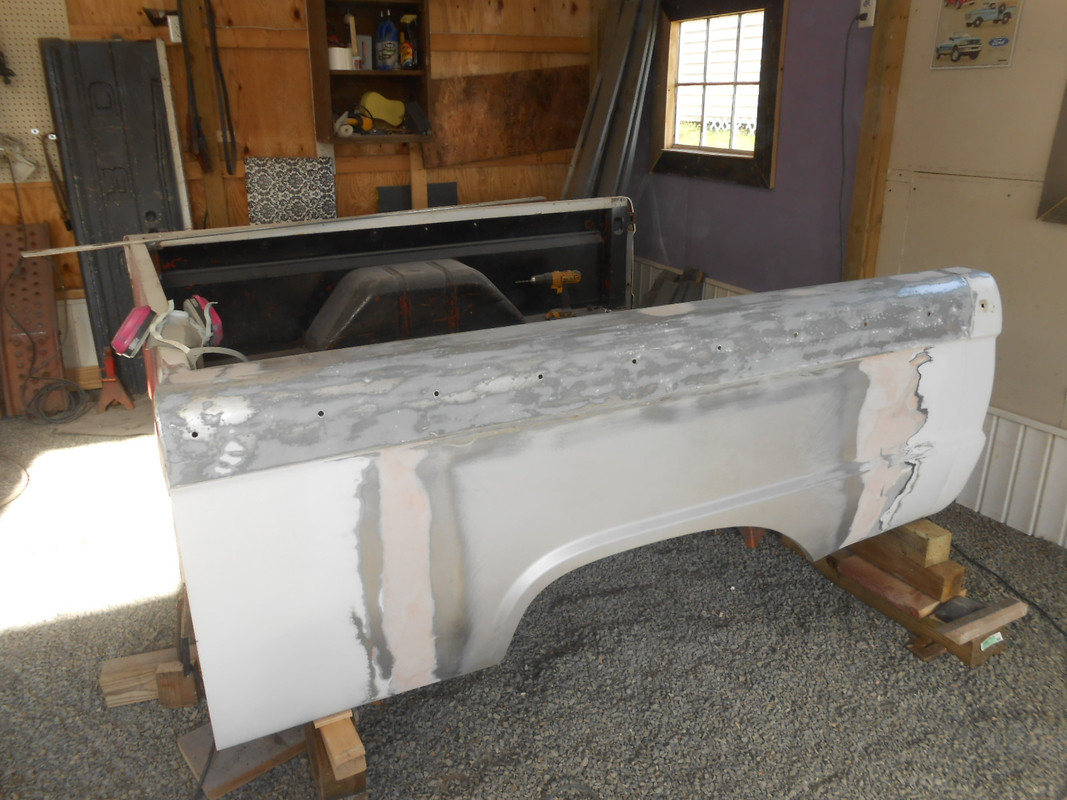
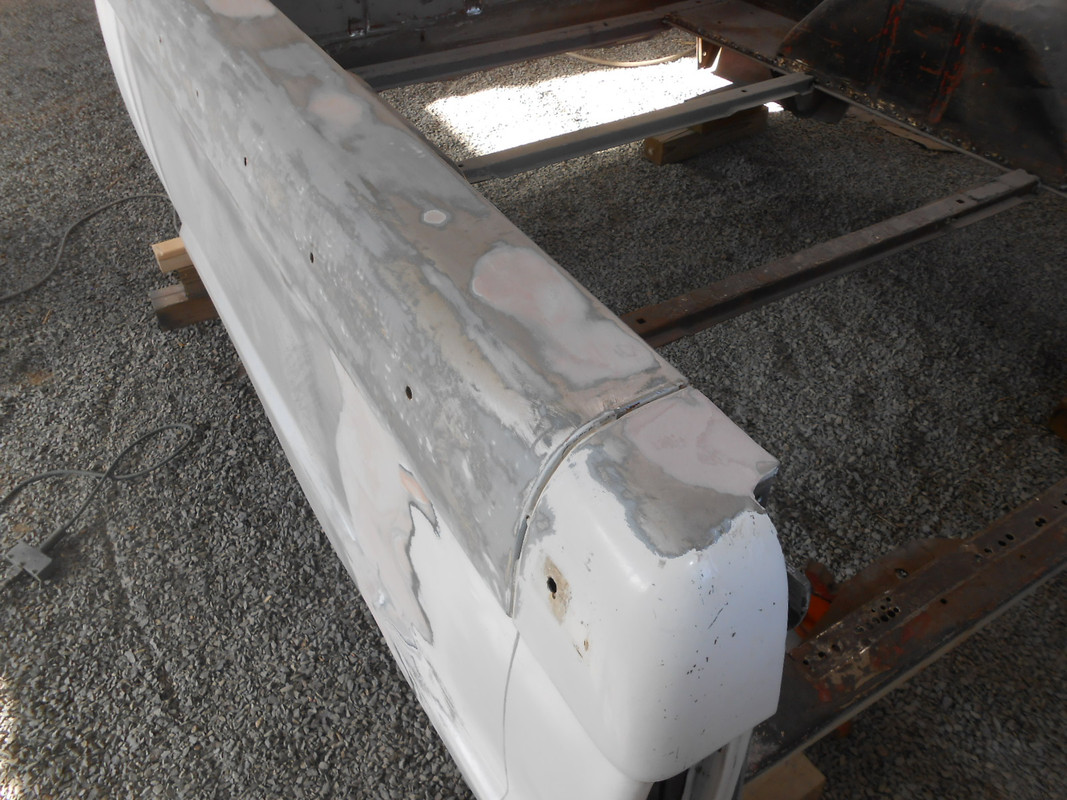
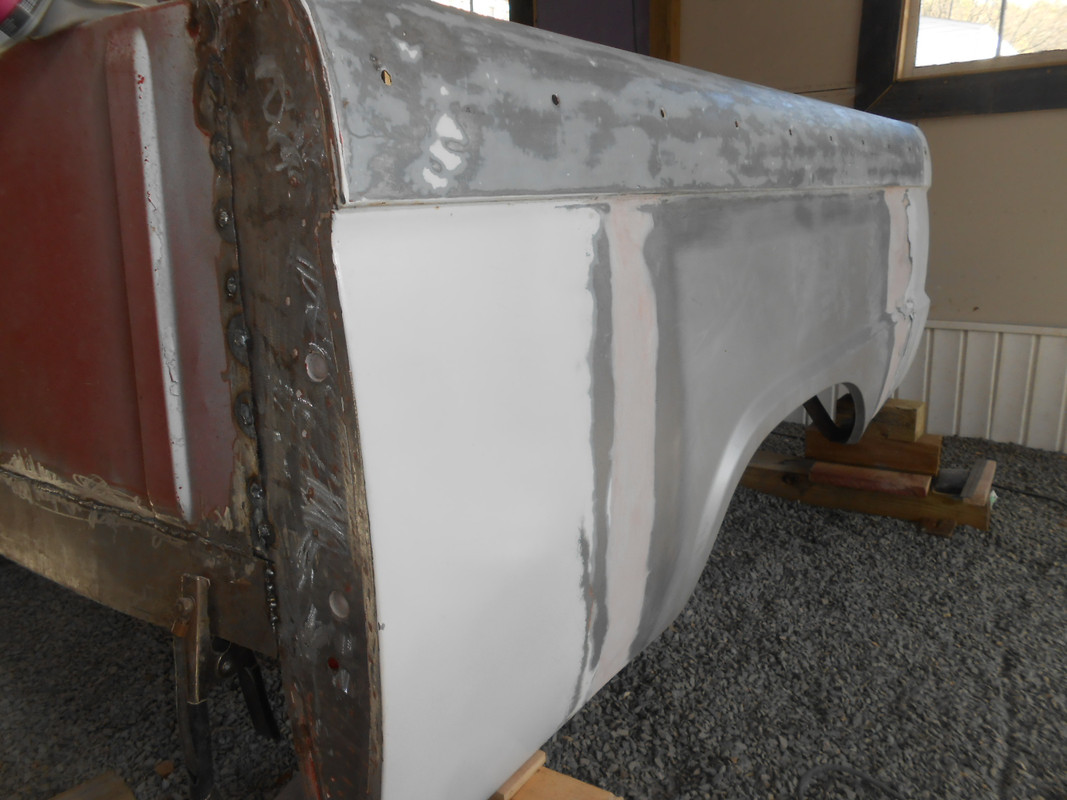
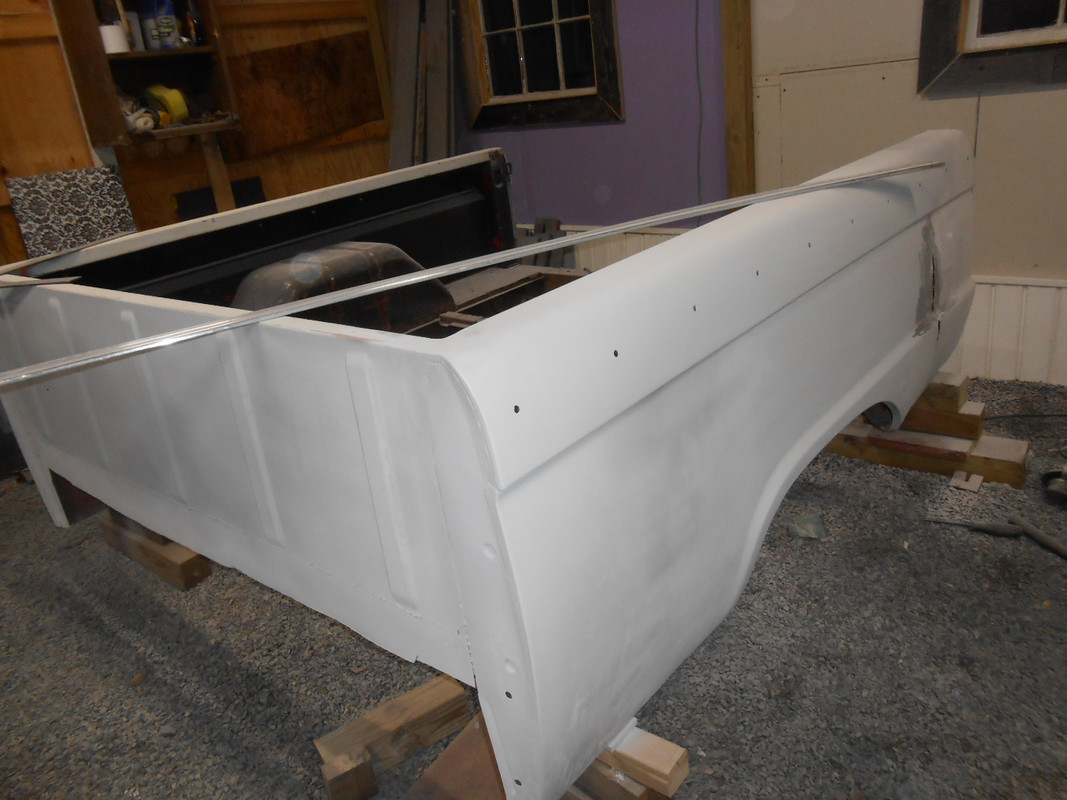
I used the entire panel. It is shorter than the truck bed side. It is a good repair panel to use if you have damage around the wheel well...which I did. There was some slight damage at the rear of the bedside right after the patch panel, but I think that I can made it work. To be honest....if I found a bed in better condition for the right price, I will replace this one...eventually. This company sells bedsides...http://www.usbody.com/Pages_Trucks/61-F ... 11PosTeJTo
They are $1098 each plus whatever they would charge to ship.
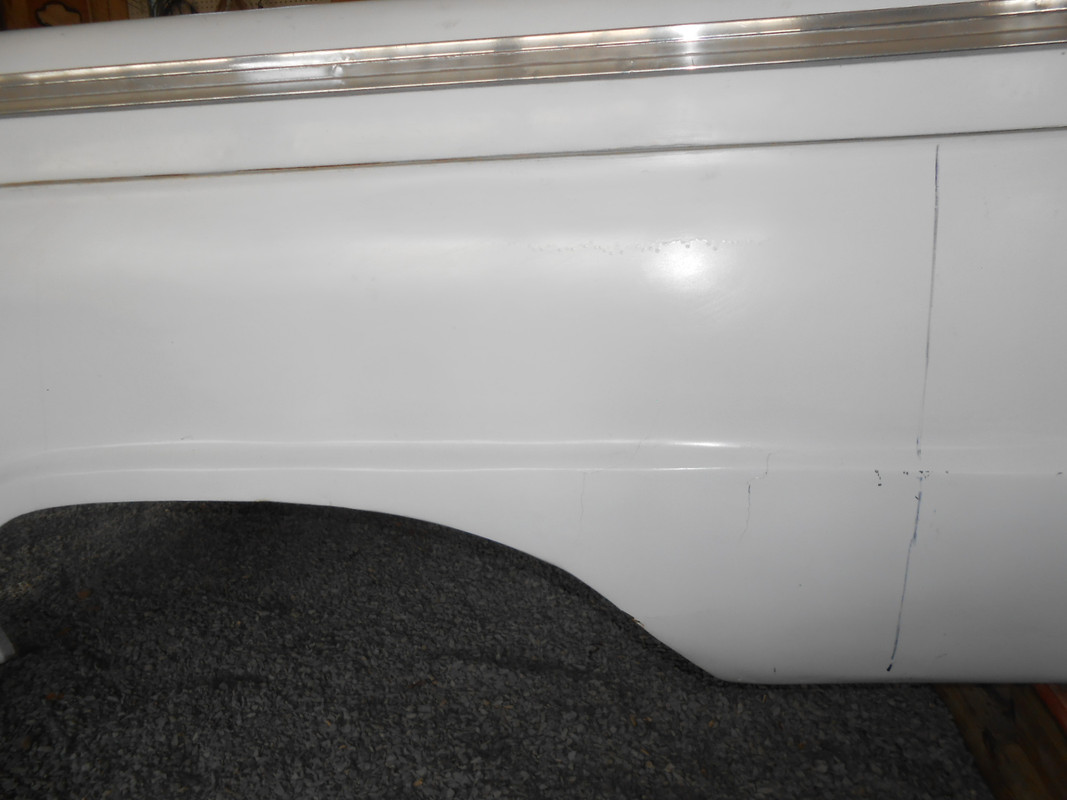
my damage is more at the taillight end than the wheel well.i think i'll just cut up my good longbed to fix it.i bought a new tail light pocket and then discovered how bad the bedside was.they must have used at least a gallon of bodyfiller to fix the bedside.
Well....I give up! I have contacted Tom at Flashback F-100's about a bed. This one might be too far gone. I think that I have wasted time and $$$....trying to weld good metal to gooey metal...it doesn't work....at all.....
...and I should have known better.....
so...if you don't "Stay Tuned"....I understand....
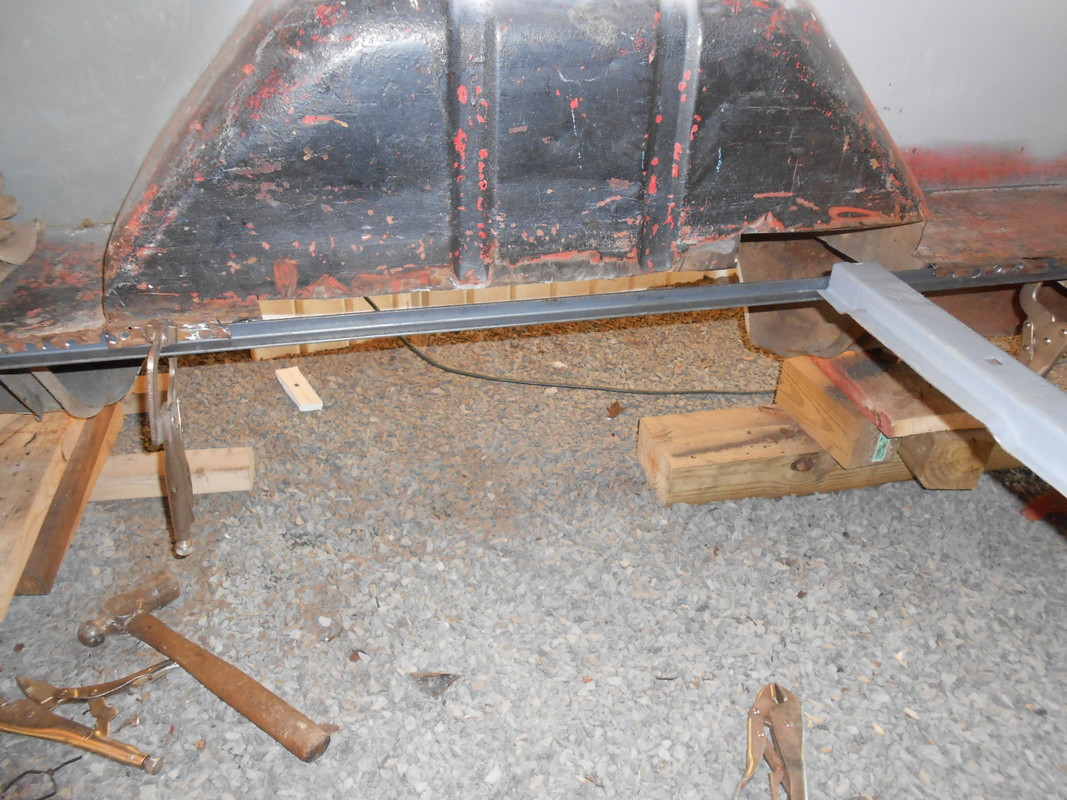
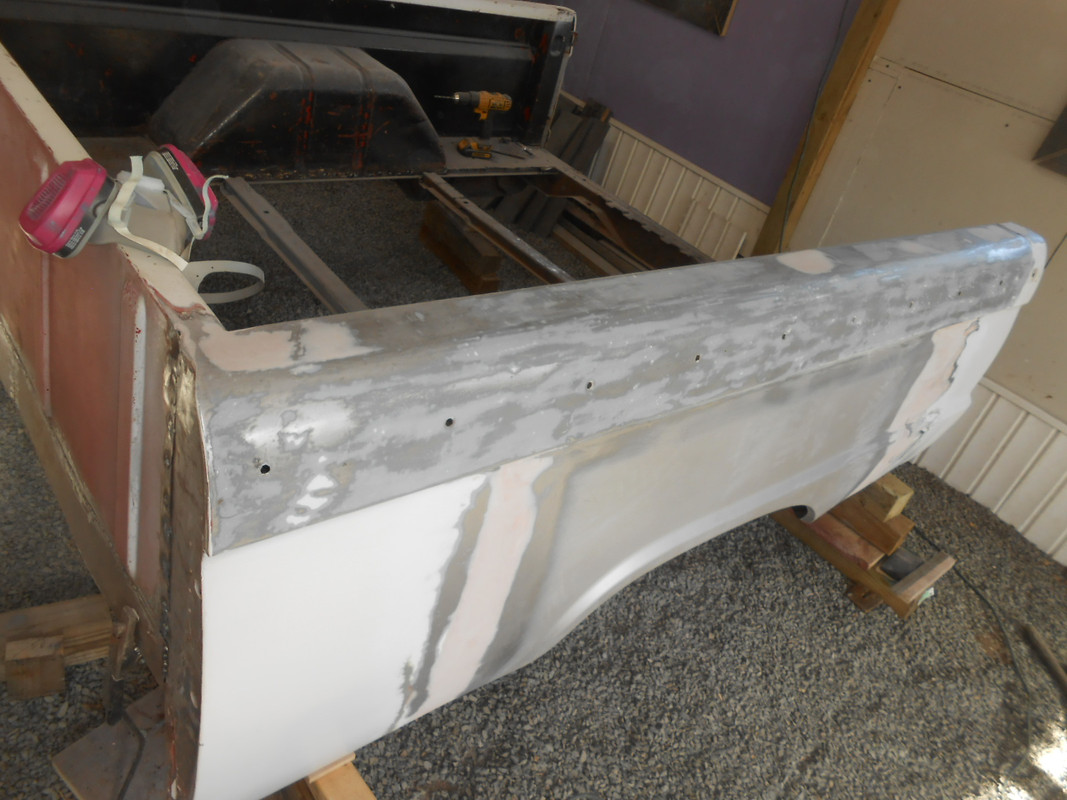
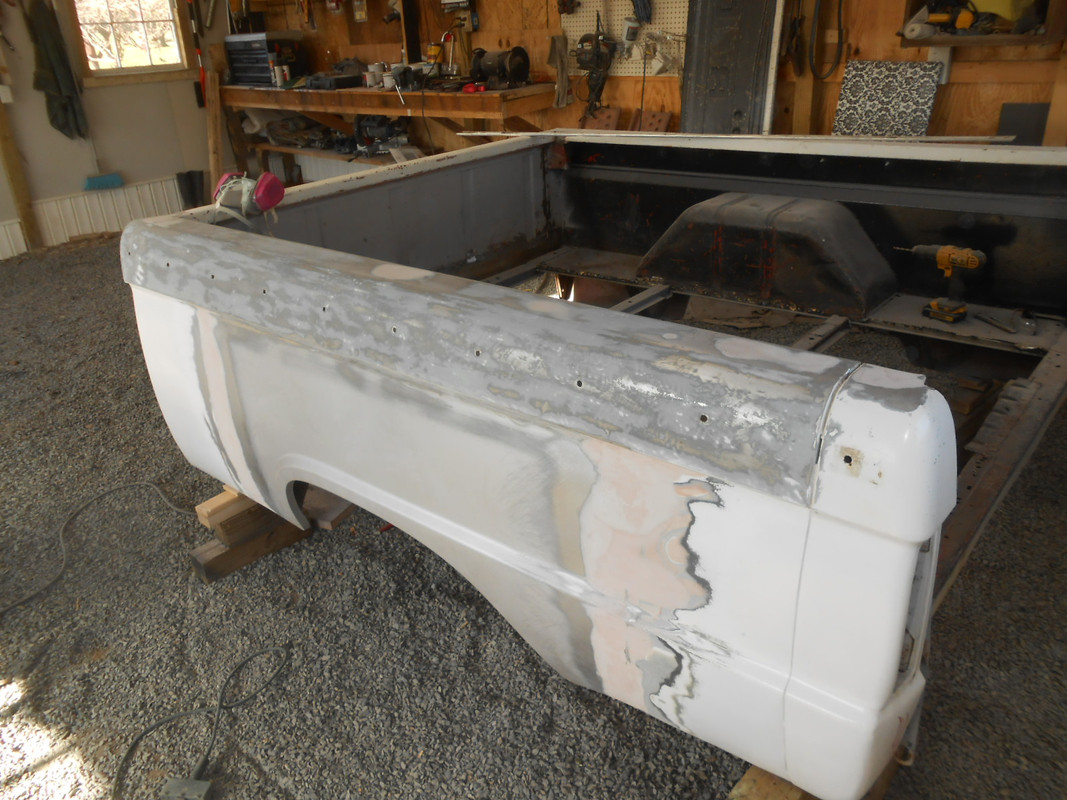
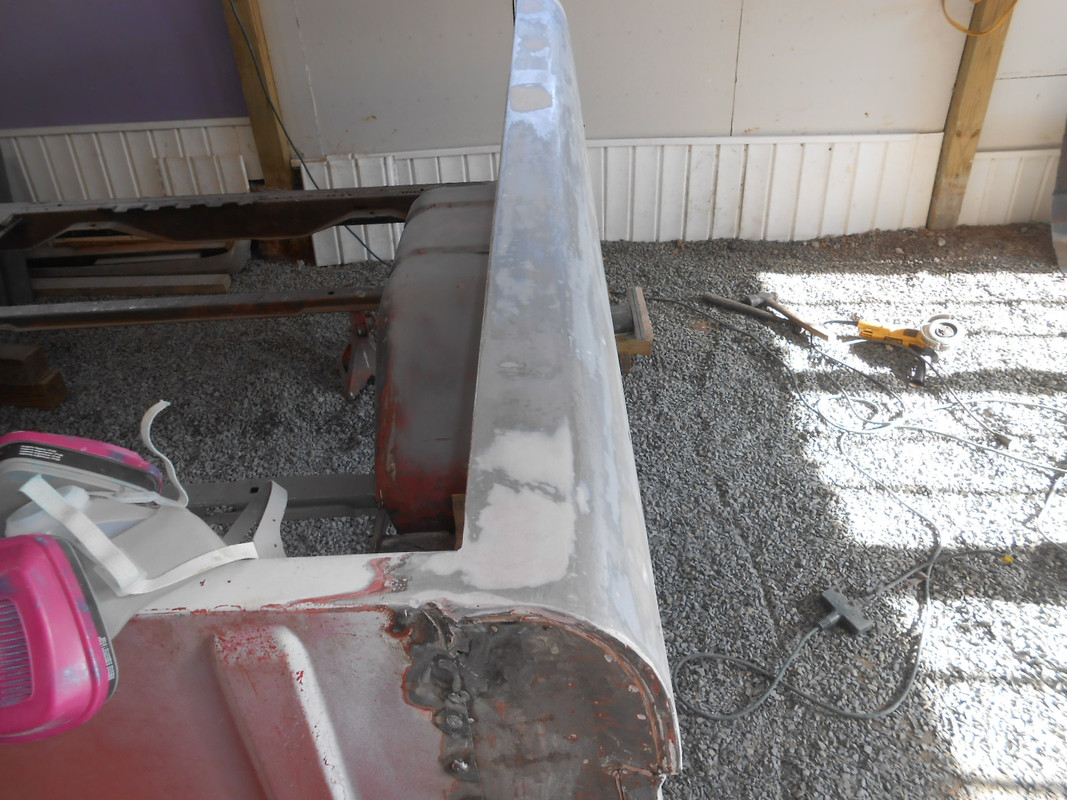
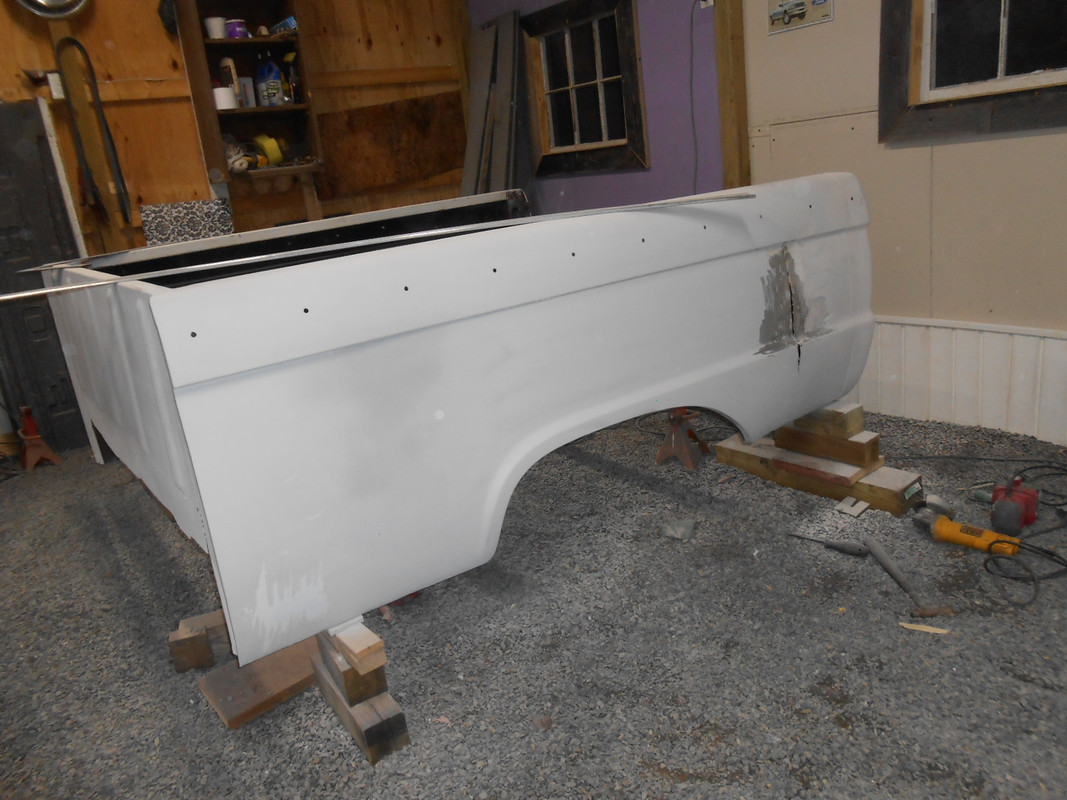
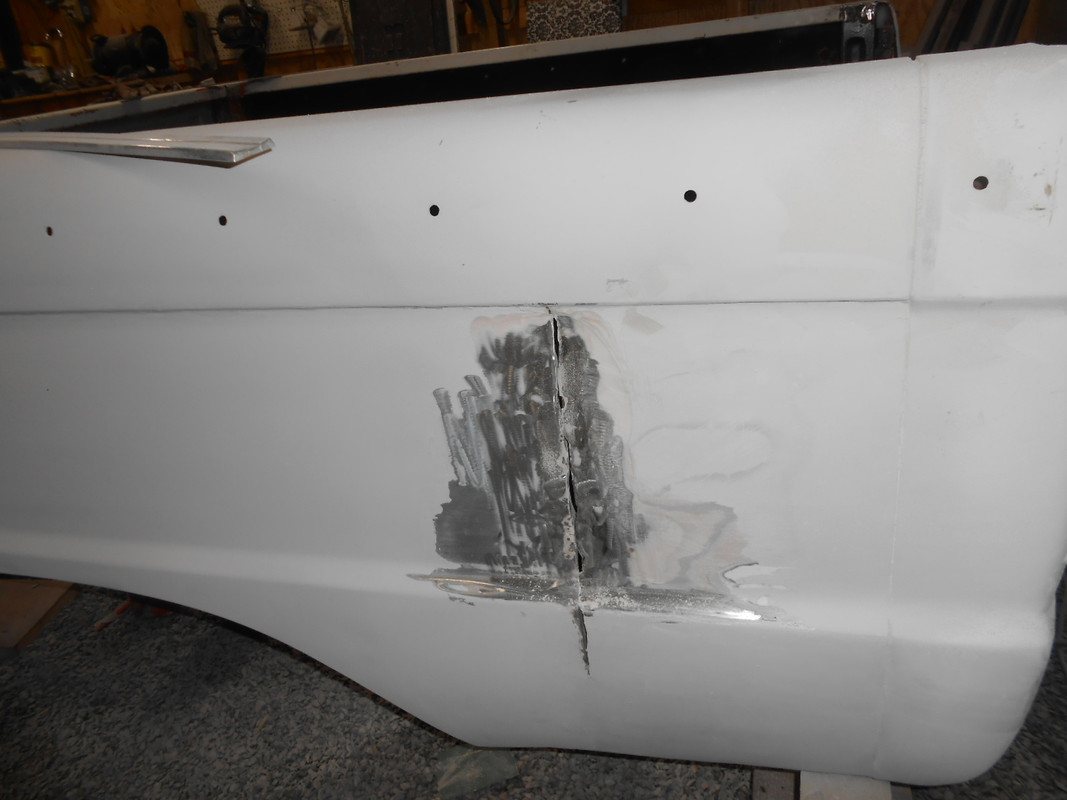
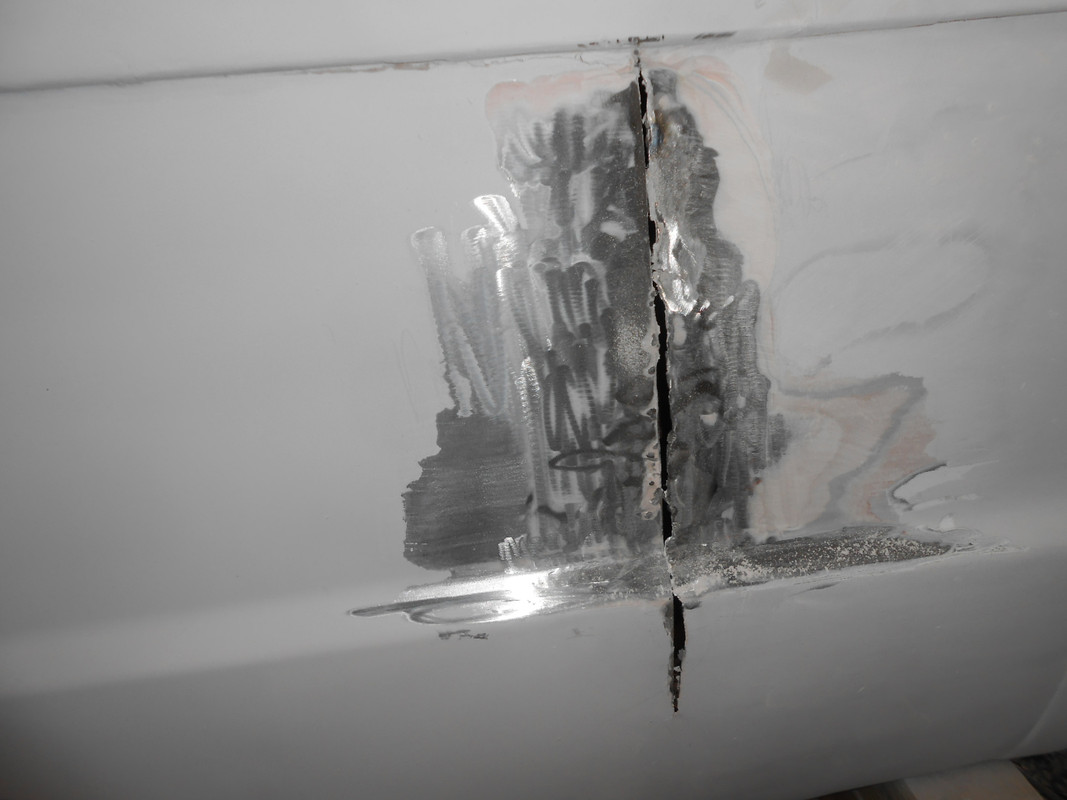
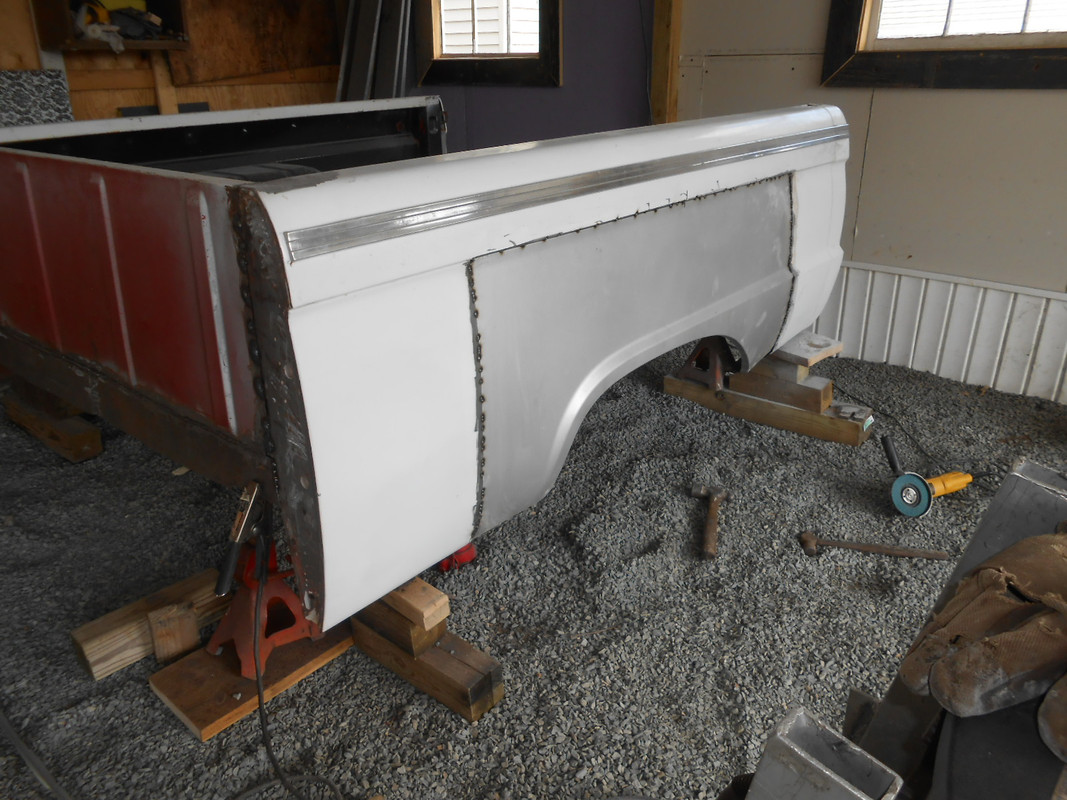
Major moment of frustration yesterday. I shot some high-build primer on the bedside to get a better idea and the body line just behind the wheel well did not line up or look right. I attempted to "massage" the area and the welds broke lose and the seam cracked open. It confirmed my fear that the metal at the rear of the bedside was weak.
I was getting stoked that the bed was starting to look so much better...then this. I might try to weld some metal behind this area, not sure yet how I will deal with this....
04sd wrote:At this point I'd keep going. Cut out 4" or whatever you need to to get back to better metal and fill it in with new steel.
If you do decide to go with another bed a flare side would be a lot easier to find if you don't mind losing the styleside look.
That's what I was thinking...so I did and so far it is working. I'm a novice...no, actually I am a couple of levels below novice, when it comes to working metal. I do have "feelers" out there keeping an eye out for a better bed. And I am not adverse to the idea of a flare side bed...
You may have a better luck if you do it in two separate Patches. Personally I would do from the upper body line to the beginning of the lower body line as one, and from there down as another. This allows you to manage each section independently. Working one to your satisfaction then the other.
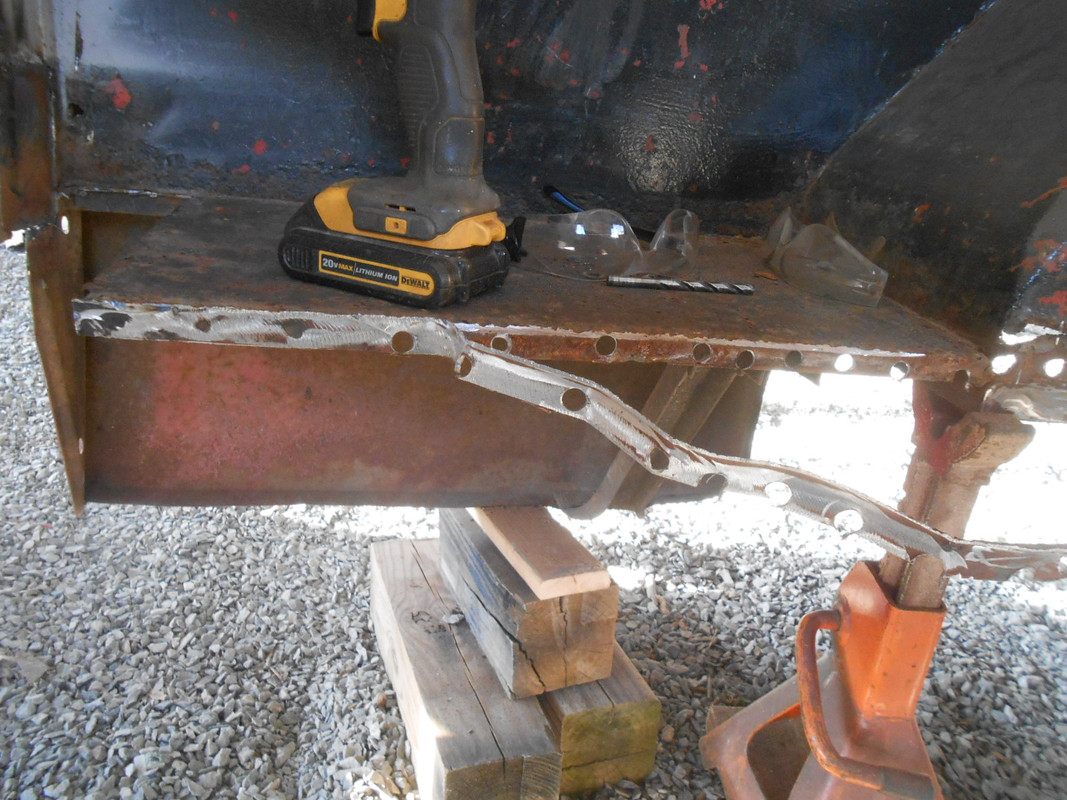
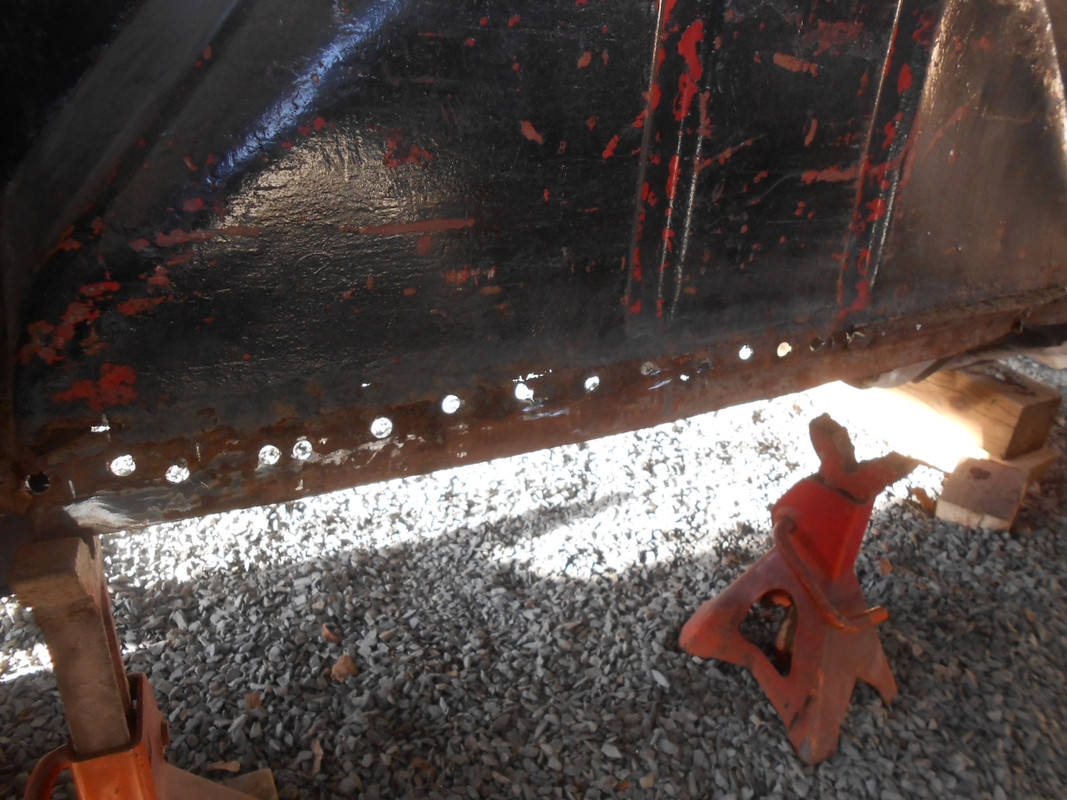
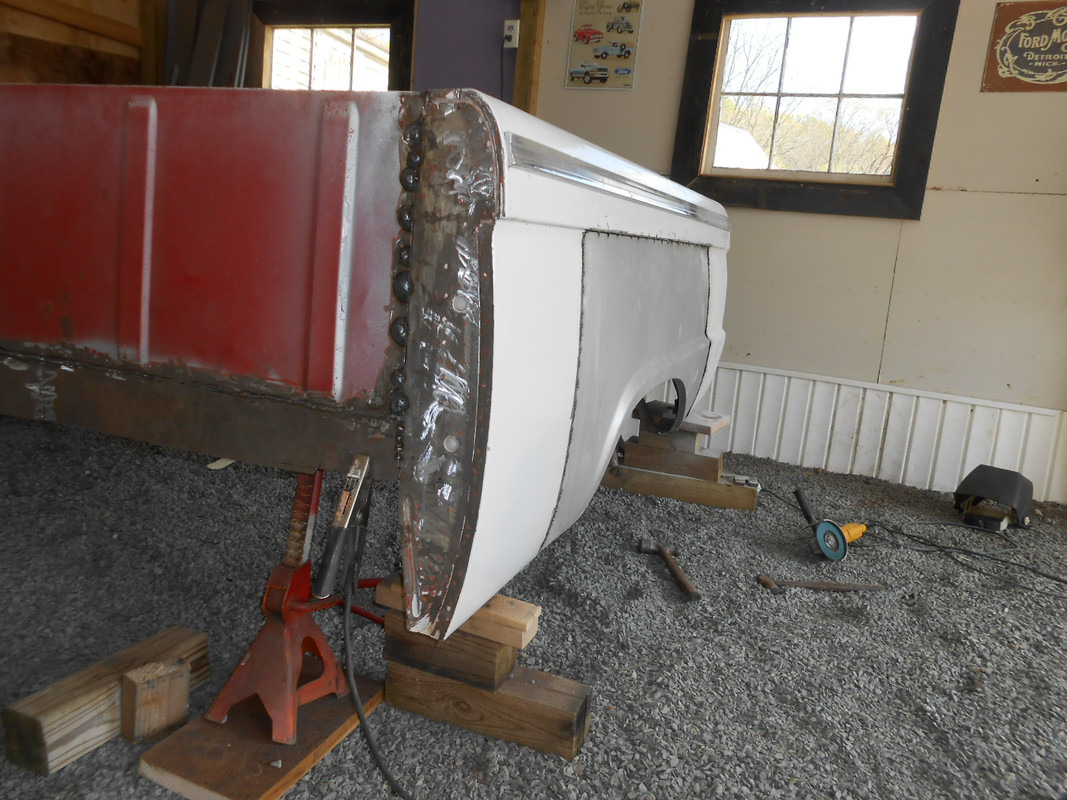
It's hard to tell from the pictures but, I suspect there was not enough weld left after grinding to hold the panels. I have rolled the edge of both edges inward slightly to form a V to weld in. It allows less weld to be ground off (leaving lots of strength) but shows on the inside of the panel. It takes very little, just the thickness of the steel on both panel edges.
61 F250 Unibody
5.9 Ford Diesel / Allison auto
& 4WD
You may have a better luck if you do it in two separate Patches. Personally I would do from the upper body line to the beginning of the lower body line as one, and from there down as another. This allows you to manage each section independently. Working one to your satisfaction then the other.
It's hard to tell from the pictures but, I suspect there was not enough weld left after grinding to hold the panels. I have rolled the edge of both edges inward slightly to form a V to weld in. It allows less weld to be ground off (leaving lots of strength) but shows on the inside of the panel. It takes very little, just the thickness of the steel on both panel edges.
Thanks for the tip...much appreciated, and any feedback is always welcomed.
harbor freight sells a pretty inexpensive punch/flange air tool.if you flange one end of the panel then it has an overlap to weld to and makes for a better/stronger repair.i used this tool when I put my headboard from Carolina classics in and it worked great for a cheap tool.i wouldn't give up on the bed just yet.i ordered my bronco patch panel today and cut my entire floor out to prep for my wooden floor.i thought several times about ditching it but decent beds for these trucks are hard to find.
ratrapp wrote:harbor freight sells a pretty inexpensive punch/flange air tool.if you flange one end of the panel then it has an overlap to weld to and makes for a better/stronger repair.i used this tool when I put my headboard from Carolina classics in and it worked great for a cheap tool.i wouldn't give up on the bed just yet.i ordered my bronco patch panel today and cut my entire floor out to prep for my wooden floor.i thought several times about ditching it but decent beds for these trucks are hard to find.
Yep...that was the tool that I was needing and wanting. Thanks for the encouragement!