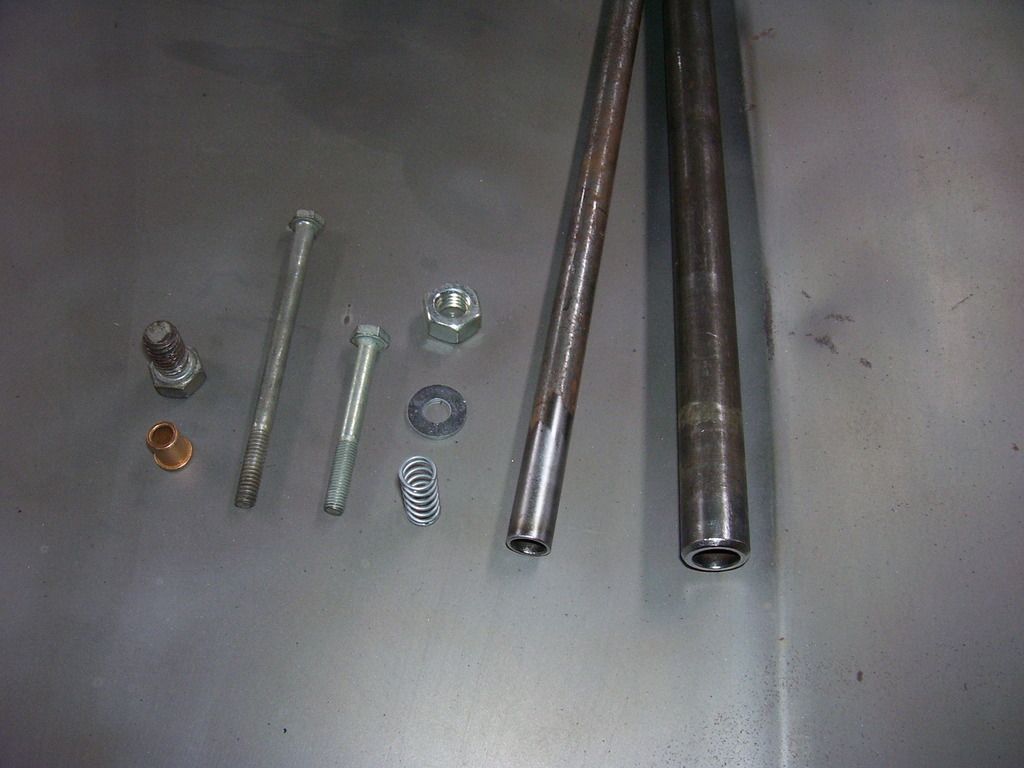
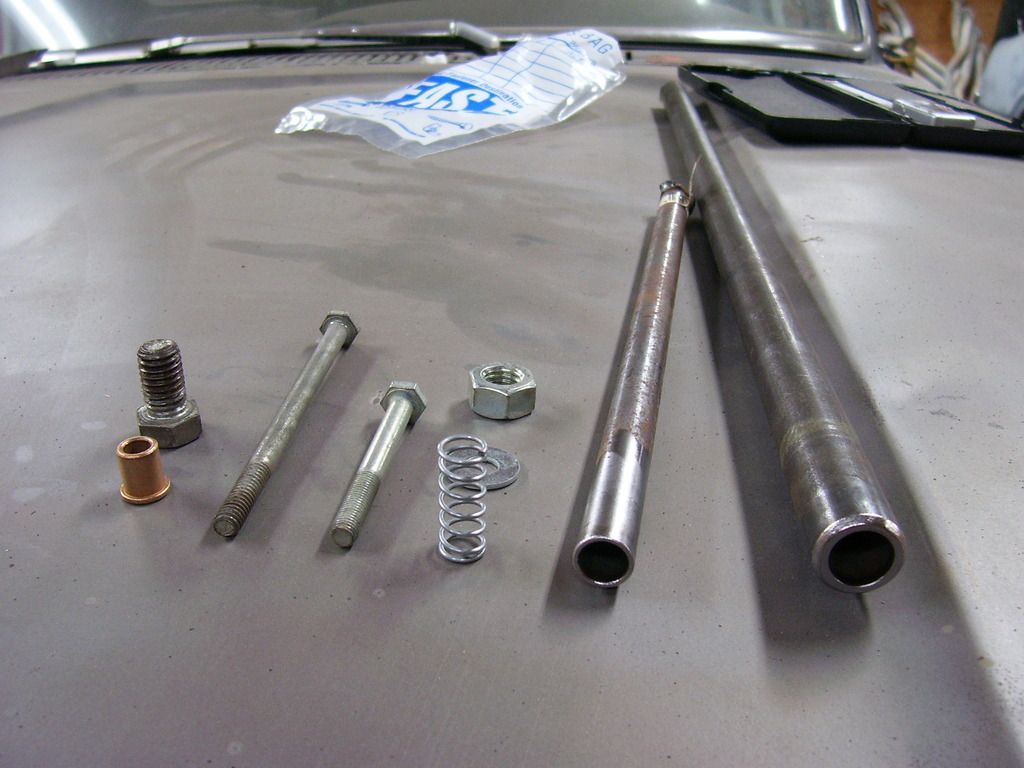
Tonight I built the latches. I used a barrel latch system that is spring loaded. Based it on a piece of 3/4"OD by 1/2"ID DOM tubing, a piece of 1/2"OD x 3/8"ID electric weld tubing, an oilite bushing that is 3/8" OD and 1/4" ID, a pair of 1/4" bolts, a compression spring, a 7/16" x 3/4" NC bolt and nut, a 1/4" washer and a chrome drawer pull. For some reason the drill pull didn't make it to the photo shoot on time. I do not own a mill or a lathe so I do things the hard way! Everything was done with a hand drill, drill press, bench grinder and bench mounted belt sander.
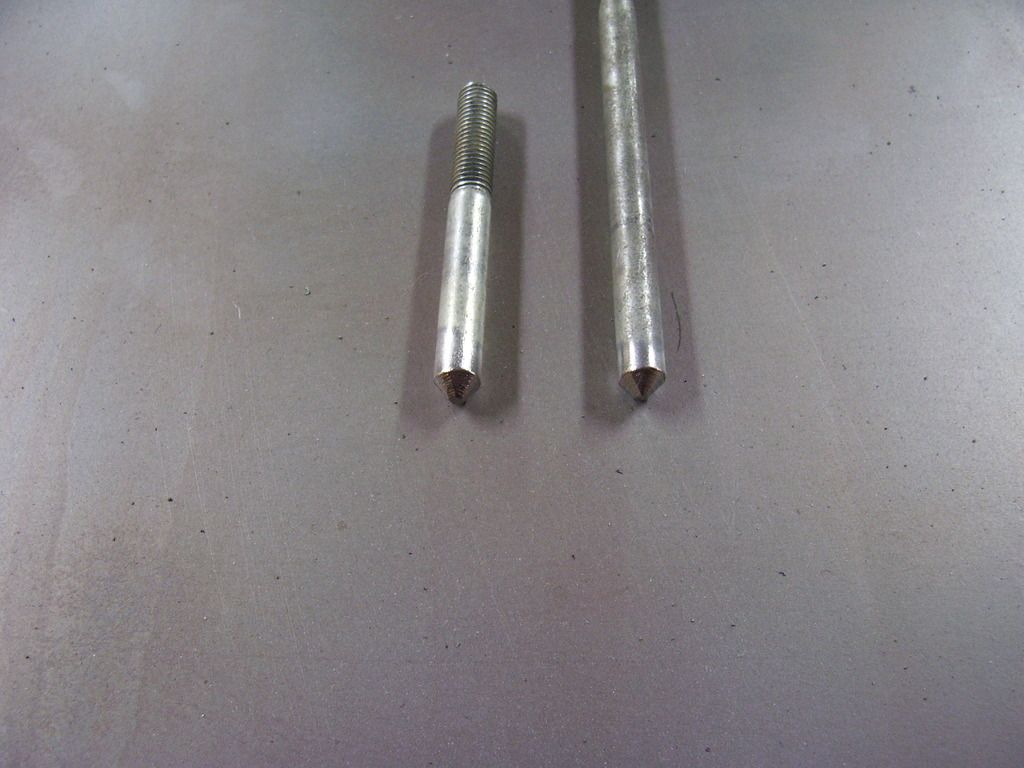
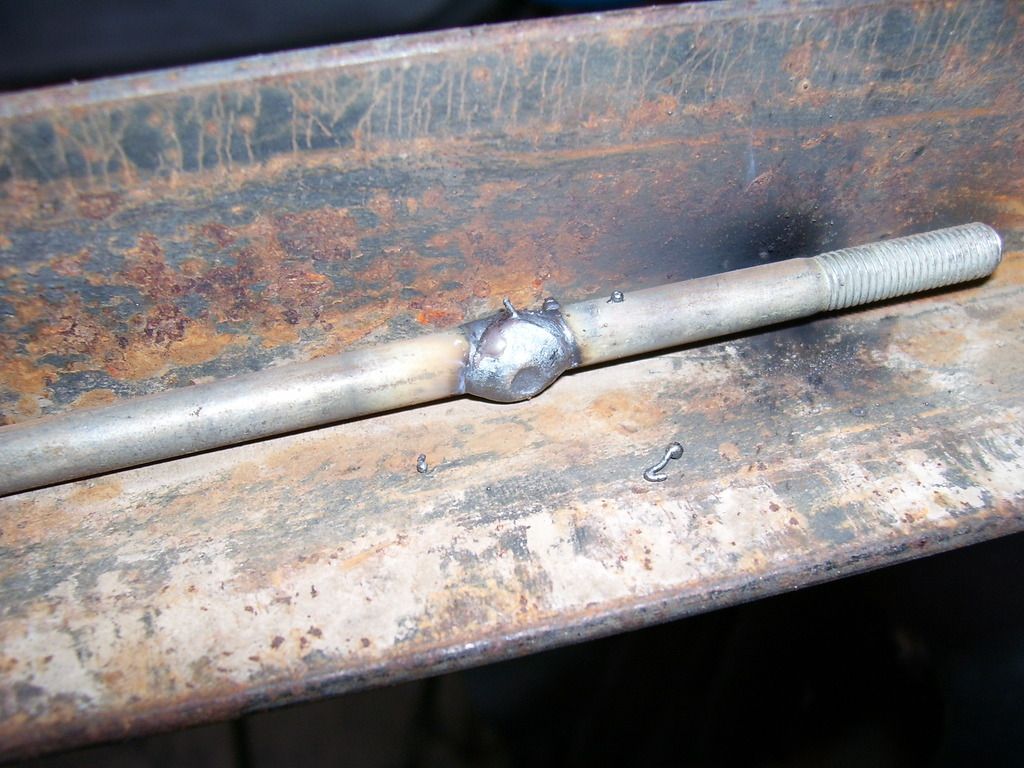
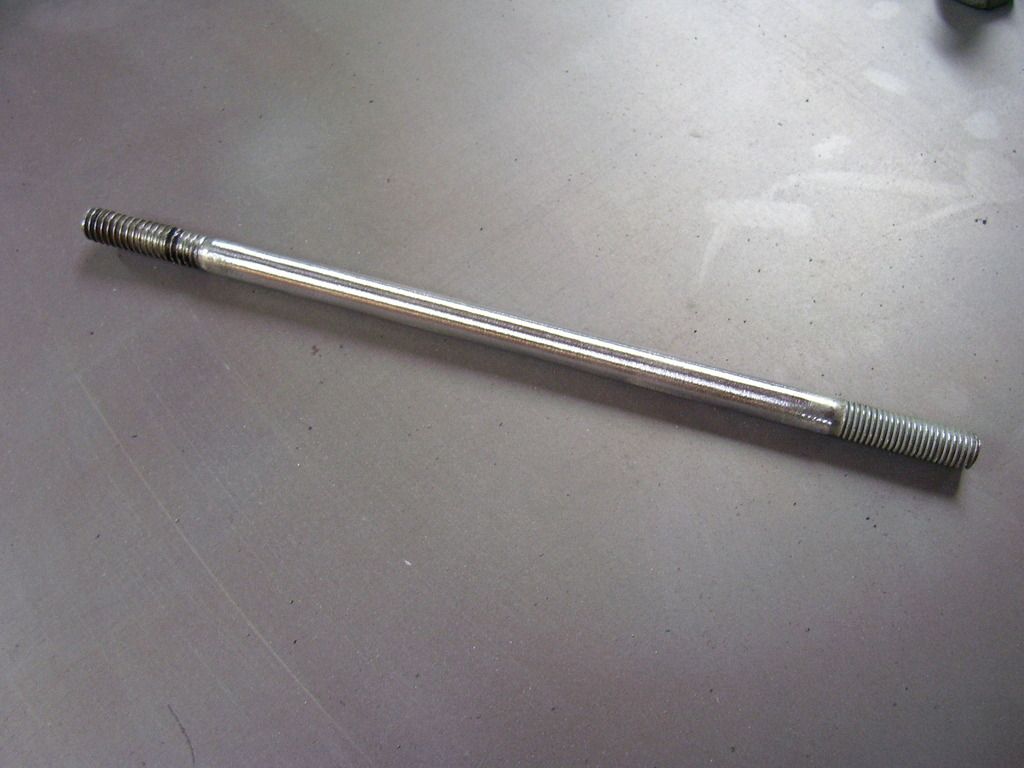
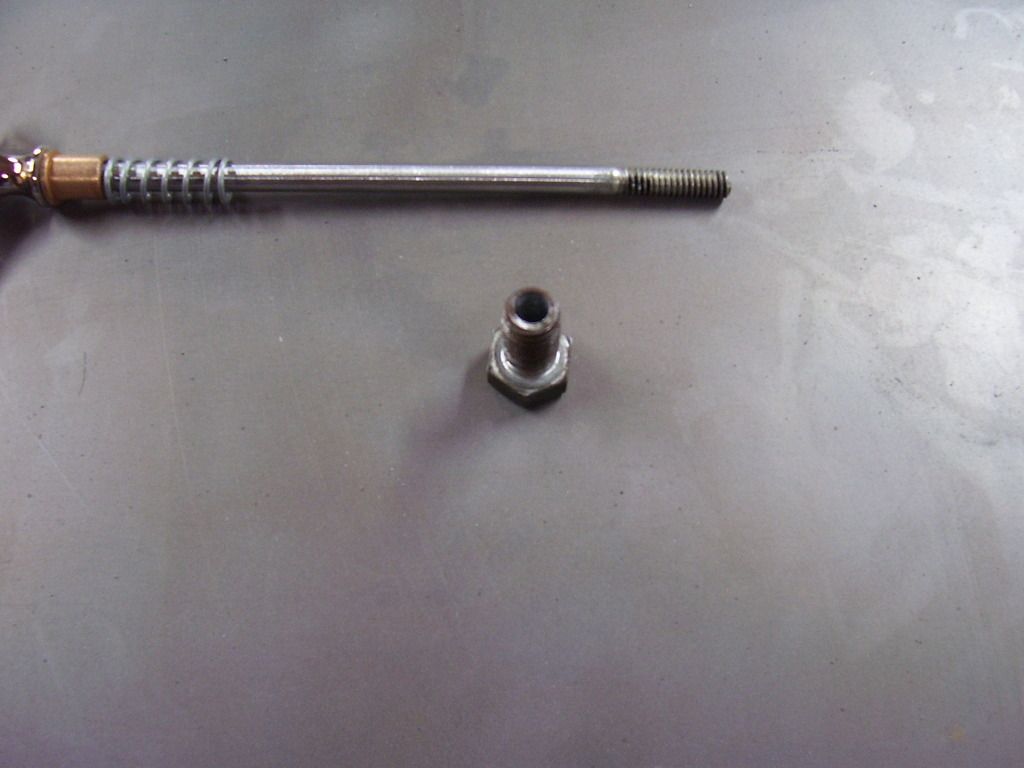
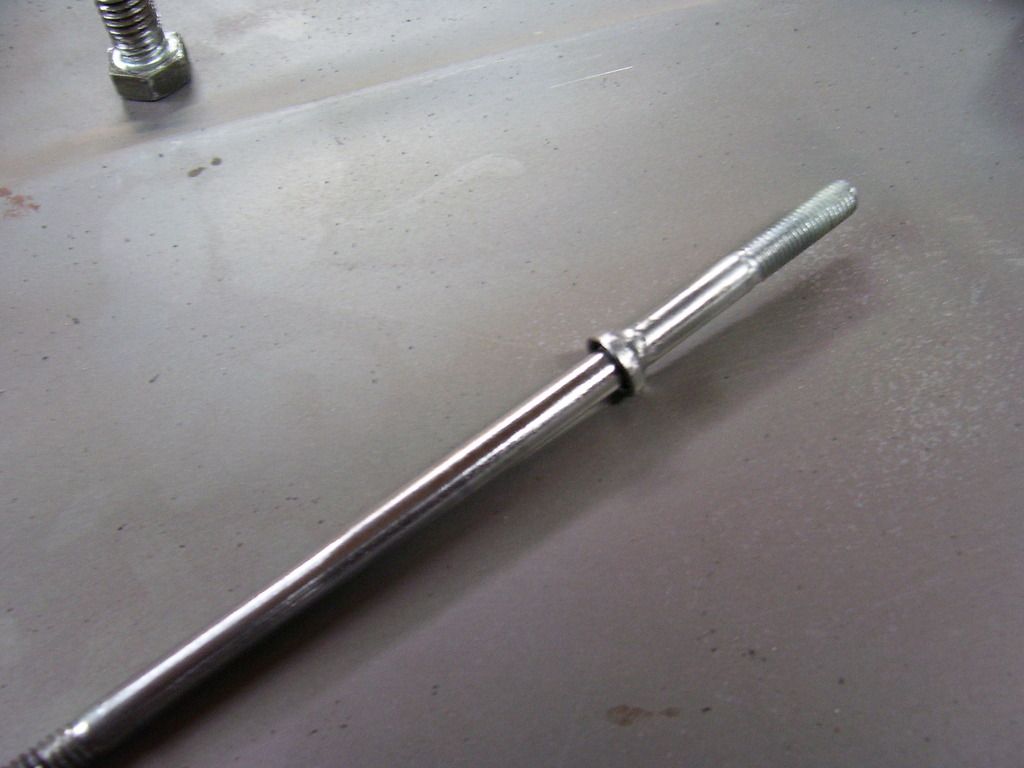
First order of business was making the latch bolt. I cut the heads off the bolts, ground the ends to a point and welded them together. Once they were welded completely, I ground them back to the original diameter of the bolt. I needed to weld 2 bolts together because I could not get a single bolt that was long enough to cover the whole span. For the final assemble, I will probably order a pair of stainless bolts in the correct length so I can polish them.
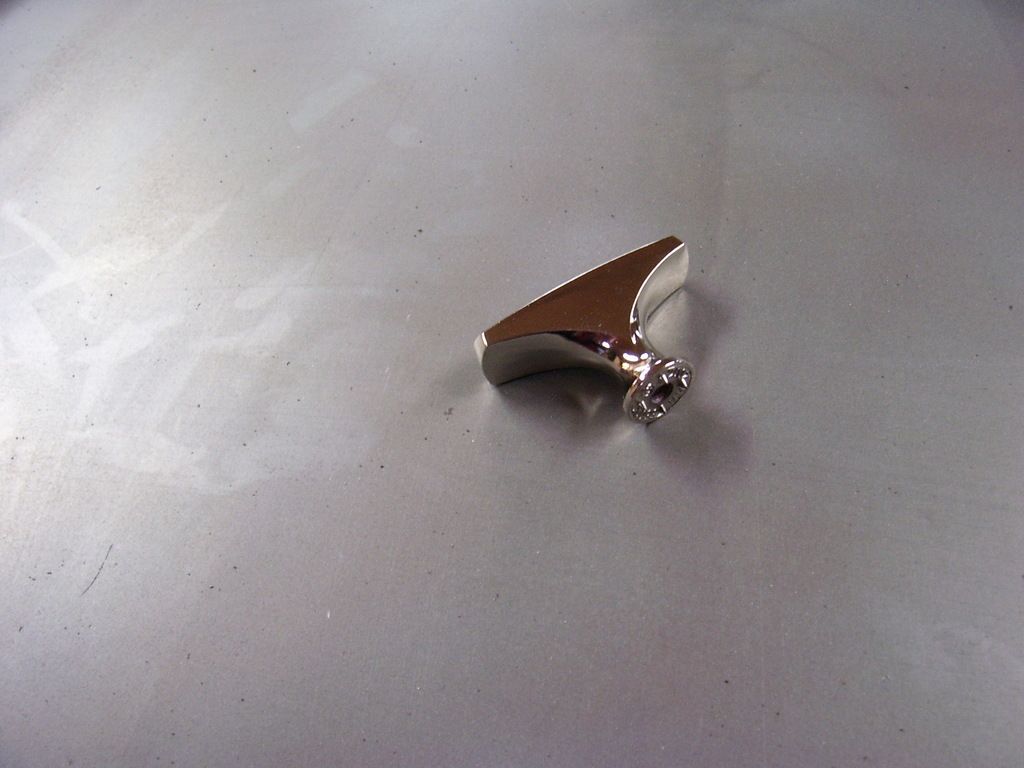
The drawer pull was threaded for 8/32". I wanted 1/4" so I drilled it oversize and tapped it to 1/4"NF.
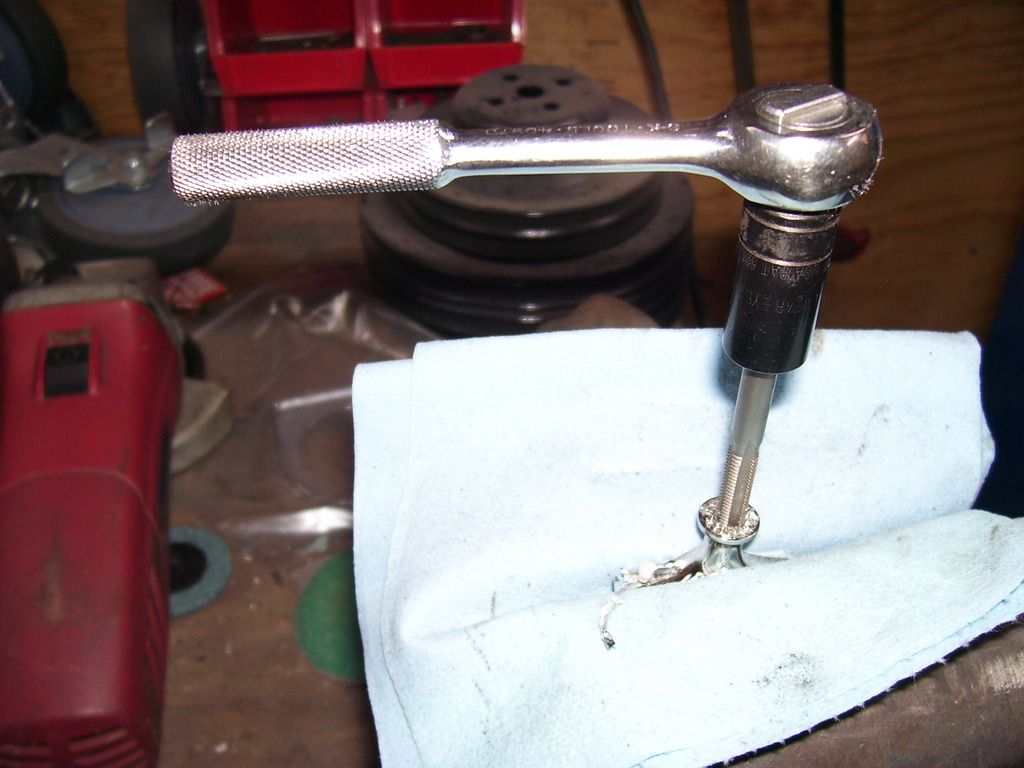
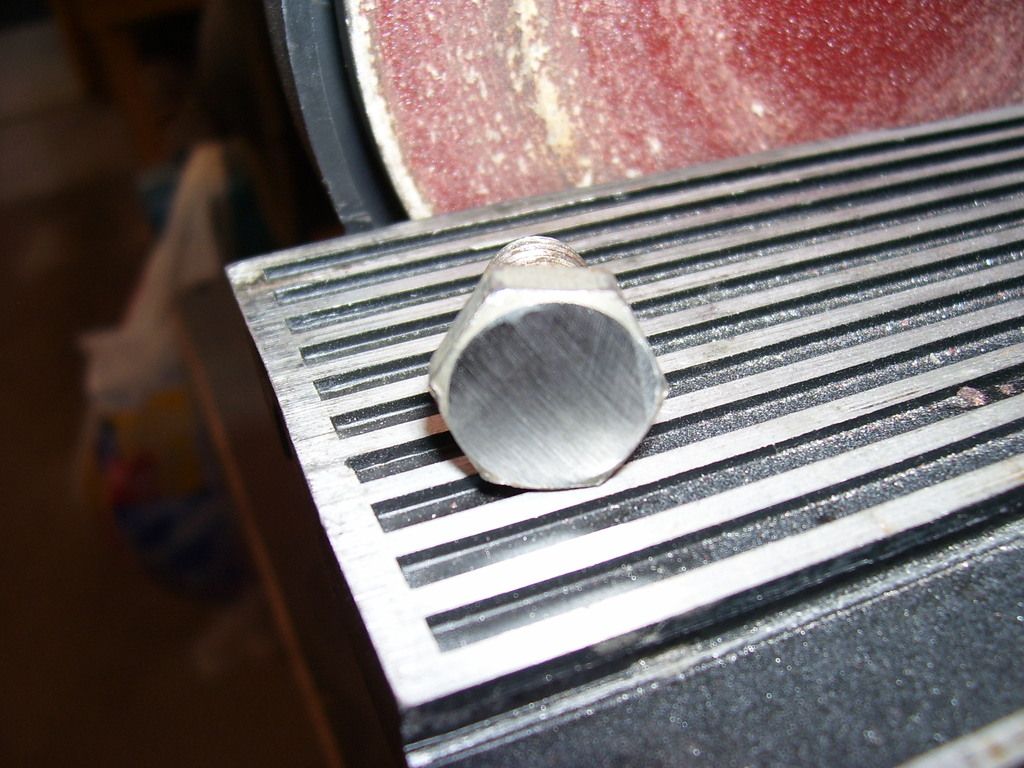
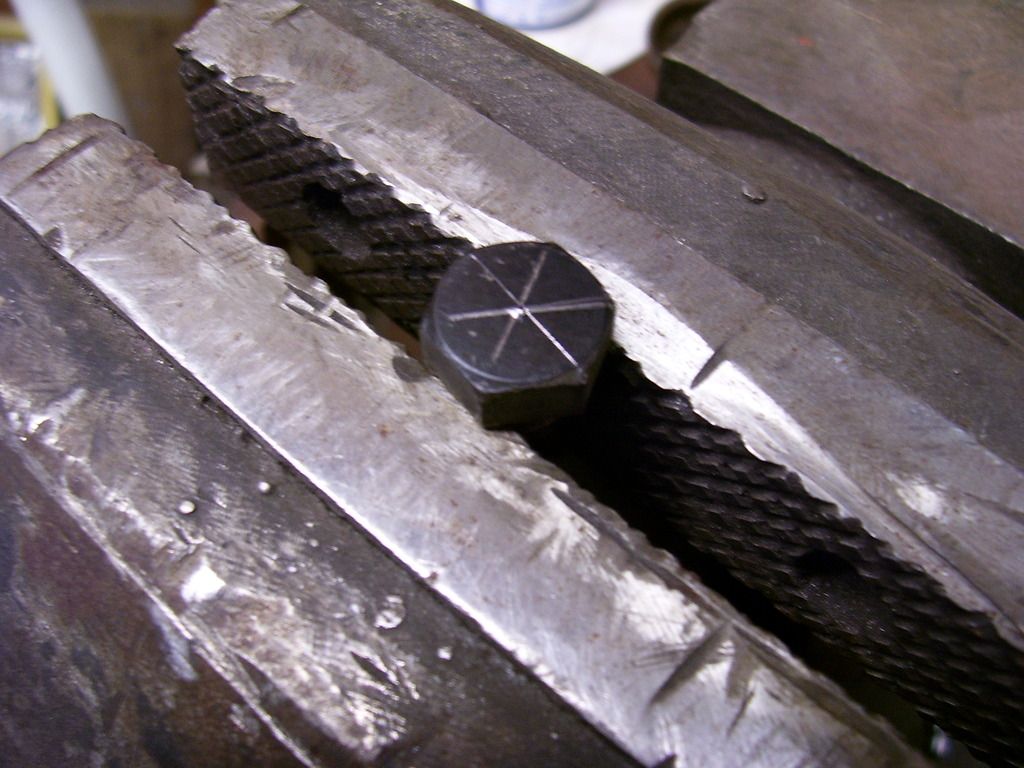
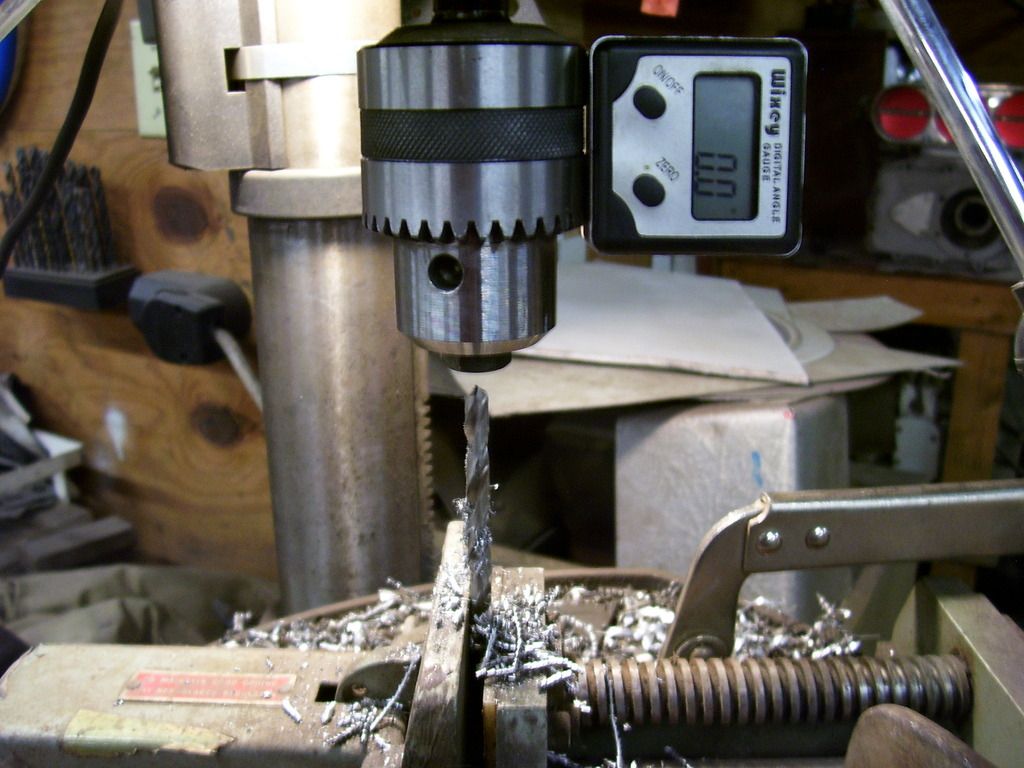
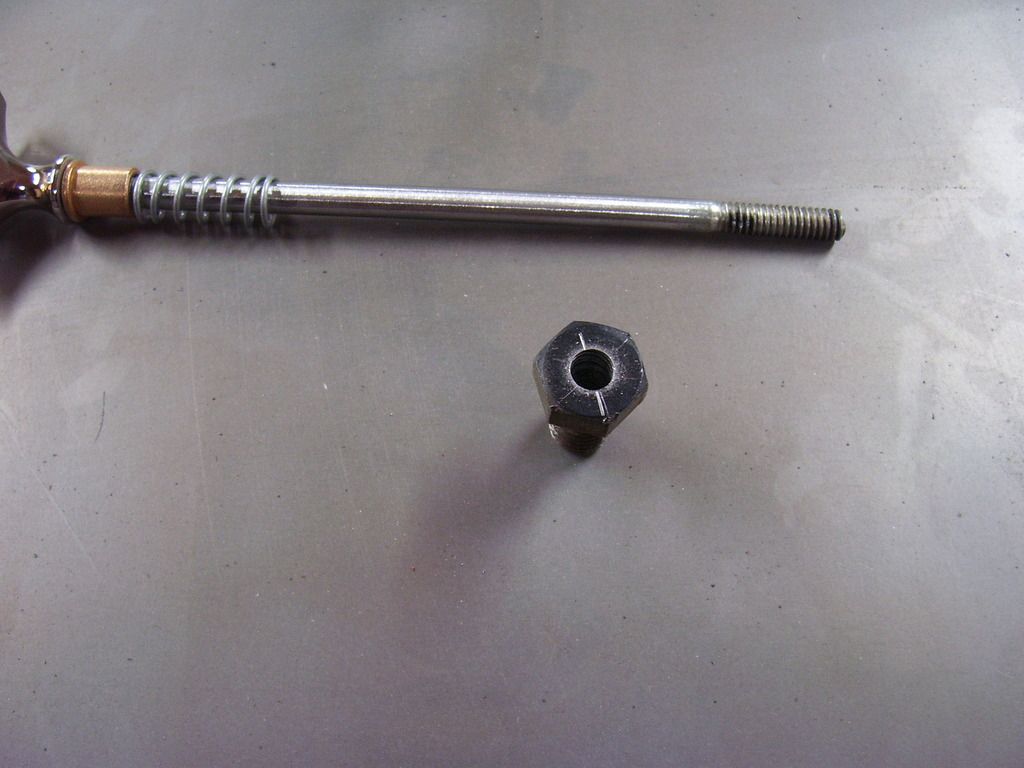
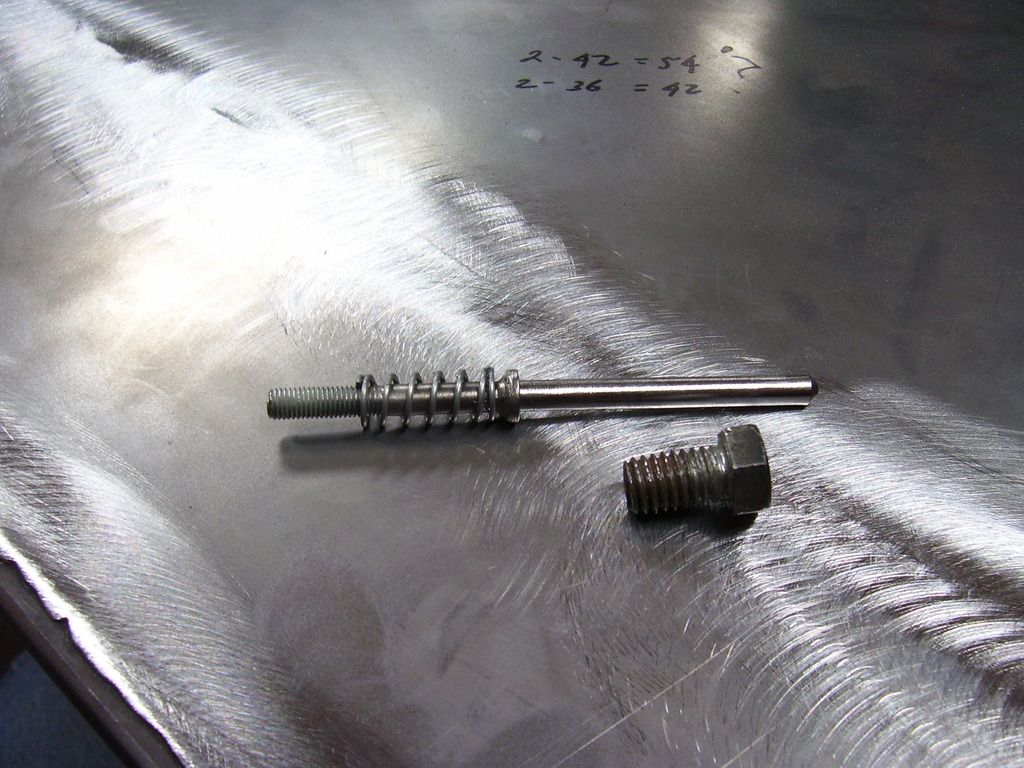
The next step was making the removable guide for the latch bolt. It needs to be removable so I could weld the barrel body into the tailgate without killing the spring. I ground the head of a 7/16 bolt smooth and found the center by scribing across the points of the head. Once that was found, I clamped a 1/4" drill bit in my drill press vise and set the bit square to the chuck in both directions. Once that was done, I put the bolt threads up into the chuck and locked the bolt down, drilled and quickly had a nice straight hole thru the center of the bolt.
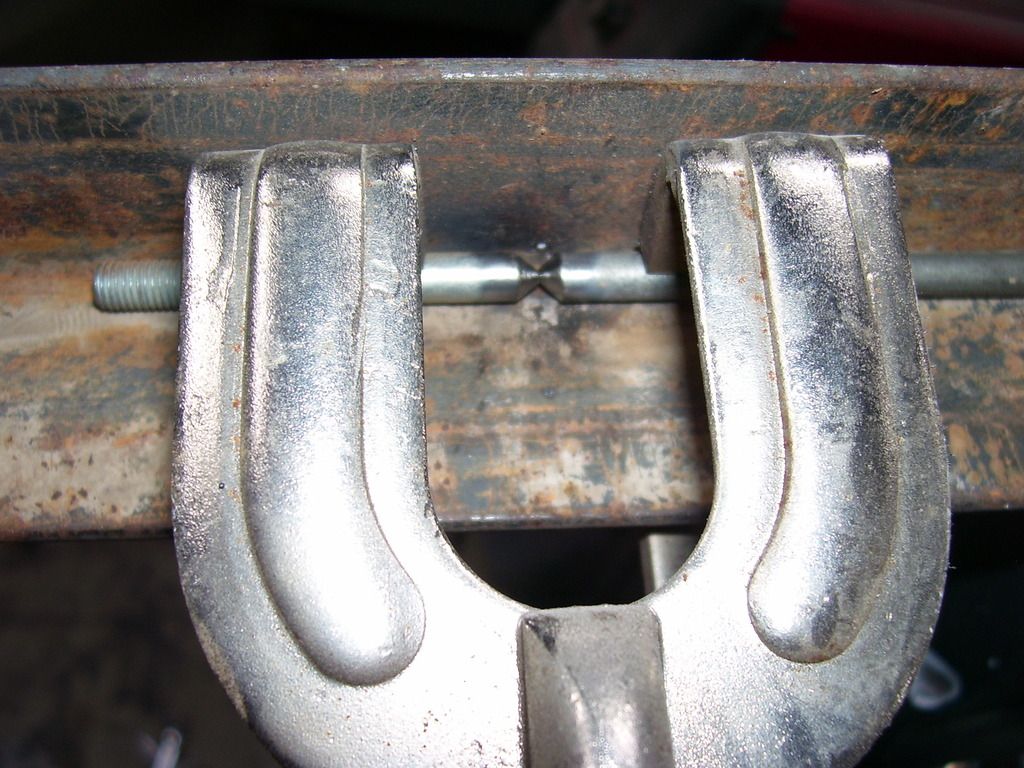
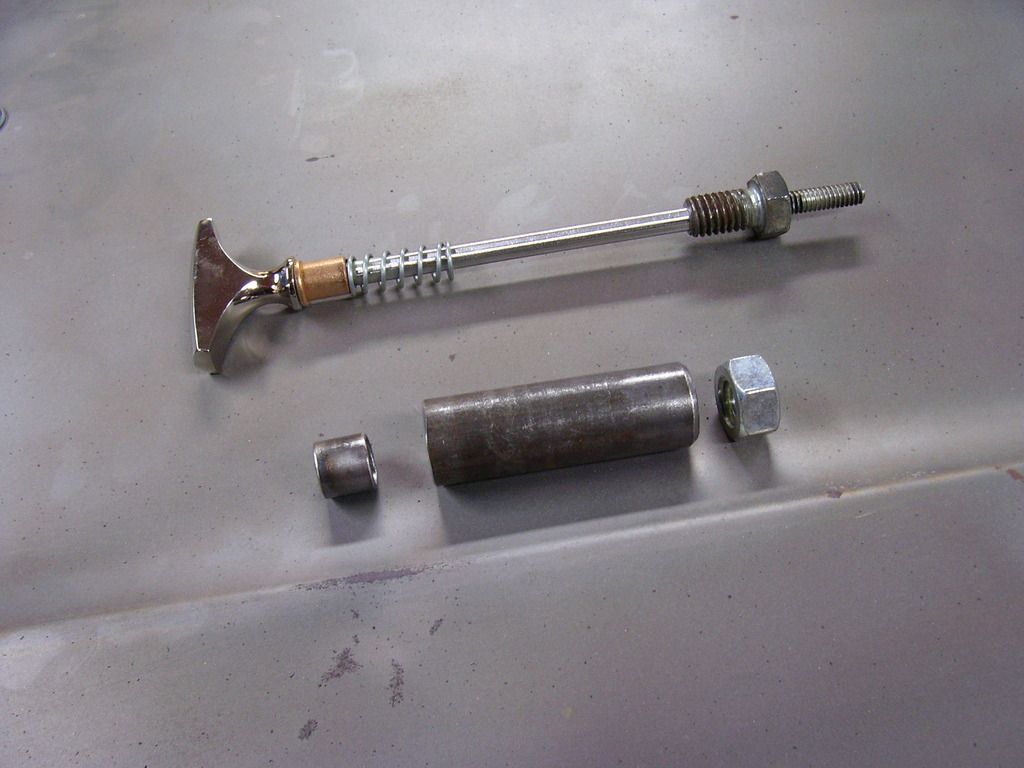
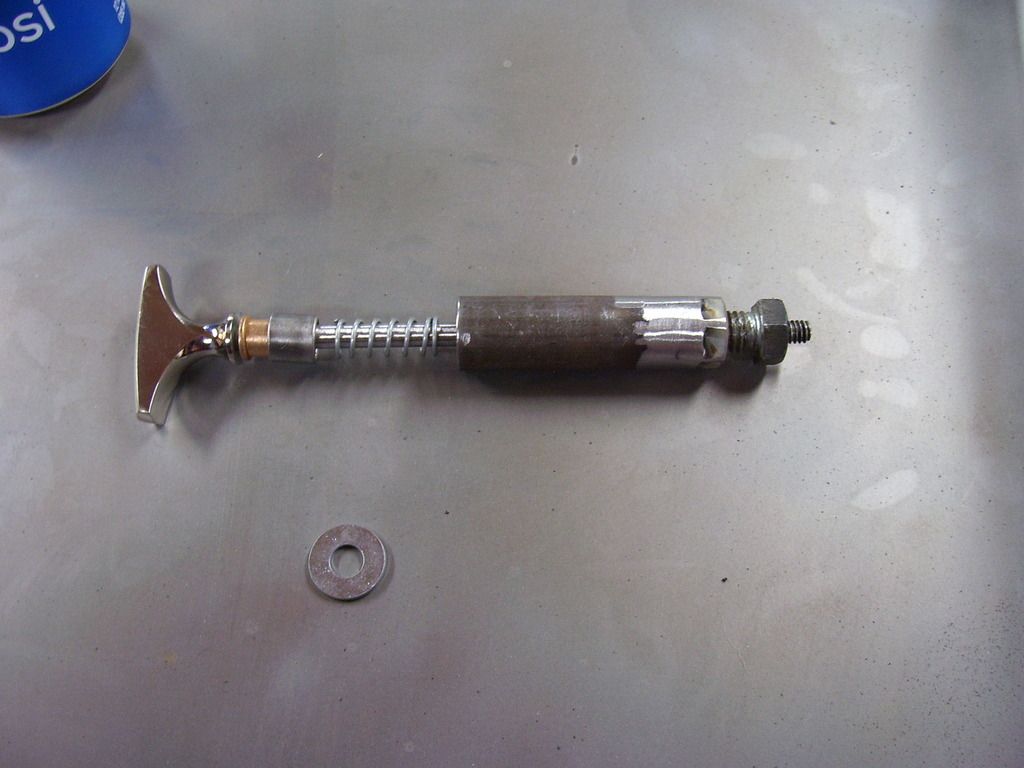
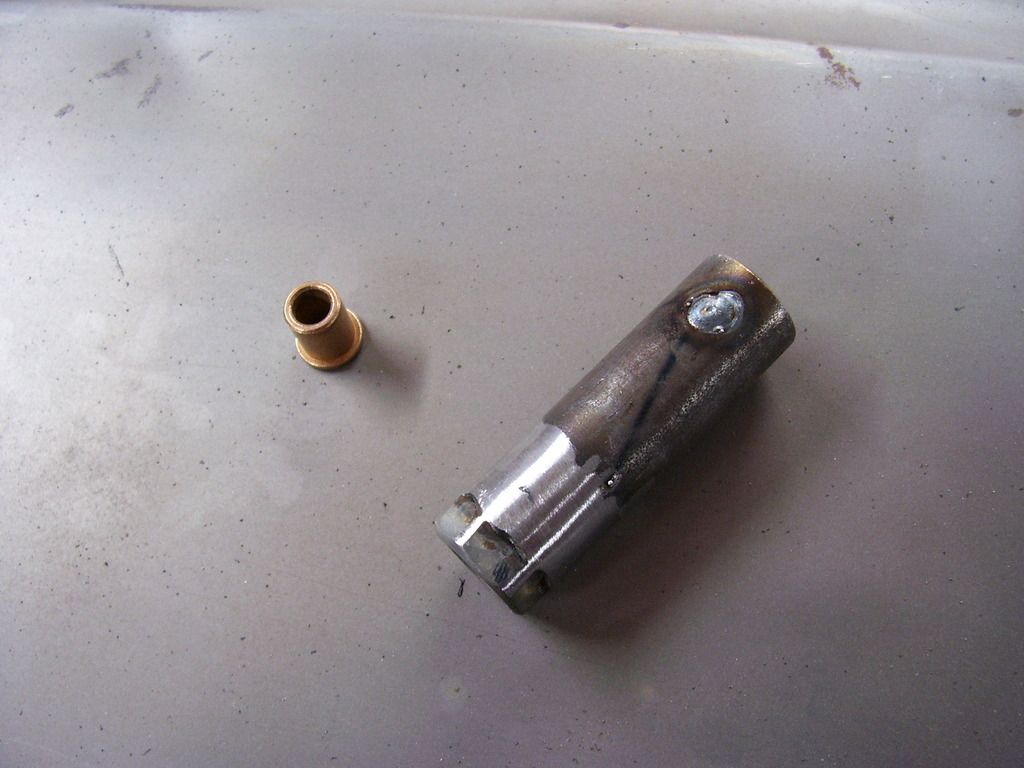
Now you can see what the latch bolt looks like and how the pieces fit together.

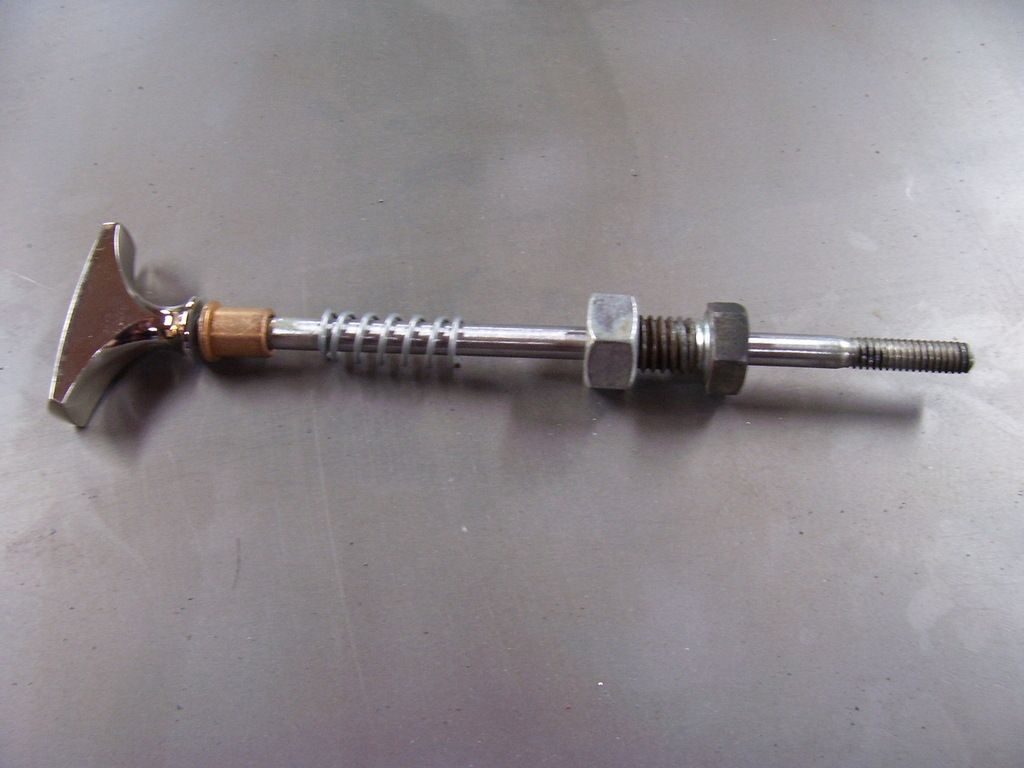
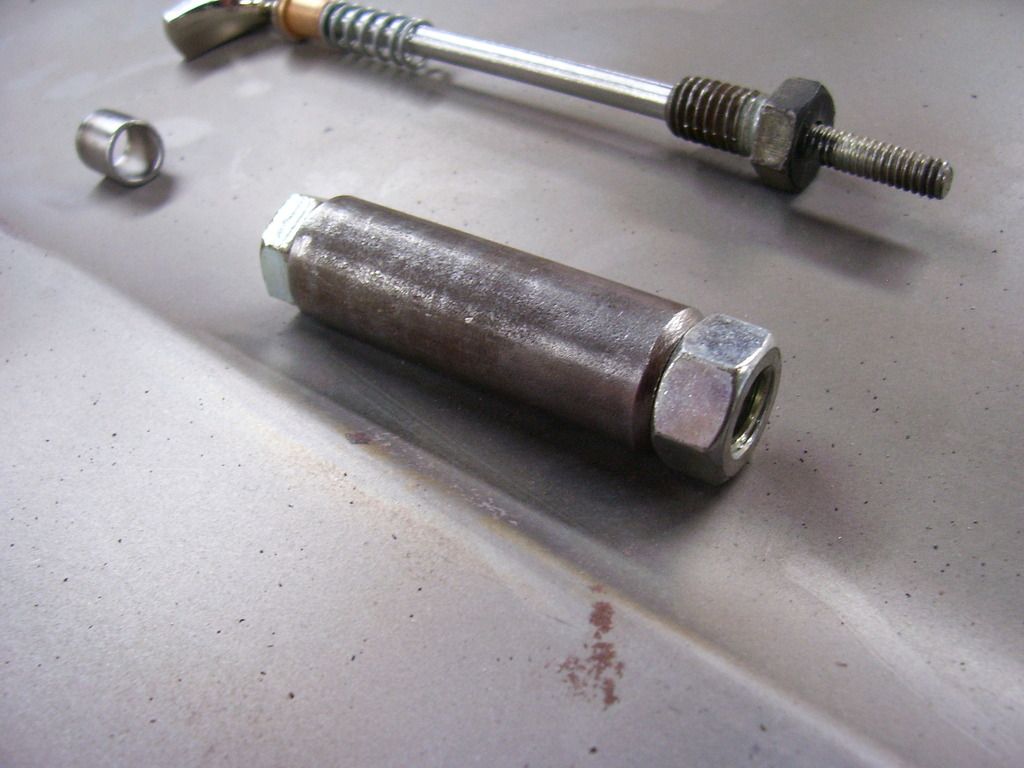
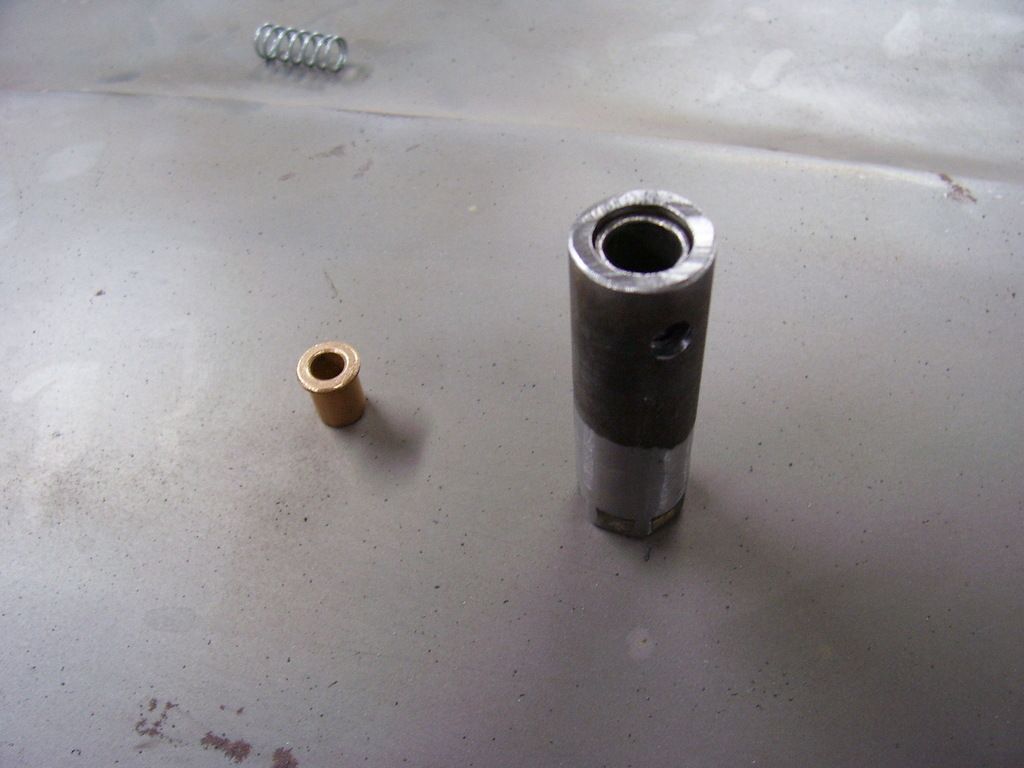
Next was the barrel section that will be welded into the tailgate and contain the latch bolt. I cut a piece of the 3/4" DOM to a length just slightly longer than the width of the end section of the tailgate. I also cut a small length of the 1/2" EWT to fit inside the DOM. It is the same length as the shoulder on the iolite bushing.
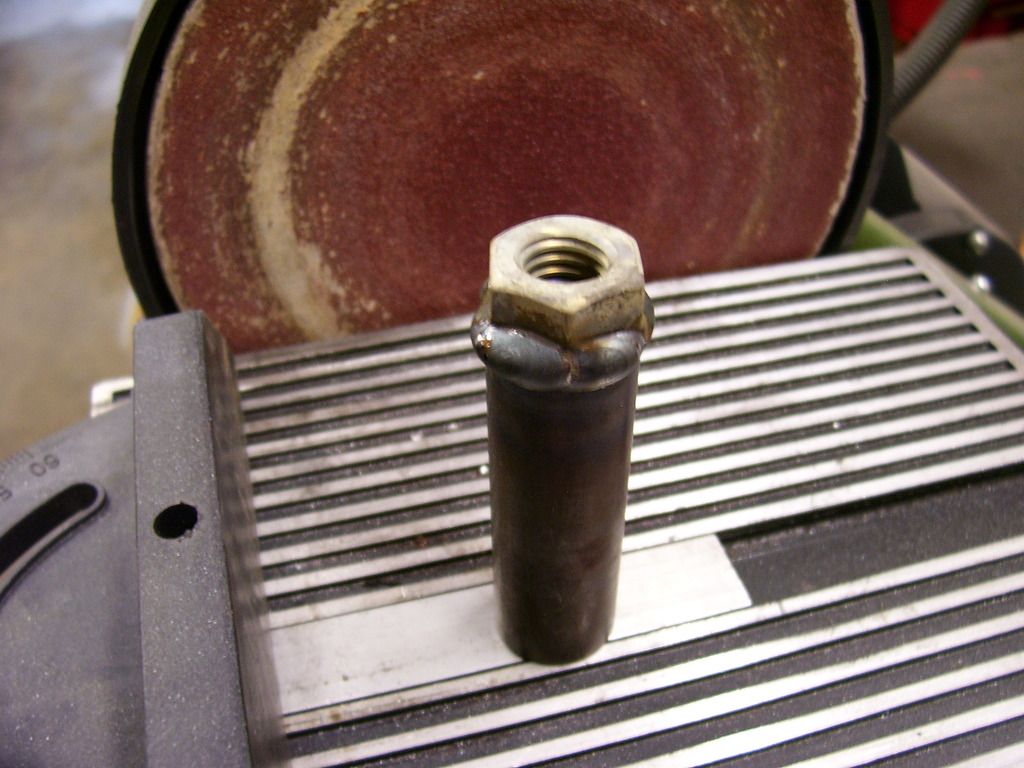
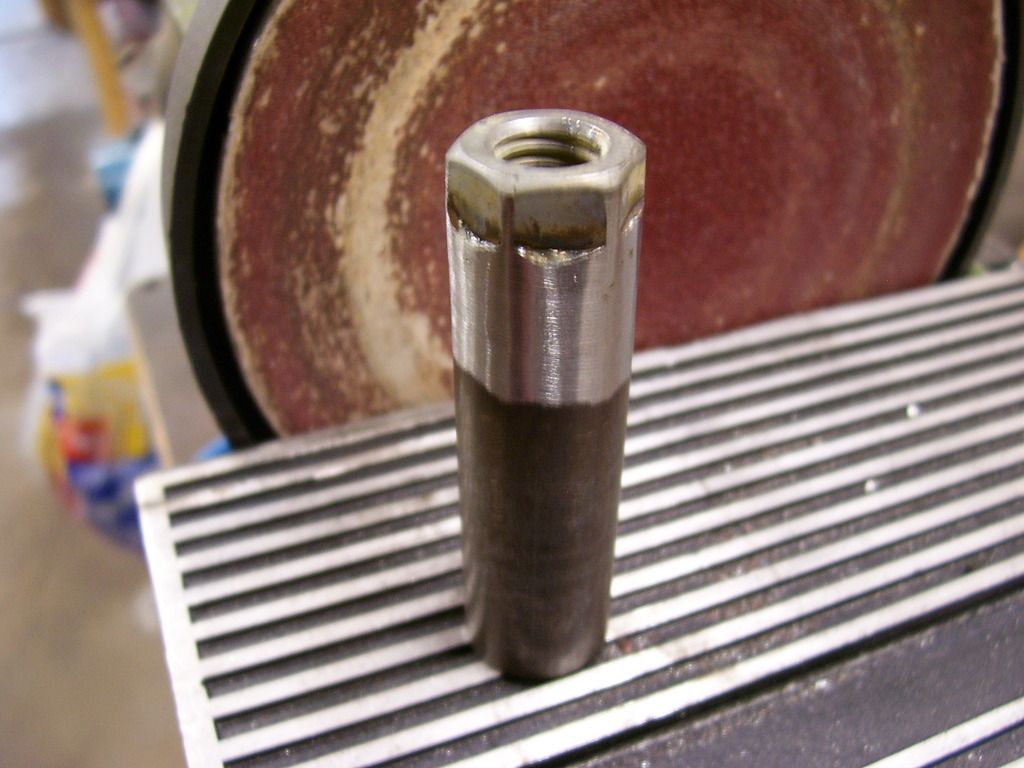
Once everything was cut, I bolted the 7/16" NC nut to the end of the 3/4" DOM, welded it then ground it back smooth.
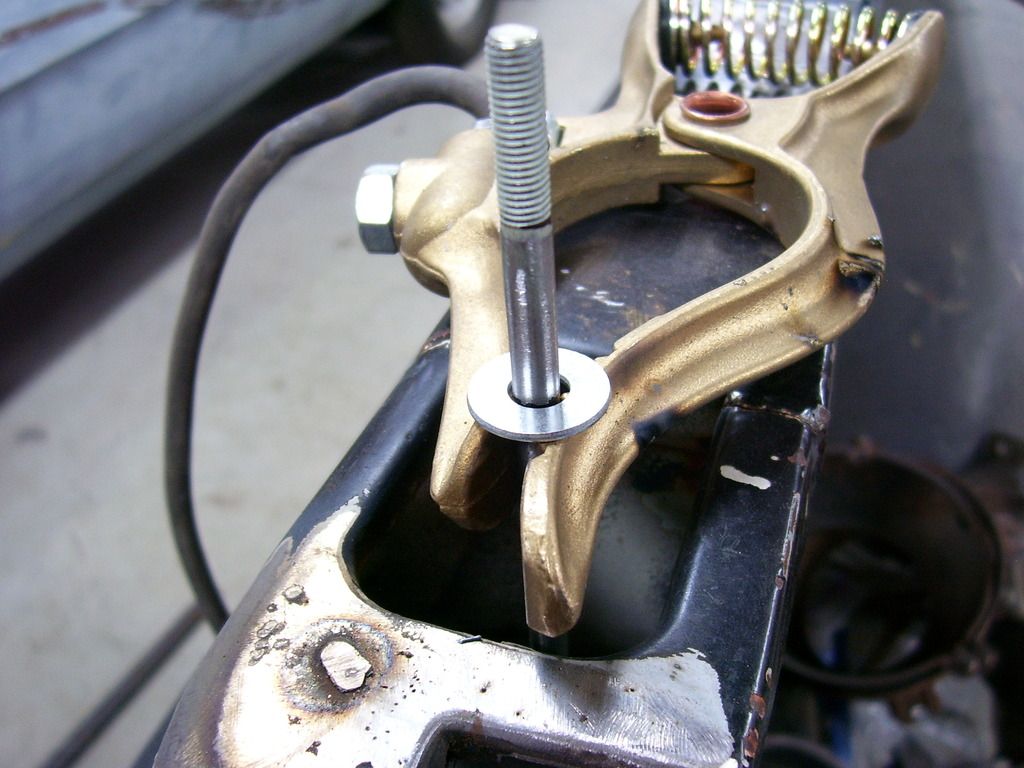
Now you can see how everything fits together. The 1/4" washer is the last thing to get welded to the latch bolt.
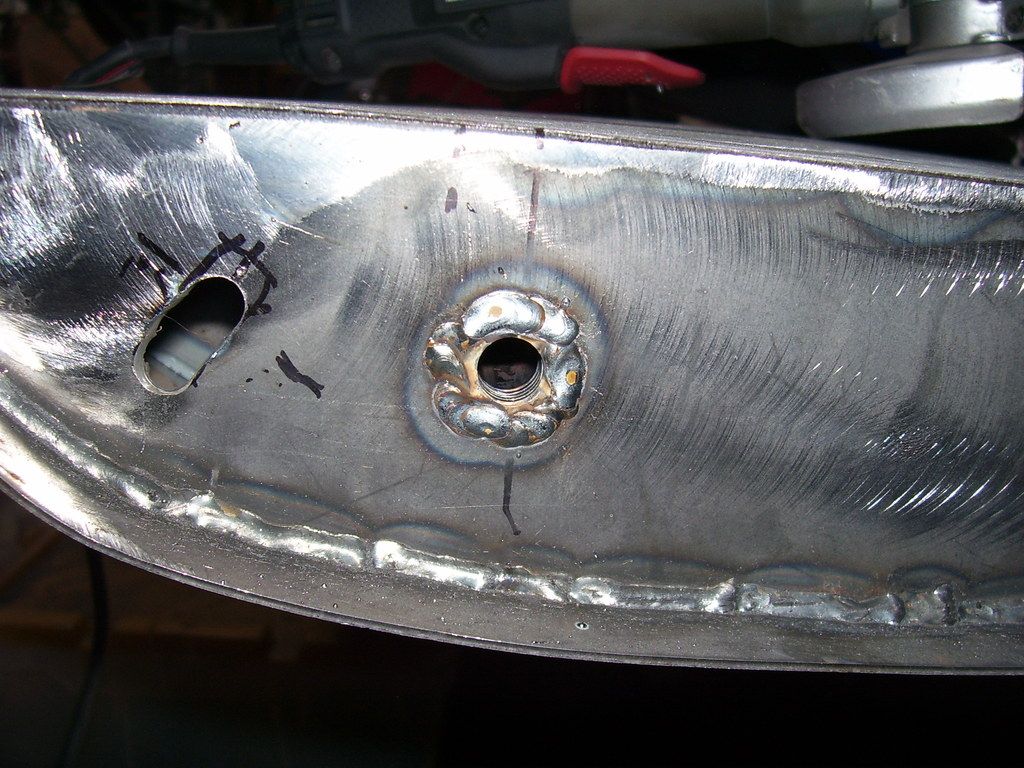
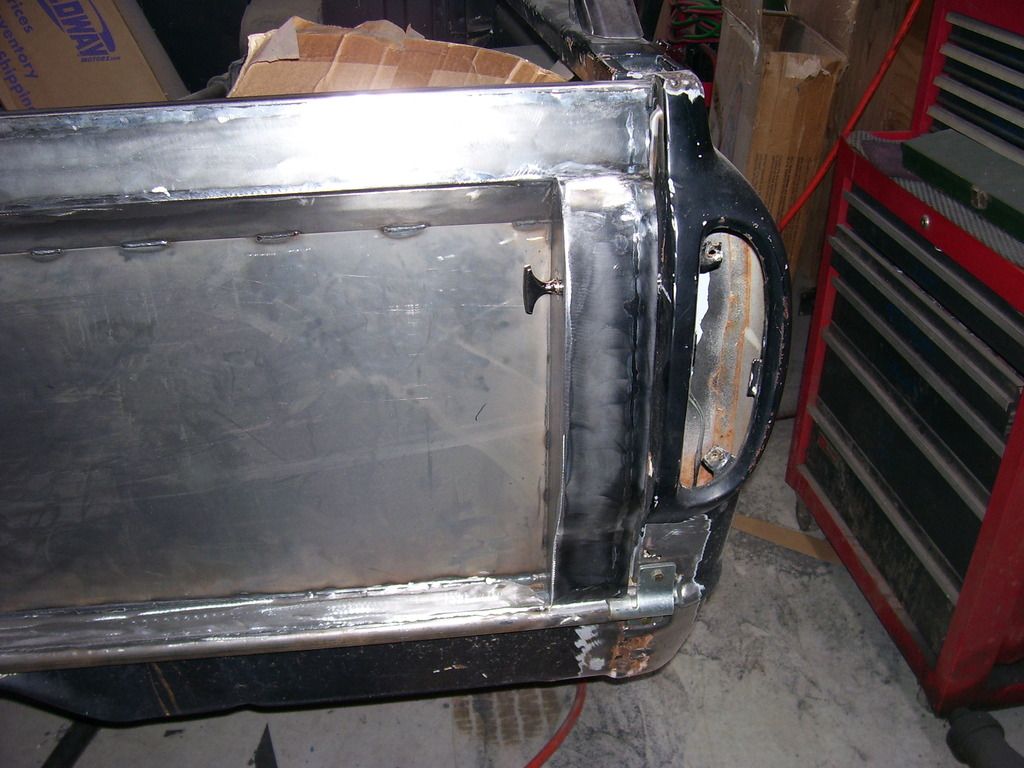
I now took around 10,000 measurements, stared, cussed and discussed with myself where to mount the latch in the side piece of the tailgate. With the taillights, steel bars that hold the gate in the open position and the corner of the stake pocket, it soon became clear I only had a very small area to get it all to fit. I am 6.5" down from the top of the gate and 1.5" out from the main face of the gate. Anywhere else and something was going to hit. I drilled a 1/4" hole from each edge at those measurements and inserted a 1/4" rod thru the hole. This let me see if the holes were parallel to the top edge and back face of the tailgate. They were not. I made a "best guess" and marked where the holes needed elongated and used a die grinder to make the holes slightly larger while moving them slightly to square everything up. Once I had a better hole to work with, I used a step bit to drill them to 3/4" on each side. I inserted the barrel (which is still too long) into the hole and marked the exact length the barrel needed to be to fit flush on each end. I cut the barrel down, drilled a couple holes thru it at the end and plug welded the 1/2"OD EWT inside the 3/4" DOM tubing. I used the oilite bushing to get the correct recess for the 1/2" EWT so the bushing would sit flush with the end of the barrel after it was welded in. I then ground everything smooth again.
Once it was the correct length I welded it into the end pieces of the tailgate, ground it down and assembled everything without the spring. This dry run let me know where the 1/4" washer needed to be welded to the latch bolt to keep pressure on the latch and let you pull the latch open to get the gate down. After the test fit, I welded the washer in place and ground it down so it would pass thru the 7/16" nut I welded to the end of the barrel section earlier. It is only fair to note that my springs would not fit thru the 7/16" nut, they were a hair too big in diameter. They were close enough that I drilled the nut 1/32" larger than the ID of the threads in the nut and that little bit let the spring push into the barrel for final assembly. This removed about half the depth of the threads in the nut but it still has plenty to hold it tight. This is also the size the 1/4" washer was ground down to.
I assembled it once again and marked the length the bolt needed to be cut to so it would latch the gate to the box. I marked it, cut it to length, rounded the ends and assembled everything including the spring this time.
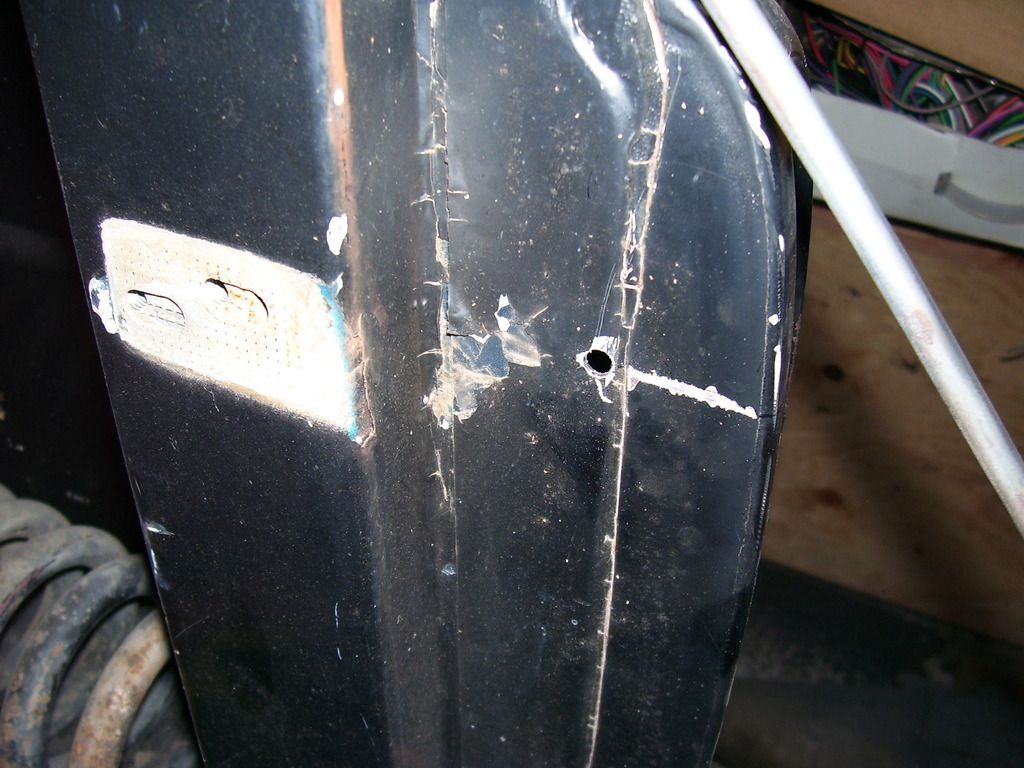
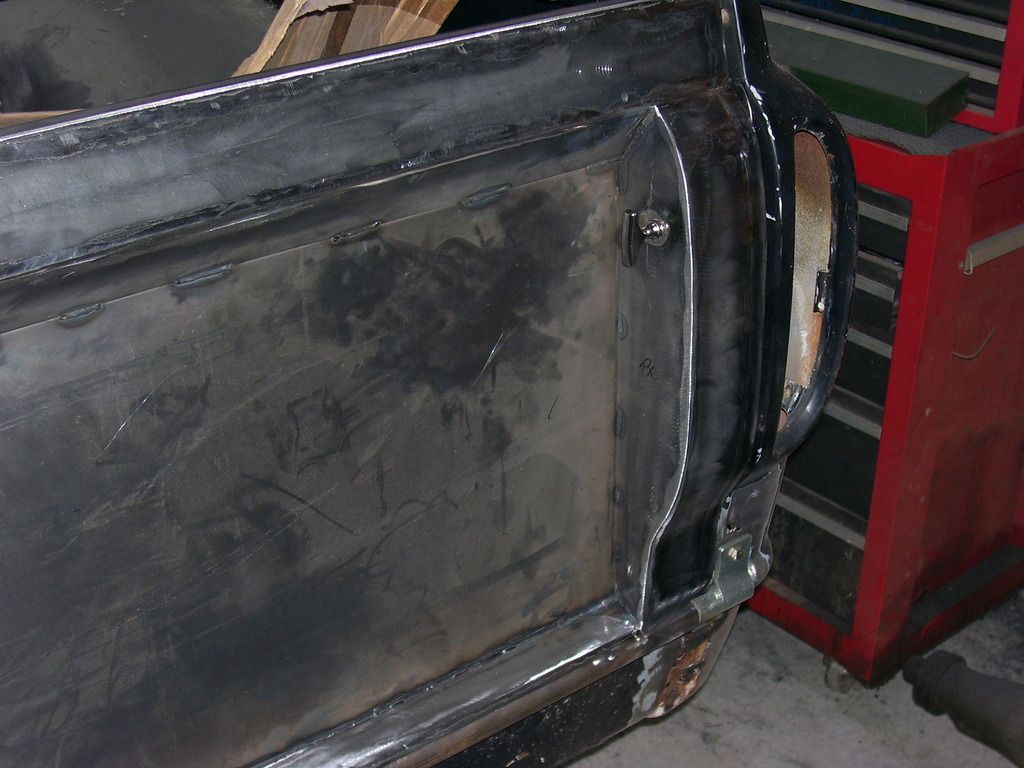
Now that it was all mounted and cut to length, I tapped on the drawer pull with a rubber hammer that in turn made a mark in the side of the box extension where the latch needed to be to line the gate and the end cap of the box nicely. For now I drilled the holes to 1/4". In final assembly they will be drilled oversize and a rubber o-ring will be installed so the latch doesn't rattle in the body.
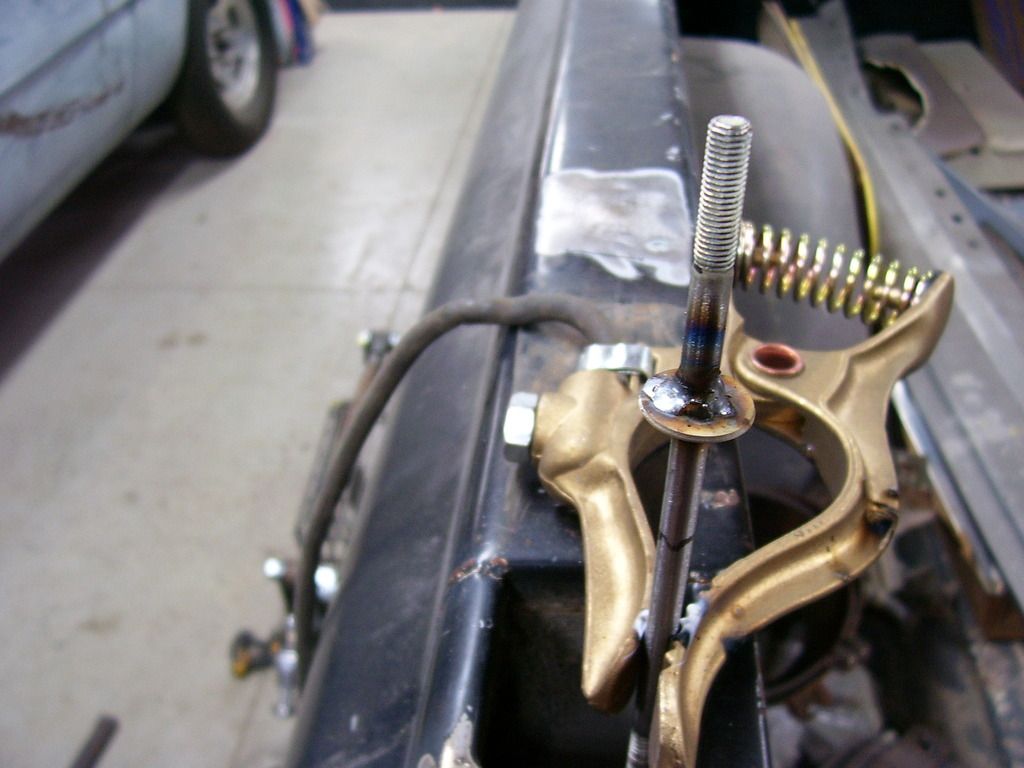
The finished product. The latches are stiff enough to keep it closed going down he road but you can easily pull them and lower the gate at the same time with no problem. The latch bolt sticks 1/2" into the box end cap holes so it is nice and secure.
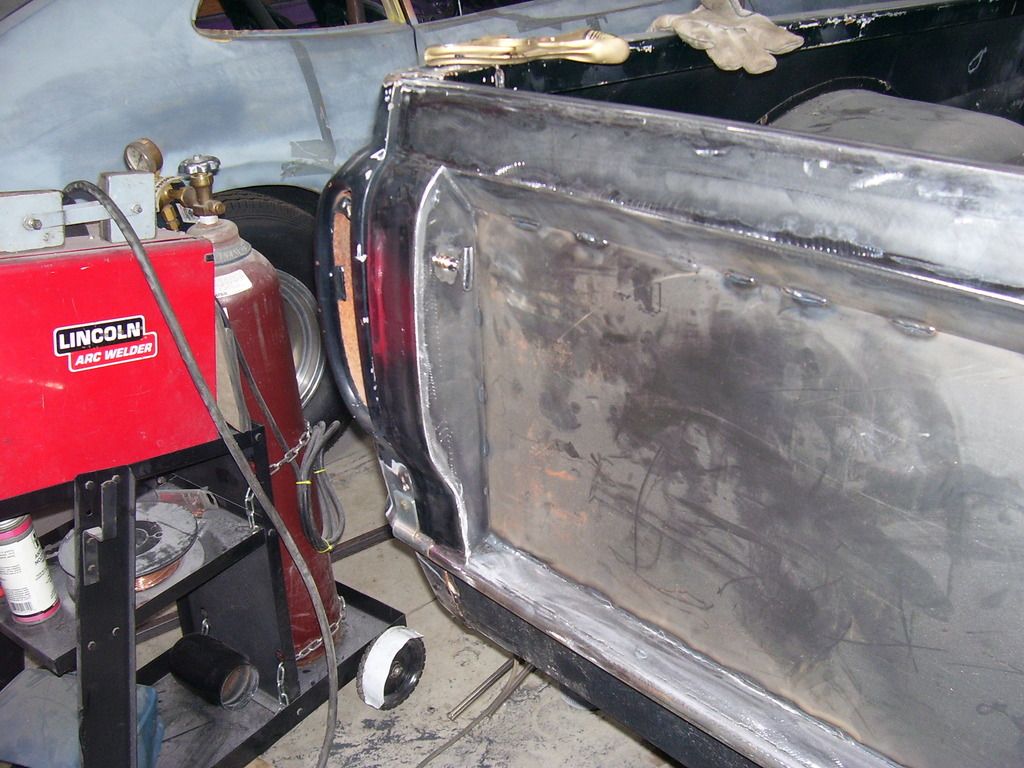
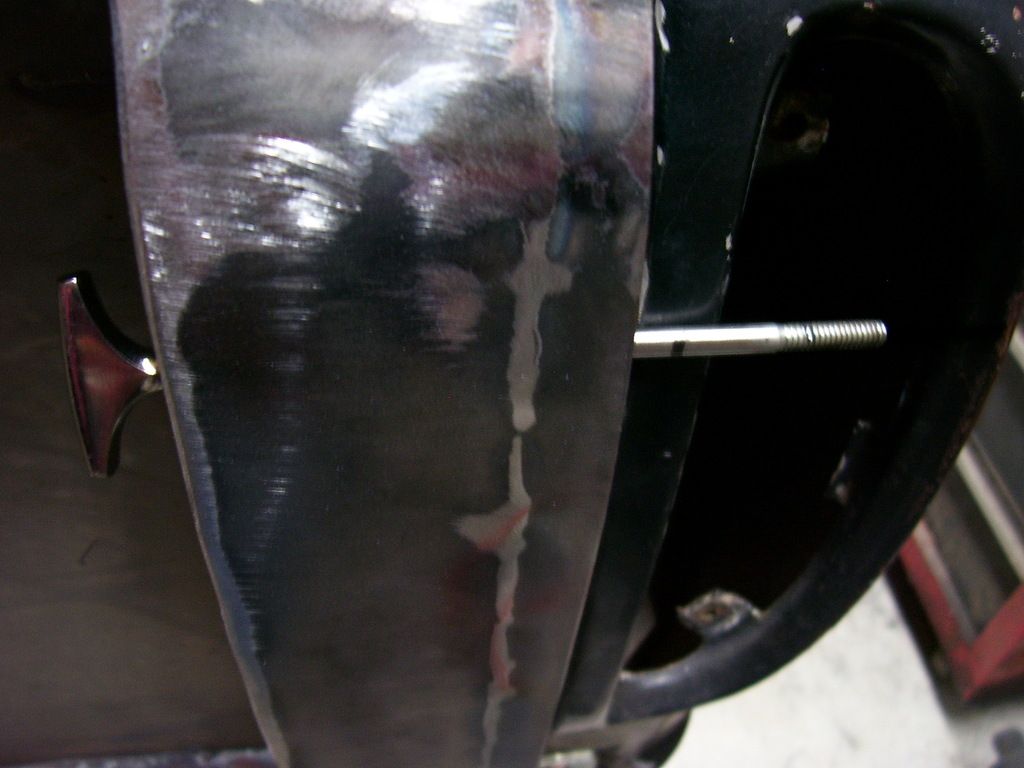
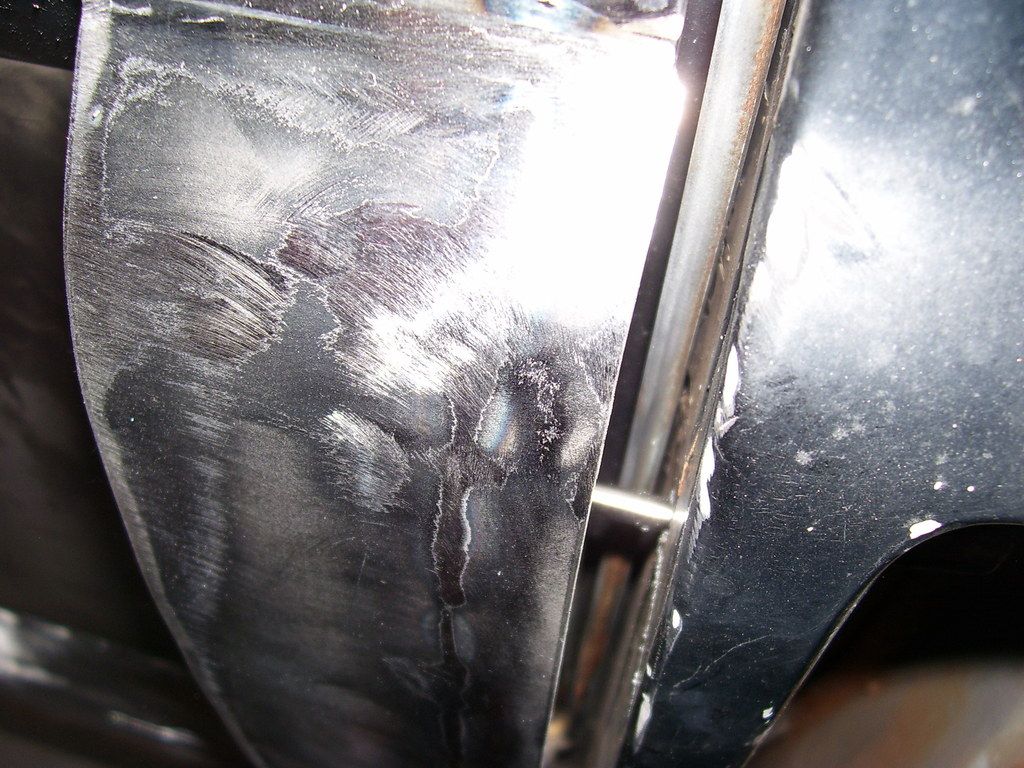
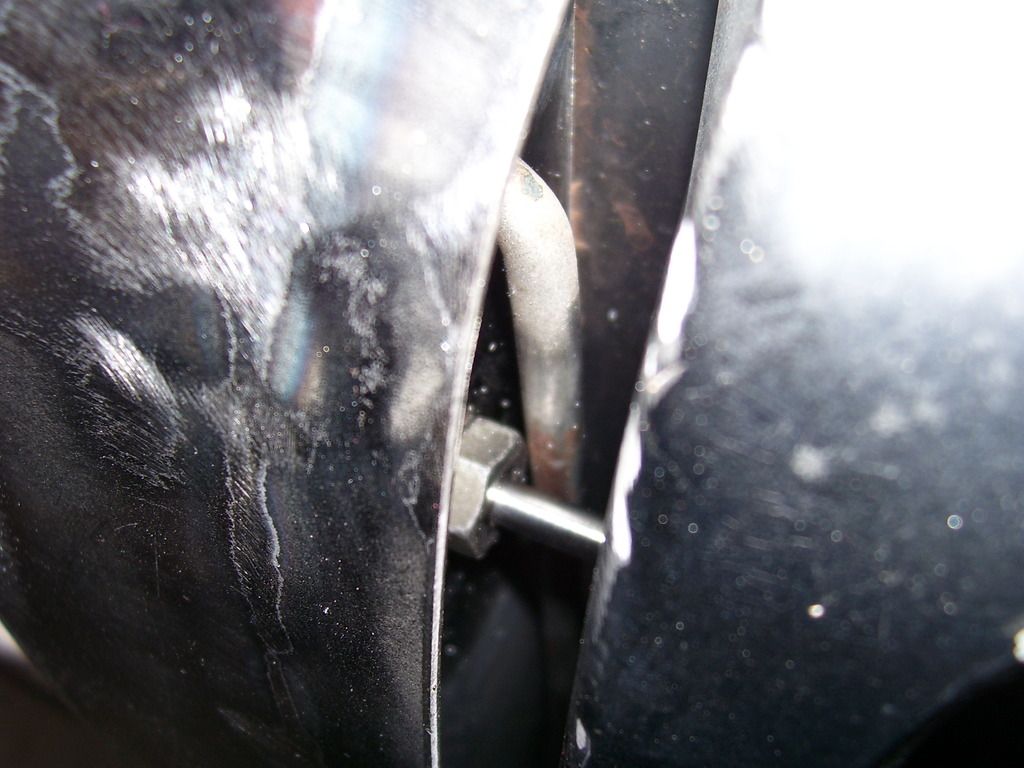
This may be really hard to see. These last pictures are inside the gap between the end of the tailgate and the edge of the end cap on the box. The shiny silver rod going left/right is the latch I just installed. The dull silver rods going up/down are the rods that hold the tailgate in the down position. The hex bolt is the end cap for the barrel body that holds the latch in the tailgate. They don't touch but it couldn't get much closer. You can stick finger in and rattle all the rods. My final plan is to coat the tailgate rods in plasti-dip like used on wrench handles so they don't rattle so much. I can also dip all but the very tip of the latch bolt to keep it from rattling against the rods. I also plan to thin the heads of the bolts in the barrels to gain some clearance. It's really tight.
I have about 6 hours work in the latches. So far I'm happy with them. It probably would have been easier to put the stock latches in this gate but I don't like stock stuff that well, and they tended to scratch the paint when used.
All that is left is a bit of work on the outer edges, a top strip to make the top edge the correct shape and a little putty and seam sealer for a few seams.
SPark


