Page 9 of 13
Posted: April 23, 2011, 6:28 pm
by Greg D
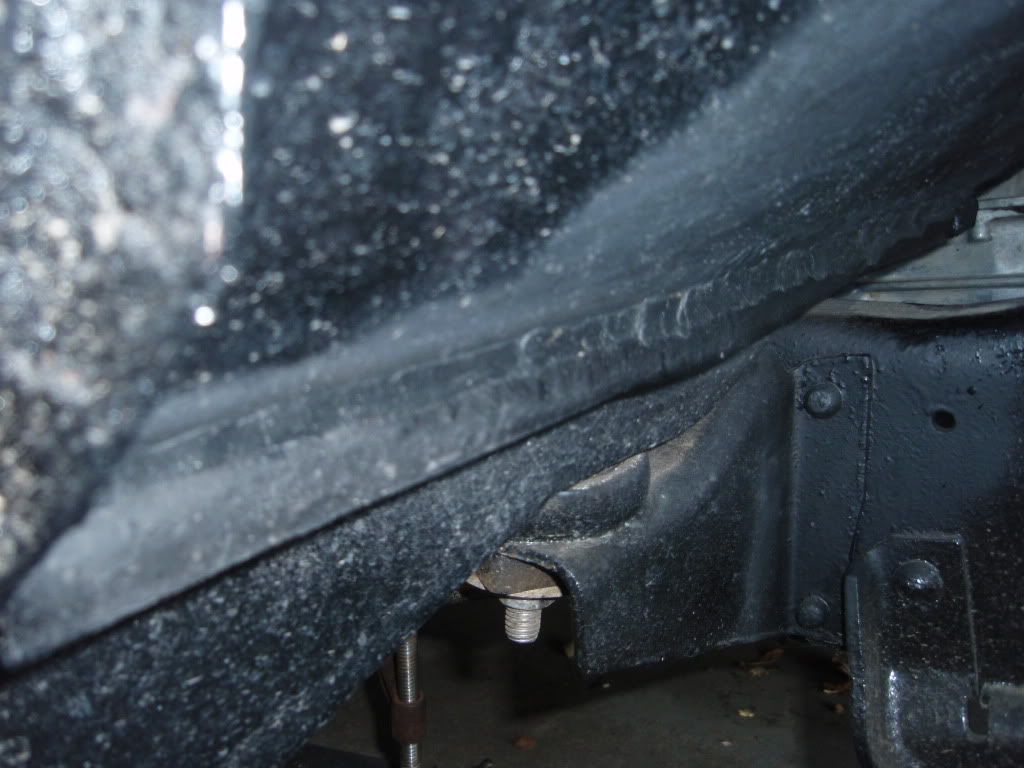
Front side patch burned in.
Now to make patterns for the other side (guess I should have kept the other ones. 
Posted: April 24, 2011, 8:10 pm
by Greg D
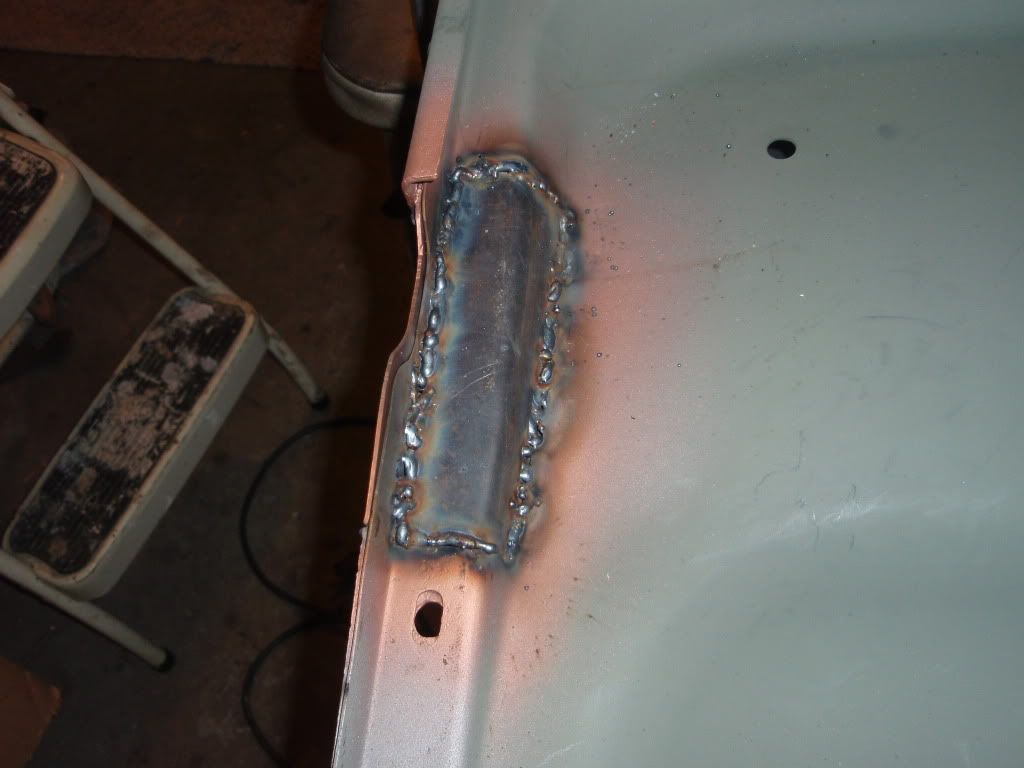
"No such thing as an ugly weld if there is a grinder handy."
I had actually turned up the wire speed a little so it would "pile up" a touch. Making nice welds it wanted to burn through the thin spots on the support.
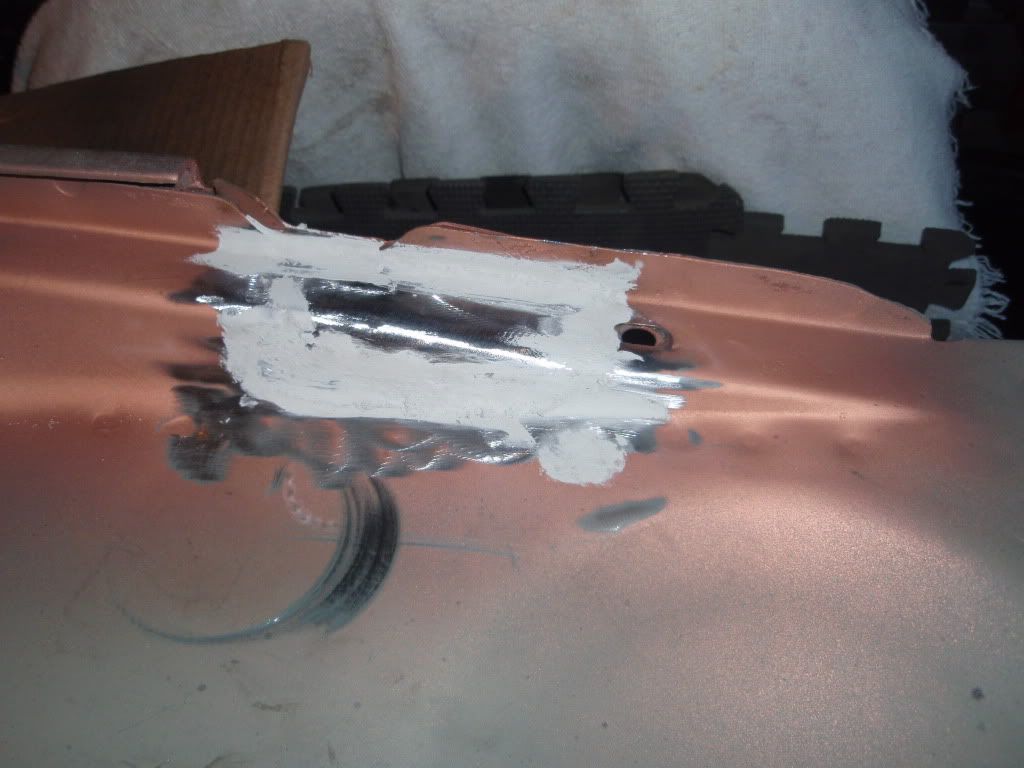
I put some fill on the front side to make it look a little better - I'll get a pic of that too.
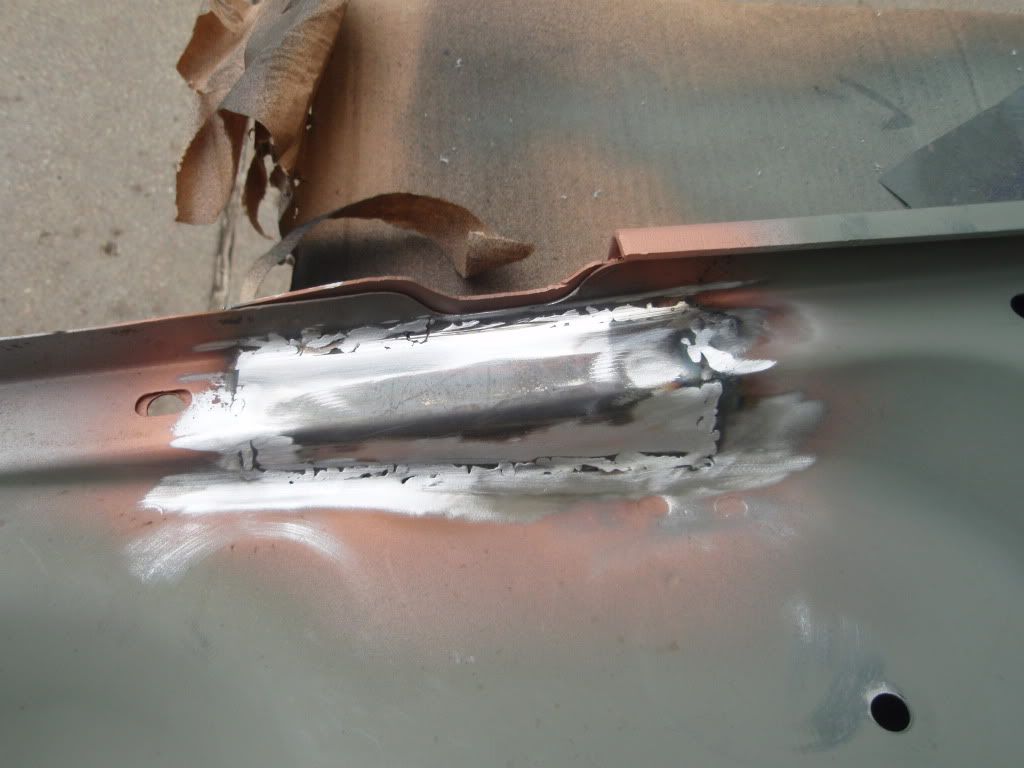
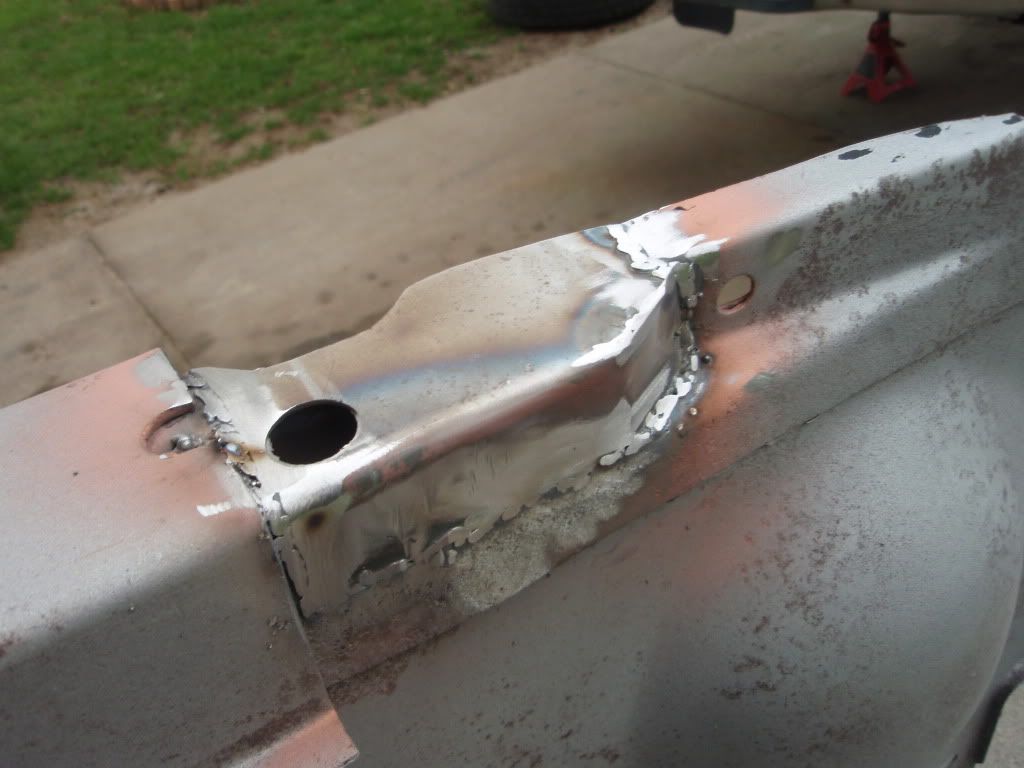 Started on the other side too today.
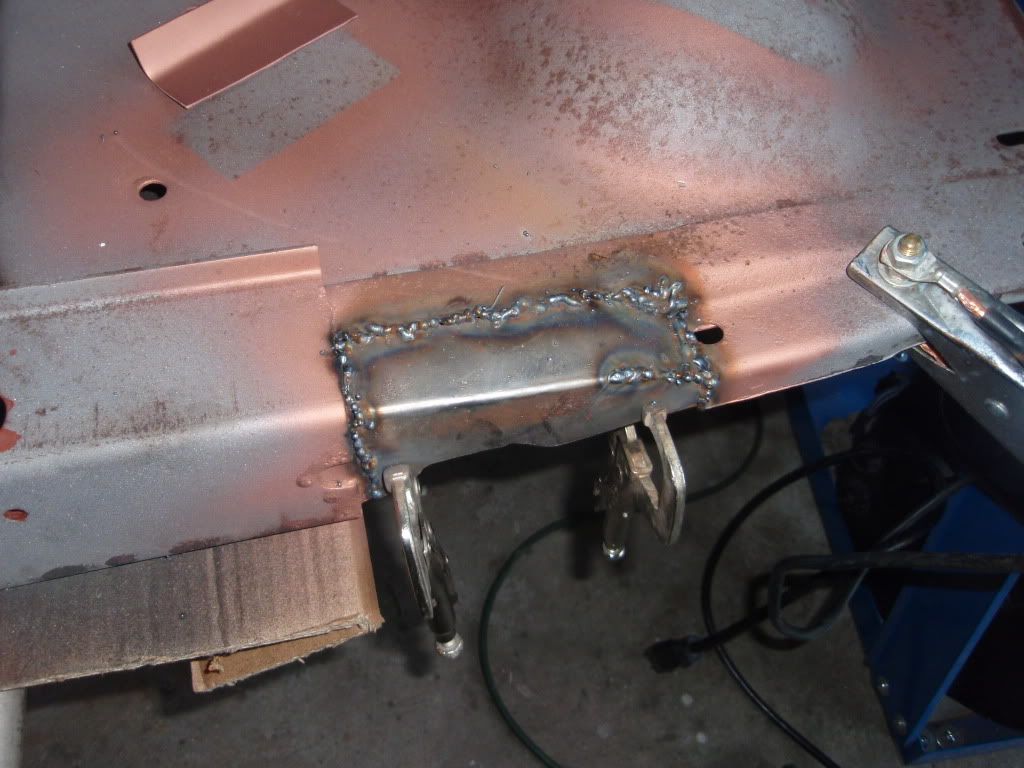
Posted: April 28, 2011, 9:48 pm
by Greg D
Almost there!
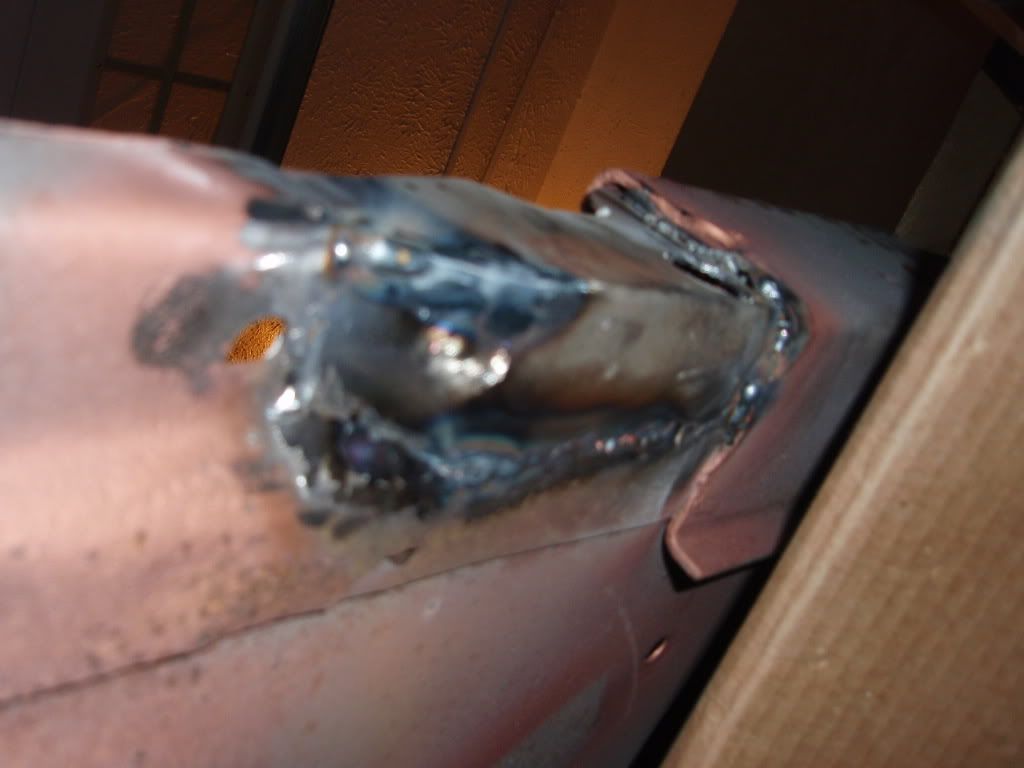
The patches are in the other side and some filler on the front.
Next I will use some POR type paint and some glass cloth to cover the holes in the upper section.
No matter what I do this core support will rust out again so I am patching it up enough to look OK in the truck and get it on the road.
I will buy a new support and make sure it's coated well inside & out just before the truck gets painted and install it.
Posted: May 2, 2011, 8:57 pm
by Greg D
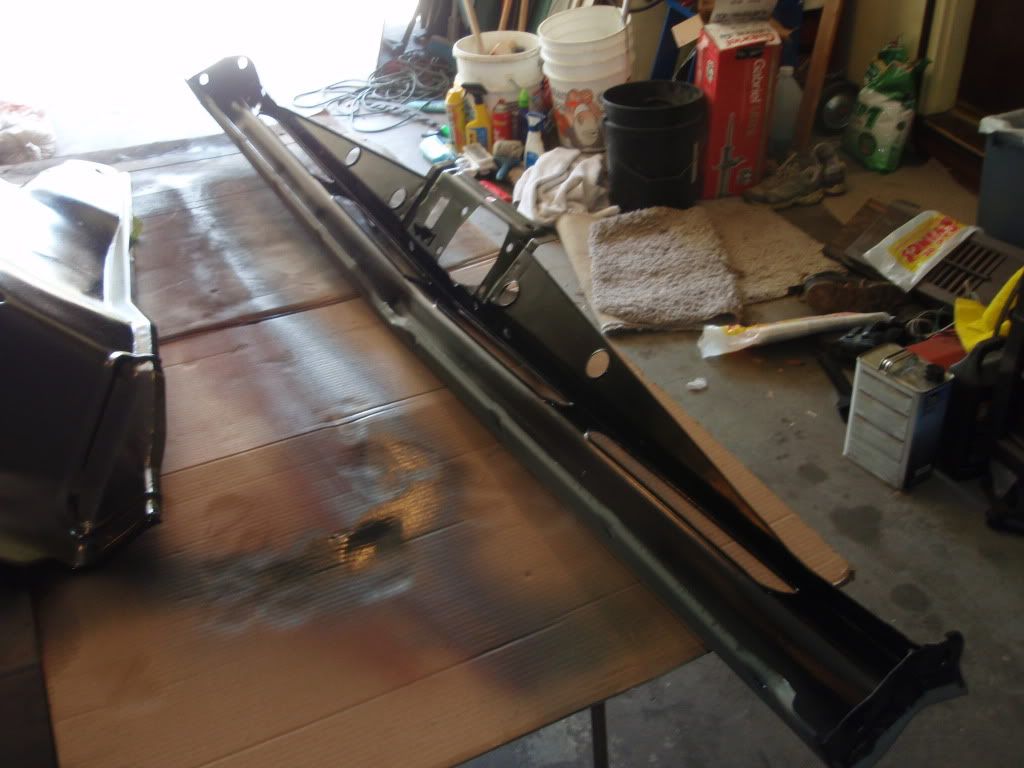
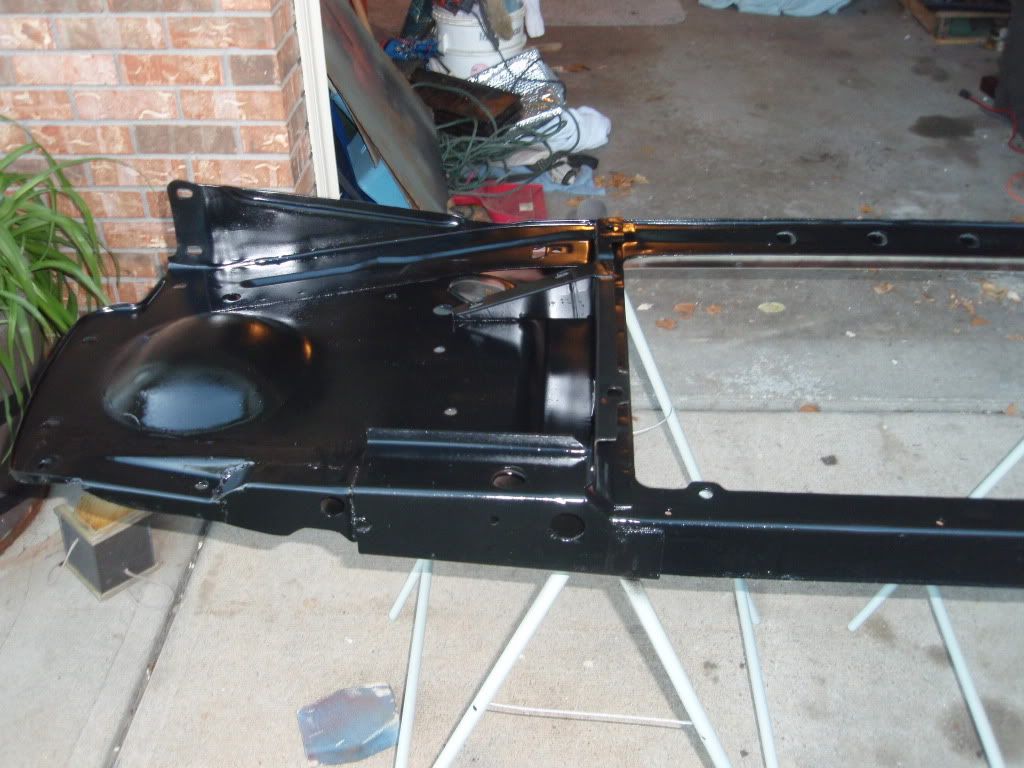
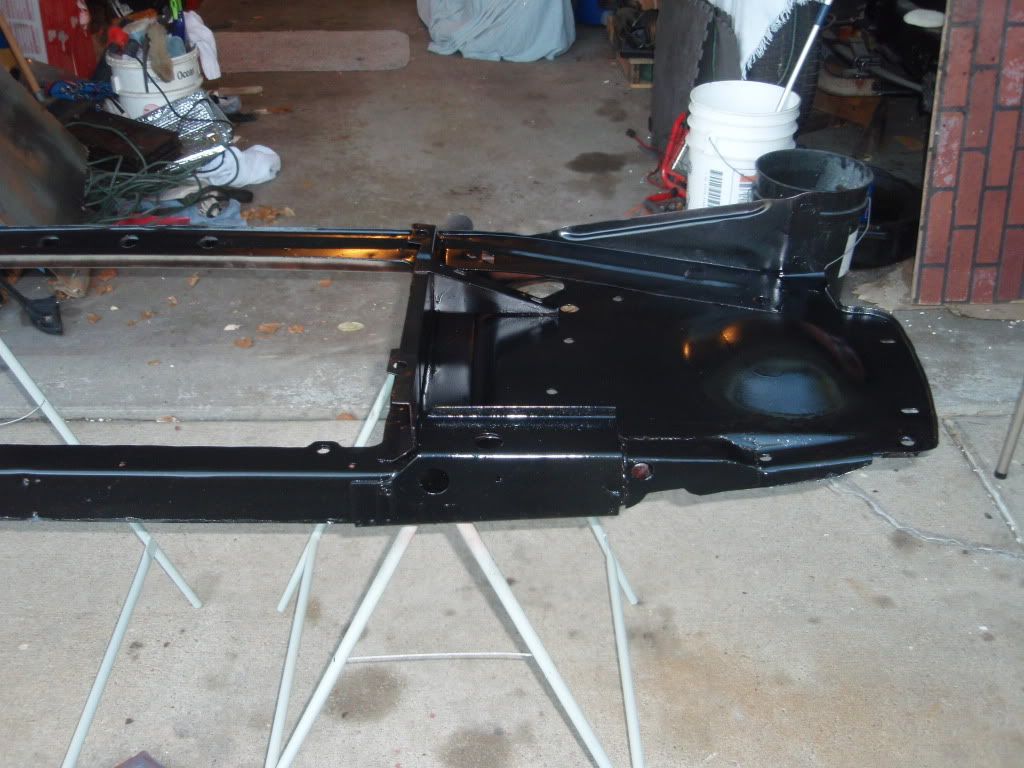
Got a coat of Lacquer on the inside of the core support.
I will get the front painted in the next day or so.
Posted: May 3, 2011, 1:21 am
by HiBoy63
lookin good.
Posted: May 3, 2011, 3:09 am
by quietwyatt
Greg, You sure do some nice work. You should be proud. Goes to show what can be done with a little determination. I like it.
Posted: May 4, 2011, 8:08 pm
by Greg D
Thanks Guys.
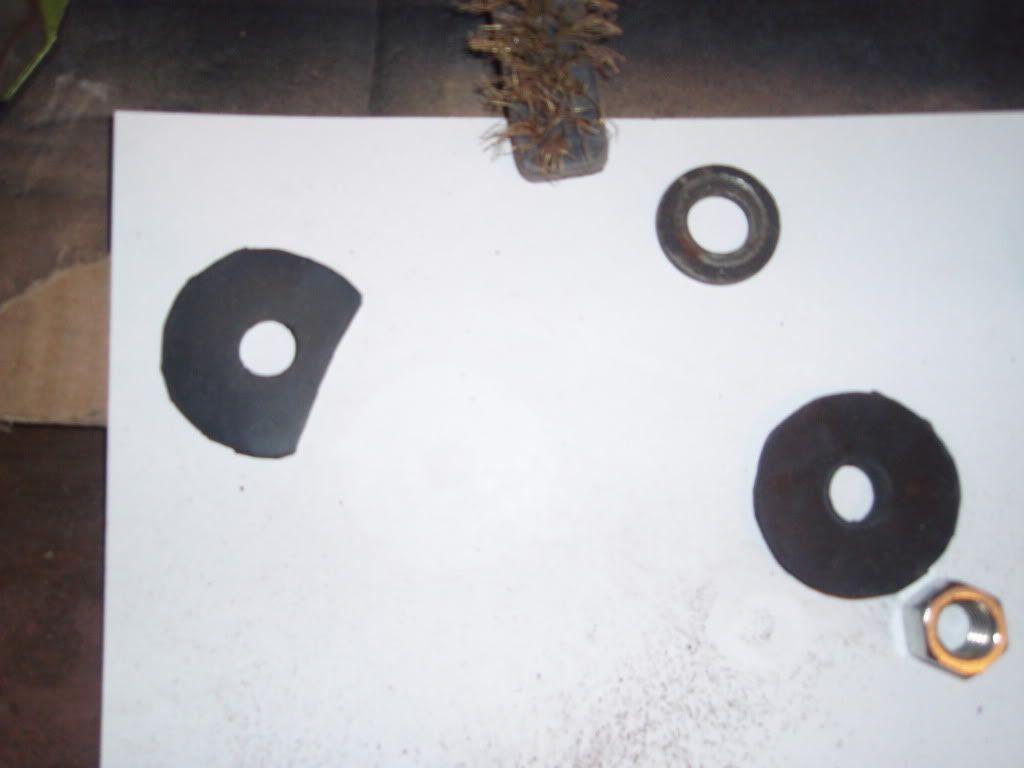
This is some 1/4" x 8" rubber belting I got from the local Precision Bearing - they just gave me about 3 feet!
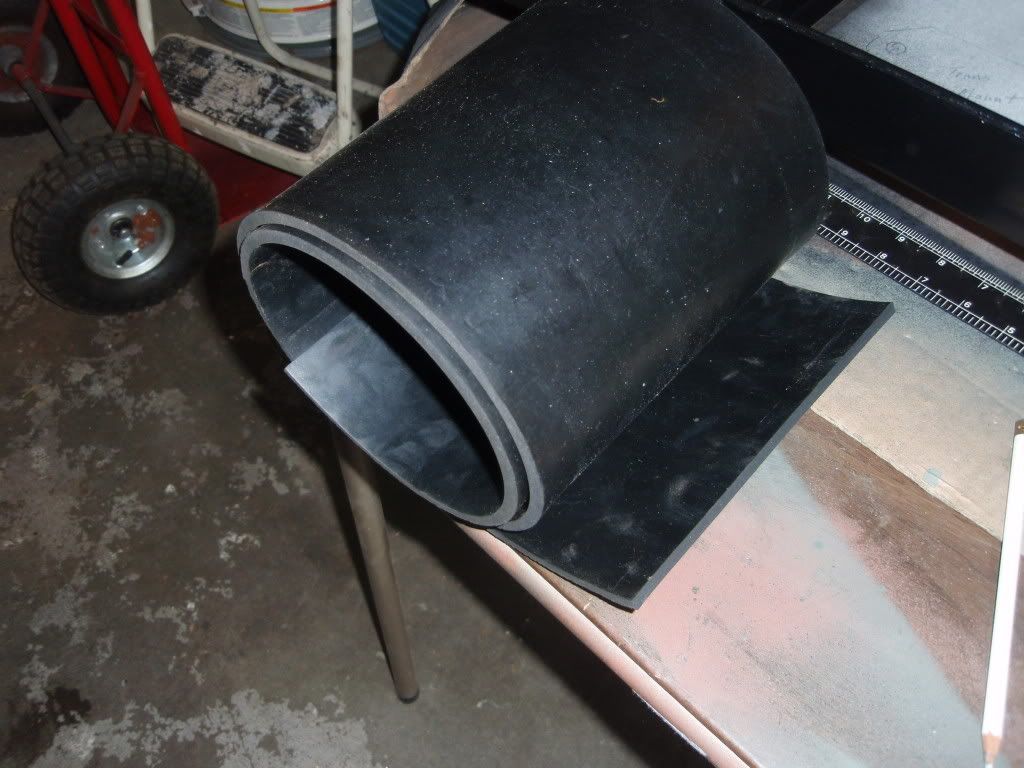 Here are the new inner fender - firewall insulators I made from a 2" section of it.
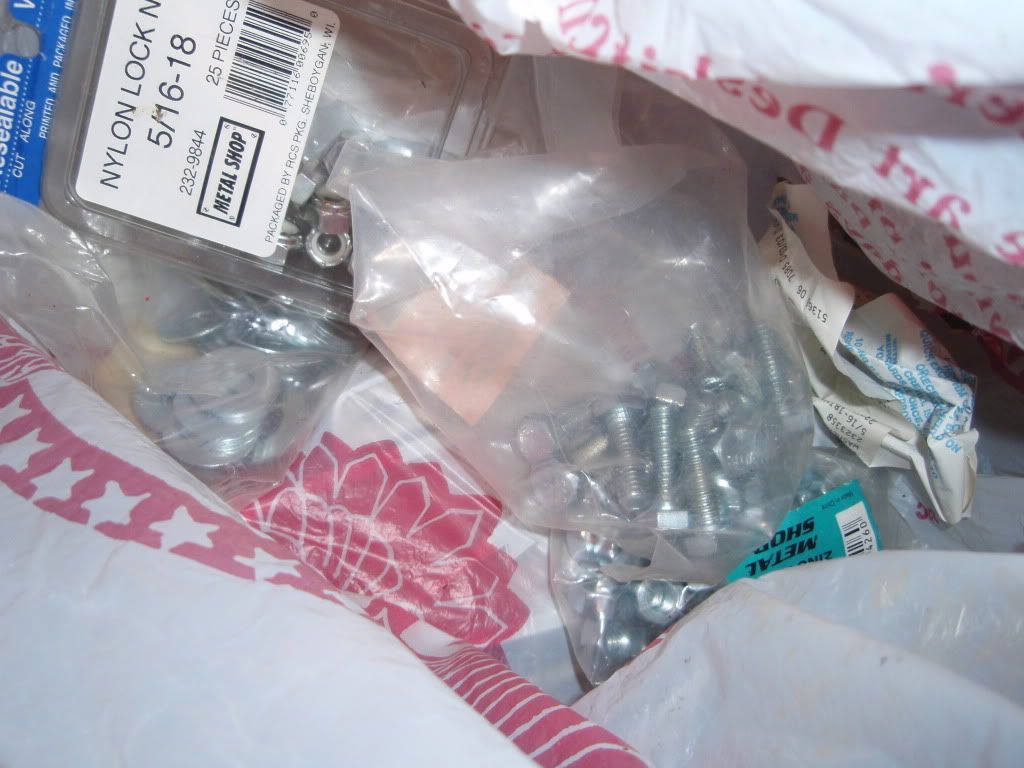
I will also be making a transmission mount/insulator (stock one is too tall), and insulators for the core support. I was going to buy these and the core support mounts but hate to pay for them and just throw the bolts in the bin - I'll use stainless.
I know Ford used reinforced rubber but the cords draw moisture = rust.
Posted: May 5, 2011, 8:53 pm
by Greg D
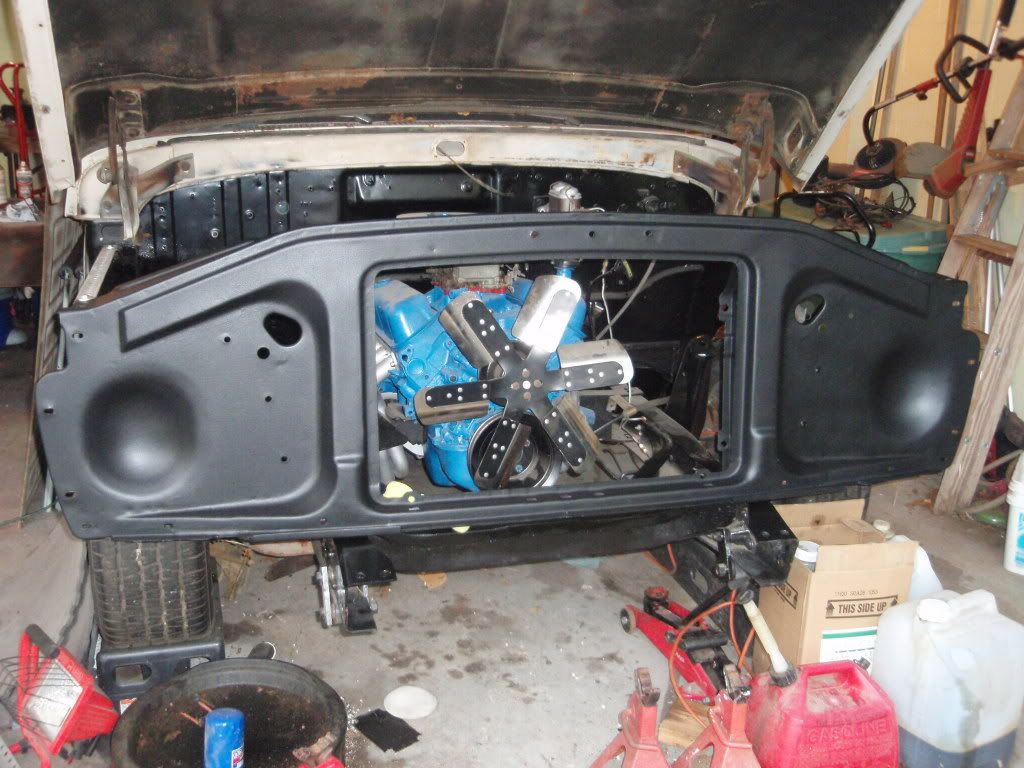
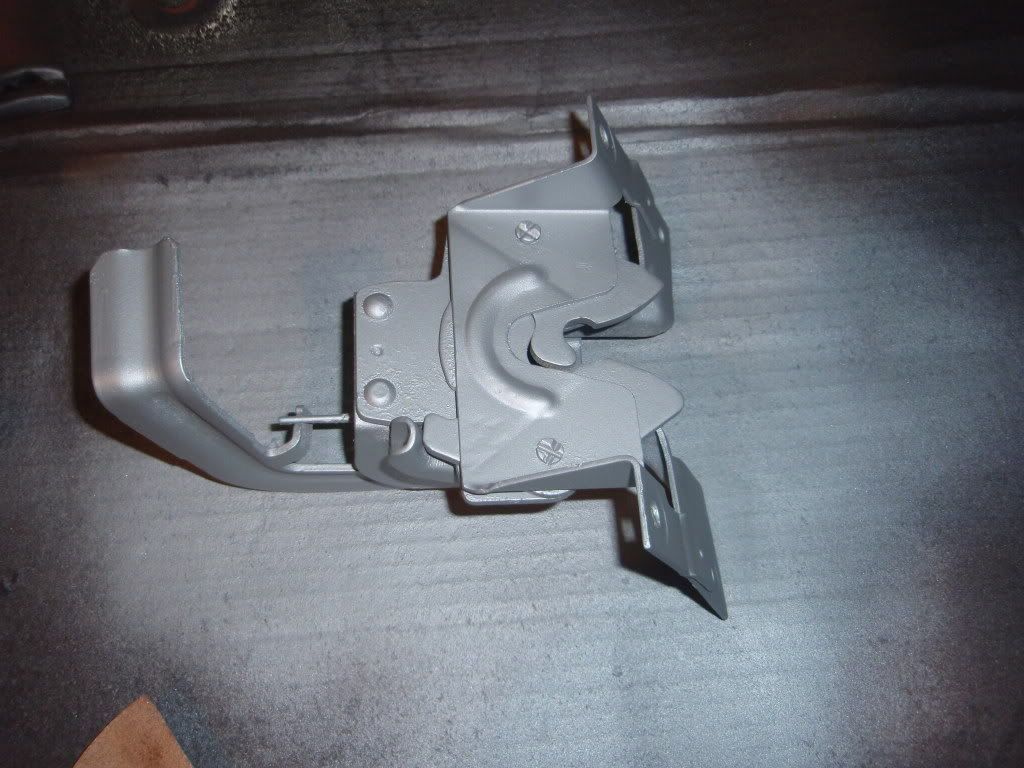
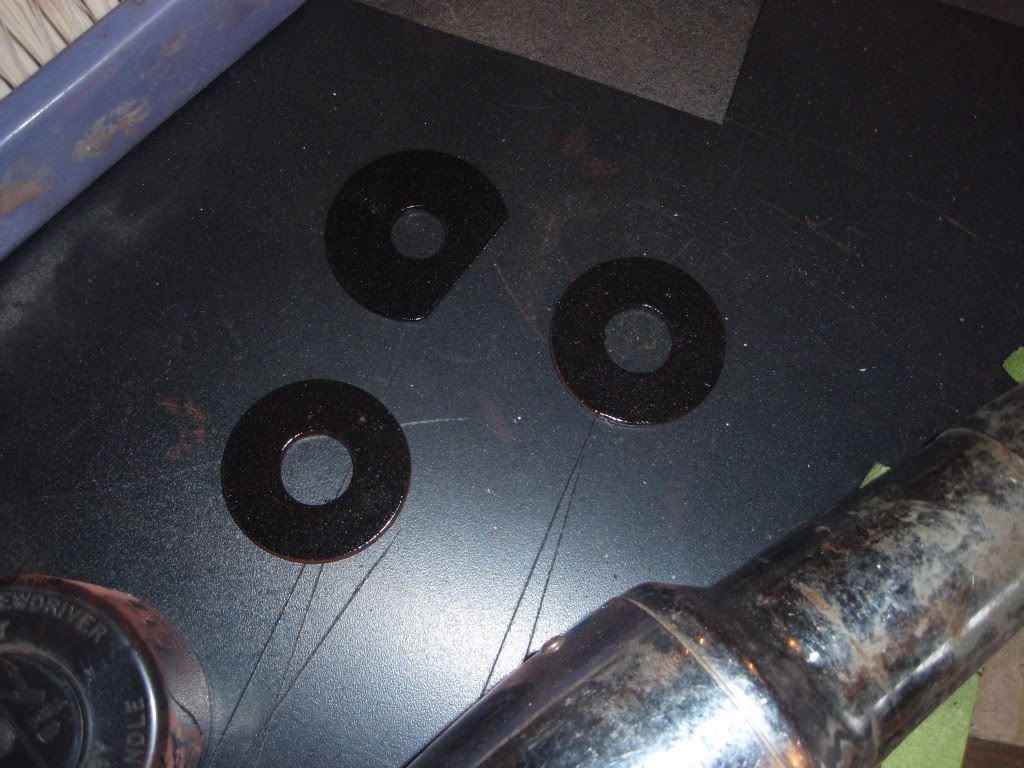
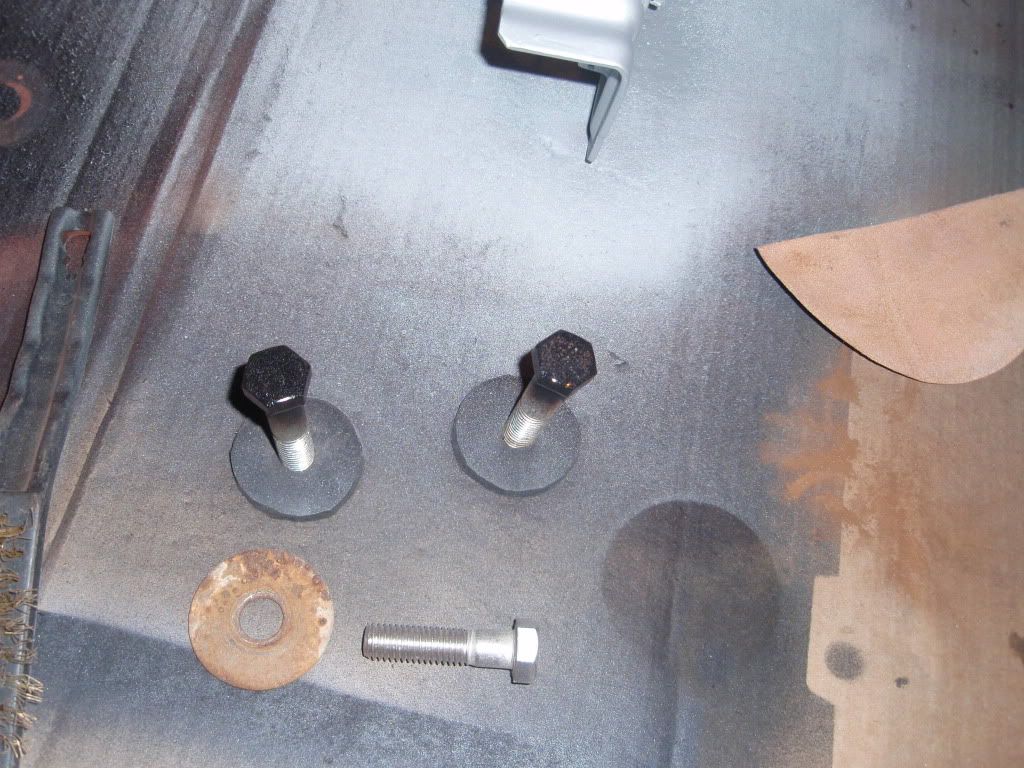
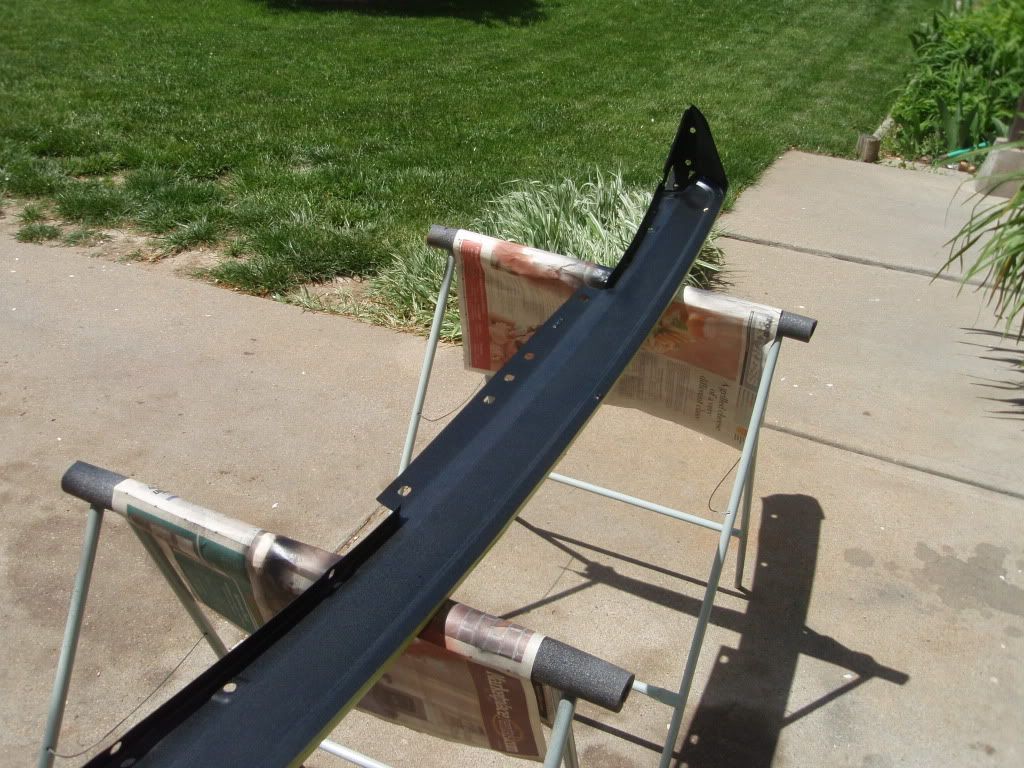
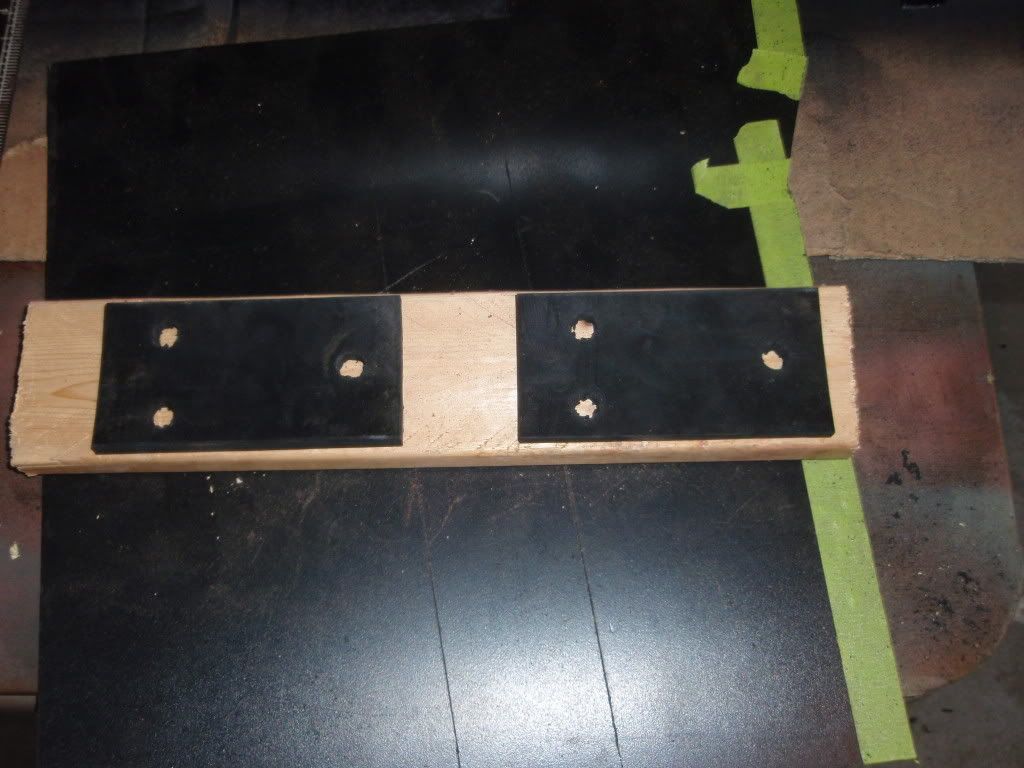
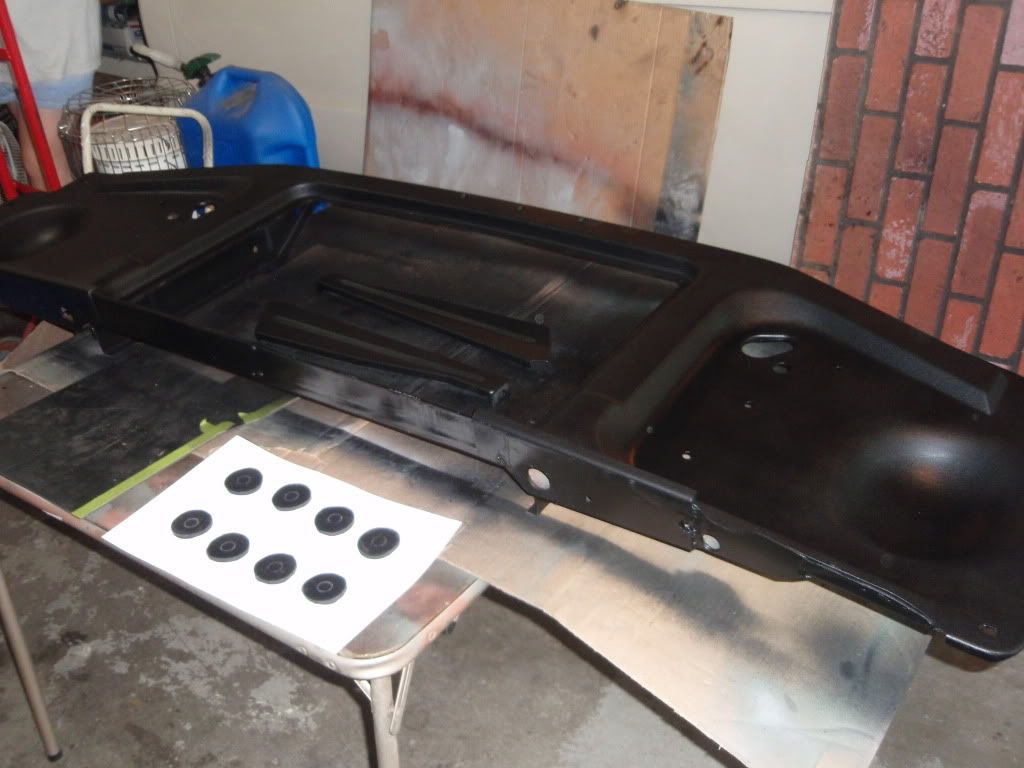
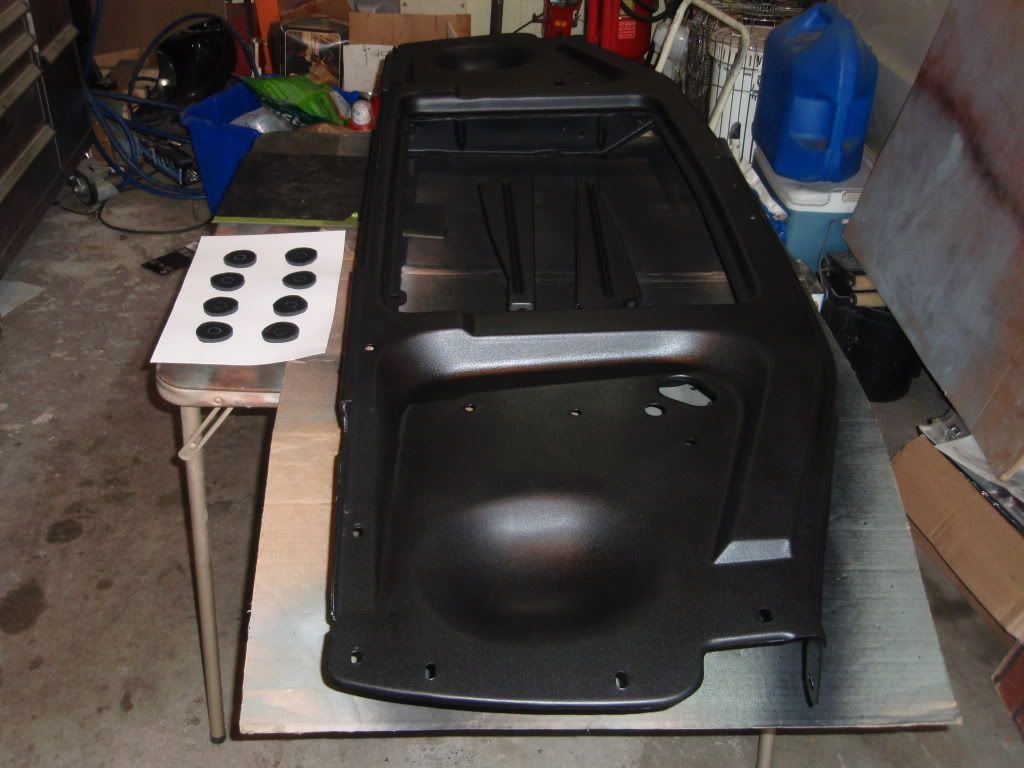
Core support & hood latch supports coated with Rustoleum Aerosol Bedliner on the front side. I'll let it cure over night. I think the finish looks pretty good - kind of a semi flat like chassis black but shouldn't chip as easy.
The little discs next next to it are the new rubber washers for it. I since the pic punched the holes in them too.
I will mount it on the truck tomorrow - need the table to finish out 1 inner fender so I can paint the top side of them.
Posted: May 6, 2011, 11:08 pm
by Greg D
I got the suppert installed, hood lach painted. I have piss but am too intoxicated to upload them - check back tommorrow night.
Posted: May 7, 2011, 2:58 am
by Alan Mclennan
Greg D wrote:I got the suppert installed, hood lach painted. I have piss but am too intoxicated to upload them - check back tommorrow night.

Yes you are pissed!


Posted: May 7, 2011, 11:11 pm
by Greg D
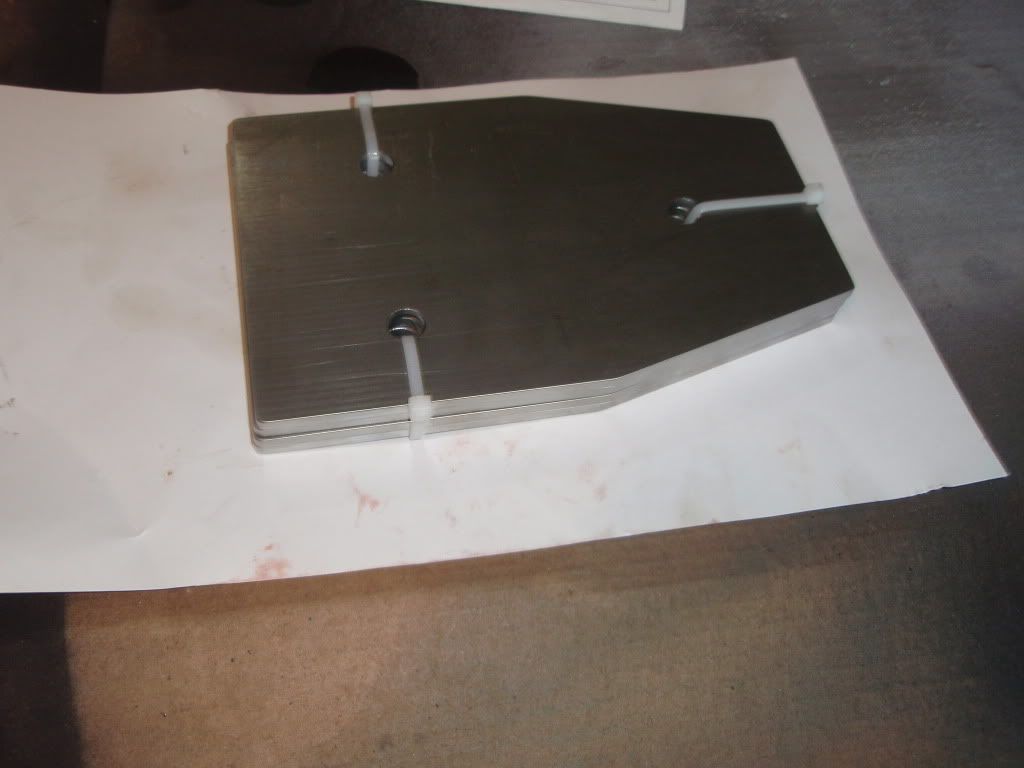
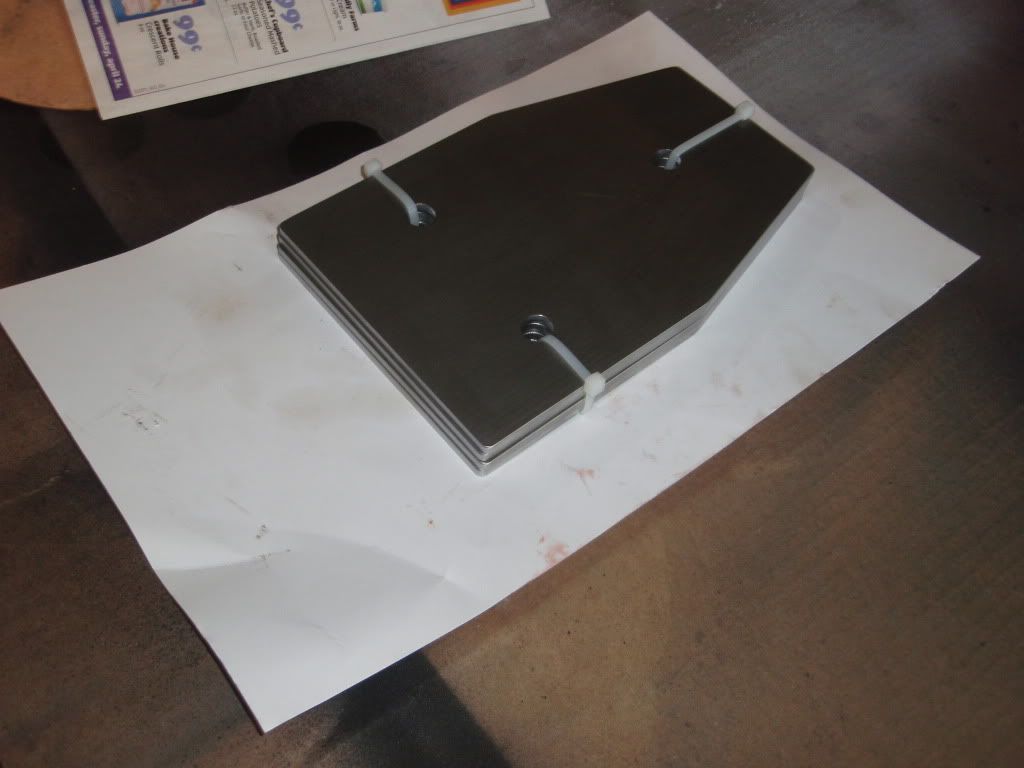
These are simply beautiful!
Matt (BMJ65) made me these 3/16" thick plates off of a pattern I gave him.
2 of them will be welded to the stubs of the crossmember I cut out to clear the headers & T-5 to drop it down, the other 2 will have a couple 1" tubes welded between them to complete the crossmember and be bolted in, that way I can drop the center to maintenance the clutch etc. (it doesn't just hold the bellhousing mounts - it ties the rear front spring mounts together). These are almost to pretty to weld in & paint!
Posted: May 8, 2011, 9:02 am
by Truckrat
Was good to talk with you on the phone last night Greg. You have been a busy guy and are way ahead of me on the same stuff I need to be doing. Got inner and outer fenders, core support, and cab to thrash on this summer. Also my frame to clean up and paint. Lots to do. Great job on all I've seen here. TR
Posted: May 8, 2011, 7:57 pm
by Greg D
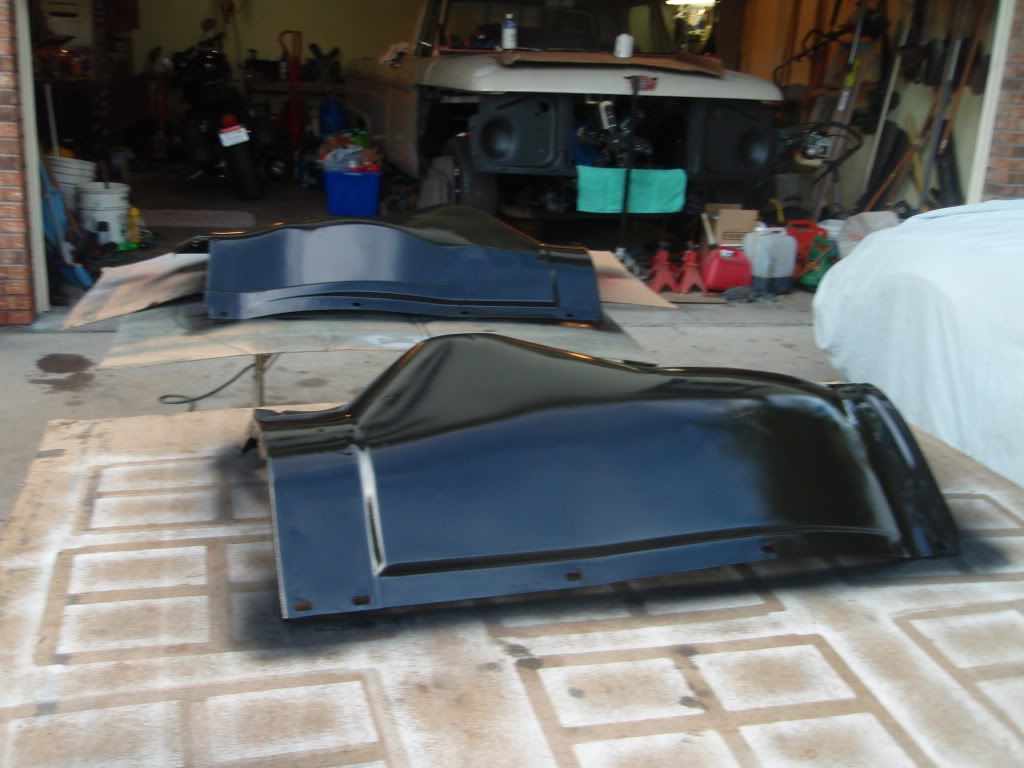
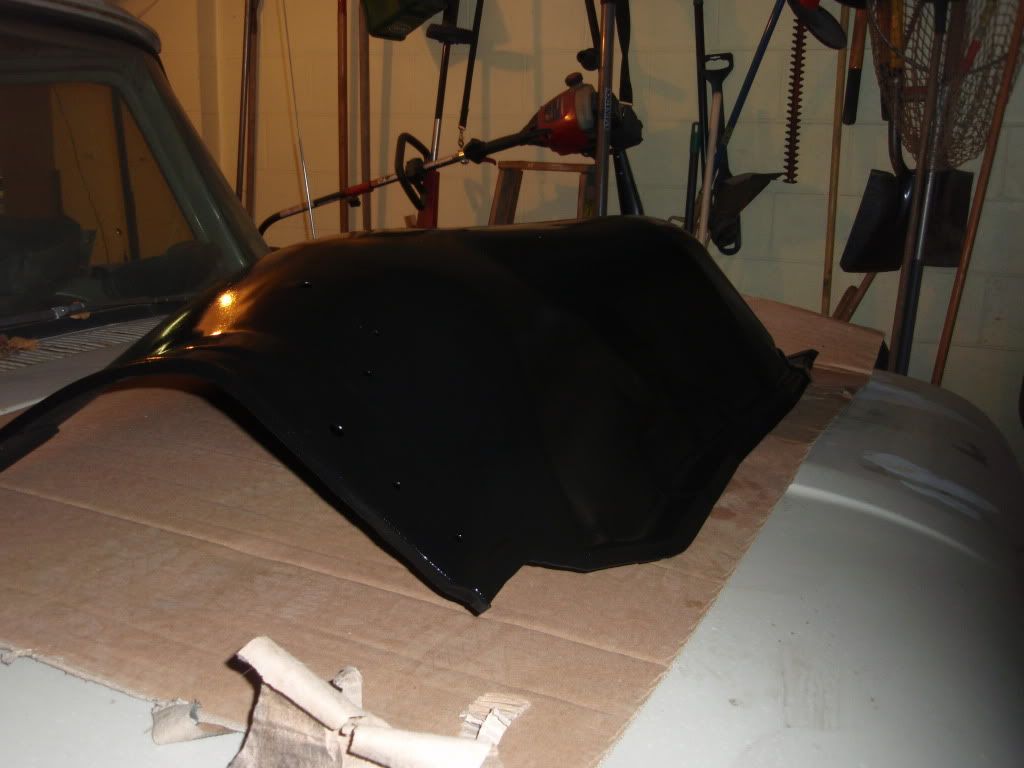
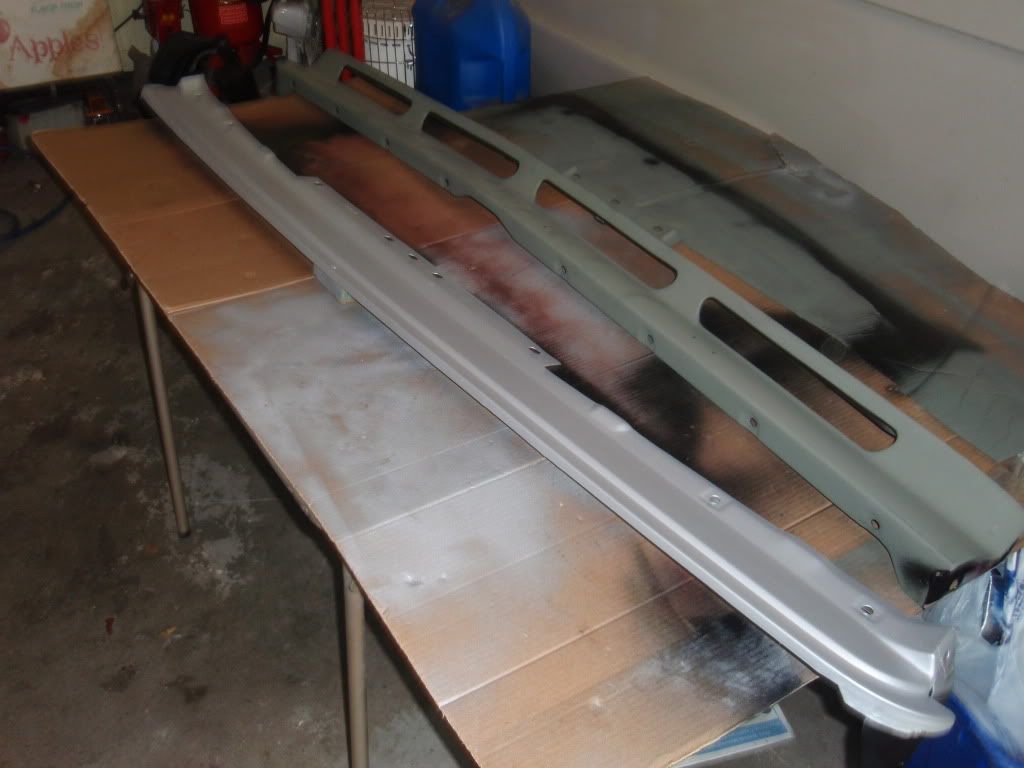
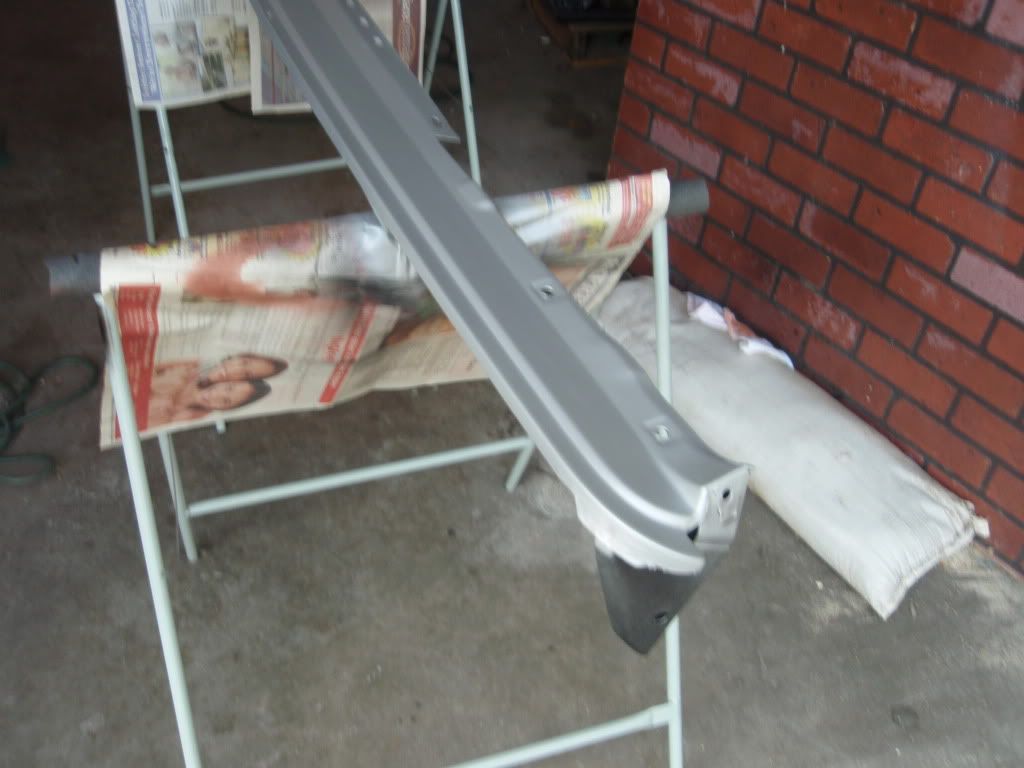
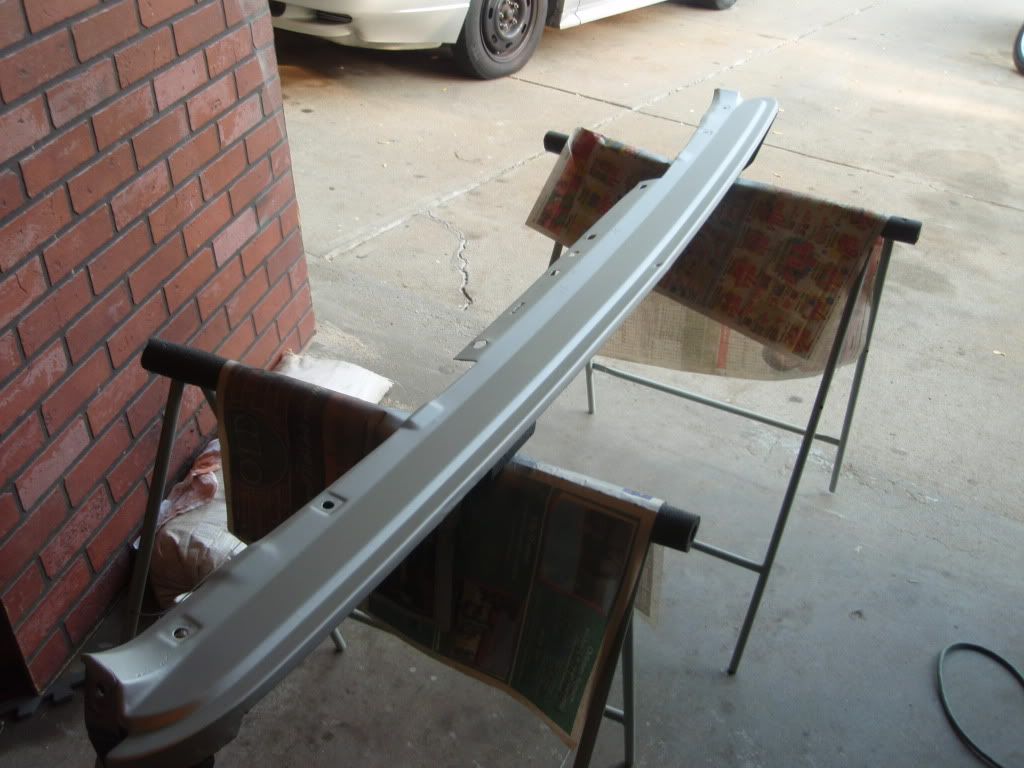
All I got done after I got home was shooting the top side of the stone guard. High heat silver - "baked" with a heat gun.
Posted: May 8, 2011, 10:20 pm
by slickmainer
is that from a gun?
Posted: May 9, 2011, 9:35 pm
by Greg D
Gregg,
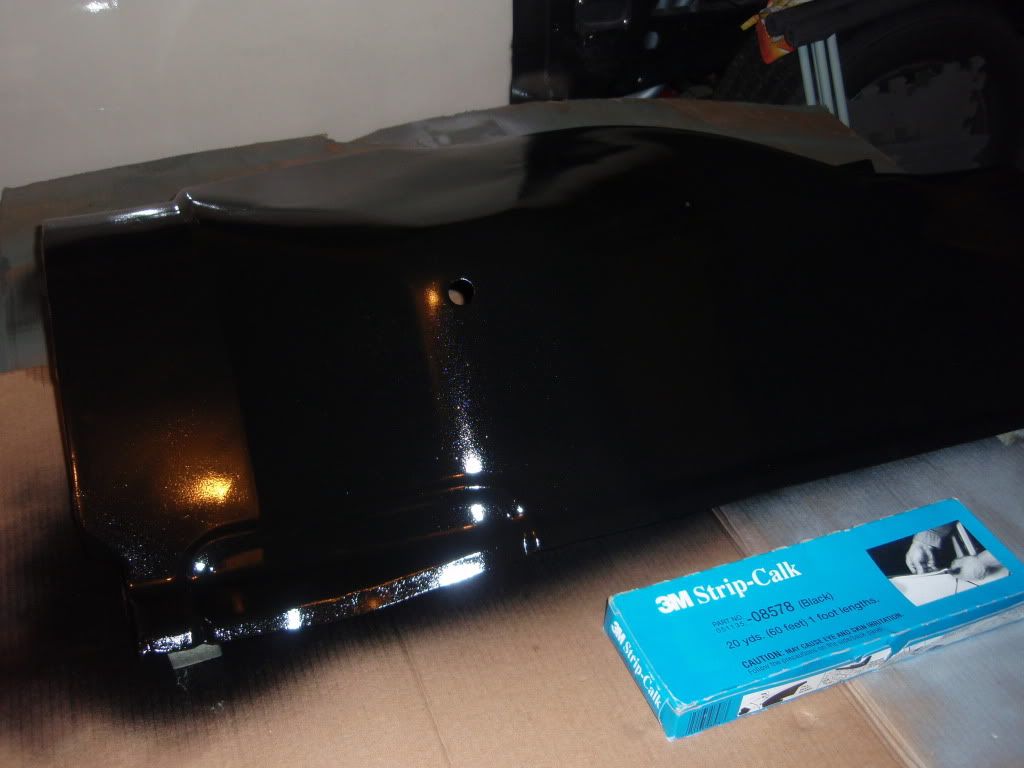
the black was shot from a gun Harbor Freight trim/touch up gun - Rustoleum Industrial Black Enamel reduced with Martin Senor (NAPA) med/slow 50* + reducer (pretty tough paint - decent gloss).
The silver is Rustoleum Automotive High Heat silver shot from a rattle can and baked with a medium heat heat gun (heating hardens it) - basically Header Paint. It is the same stuff that's on my headers.
I used it because the slightly brighter silver will go well with the colors I am using on the body.
News at Eleven, lol.
Posted: May 10, 2011, 9:42 pm
by Greg D
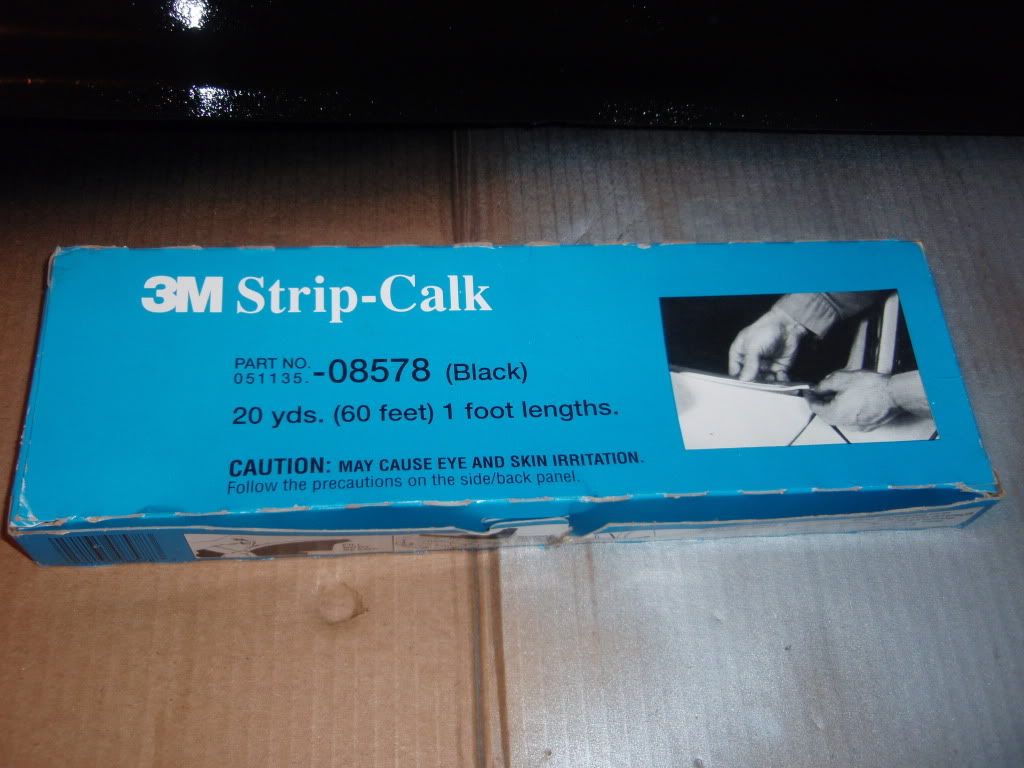
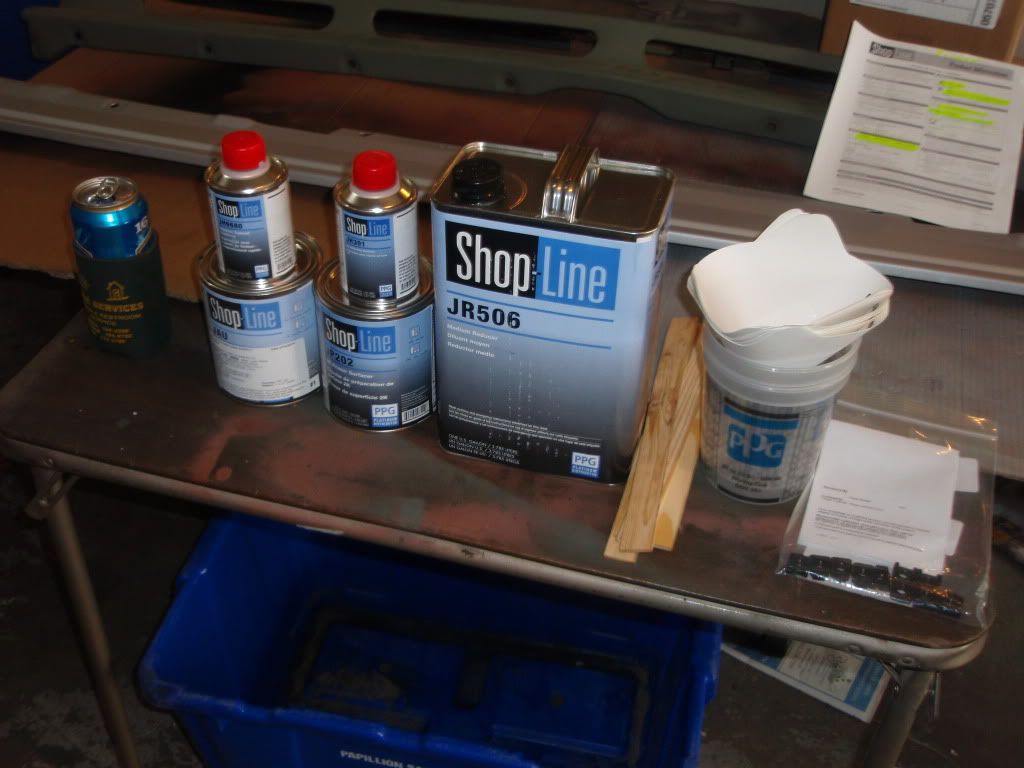
I picked up a few supplies today;
package of 10 cage nuts for the core support - we only need 5 but 10 was the minimum.
The cans are PPG Acrylic Poly primer/surfacer and a Ford Bright Calypso Green Metallic. I only got a quart of each for now - need to shoot the upper valance before it goes on and at least edge the fenders - I don't want to take it apart again to paint it.
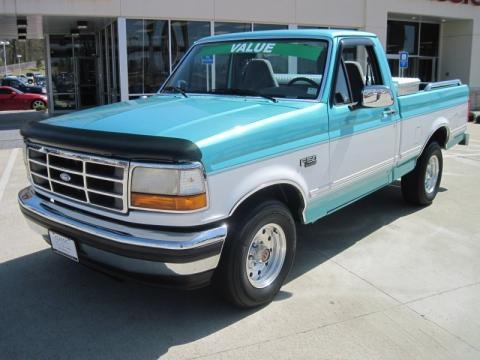
Truck will be a stock style 2 tone Turq/White but will be done in Mettalic colors - I will probably use Ford's bright pearl white for the white color (it's really more of a metallic than a pearl). I will use a red 1/4 / 1/8 pinstripe to separate the colors to go with the badging. Interior will be trimmed in tan so it will be like a Metallic Turquoise & White Ranger when it's done Kind of a stock paint job with "a little kick".

Posted: May 11, 2011, 7:39 pm
by Greg D
Didn't get anything done today - one of the Escort's front brakes had a tantrum I had to deal with.
If the humidity is OK I hope to get color on the upper valance this weekend.