Page 2 of 4
Posted: May 23, 2009, 11:49 pm
by Greg D
The truck had 2 overload spring packs, 1 was added on above the main pack and one that "catches" the main spring pack if it squats too far.
I completely removed the upper overload pack, 2 leaves from the main pack and one from the secondary pack of springs.
Downside;
To get the rear tires off I have to put the frame up on jackstands, then let the axle down far enough to get the tires out of the wheel wells. 
Posted: May 26, 2009, 11:13 pm
by JFCDeuce
It is absolutely amazing what just a few inches of drop can do to a slick, Greg, it looks great!
Posted: May 27, 2009, 8:18 am
by in2hotrods
Alan Mclennan wrote:
Did you get a load of dirt like Shiny did?

I like the new stance, however you got it there

Posted: May 27, 2009, 8:58 am
by deviant1
I know how Greg REALLY lowered the truck. Notice the tree he is hauling in the before and after pics, well he moved it closer to the rear to make it squat more...look for yourself!

Posted: June 13, 2009, 9:10 am
by Greg D
Last week I ran across 2 Uni's at a repair shop in Columbus Ne up there covering a guys route. The guy had bought one for a parts truck to fix up the other that his Dad bought new. He wanted to keep the tailgate from the parts truck for his 62 LWB BBW, I bought his "bad" tailgate from him. It will need the end boxes repaired and has a few dings but is very fixable, the rusted areas are small enough that I can cut mine up to make the patches. I'll post pics of it and as I repair it.
Posted: July 26, 2009, 4:23 pm
by Greg D
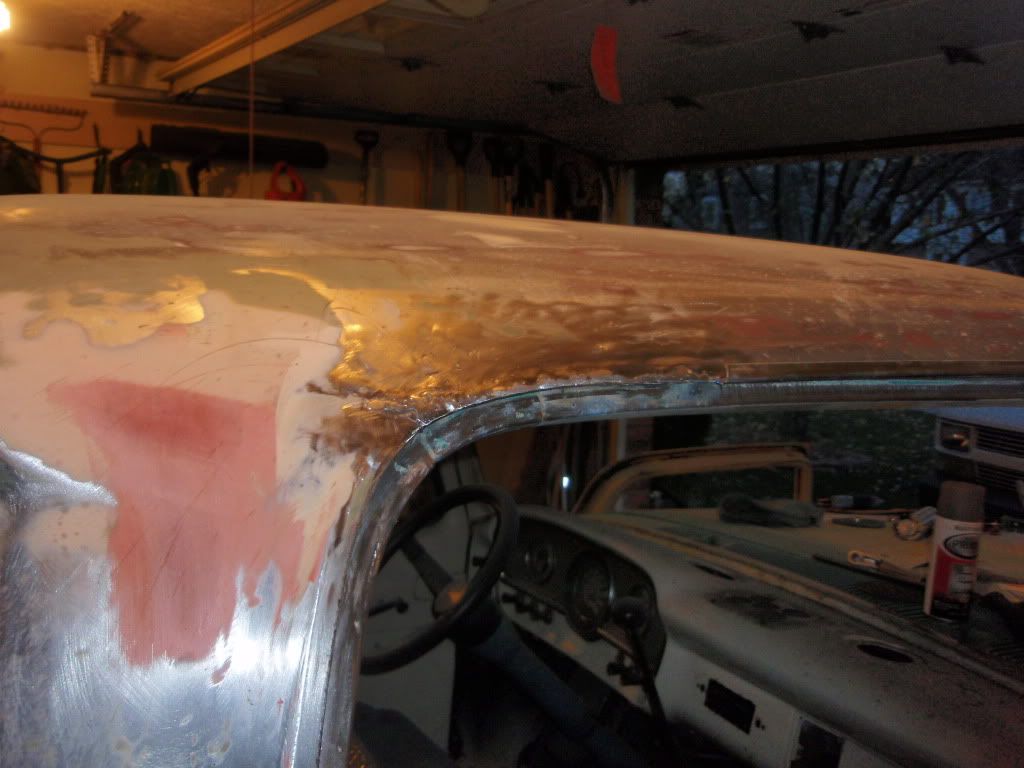
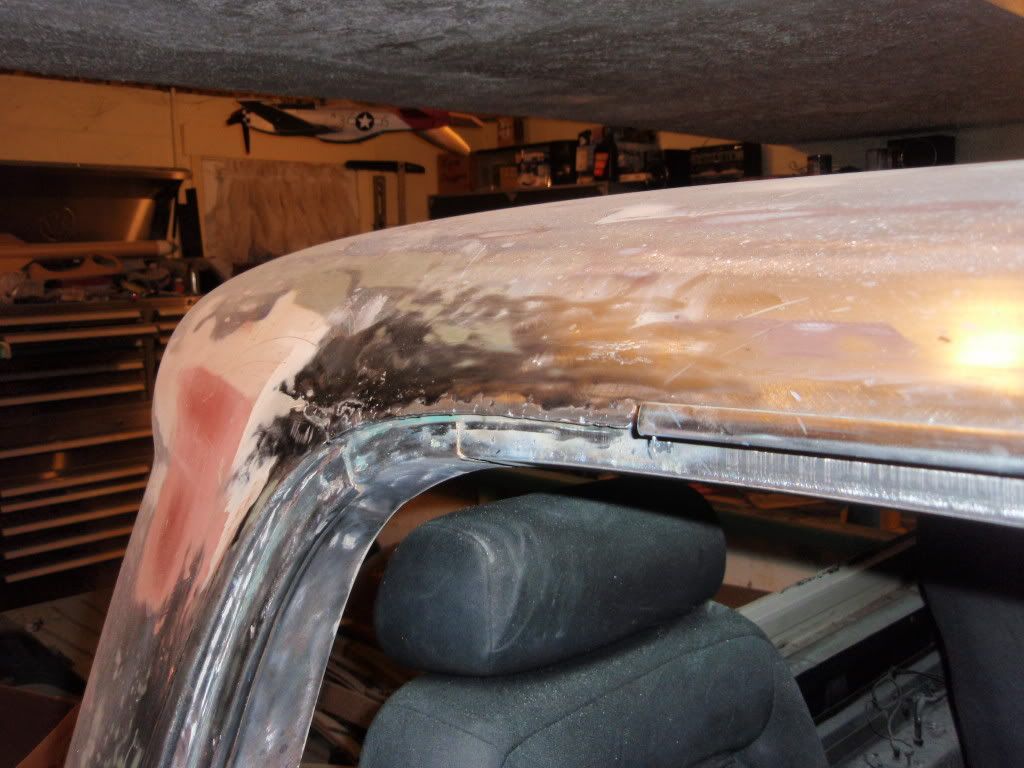
I have a few pics of the seam work on the roof.
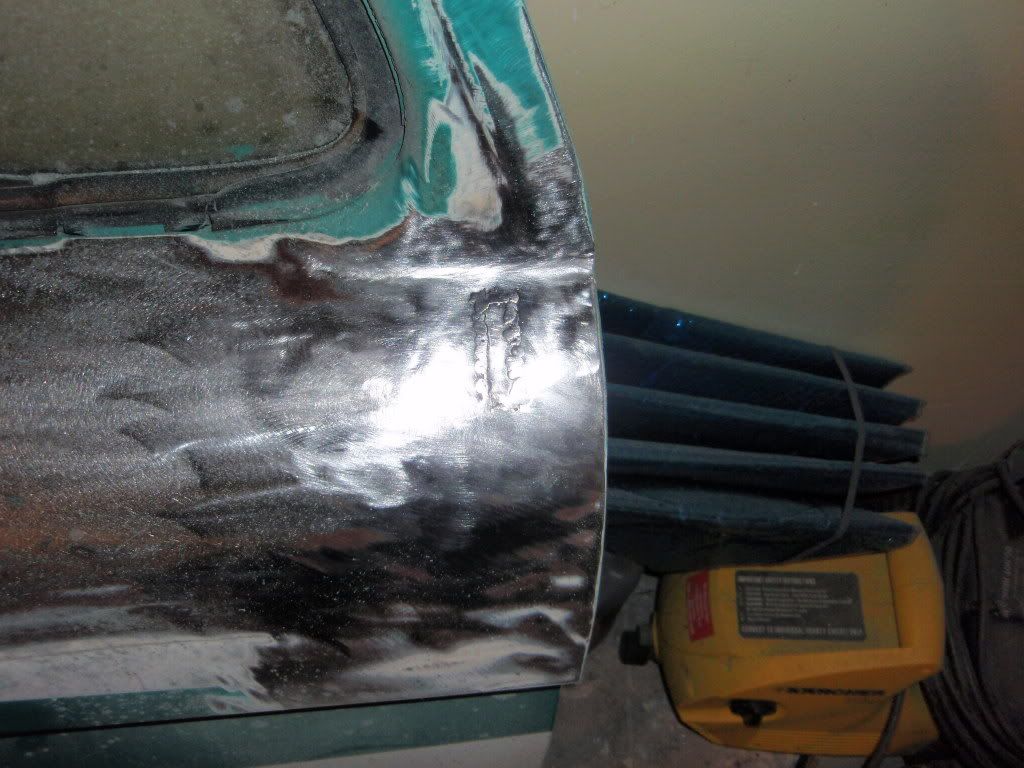
This is the initial coat of fill after welding the seam up first. I end up wasting alot of primer because I have to coat it til I can work on it again, I have enough rust to fix, lol. I really wish I could leave it inside at times like this.
Lots of blocking left to do, 1 -2 more coats of filler. I will probably have to do some more hammer & dolly work on the drivers side about 1/4 to 1/3 of the way across. The panel alignment was pretty bad at the back. The door edge of the pillar was so good I didn't want to cut it loose and move it for a better fit. I'll get it there though.
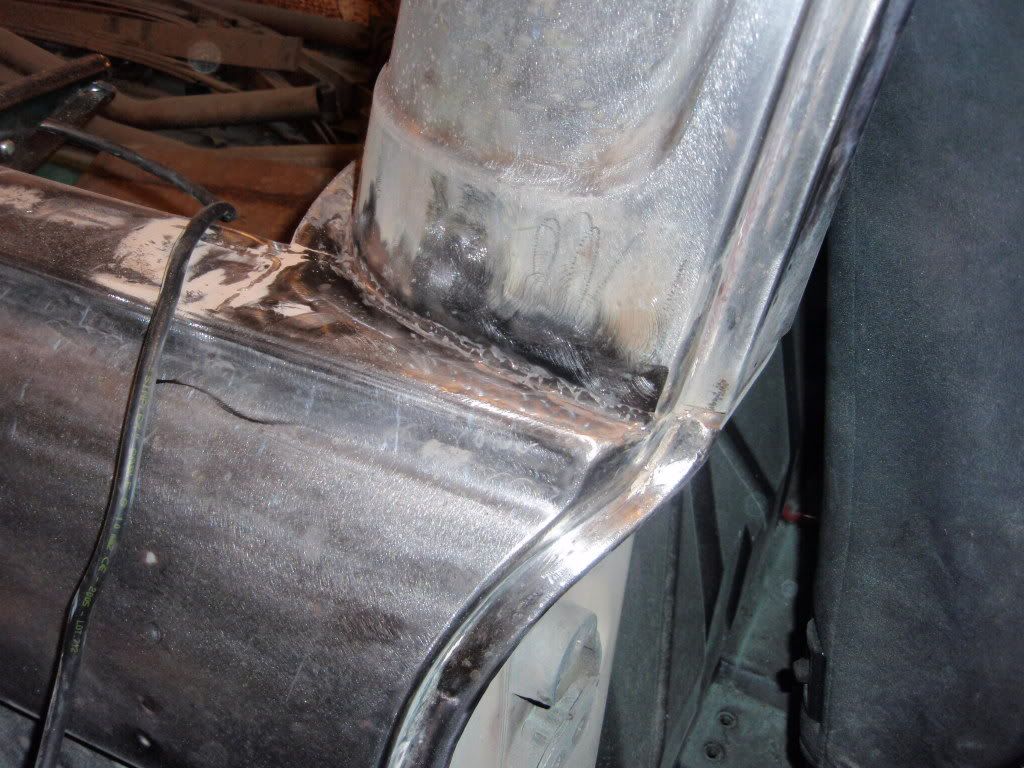
The sides of the pillars look pretty good so far. On the passenger side I did have to cut up under the cap, work it in, tack and then fill weld about 1/2 way back from the drip rail. The roof cap hung over the pillar over 1/8 of an inch, gotta love hammers & dollies!
I have 3 dings across the top to fix (not bad ones) and the one right on the corner of the passenger side where it meets the pillar, the is also one on the drivers side pillar about 1/3 of the way up that needs fixed. I still have to clean the drip rial up good and reseal it, and strip the front 2/3s of the roof, going all the way to metal. The paint is too bad on the truck to not take it down.
If I can get a whole weekend in on it next week I should have the roof done. It'll probably take me another 3 - 4 hours just across the back though to make it look right. It of coarse doesn't help that it's hot enough out that my working time on my fill is pretty short.


Posted: July 26, 2009, 4:40 pm
by ABA
I always wondered if welding the seams could be done. Uni's don't have that seam down the side of the bed do they?
We all know how bad they rust out.
You Mig or Tig the seam?
I'd have to stand the truck on it's nose to do a decent job.
Nice thread Greg.

Posted: July 26, 2009, 5:12 pm
by Greg D
Thanks,
still alot more to do to make it look right.
Uni's don't have the horizontal seam down the bed side but still have the vertical seam at the extensions.
I actually stick welded the whole thing with 1/16 rod - slow & tedious. I will also be filling the bed seams and the stake pockets. I'll probably have to fill in the front corners of the bed too so my cover will fit.
Posted: July 26, 2009, 8:17 pm
by 65_Slick
Greg
Looking good!
I hope my side trip gets sold soon so I can get back to work on my 65!
Have fun!
Marty
Posted: July 26, 2009, 9:12 pm
by racer10j
Looking good Greg.
Posted: July 26, 2009, 9:41 pm
by randyr
Greg D wrote:Well I started welding up the seam around the top of the roof. I also was checking around the drip rail to see how the panels would line up if I shaved the drip rail - looks doable on this truck. I'll take some pics after I get enough done to show it off. It's a pretty slow job and if you intend to try it be warned - there are spots where the stampings leave the metal pretty thin.
I've never seen a slick with shaved drip rails. Do you know of any pics? I'm curious how they look.
Thanks.
Posted: July 27, 2009, 4:10 pm
by ABA
randyr wrote:
I've never seen a slick with shaved drip rails. Do you know of any pics? I'm curious how they look.
Thanks.
Here's one on e-bay...wish the pictures were larger...is a nice lookin' truck and I like what they did with the front turn signals.
http://cgi.ebay.com/ebaymotors/ws/eBayI ... AUS%3A1123
Posted: July 27, 2009, 7:32 pm
by randyr
ABA wrote:randyr wrote:
I've never seen a slick with shaved drip rails. Do you know of any pics? I'm curious how they look.
Thanks.
Here's one on e-bay...wish the pictures were larger...is a nice lookin' truck and I like what they did with the front turn signals.
http://cgi.ebay.com/ebaymotors/ws/eBayI ... AUS%3A1123
Thanks for the link ABA. The truck does look nicely done but there are several things about it I would have done differently too. I'm not sure if I like the shaved drip rails on a 66 either. I think it would look good on the 61-63ish with the lower roof but something about that extra 1.5 inches of height on the 65-66 just looks a little thick with the shaved rails. Maybe it's just me! LOL! Thanks again for the link tho.
Randy
Posted: August 29, 2009, 5:09 pm
by Greg D
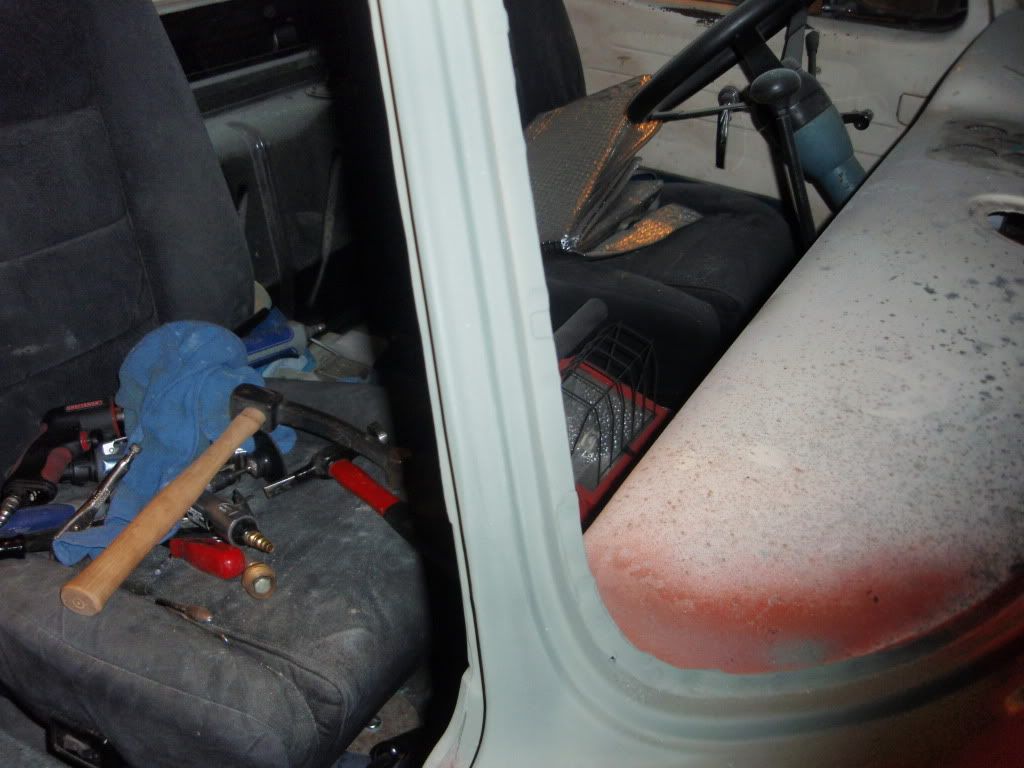
Some of you have seen and some have seen me discuss my fabbed cab mounts. They were basically a piece of 2x3 mild steel tubing which I was going to gusset in the floor & rocker. You can see where the rubber insulator was on it.
Due to a visit from the city (10 days after I got the truck) I had to throw it together with them unfinished. I decided that before I mess around too much more with the body work I should likely get them finished. You can see the piece of 2x3 in the middle of it - this is the drivers side (the floor was sagging worse on that side so it's first).
The rest is 14 ga and 1/2 angle iron. It still needs a little cleanup before it goes back in but I thought I would share a couple pics while I took a break. I think it will be stout enough - weighs about 8 lbs, lol.


Posted: August 29, 2009, 6:23 pm
by Alan Mclennan

Due to a visit from the city!, so some nice neighbour dobbed you in!,

Pay backs are ba$tard`s!
Posted: August 30, 2009, 3:14 am
by DCarr
Nice work,Greg!

Posted: October 11, 2009, 3:31 pm
by Greg D
OK, minor update (sorry no pics at the moment).
I got the rocker that blew up on me after the cab mount was in repaired - yes I had to cut it all out and basically do it over, lol. This time it has rosette welds ALL the way around - don't think it's going anywhere, lol.
I put the ol girl in the garage yesterday and let her dry off (if I had put her in there Friday night wouldn't have gotten covered with snow).
I started stripping the paint and have gotten the roof done. I used a fibre disc (3M Sandblaster) and have the whole roof naked now. I had to go through 1. the Aqua Rustoleum I sprayed on, 2 the repaints it had at least 10 - 15 years ago (which I think may have been sprayed unthinned with a house paint pump, lol), but I went easy enough to where I was able to finish into the factory primer with 80 grit on my DA.
It's probably going to take me a few days to get the seam cleaned out between the roof and the bed rail. The sealer was corrupted and there is some surface rust in there - old dried out sealer isn't the easiest stuff to remove either, lol.
The truck may be getting a different paint job this time. Still Scallops but done different and in different colors.
Posted: October 18, 2009, 7:48 pm
by Greg D
More work today, cleaning off more paint. Removed the passenger door. Got the windshield & the back window out and got the pinch welds cleaned up. I need to get some pics here pretty soon too for this thread. Not a bunch of excitement - mostly going to be more of the same for quite awhile now.
Posted: November 8, 2009, 11:30 pm
by twistedfreak
looks good greg