Page 1 of 1
PurpleFlyingMonkey electric window upgrade
Posted: February 2, 2014, 5:34 pm
by Uncle Skip
Daryl and I just finished the upgrade and it is sooooo easy. But I have two observations.
1. The replacement electric motors will NOT work because the plastic case is to big to fit in the restricted area where the motor goes even with the V-cut.
The gear pivot has to center where the old hand crank comes out and the plastic motor will not fit. This is what it should look like.
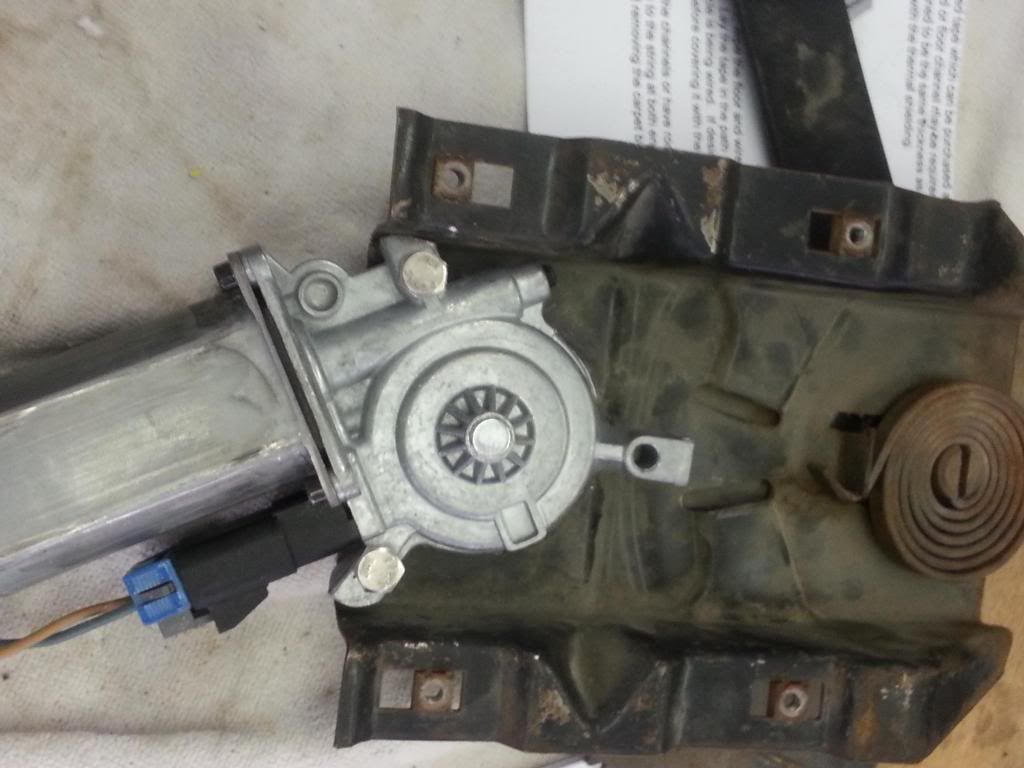
2. It is cheaper (at least in Houston) and better to buy new motors from someplace like EBay so you can make sure they run. By the time we spent an hour pulling the used units out for the Saturn, paid for the motors, the environmental fees, and core charges the new ones were half what we paid for the used units. This is a shot of the V-cut you have to make so the motor case will clear the regulator bracket.
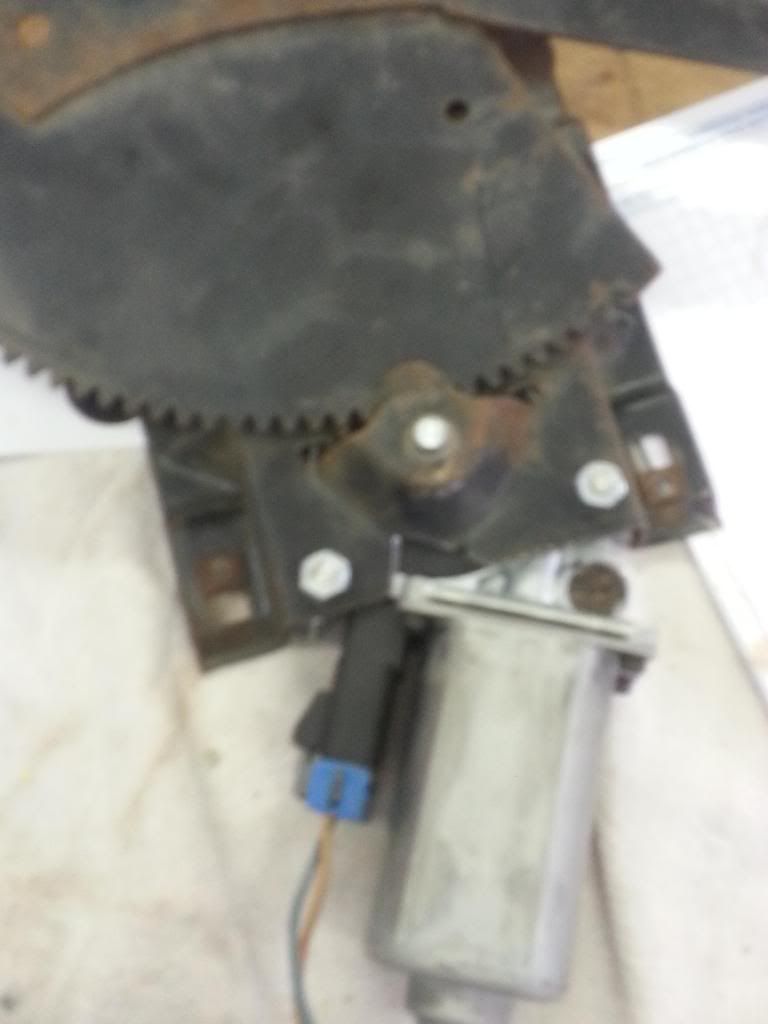
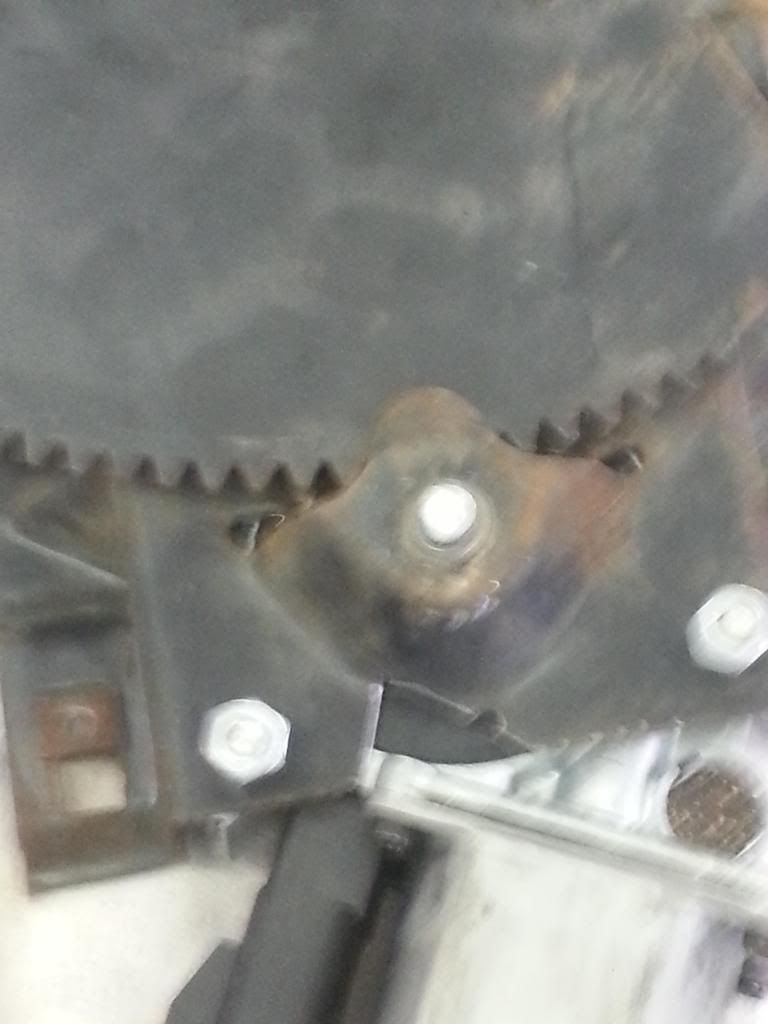
If you want electric windows, this is the way to get'er done. Good luck.
Re: PurpleFlyingMonkey electric window upgrade
Posted: February 2, 2014, 5:37 pm
by Uncle Skip
Oh yeah, I forgot to tell you. Look at the case corners where the mounting bolts are. We had to flatten the corners so the motor case would center in the bracket properly and you can see where I had to grind them off to fit.
It was easier than making two more cutouts in the frame.
Re: PurpleFlyingMonkey electric window upgrade
Posted: February 8, 2014, 7:45 pm
by Uncle Skip
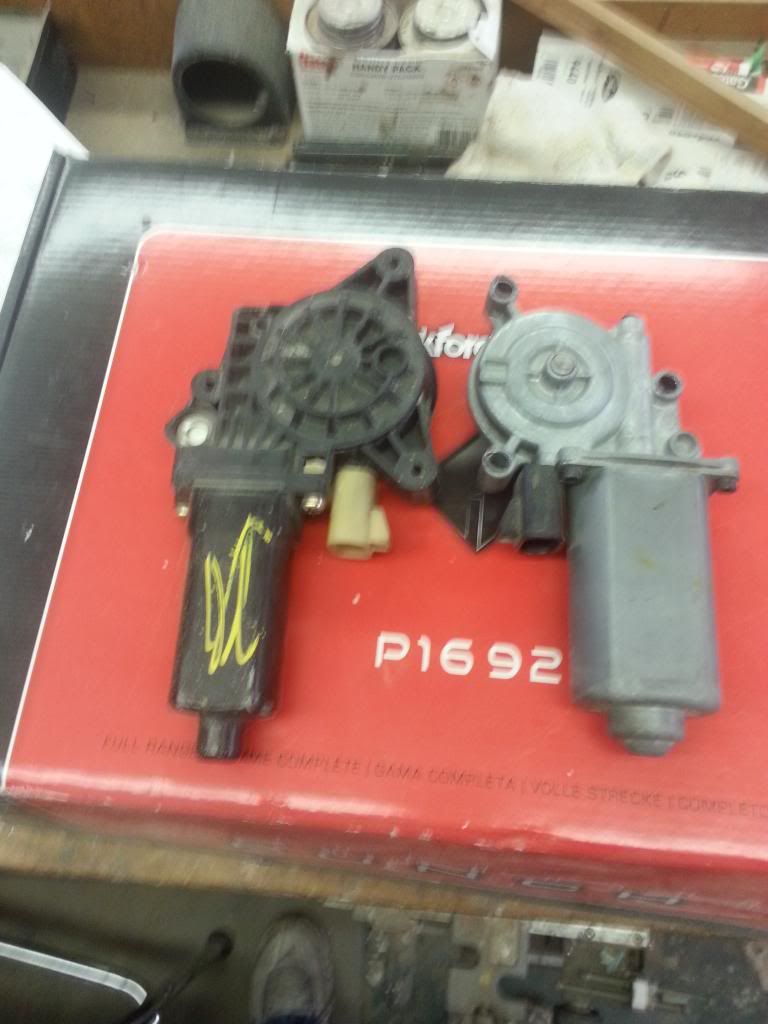
Guys, here is the difference between the original metal case motors and the replacement plastic motors. You can plainly see why the replacements won't work.
But I also found another difference in the metal case motors.
The motor shaft in the metal case motors that the gear mounts on can be different in length. That is, one is very short and doesn't mount in the window register properly. I don't have a picture, but trust me. Look for a motor with a long tit on the gear shaft. The above pictures show where that shaft comes thru the old mount. Longer is better.
FYI, the one on the left is the replacement that won't work.
Re: PurpleFlyingMonkey electric window upgrade
Posted: February 10, 2014, 11:57 am
by PFM-64f100
Some useful links for this thread.
Power windows info
http://www.purpleflyingmonkey.com/1964- ... indow.html
JunkYard relays - How I wired my Motors using 2 relays
viewtopic.php?f=5&t=25525&p=223819&hilit=window#p223819
Crank Swithc Power Window Conversion - by WrongBedDave (I so want to try this.. and will one day)
viewtopic.php?f=5&t=29885&p=255114&hili ... ow#p254057
Re: PurpleFlyingMonkey electric window upgrade
Posted: February 10, 2014, 7:22 pm
by kstones63
Crap,
I guess that I had better go out and check the ones that we bought for Nick's truck. We found a set for $20 for the pair and when we got them out I saw that they were the plastic ones. If the shaft on his are the right length, I hope that I can make them work.
I should have known better because I knew that my original ones were the metal case but I forgot.
Kevin
Re: PurpleFlyingMonkey electric window upgrade
Posted: February 15, 2014, 9:06 pm
by Uncle Skip
Kevin. Another thing is the centering of the motor shaft in the old window register hole. The motor shaft us smaller than the mechanical crank and gear. I used a plastic straw as a bushing to make everything center up. Actually, I think you could leave the plastic in the hole as a bushing.
Re: PurpleFlyingMonkey electric window upgrade
Posted: February 17, 2014, 7:32 pm
by kstones63
Uncle Skip wrote:Kevin. Another thing is the centering of the motor shaft in the old window register hole. The motor shaft us smaller than the mechanical crank and gear. I used a plastic straw as a bushing to make everything center up. Actually, I think you could leave the plastic in the hole as a bushing.
I remember that when I made my original ones. I put a bushing in it someway but I don't remember what I did then.
This is how I am fixing that problem now.
Drill out the original bushing with a letter U drill bit(.368) This will give a 3/8"O.D X 1/4" I.D. bronze bushing a good press fit. I put red Loctite on the bushing before I pressed it in.
Then drill out the bronze bushing with a letter O drill bit (.316) and that should give a perfect fit for the guide on the gear.
I am still going to try and make the 1 plastic gear case work. I will post pics when I get done. The metal gear case is definitely easier but I think that I can make the plastic work.
Kevin
Re: PurpleFlyingMonkey electric window upgrade
Posted: February 22, 2014, 10:19 pm
by kstones63
I made the plastic case motor work. I would suggest to try and find the metal case motors because it is a lot easier to do. I had to cut the one side of the regulator for the mounting tab to clear and then weld in a piece to reinforce what I cut out.
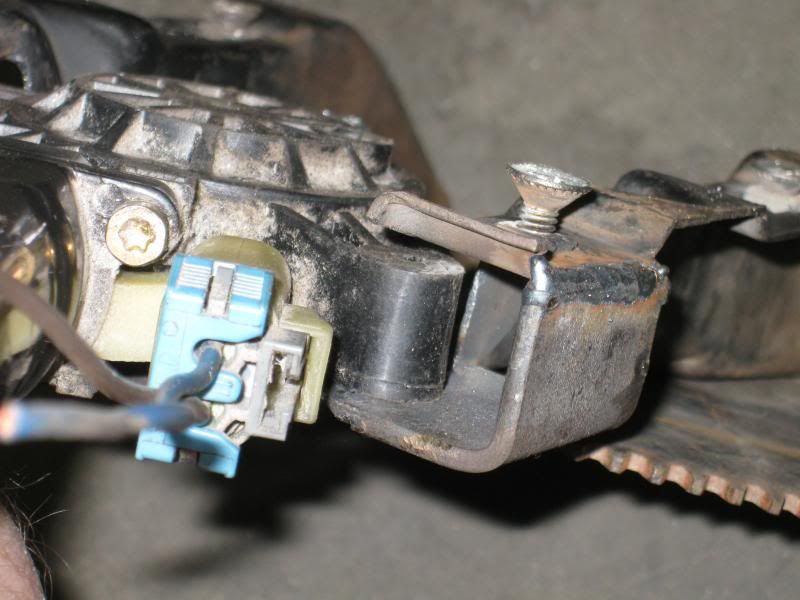
On the opposite side I had to cut a whole in the side for clearance of the case.
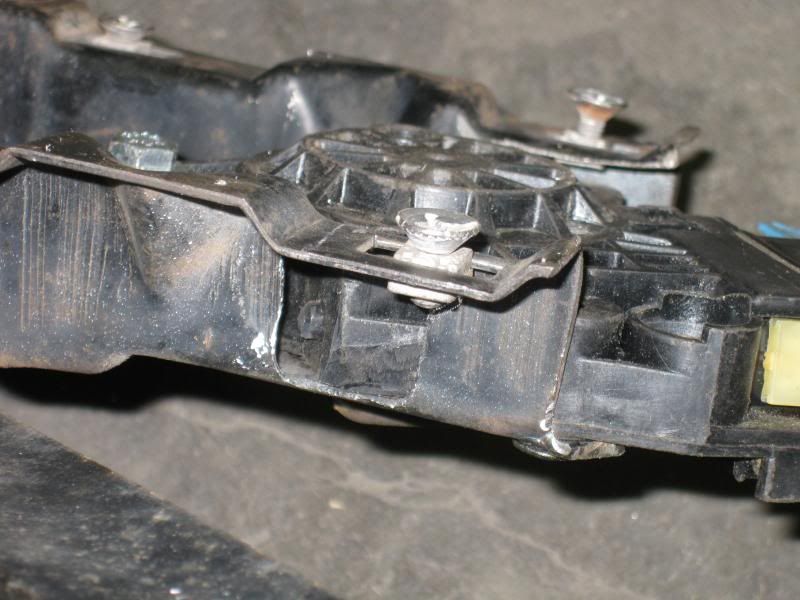
I had to weld a tab on the top of the regulator for one of the mounting holes.
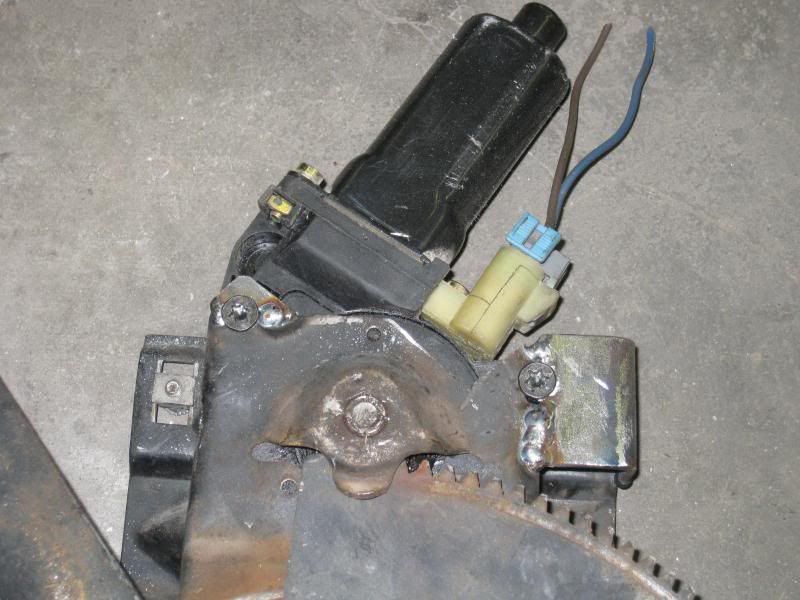
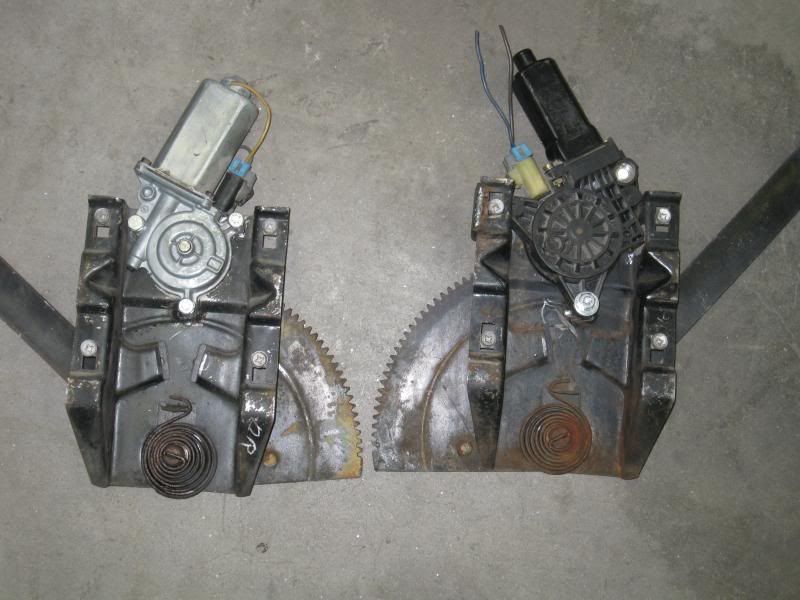
The motor is mounted but the only draw back to doing this is that you basically are stuck with the plastic case motors without having to do a lot of modifications again.
Re: PurpleFlyingMonkey electric window upgrade
Posted: February 2, 2015, 2:35 pm
by pcola60
I did this mod on my 61. Works great. Thanks
Re: PurpleFlyingMonkey electric window upgrade
Posted: June 14, 2015, 5:13 pm
by pcola60
This mod works great . I put them in my 61 and they are working the way power windows should. Thanks to all your help.


