Page 12 of 20

Re: PFM's 65 Crew Cab F250

Posted: January 22, 2012, 4:46 pm
by PFM-64f100
Very nice day around here. it is about 78 outside a bit windy (15-20mph) but all in all a good day to lay some paint. Buff primer I think the rock guard and grill will be finished before the hood will be but that is ok more parts on the truck if that happens. Now time to do something else on the truck the list keeps getting shorter so does the clock. :)

Image

Image

Image

Re: PFM's 65 Crew Cab F250

Posted: January 22, 2012, 5:45 pm
by Brian Taylor
Good to see you laying down some more paint. If weather, weekends and boy scouts hold out you can get a lot more knocked out.
BT

Re: PFM's 65 Crew Cab F250

Posted: January 29, 2012, 7:22 pm
by PFM-64f100
Another part painted... :) Soon I will mount it and maybe even a bumper.. Wait a bumper.. :shock:

Image

Re: PFM's 65 Crew Cab F250

Posted: January 30, 2012, 9:20 pm
by PFM-64f100
Rock gaurd installed (mostly have to get one more more bolt in).. Bummper installed also but need to get some real bolts for it. :)

Image

Image

I had to remove one brack from the AC condenser because it interfered with the rock guard. Just a little grinder action on said bracket and all will be reinstalled. I also removed the honey combe to get it all installed easier. Hopefully I will get the grill ready soon, I just need a little bit more sanding and good weather to paint it. To bad I have to work tommorrow it's suppose to be 70 something. :( :)

One day I will replace this bumper and build my own front one but till then It is there.. :) I will get some better pictures later maybe when the grill is painted and installed. How many days left do I have? = hopefully enough.

Re: PFM's 65 Crew Cab F250

Posted: January 30, 2012, 10:18 pm
by MadMaxetc
Looking good. At least you are close...I am shooting for the 10y anniversary SS. (2014)

Re: PFM's 65 Crew Cab F250

Posted: February 5, 2012, 9:35 pm
by PFM-64f100
I got serveral things done this weekend. Saturday I got the front bumper fully mounted and got the hood latch mounted as well. Also finished up the honey combe and the routing of the ac lines at least the ones behind the grill.

Made a notch to help an AC hard line pass behind easier.
Image

Sunday I got to paint the grill. I sanded it then sealed it, sprayed white and cleared it. All in all not bad that white sure does hide some of the flaws.. :) Maybe I will get it on the truck tomorrow. hummmm

Pics below:

Grill Sealed:
Image

Grill painted and cleared
Image

Image

Re: PFM's 65 Crew Cab F250

Posted: February 5, 2012, 11:52 pm
by fire truck
nice!!

Re: PFM's 65 Crew Cab F250

Posted: February 8, 2012, 8:03 pm
by PFM-64f100
I finally got the grill mounted. Wow what a pain.. :) I still have to do about 6 or so bolts but it started getting cold so I will finsih those up this weekend.

I think it is starting to look like a truck again. I will try mounting head lights this weekend also, I got to speed things up don't have long.

Image

Image

Image

Re: PFM's 65 Crew Cab F250

Posted: February 8, 2012, 8:43 pm
by fire truck
nice! I love the 65 grill!

Re: PFM's 65 Crew Cab F250

Posted: February 9, 2012, 10:27 pm
by Shiny
Looking really good Chris! I am digging the two tone.
i gotta get working on my Crewlcab again soon...

-Shiny

Re: PFM's 65 Crew Cab F250

Posted: February 14, 2012, 10:05 am
by PFM-64f100
I was able to do some work this weekend. I recieved the floor from stockinteriors.com on friday so I figured that was a good thing to start on this weekend. Of course it was a cold weekend (at least for this area) so laying out the flooring wasn't as easy as a warm day but I got it layout. We have some good warm weather this week (70's) so that will help when I got to finish the install.

This is the pading/Jude that came with the flooring. it was nice had stuff pre cut but seemed a little short on both sides. ehh it works I guess. :)
Image

This is the stuff I ordered from Home Depot. This is the same stuff that is in this topic http://slick60s.com/viewtopic.php?f=1&t ... home+depot It looks to be about the same as the front stuff just got foil on top.
Image

Here is the prefit since it was cold out it was a bear to get in place but will have to finish it up next weekend.
Image


I also ordered a fan shroud for the radiator. Figured it couldn't hurt with the texas weather. I got it from
http://www.speedwaymotors.com/Electric- ... 43664.html after some slight modifications it fits good. Very easy to install for my setup. It even has some runners to fill up any gaps on the side. I don't have that picture. Still need to get some small bolts to mount this also a couple of fans.

Image

Image

That's all from this weekend. I am hoping to catch a warm weekend soon so I can pull the bed off the parts truck and get it ready for primer.. :)

Re: PFM's 65 Crew Cab F250

Posted: February 14, 2012, 9:56 pm
by Greg D
That looks great Chris!

Re: PFM's 65 Crew Cab F250

Posted: February 16, 2012, 5:44 pm
by fire truck
..and it keeps getting better.

Re: PFM's 65 Crew Cab F250

Posted: February 18, 2012, 1:20 pm
by 64shortbed
Coming along fine! Yours is one of the few trucks I would ever consider replacing my daily driver with! Beautifull color choice.

Re: PFM's 65 Crew Cab F250

Posted: February 26, 2012, 8:12 pm
by PFM-64f100
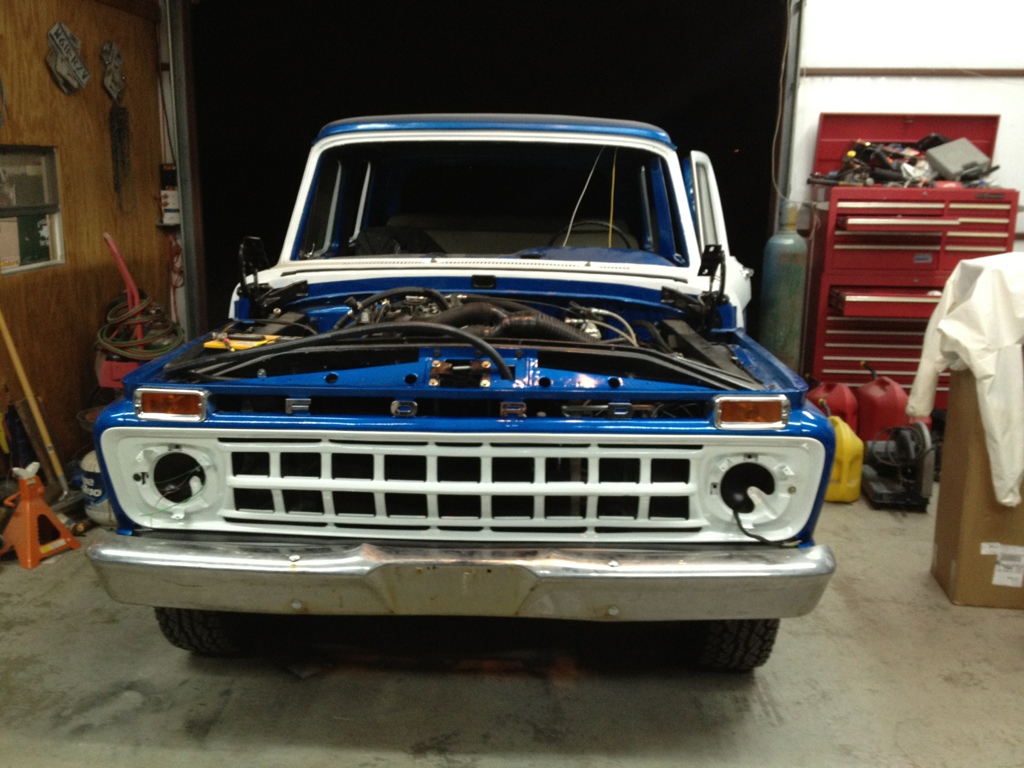
Some more updates from this weekend and last. I've been hard at work on the crew cab. :)

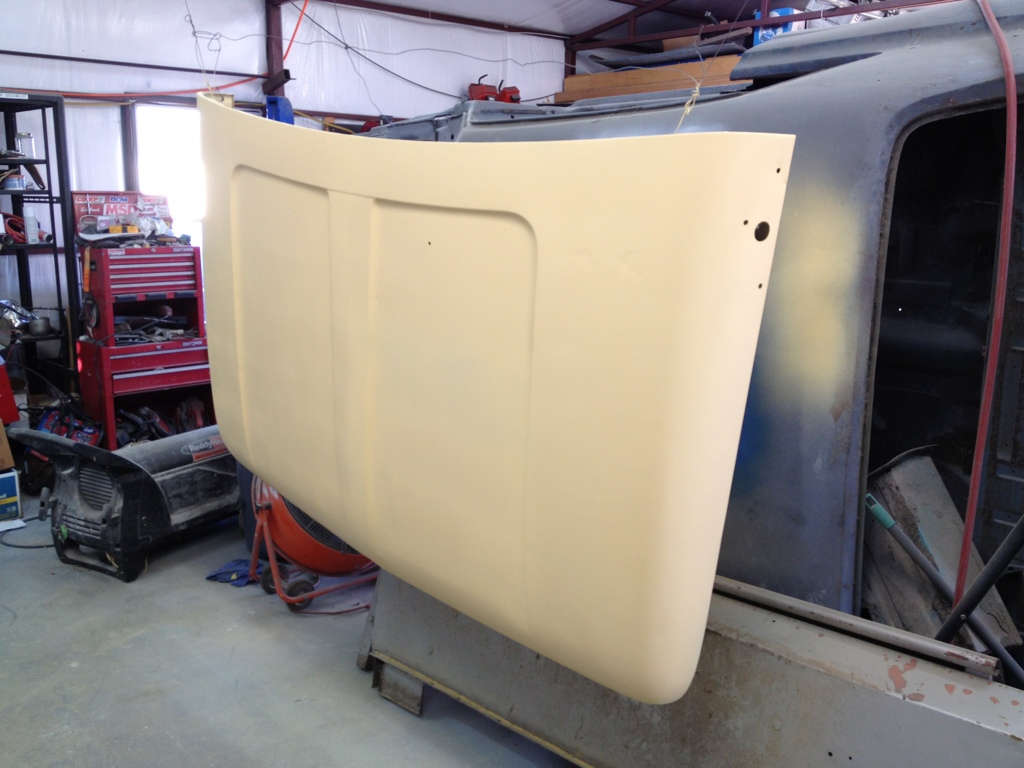
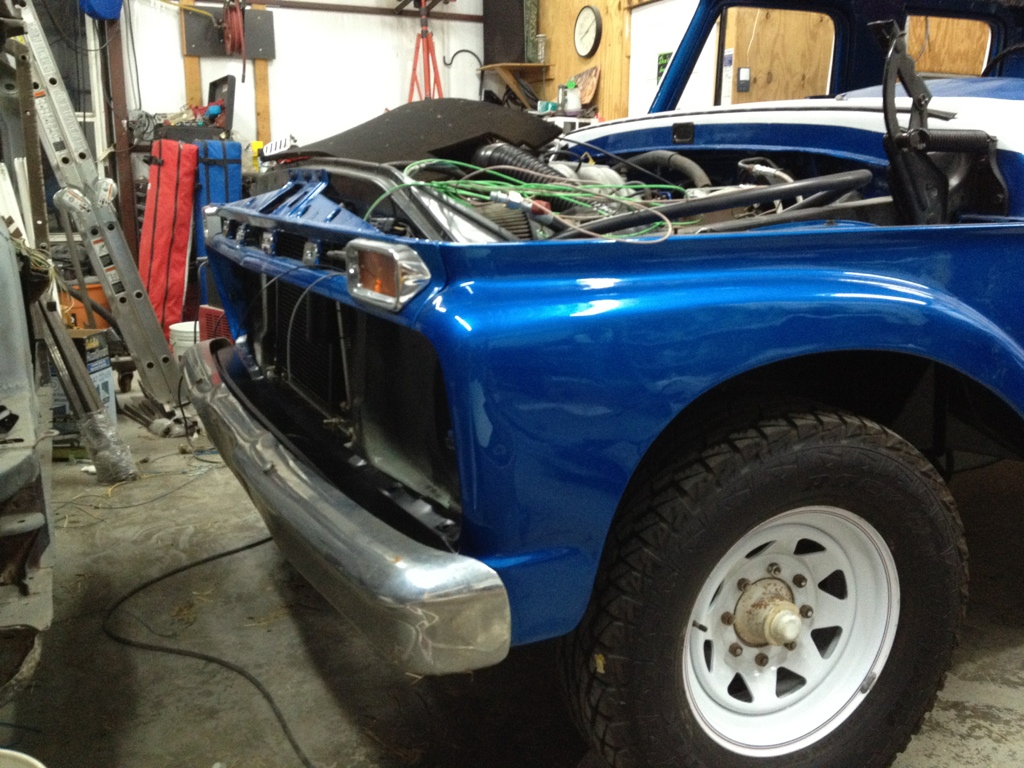
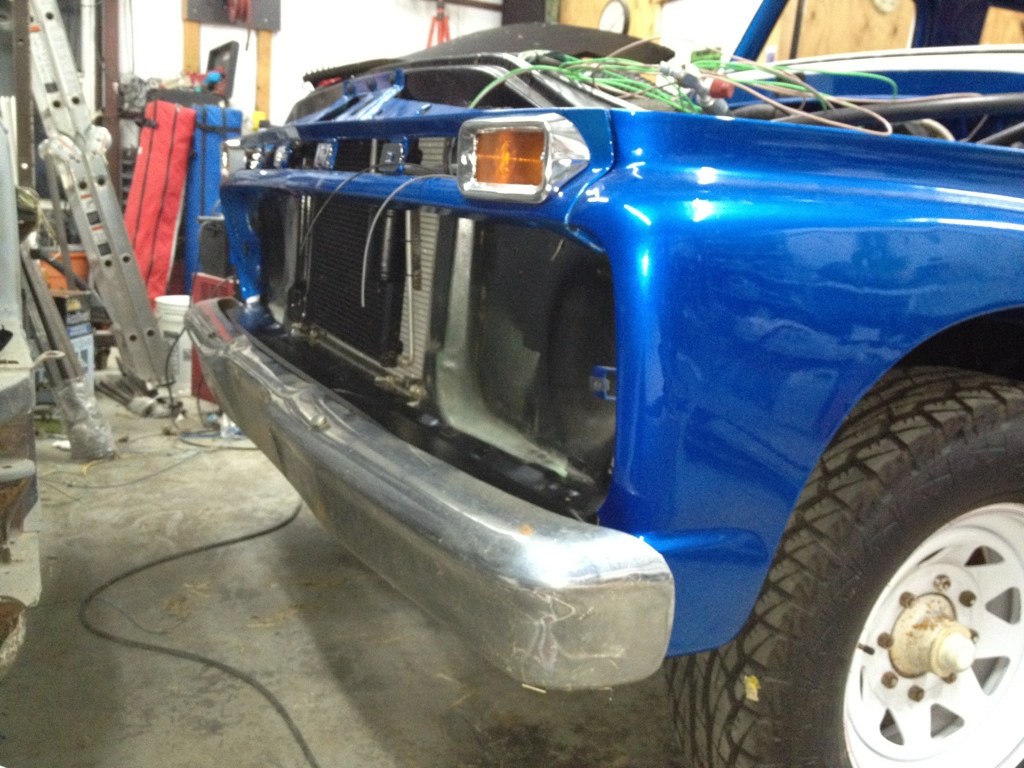
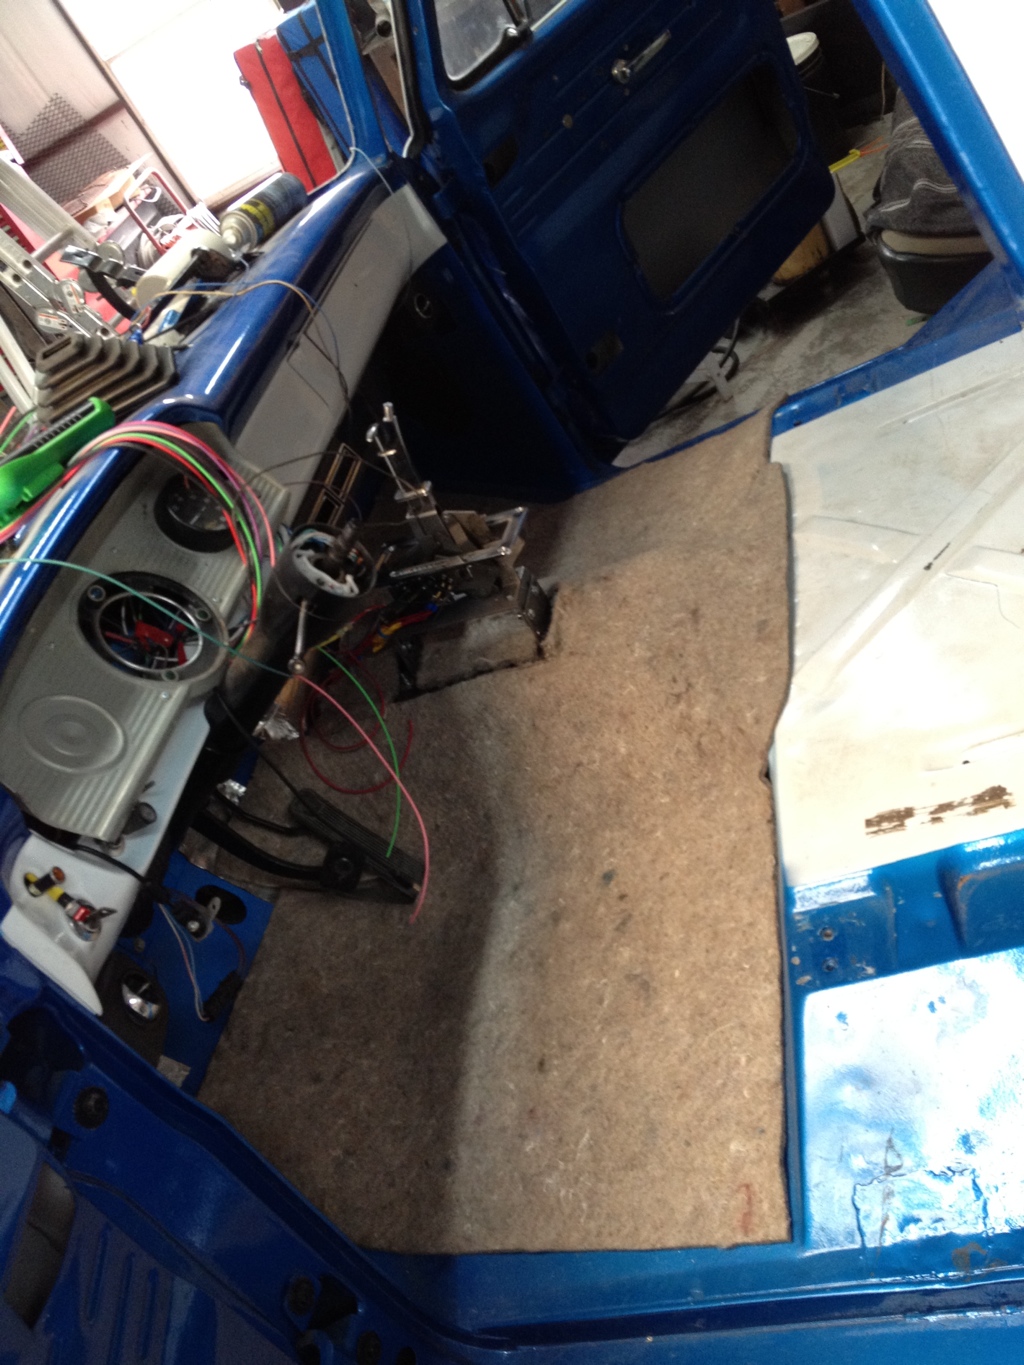
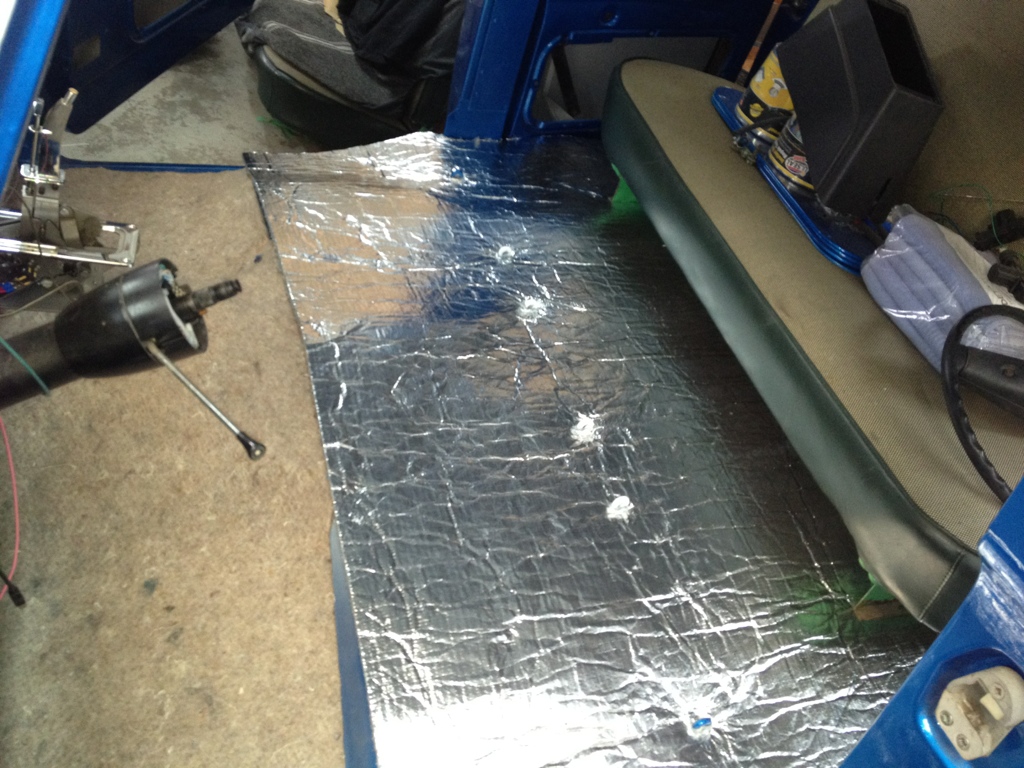
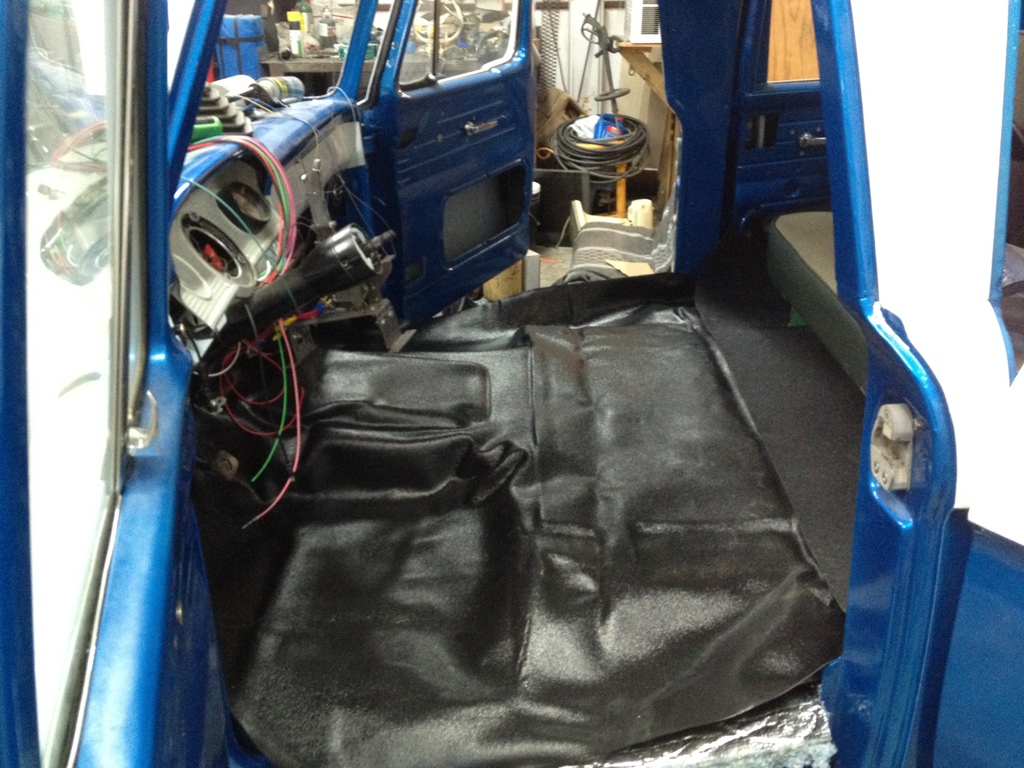
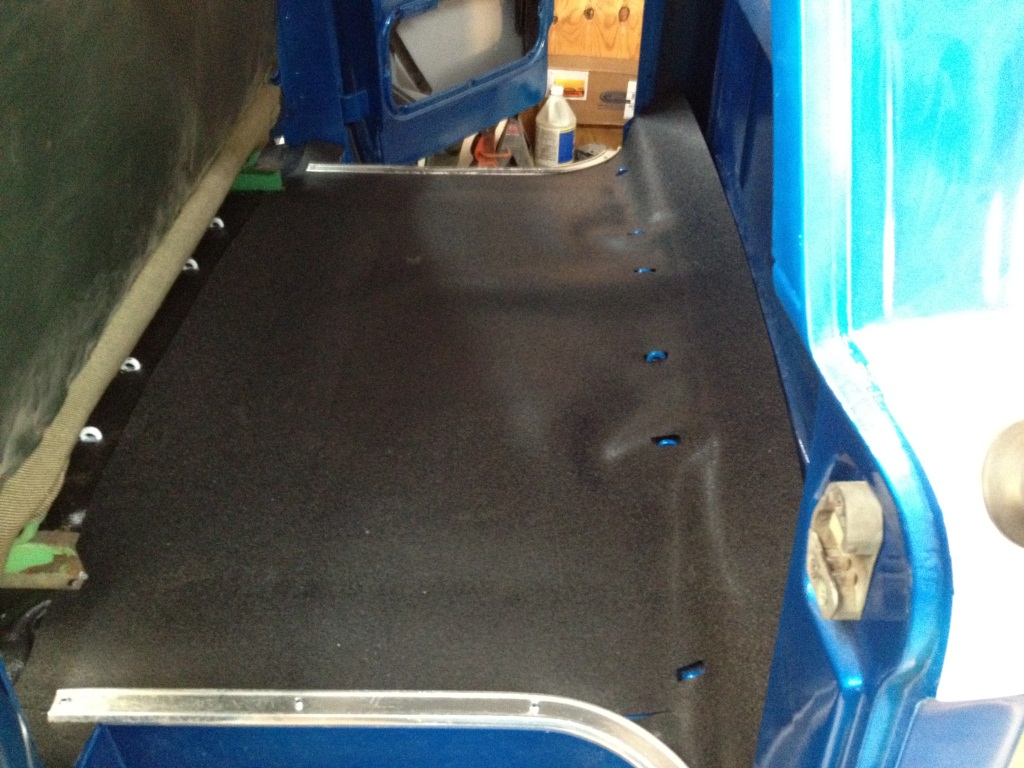
I finished up the vinyl install for the most part I still need to put the gas pedal back in and a couple of small things. I know there are some bumps/bubbles or whatever but that will be fixed in the next few months when temps start heading upwards.

Image

Image

Image

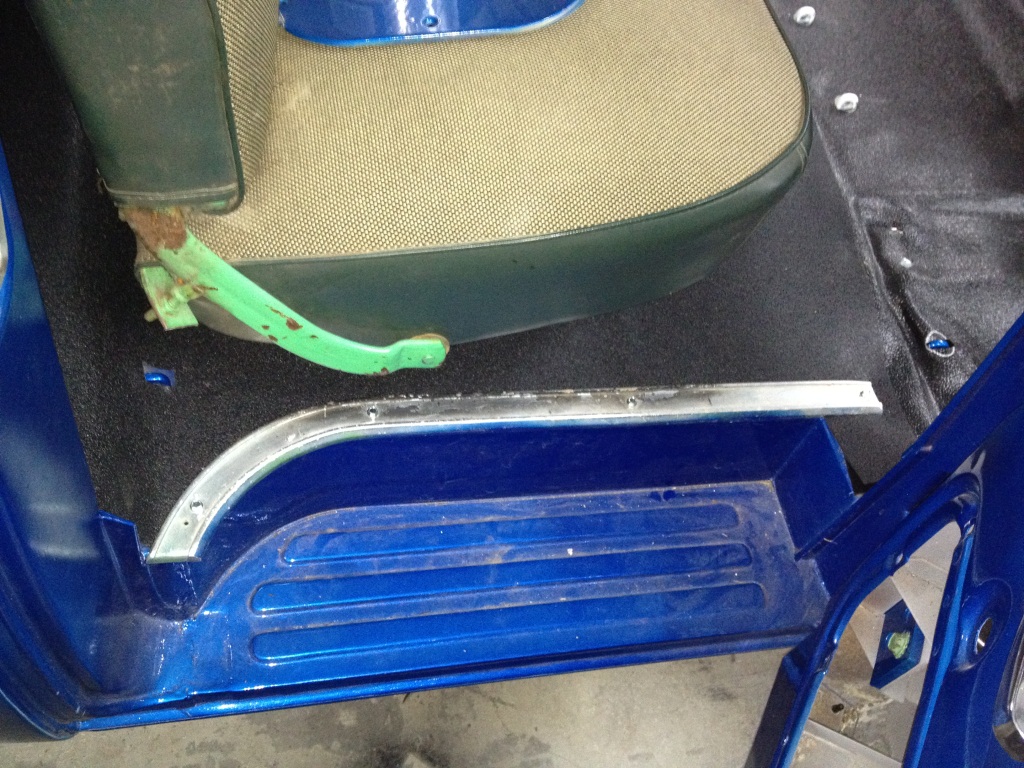
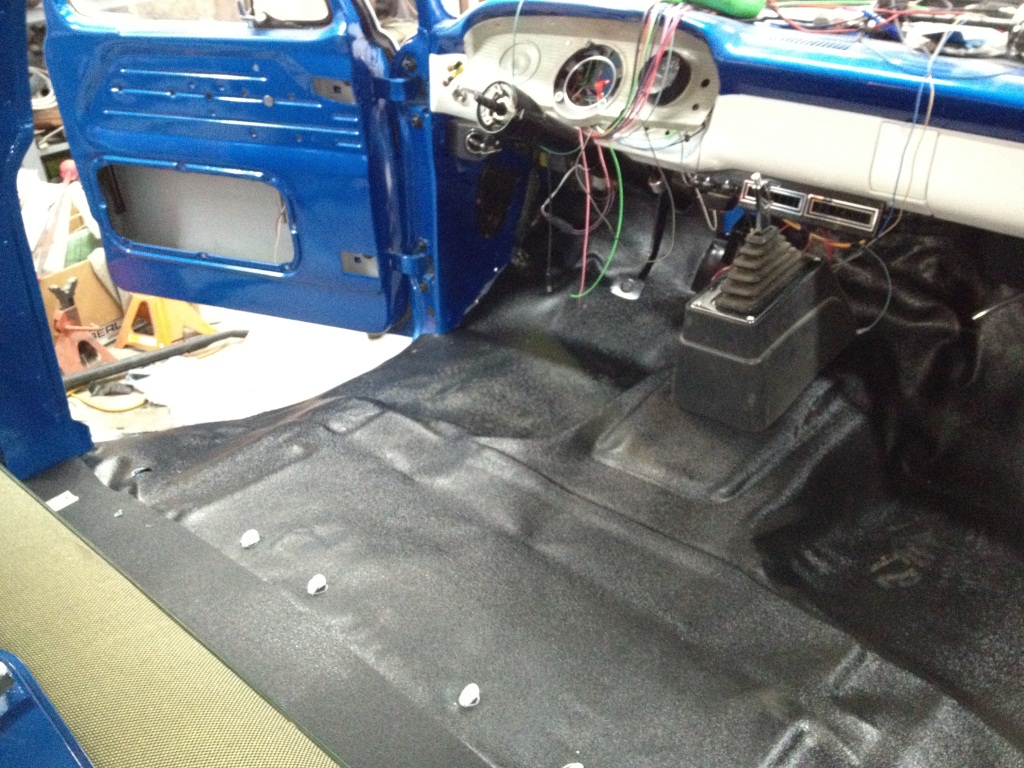
I did also get the front seat installed along with the shiny stuff at the edge but I guess I forgot to take a picture. Will do that next time I am out there. :)

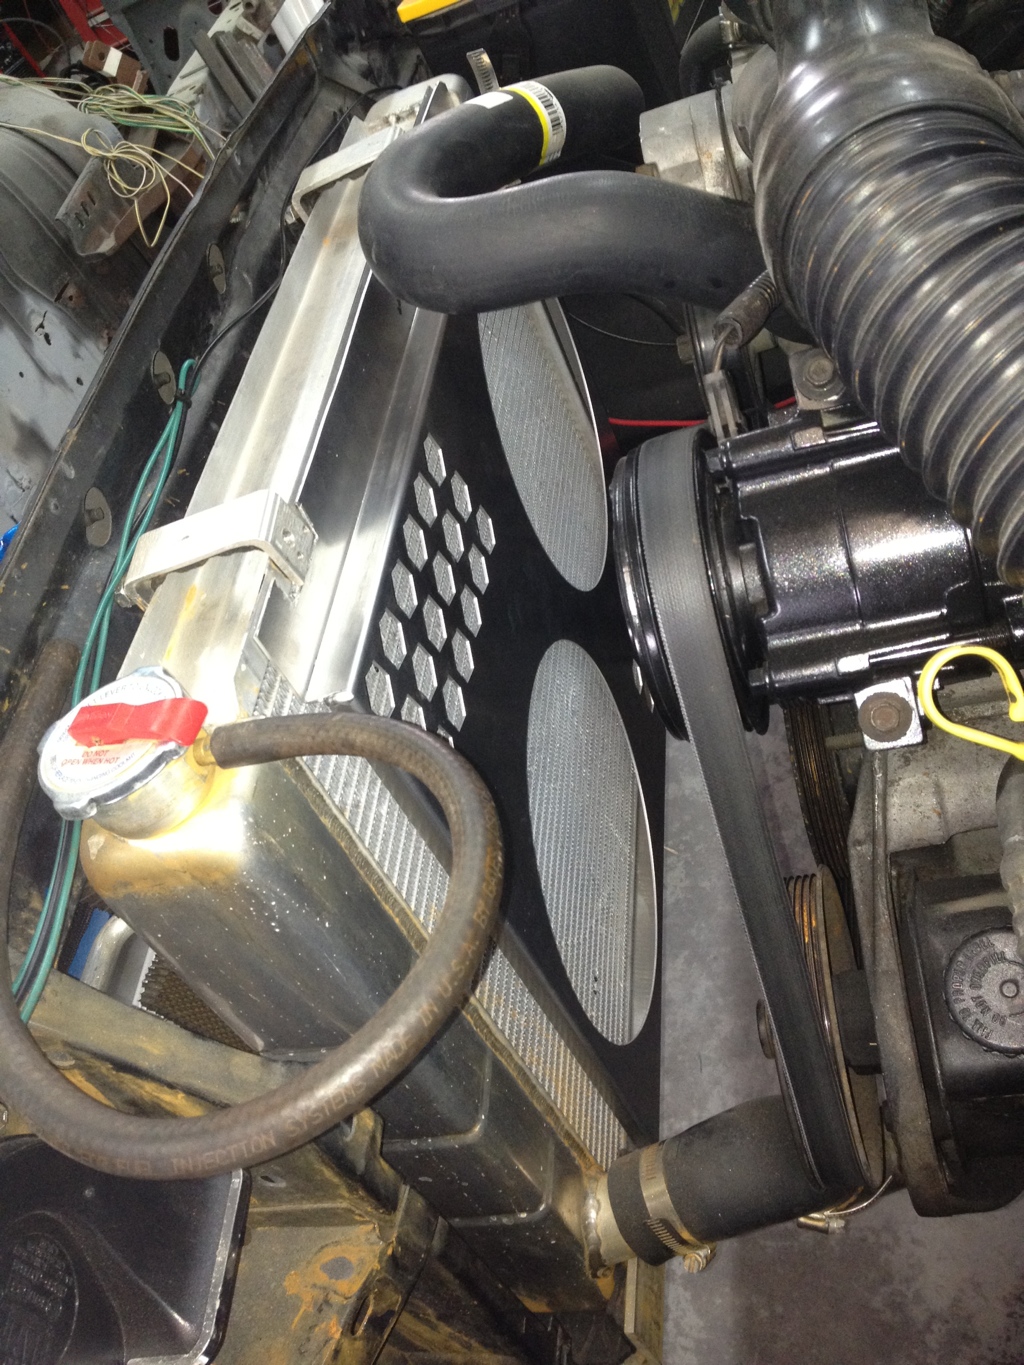
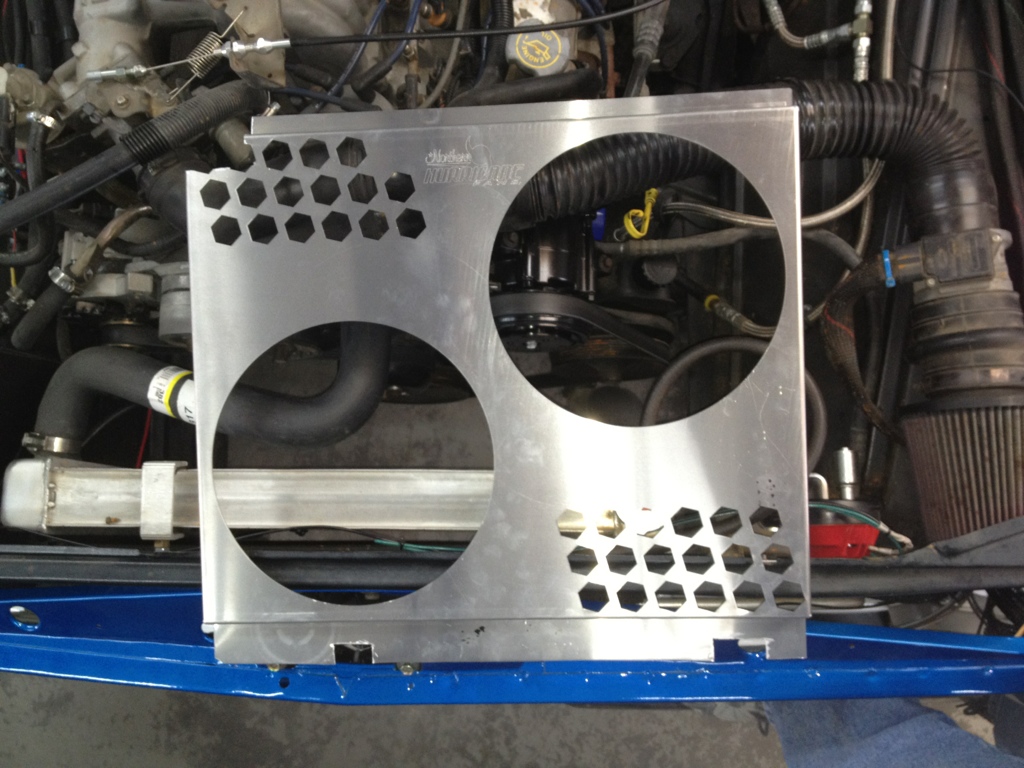
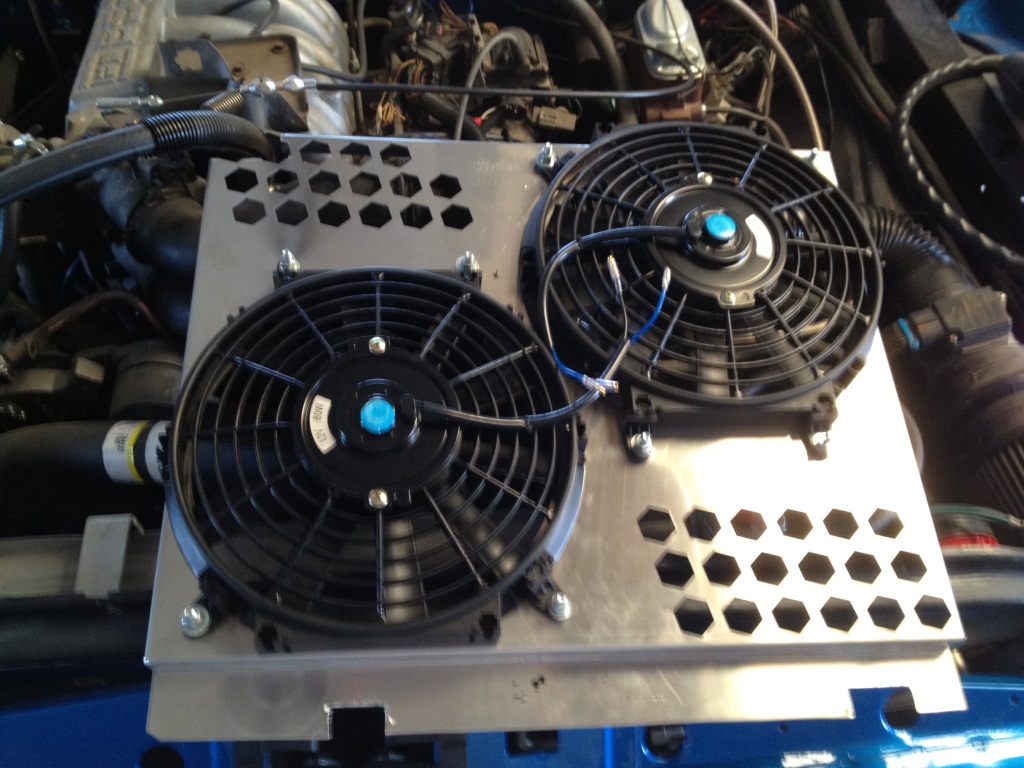
My radiator fans came in. got them mounted and mounted it to the radiator. Again forgot pictures.

Image

I went to the Decatur swap meet on Saturday and saw this tow truck. Way to high on price ($2995.00) and I didn't stay long when looking at it because I knew the answer would be no but I could of towed my car home with it. :) I was good I guess.

Image

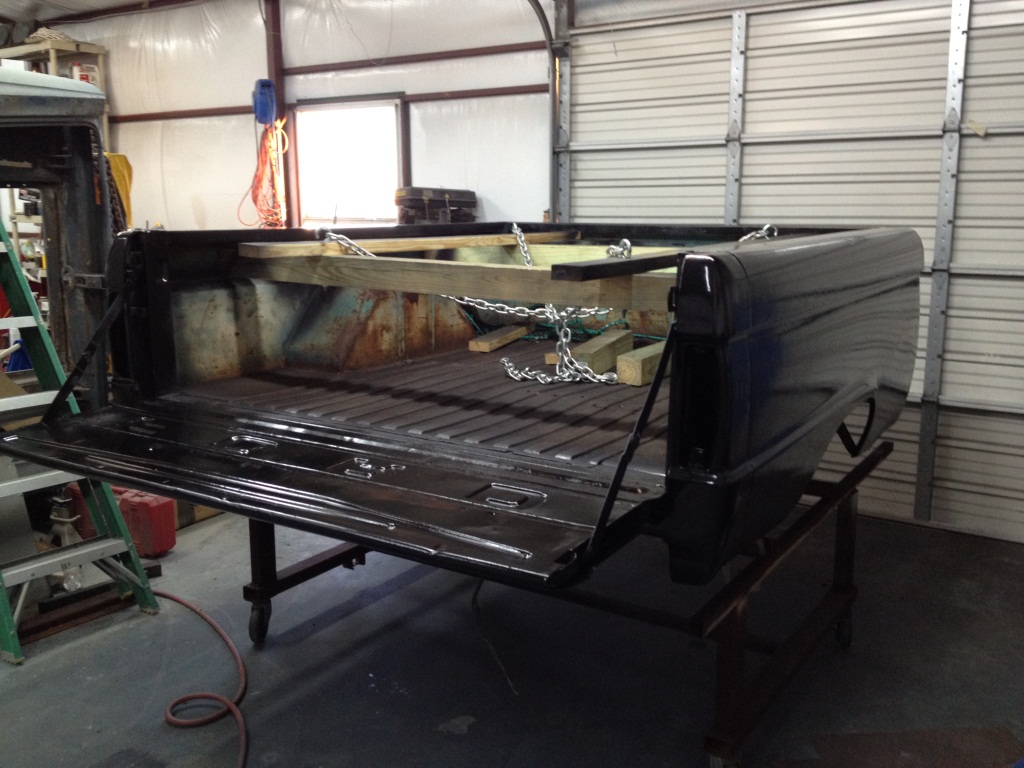
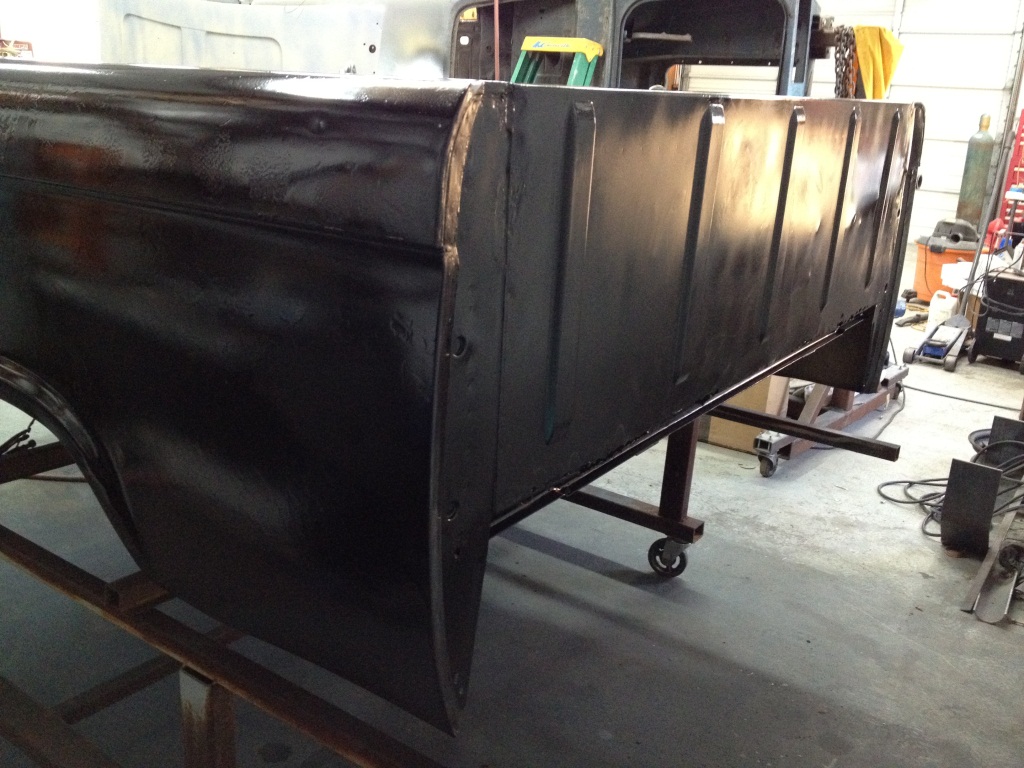
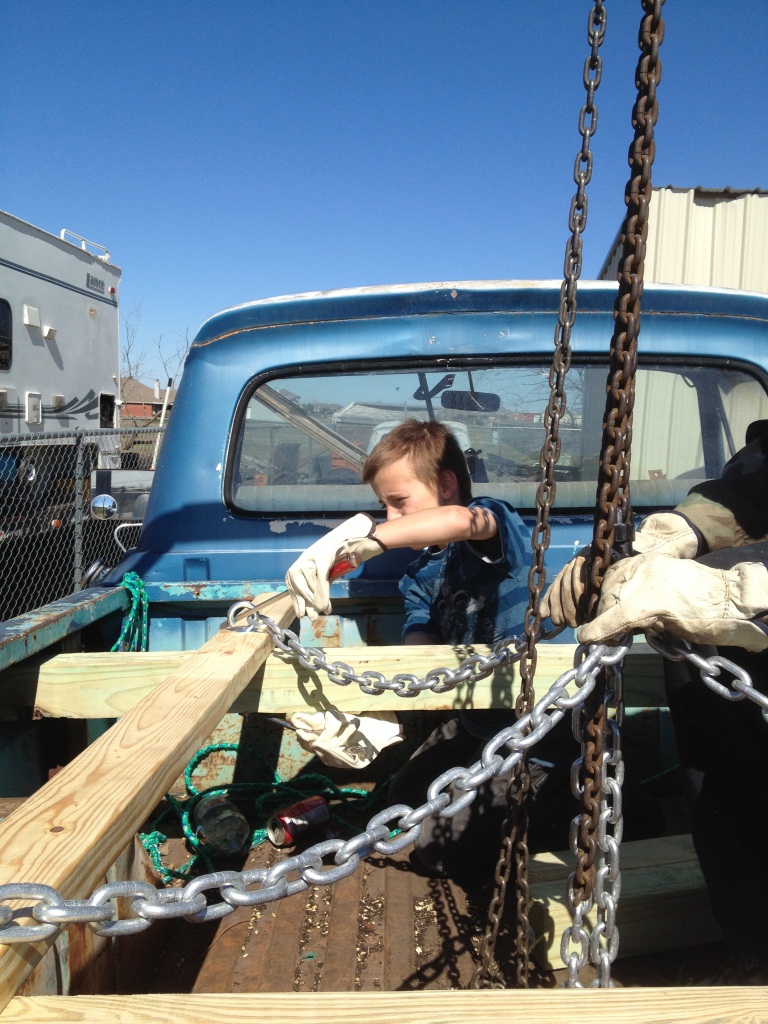
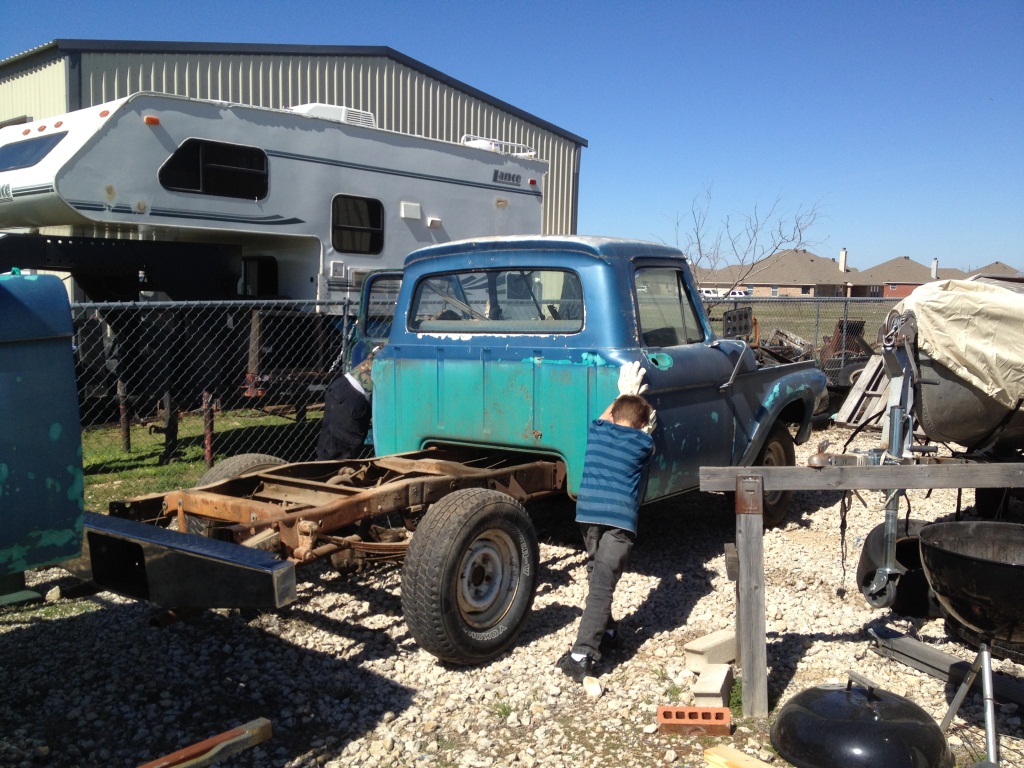
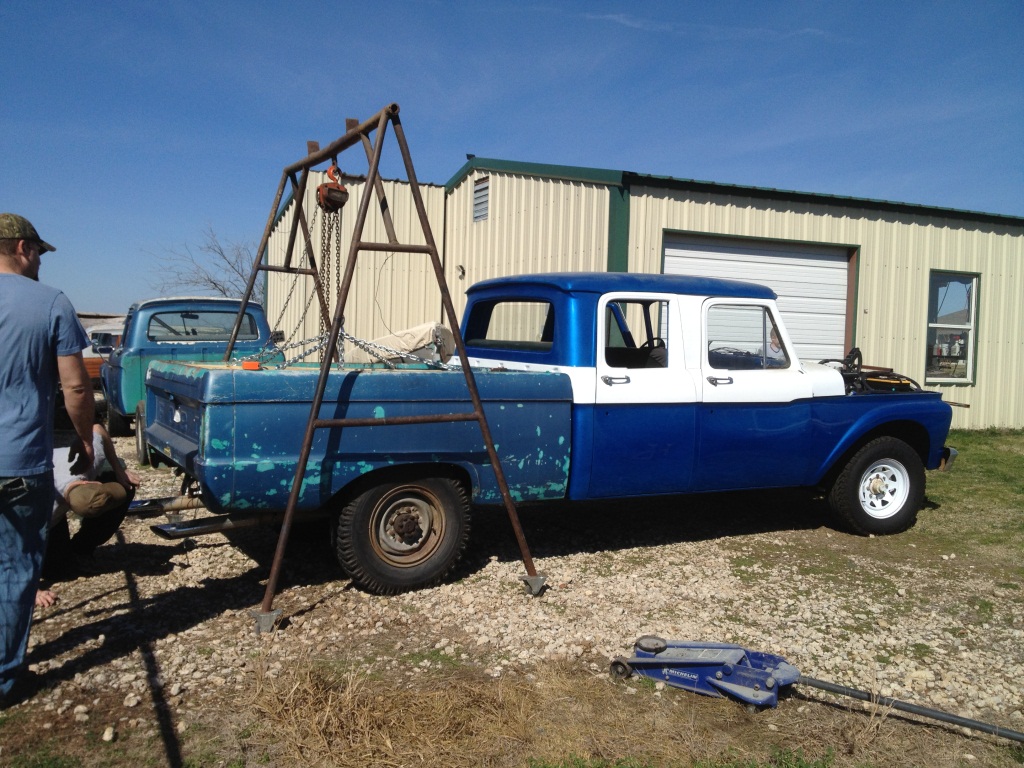
I started on Saturday after noon getting ready to pull the bed from the parts truck out back. This bed will be used as a "Temp" bed until I get the real bed blasted and painted. I will sand this bed down (rough it up basically) and shoot it with Black Epoxy Primer. Then install it on the CC, Most likely will drive it with this bed for a while but that's ok it will be running.

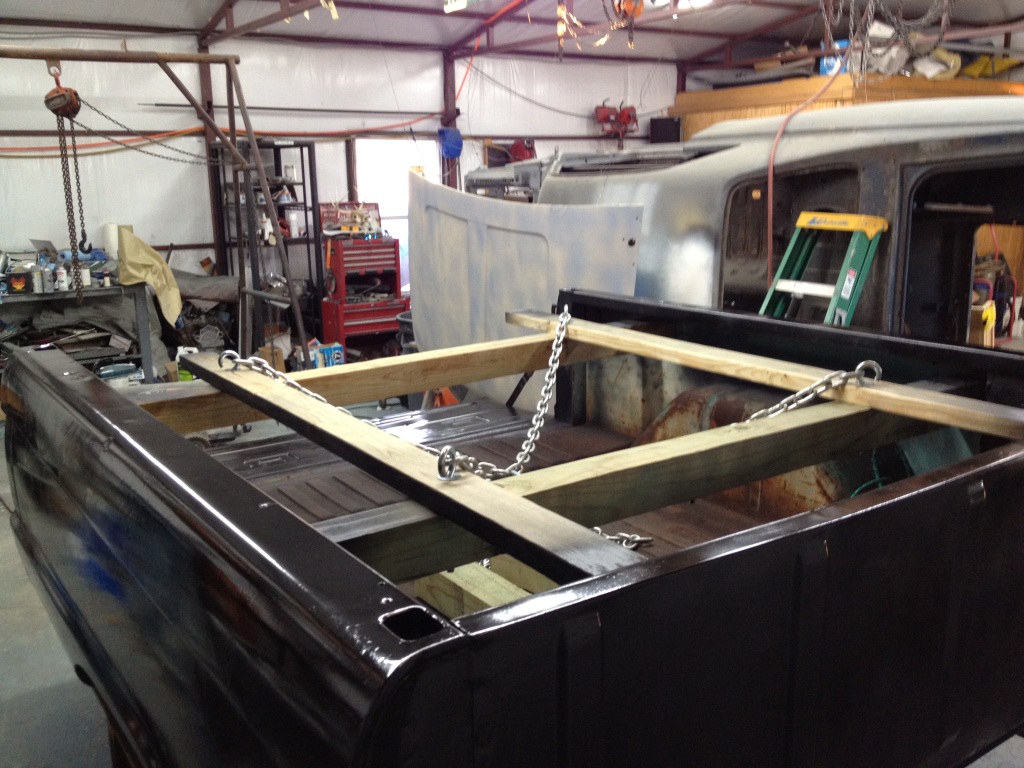
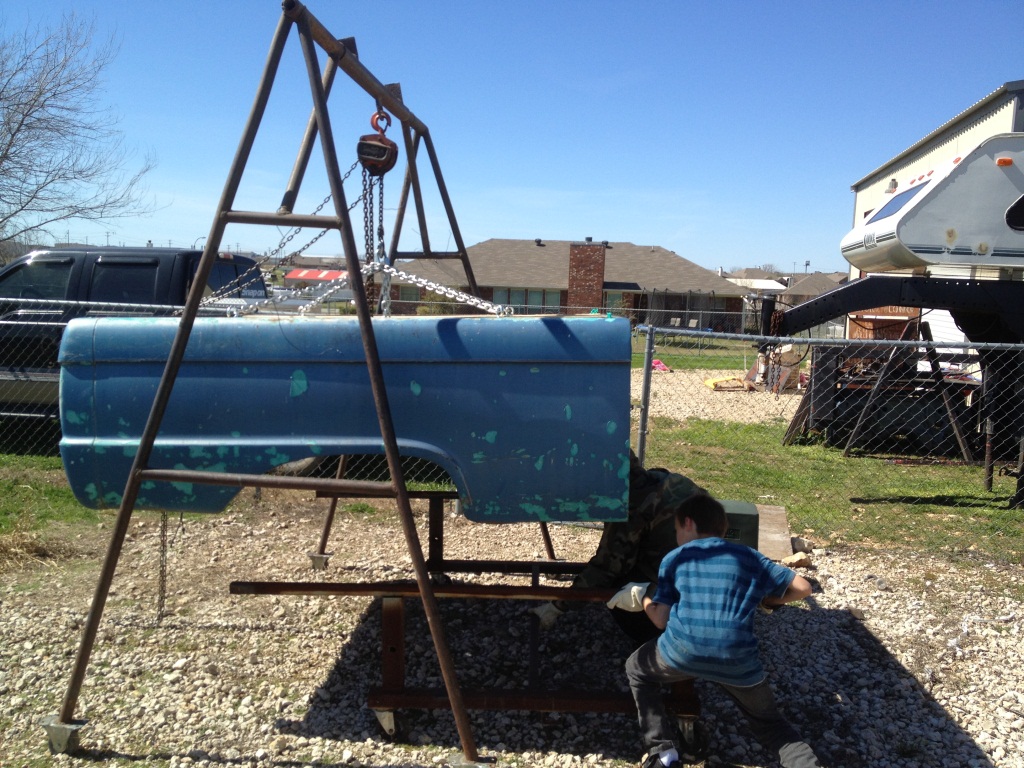
I remember Grits showing a picture of how he lifted his bed using 4X4 wood. I think he used an engine host but I had a A frame that I could use. I love having good neighbors. :) I took 2-4x4's and had them cut to 64 inches which fit perfectly under the bed rails. Then the 2x4's were cut to 6ft. I had the 2x4's 10 inches from the be sides. Then I put eye bolts in to connect them but cut a small chuck out so I could get the chain hooked up. The chains came to the middle and then it was hooked to the engine host. This worked out great to lift the bed up and was very stable (wind was blowing around 15 mph today).

Image

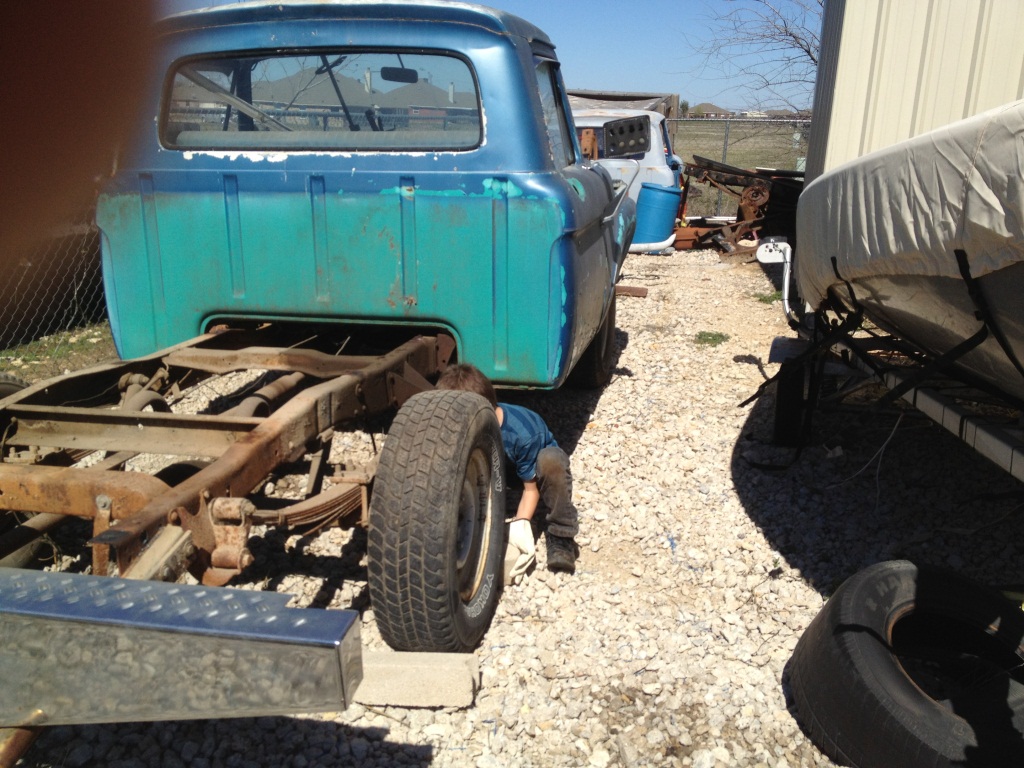
I had my son JT out there working as well. I told him "it's too nice of a day out and I needed help".

Image

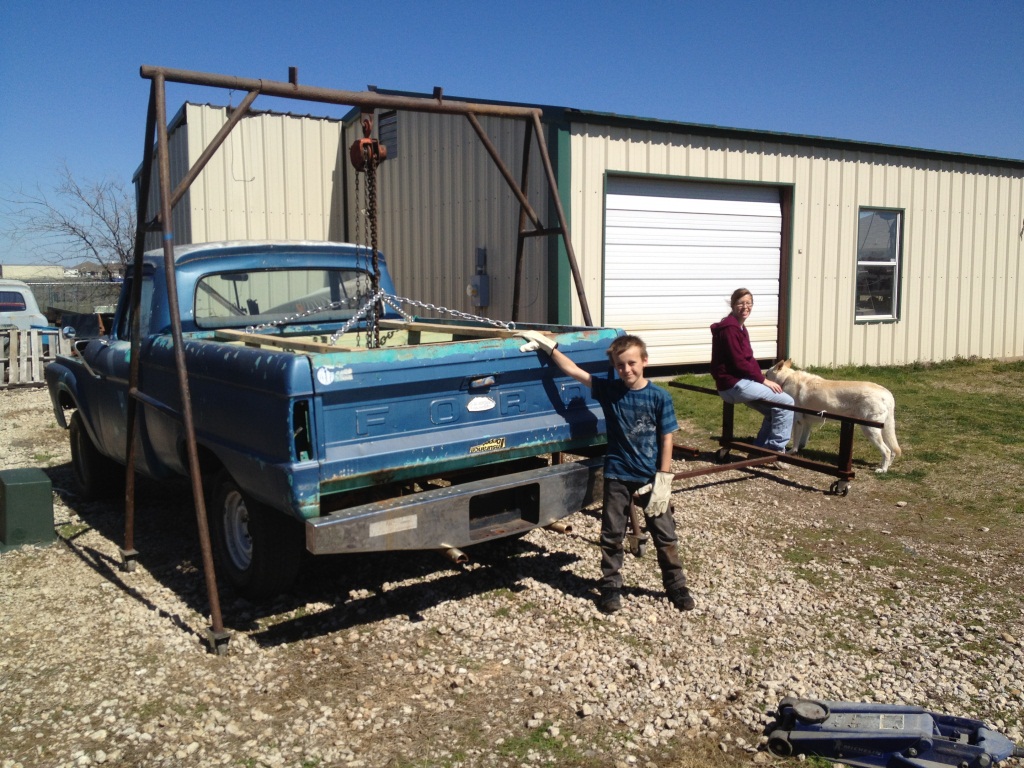
Even mommy and the dog came out to help. :)

Image

After the bed was clear of the truck we pushed the parts truck back into its spot, was fairly easy of a push.

Image

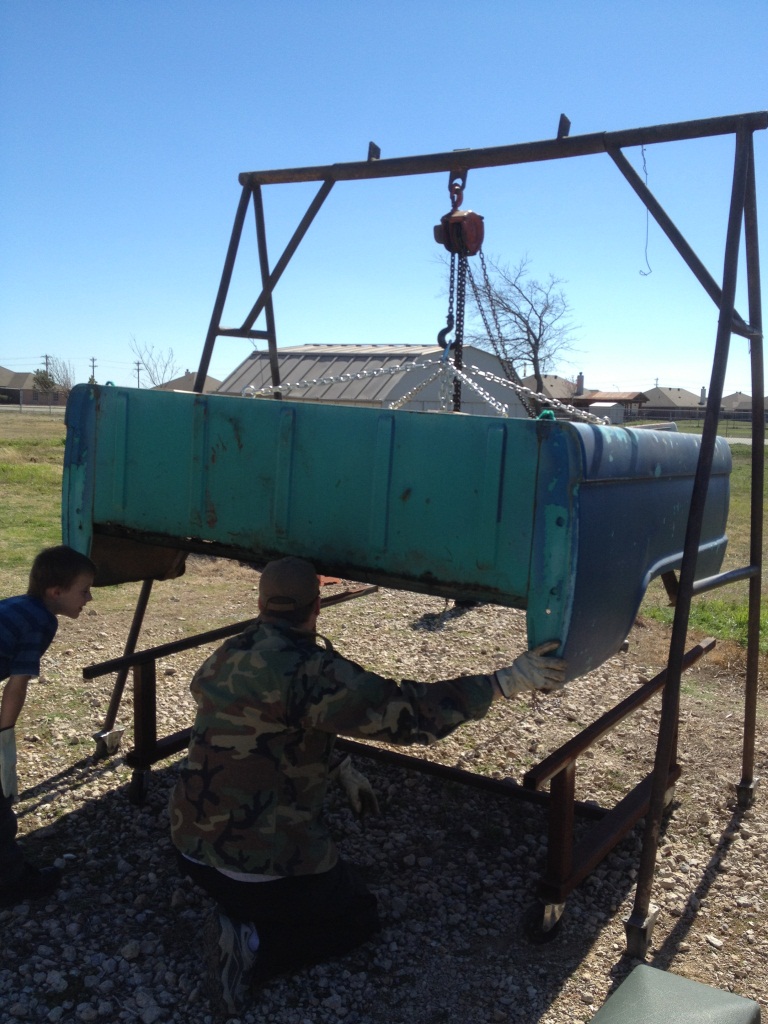
He is still helping.

Image

Next I decided to reuse the Cab stand I had built. Took a small amount of figuring but it turned out good. My stock of spare steel is getting smaller humm time for a run soon I think.

Image

Image

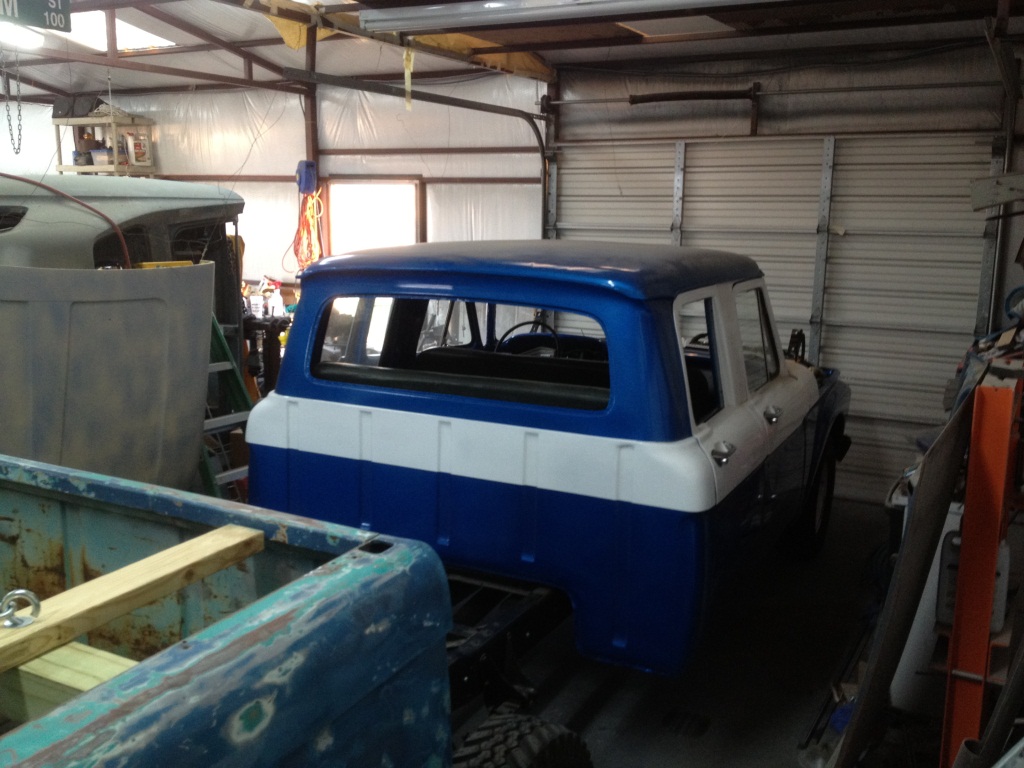
Now with the stand all figured out I got some help from my neighbor again and we turned the A frame 45 degree's then I backed up the Crew Cab so I could move the bed inside the shop.

Image

Image

Image

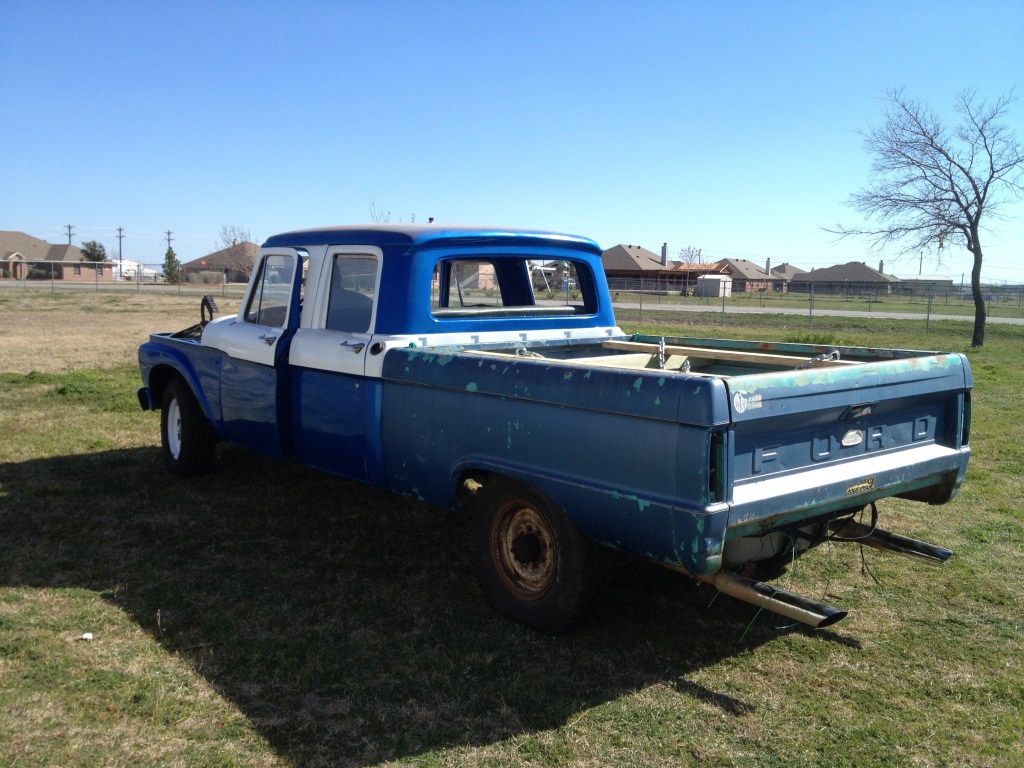
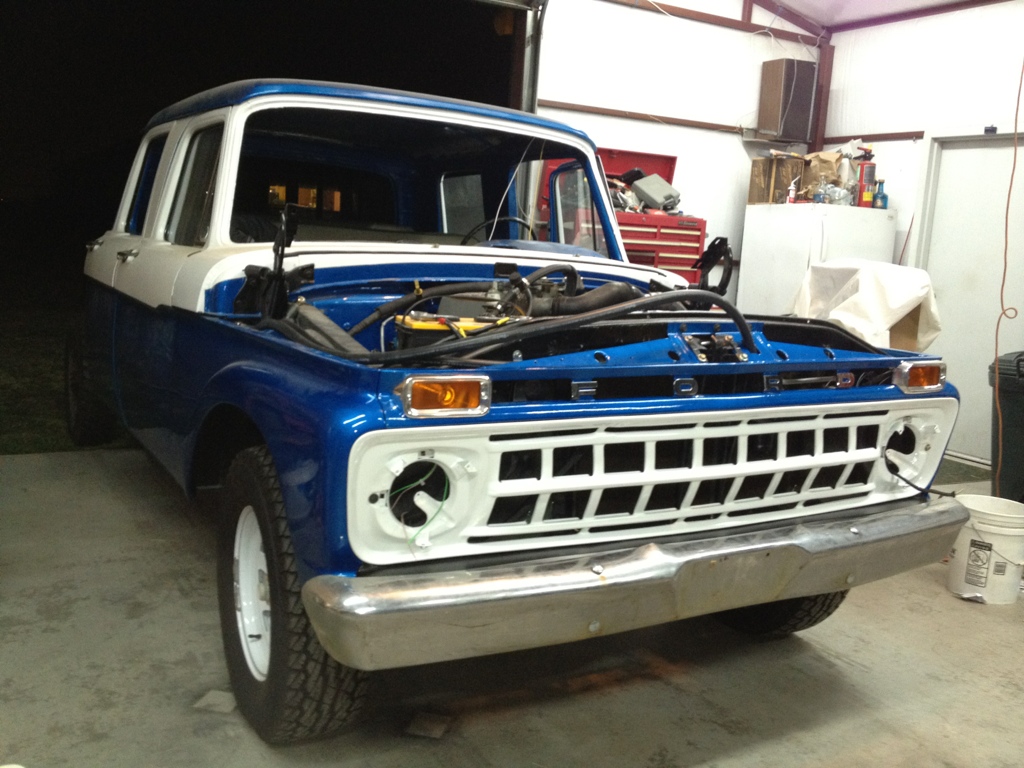
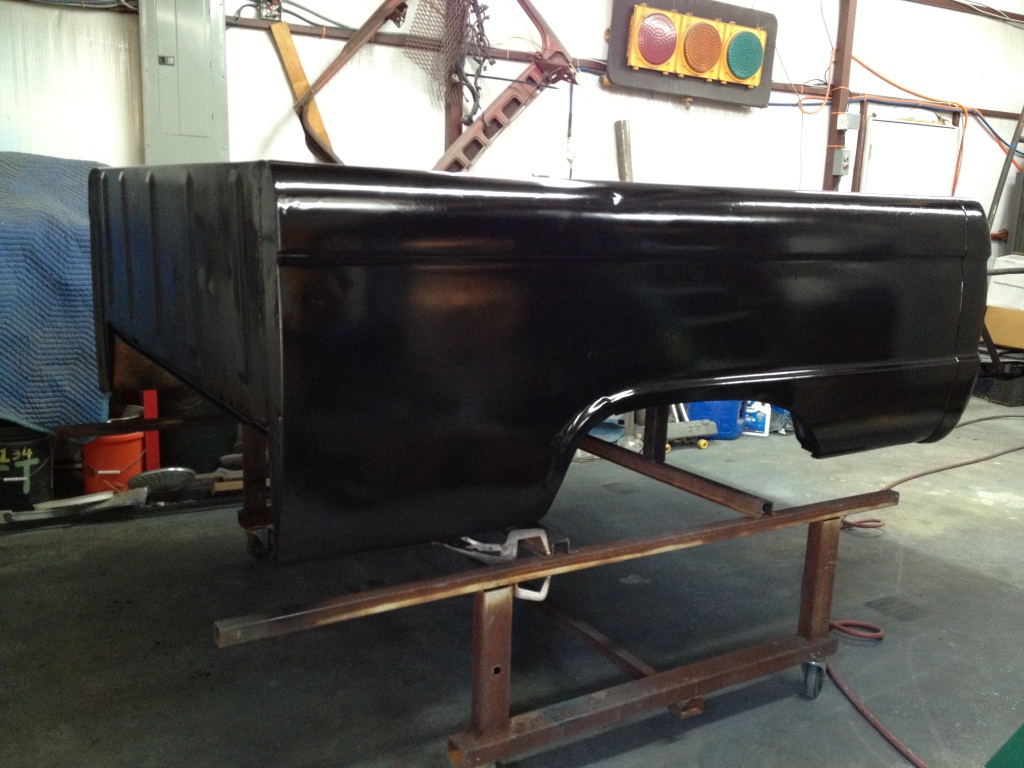
So yes a standard Short bed will fit on the back of this crew cab. I had a little bit of a gap between the bed and the CC but that will be fixed before it is mounted. Since I did the bronco II gas tank I have to modify the bed just slightly. I had forgotten that but now I remember.

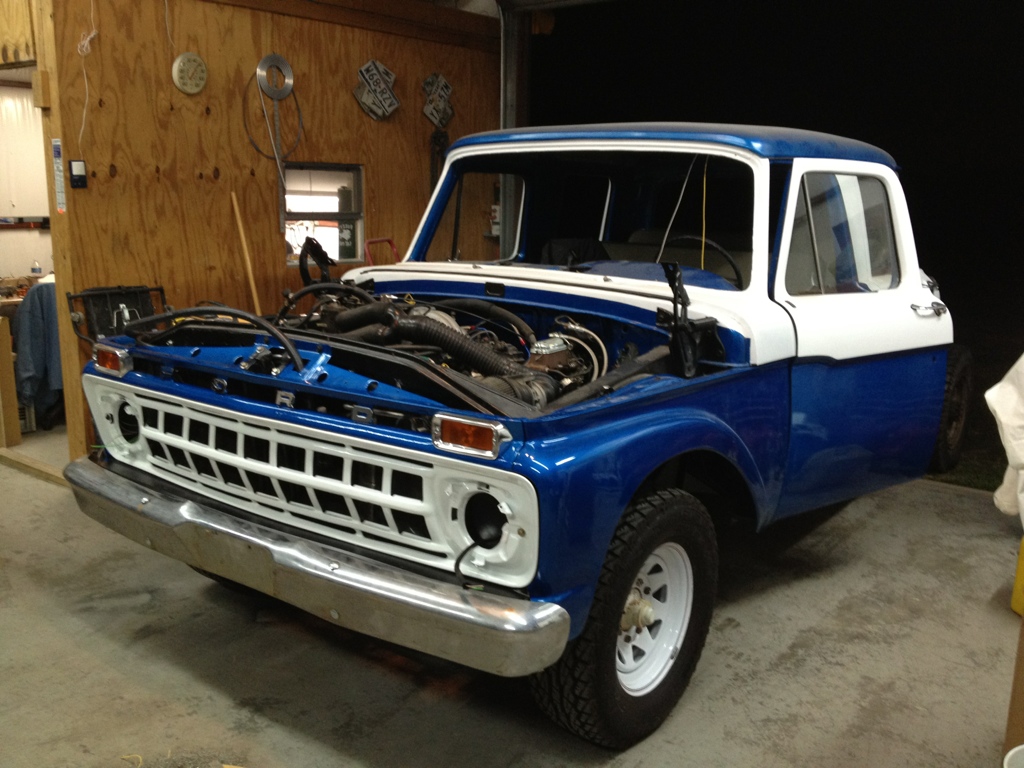
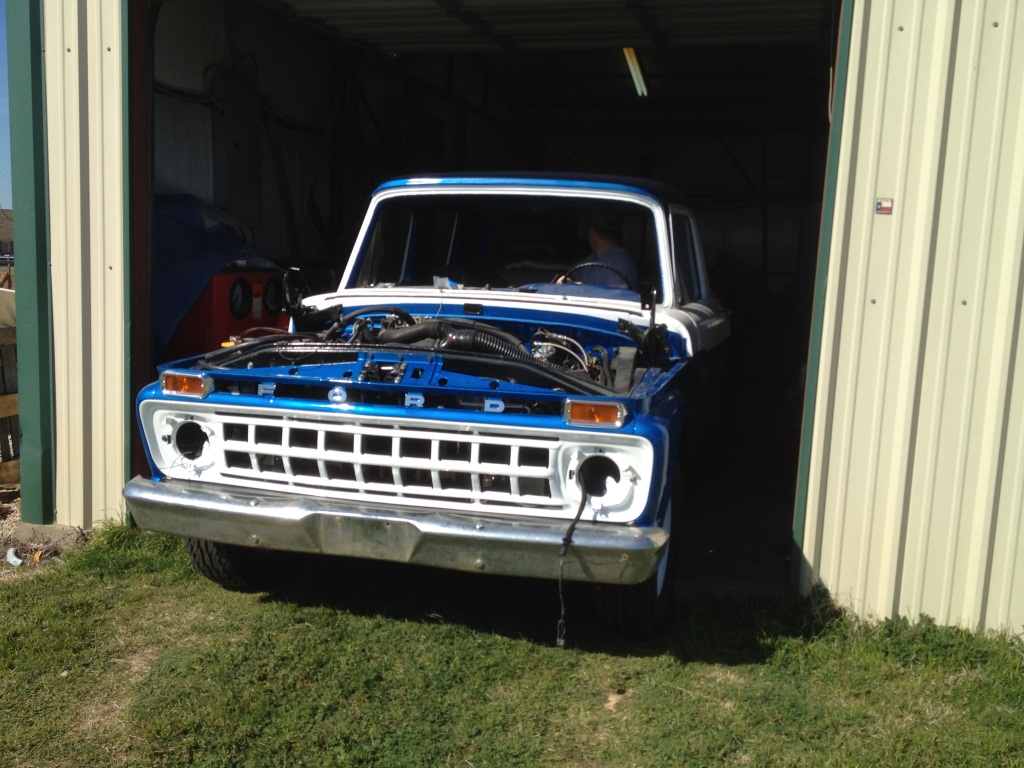
Me backing the CC into the shop sure did feel nice driving the truck. Even if it is just in the yard.

Image

Now inside the shop we started BS'ing a little before moving on. Got to do that.

Image

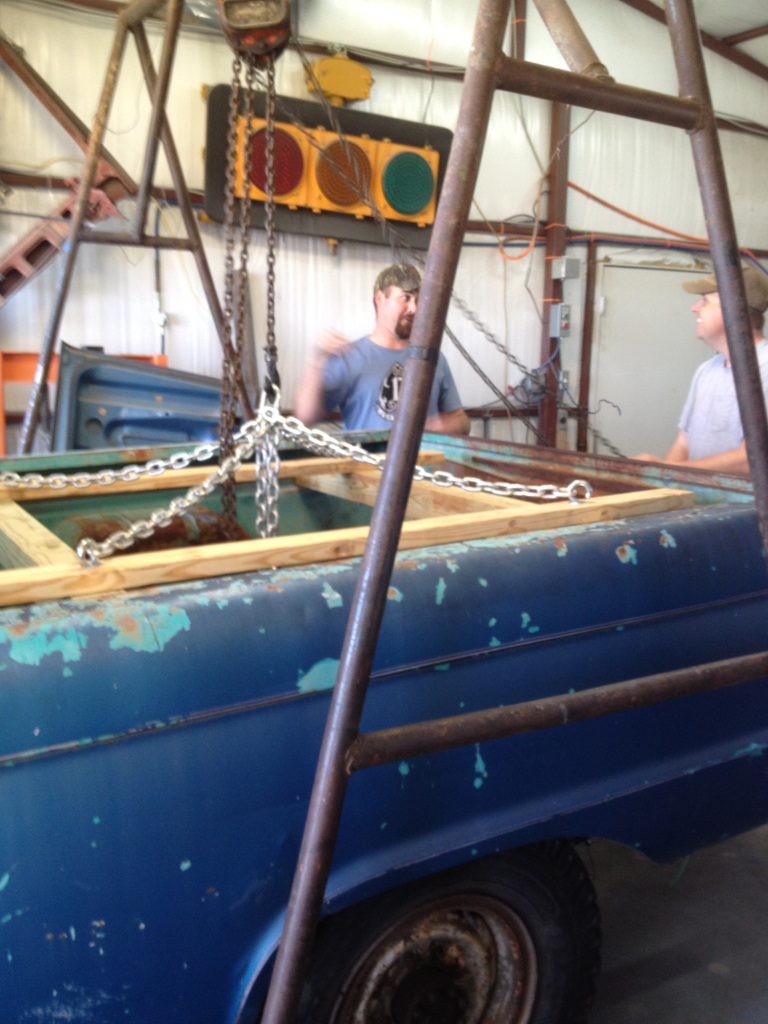
A view of the modified stand. Fairly simple. :)

Image

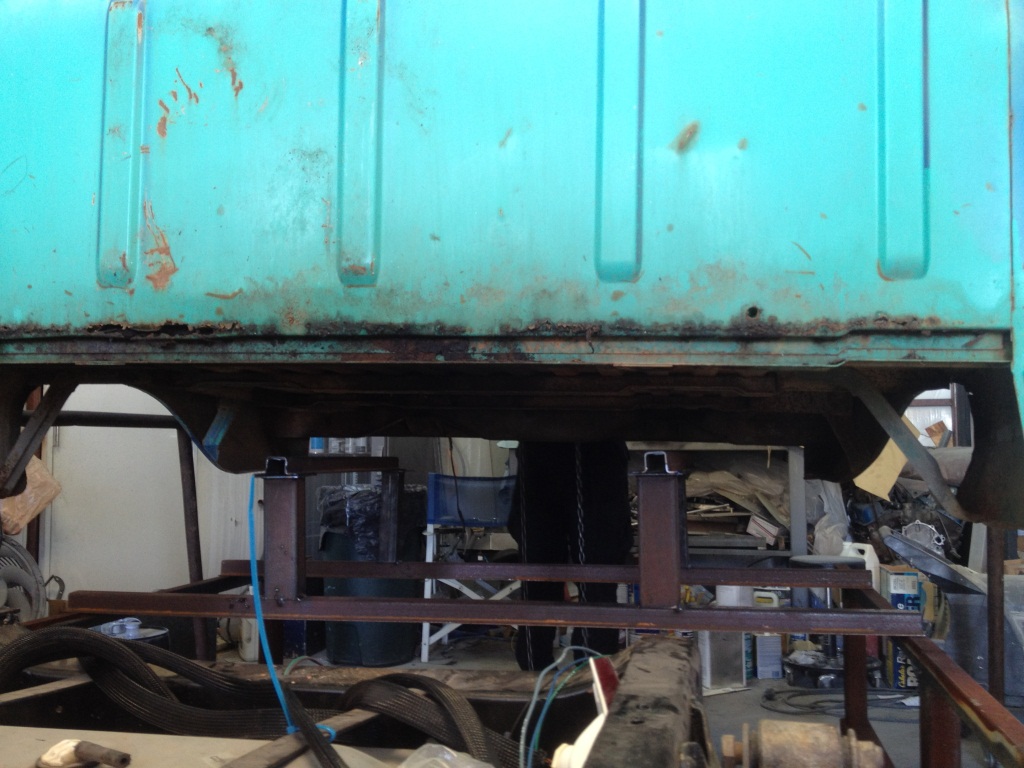
This is the part I have to modify for the bed to fit correctly. The rusty part that hangs down will have to be trimmed a little so it will not interfere with the moved cross member.

Image

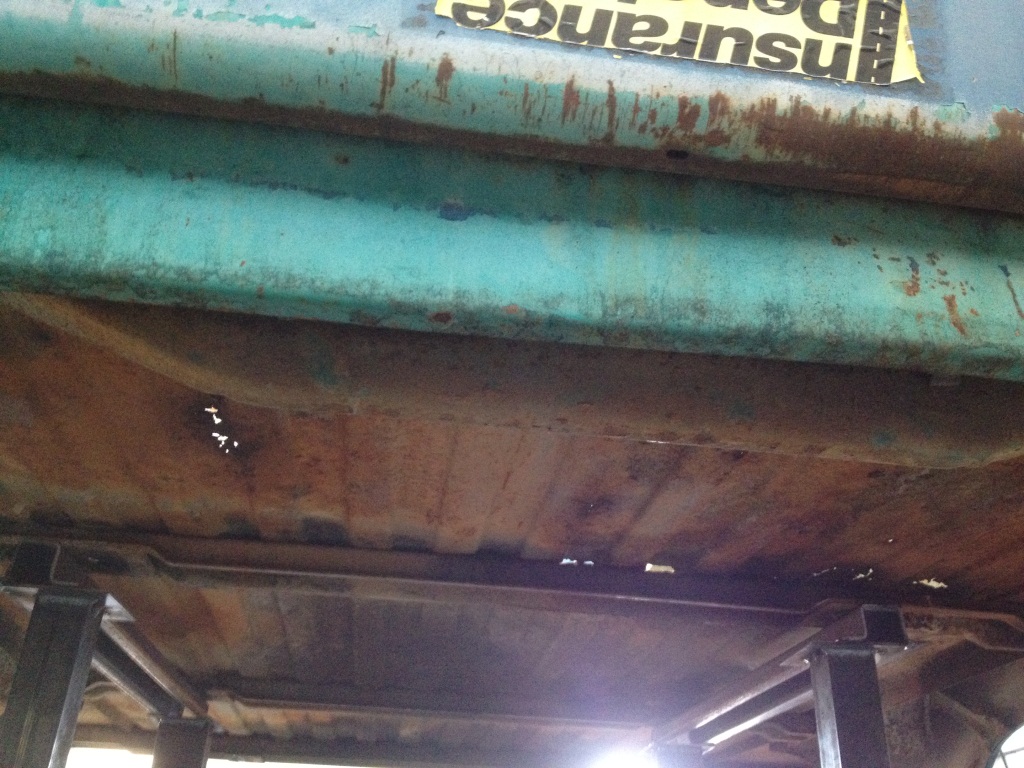
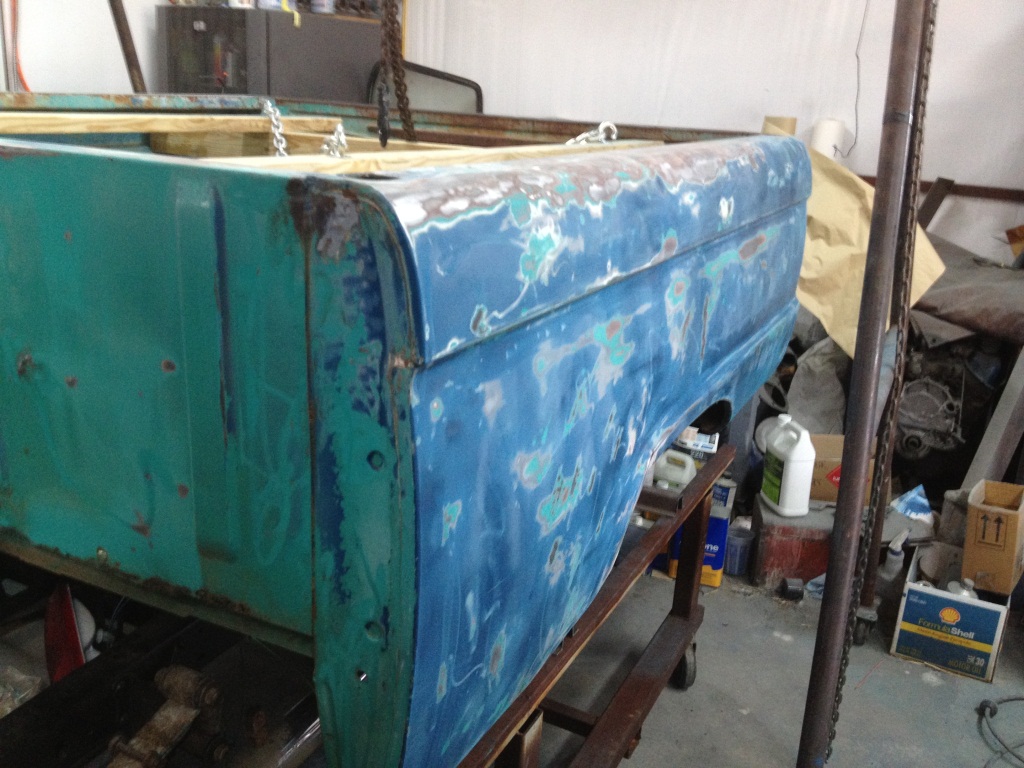
The underside of this bed, not the best but remember it is only temp and will become the new trailer bed. :) 
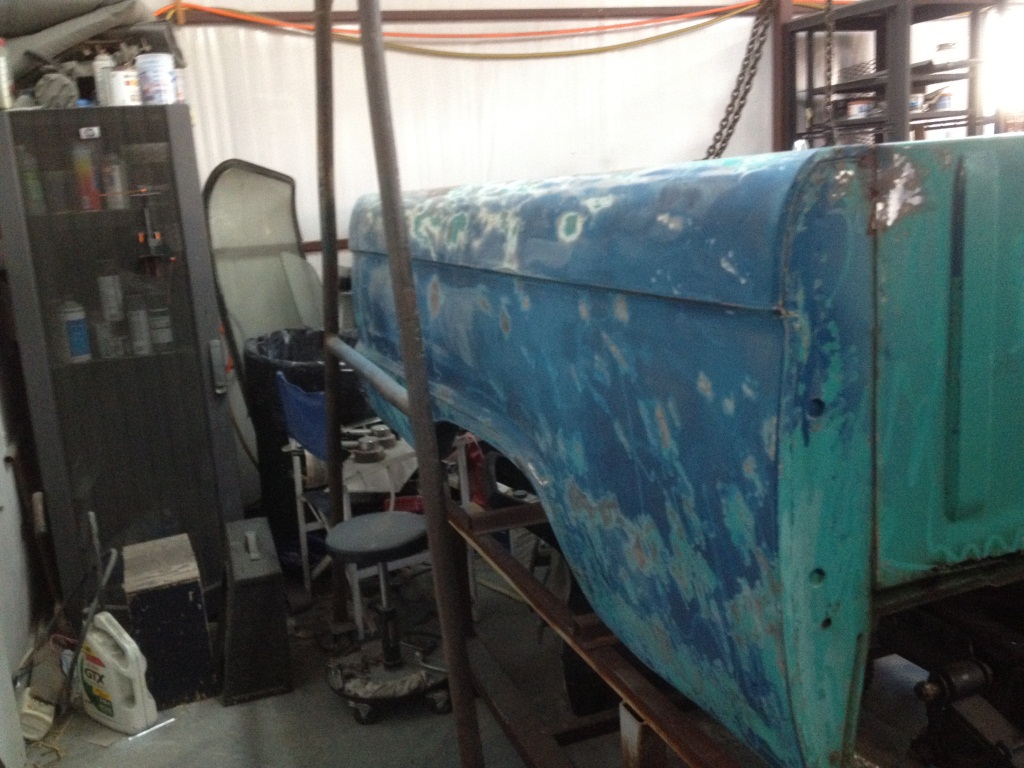
the Current trailer bed is in better shape so I will be using that for the CC.

Image

I did some sanding on both of the sides of the bed today. Mainly just smoothing it down and getting it ready for primer. This should be complete in a few weeks I am thinking.

Image

Image

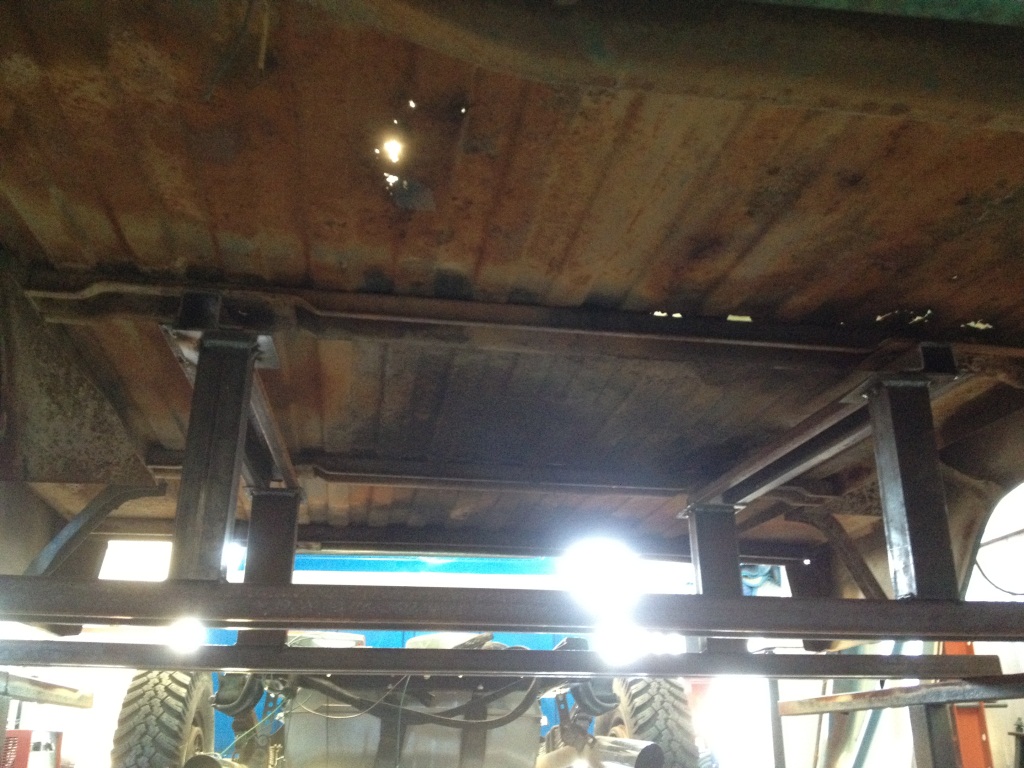
The bed and the crew fit in the back part of the shop.. I will have it here for a little while and will need to move the CC out when working. I think I should put some more gas in the fuel tank. :lol: I haven't ran out before never ever. :roll: :wink:

Image


Also wanted to thank every one for there great comments about this project. Tic toc goes the clock can I beat it this year? I sure hope so.

Re: PFM's 65 Crew Cab F250

Posted: February 26, 2012, 9:11 pm
by Shiny
Its getting so close eh! Man it looks good with the bed on it.

-Shiny

Re: PFM's 65 Crew Cab F250

Posted: February 26, 2012, 11:31 pm
by Truckrat
Chris even with a bed with peely paint that truck is coming together.
Looking forward to Pate. Won't be long now! TR

Re: PFM's 65 Crew Cab F250

Posted: February 27, 2012, 11:33 am
by totten
Nice job so far. Will be watching your progess . tony

Re: PFM's 65 Crew Cab F250

Posted: March 2, 2012, 7:57 pm
by fire truck
Yeah buddy! Looks great!!!!

Re: PFM's 65 Crew Cab F250

Posted: March 5, 2012, 11:11 am
by PFM-64f100
Another update.

I didn't have but Sunday afternoon to work on the Truck so I decided since it was 75 out to shot the bed in black epoxy. Mind you now that this is only the temp bed until I get the other one blasted and painted up nice. The nice painted bed might not be completed until after SS but hey who knows. :)

This is a little rough but should look better than the blue peeling paint. My hope is to mount it this coming weekend but have a few thing to tie up before..

Image

Image

Image

Image